Category Archives: Squamish – Whistler – Pemberton

Cheakamus Lake Trail

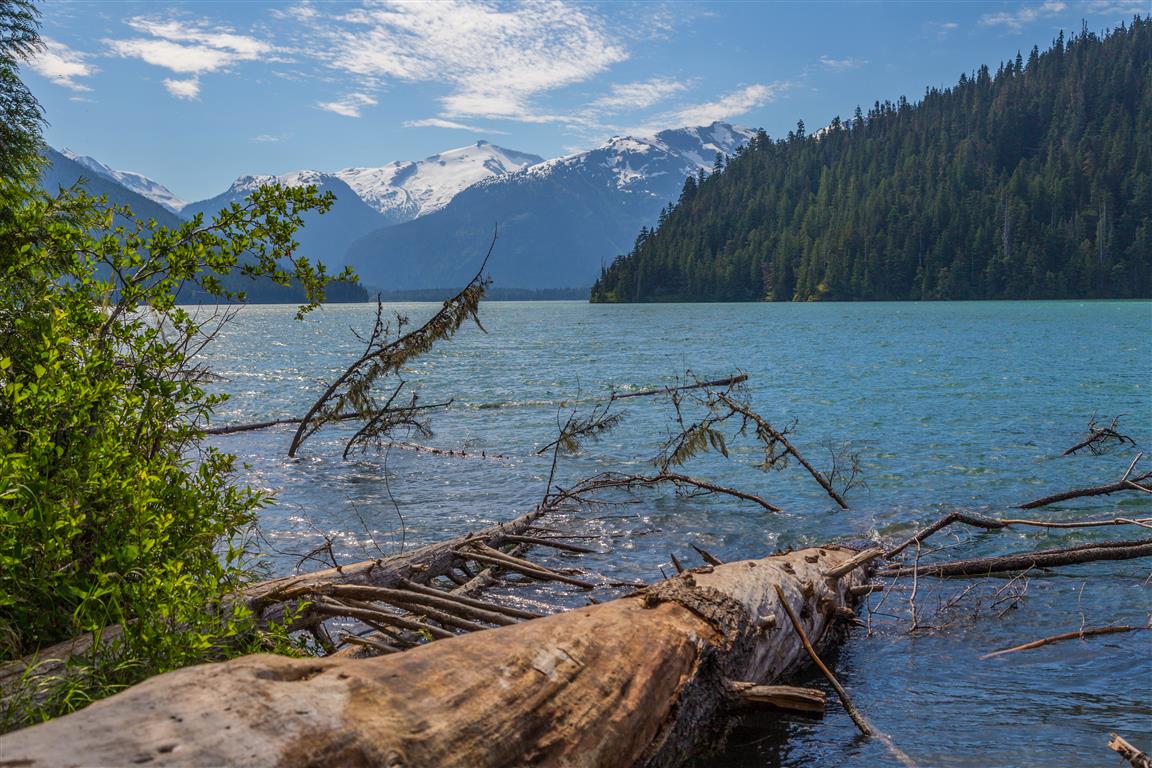
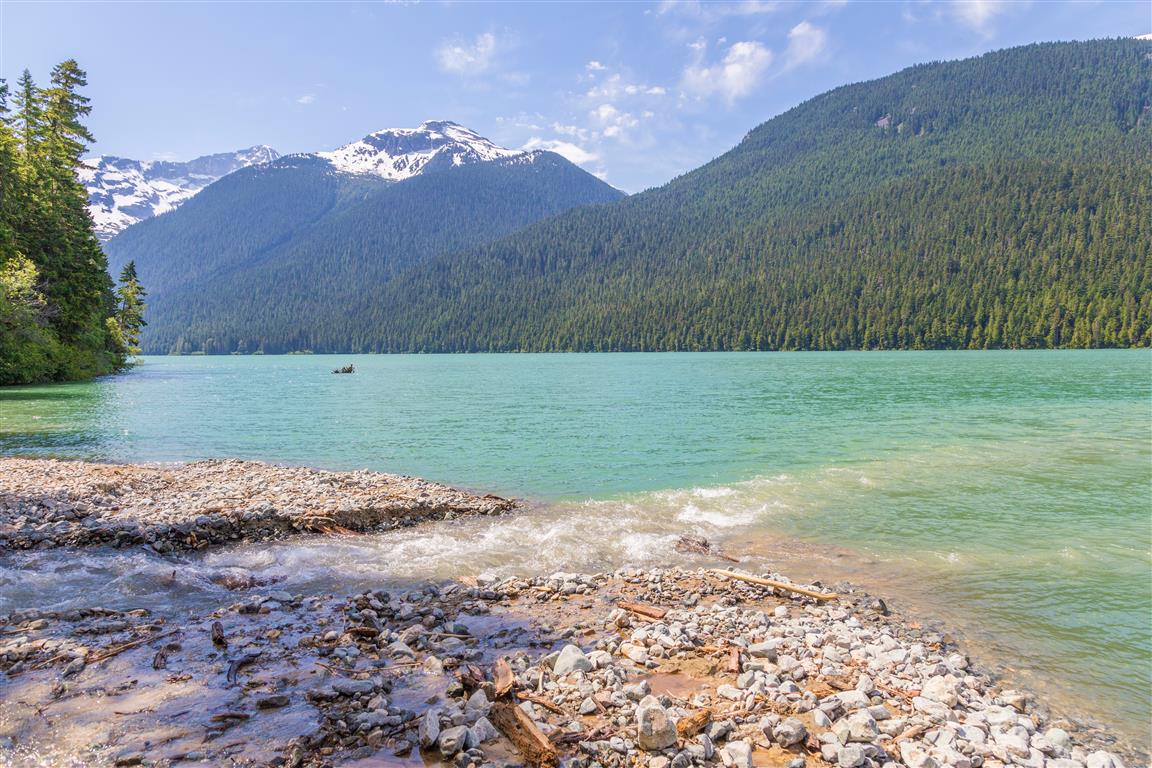
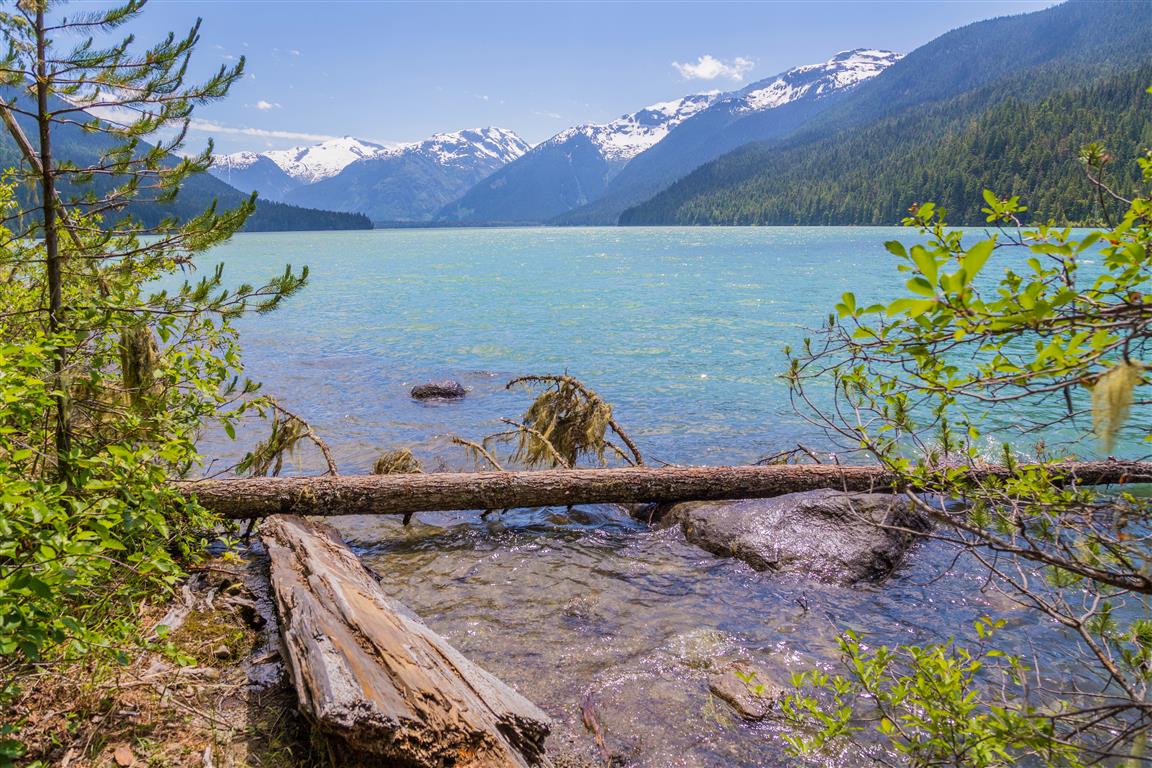
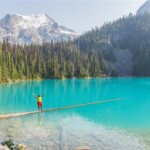
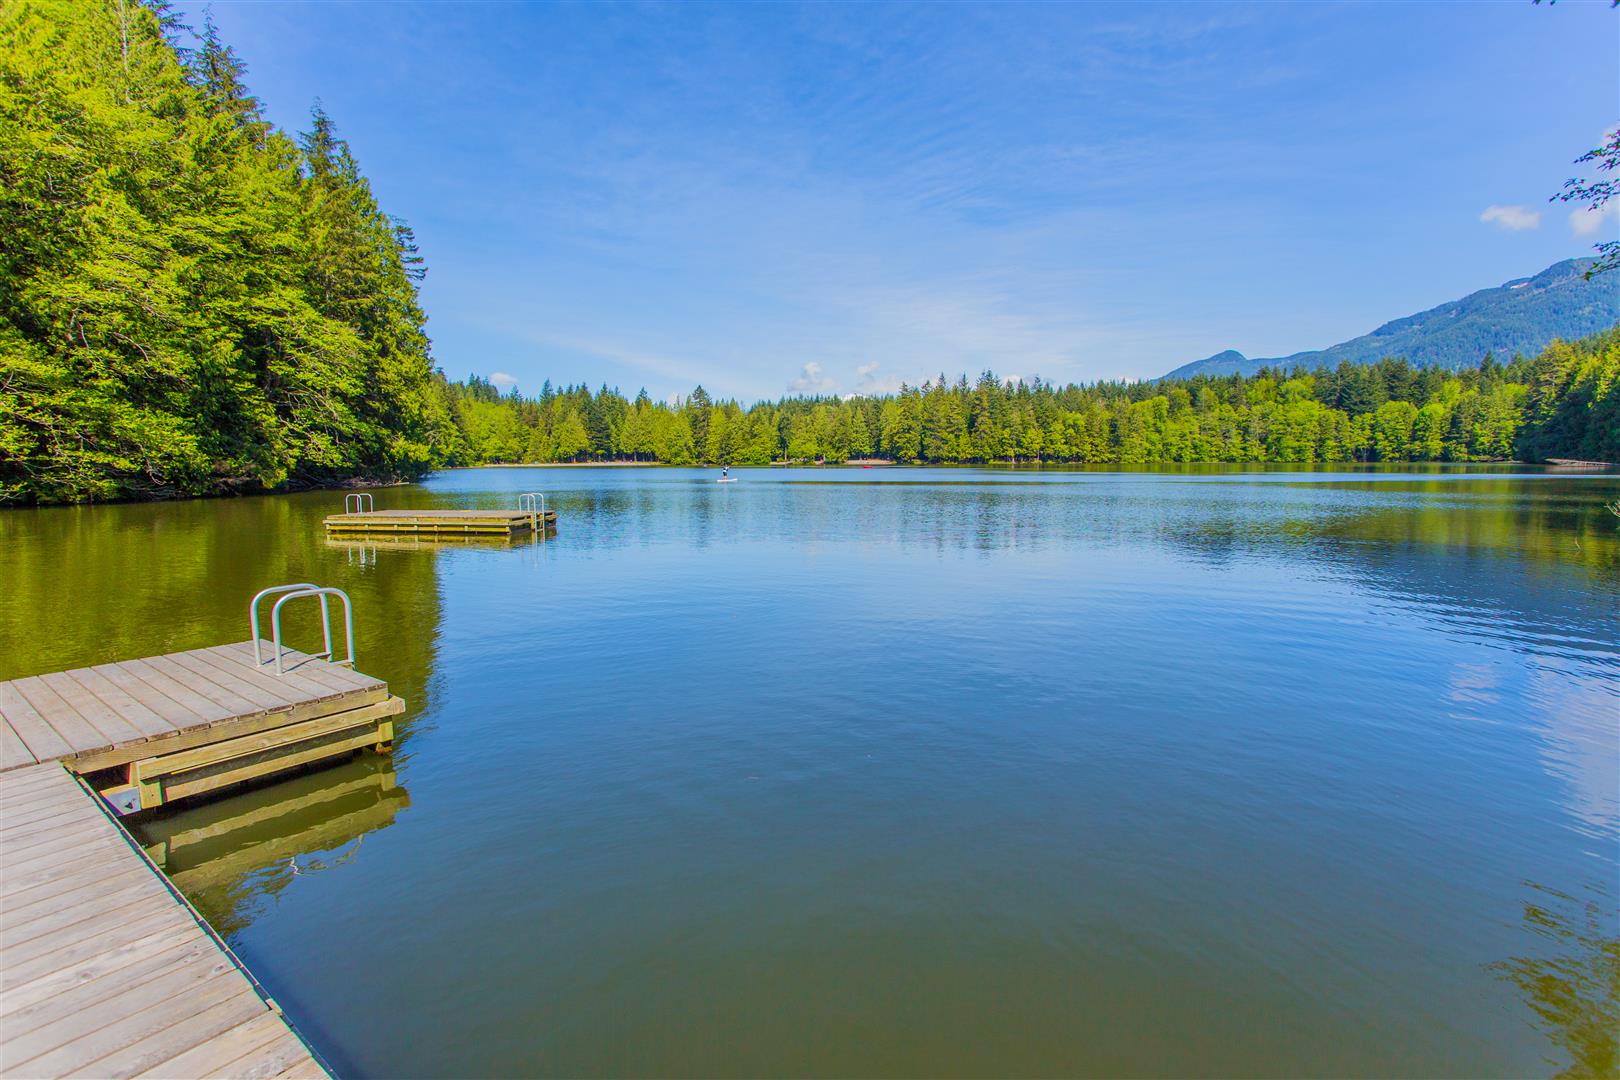
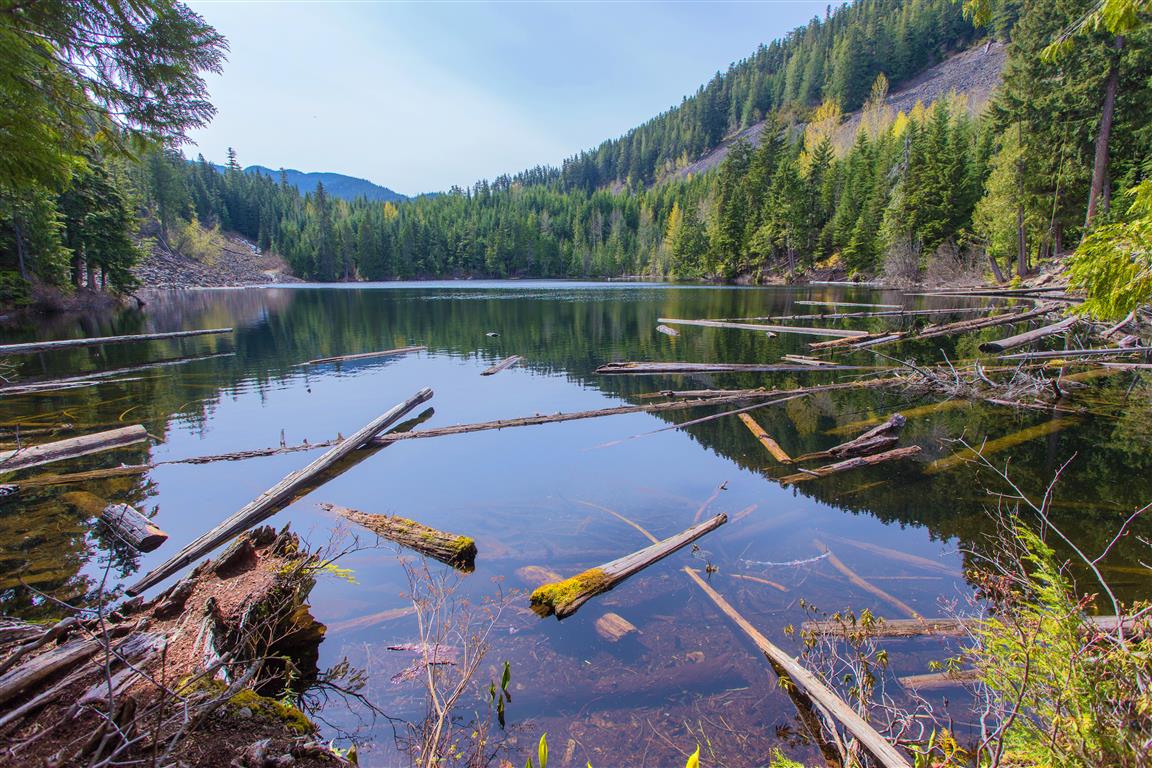
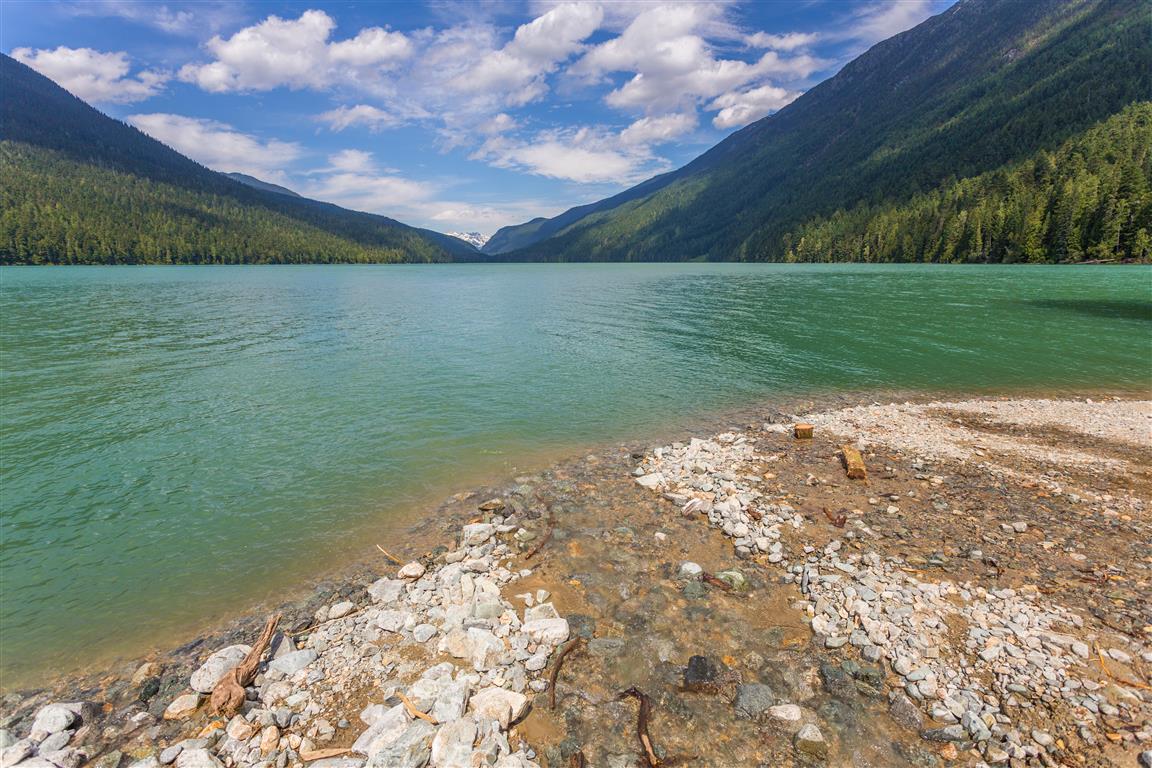
Cheakamus Lake is an emerald-green, glacial-fed alpine lake, located in Whistler. The hike follows the Cheakamus River for about 3.5 km and then follows the north side of the lake, ending at Singing Creek after another 4 km. At this point the official trail ends. To go beyond, you will have to walk across a fallen tree over Singing Creek and do some bushwhacking (according to Park Rangers).

✅ Cheakamus Lake Access
Status: Open
The 2026 summer day-use vehicle pass requirement ended on 12 October 2026. Passes are no longer required under the published summer schedule. Overnight camping reservations remain mandatory. Check current BC Parks advisories and seasonal trail conditions before travelling.

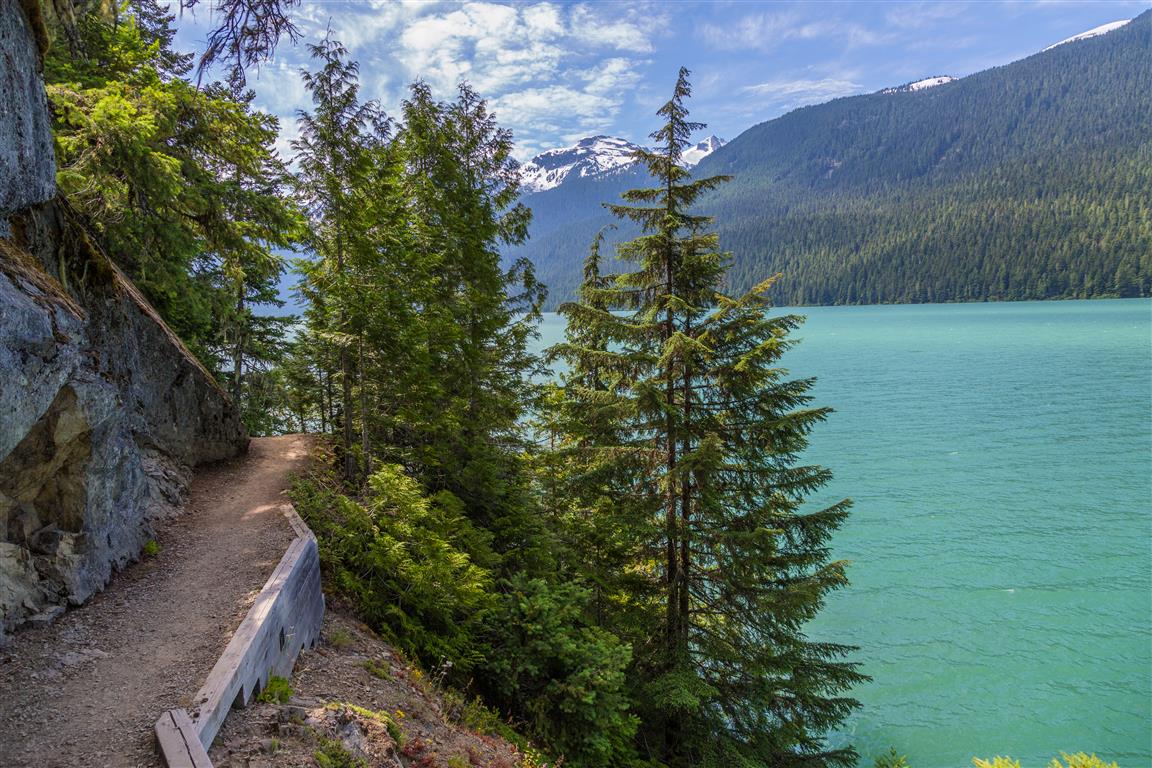
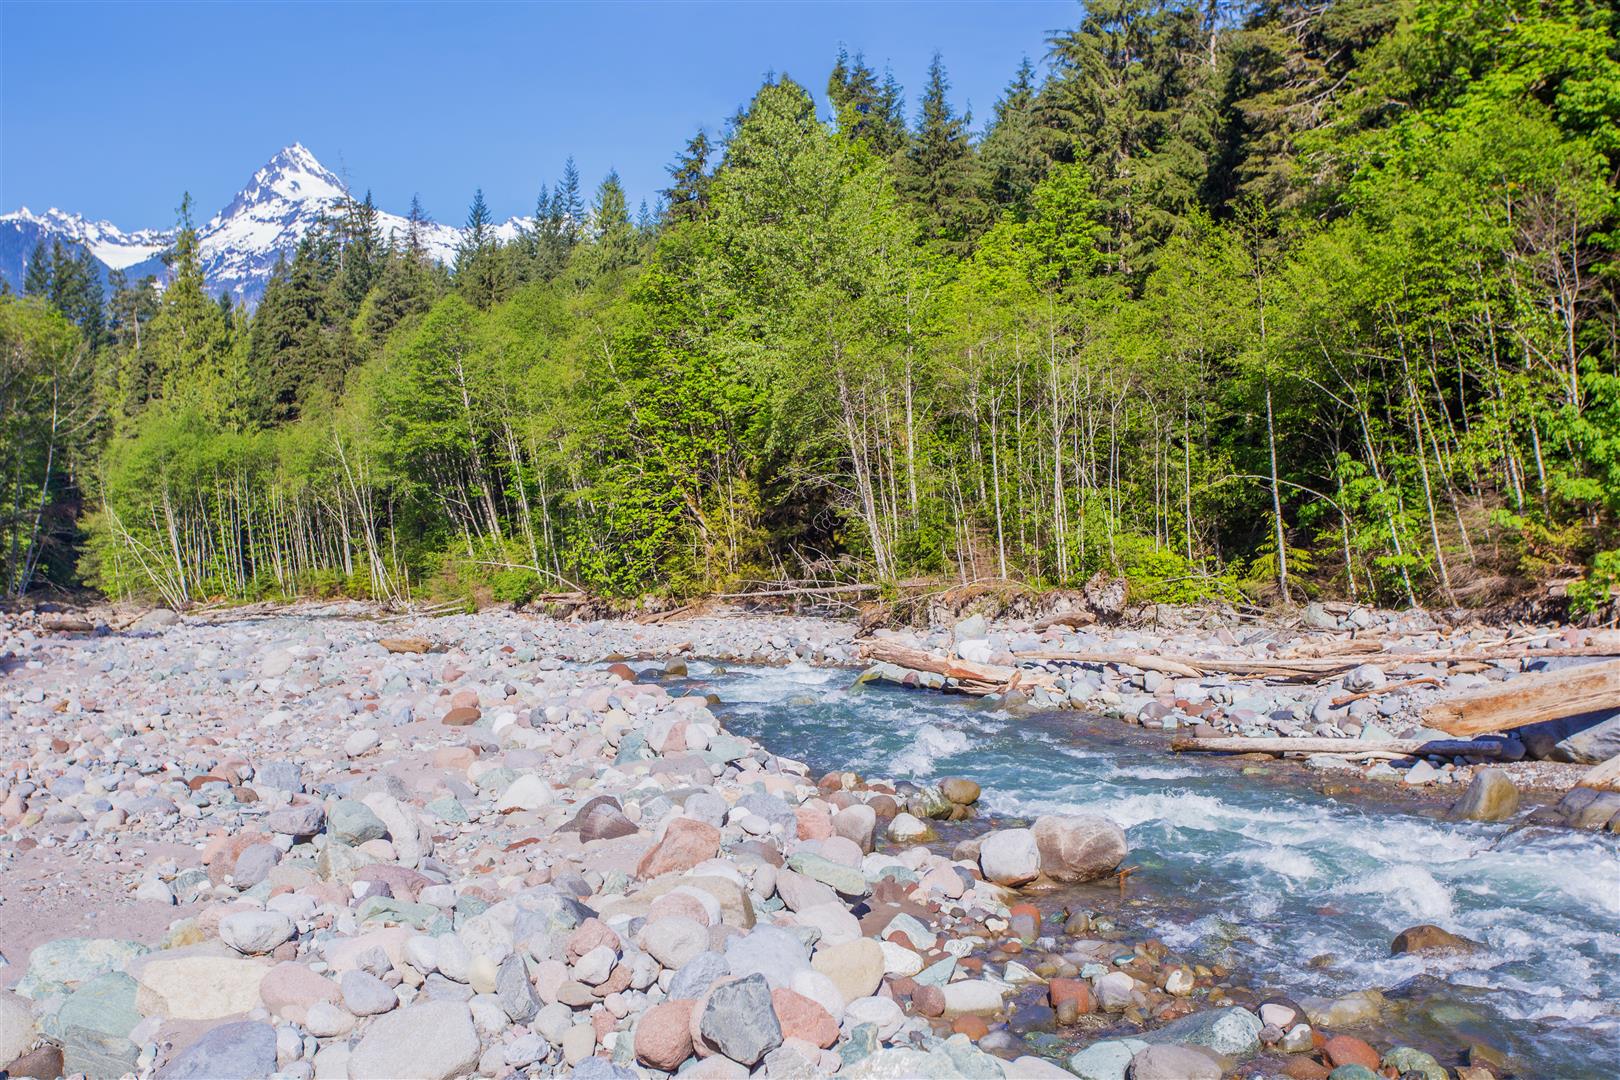
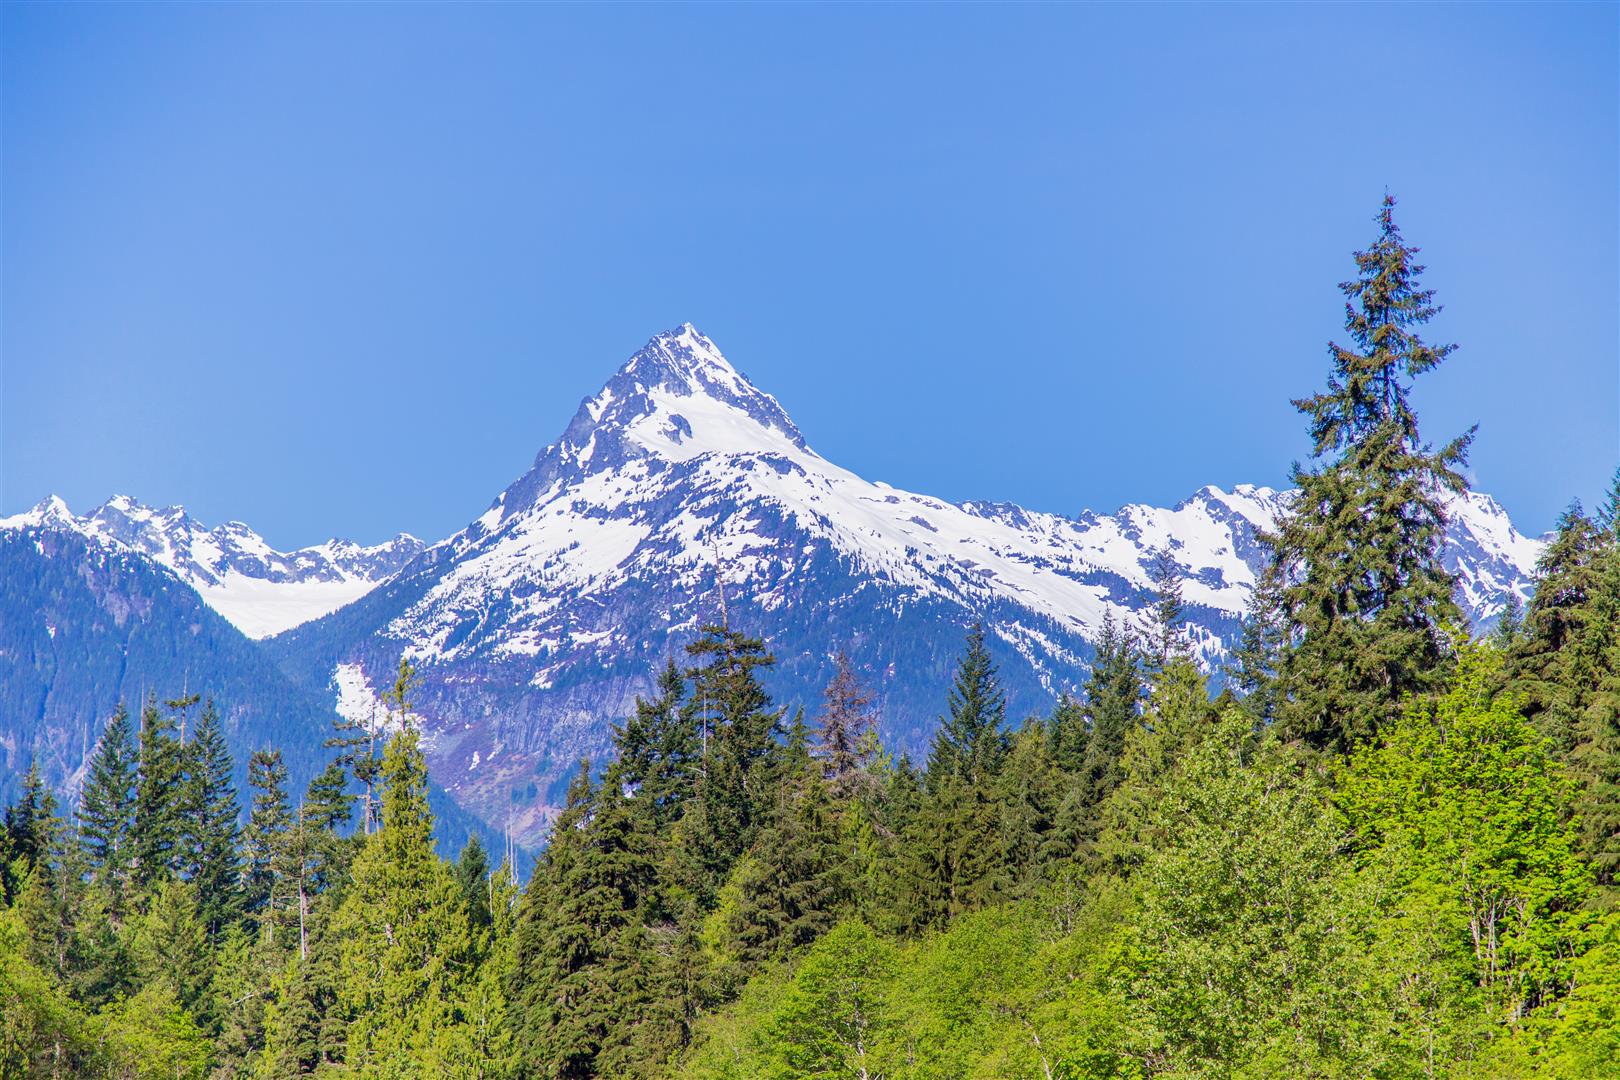
The emerald-green colour, along with the backdrop of snow-covered peaks, really makes for some nice scenery. The hike is not too strenuous, as it is mostly flat with some small ups and downs.

Interesting Facts

  • Cheakamus Lake sits inside Garibaldi Provincial Park, a 194,000 ha wilderness area established in 1927
  • The park is named after Mount Garibaldi, which Royal Navy Captain George Richards named in 1860 after the Italian revolutionary Giuseppe Garibaldi
  • The lake covers about 5.7 km² and is fed by Castle Towers Creek, the Cheakamus River, and Singing Creek, with the Cheakamus River draining back out at its western end
  • Cheakamus Lake was first stocked with trout back in 1926, with 20,000 eggs, which may explain why fishing here has been good for nearly a century
  • In 2005, a CN Rail train derailment spilled about 40,000 litres of sodium hydroxide into the Cheakamus River, well downstream of the lake itself, causing a major fish kill along that stretch of river. It’s a reminder of how fragile these watersheds can be

Getting There

For directions, click on Trailhead and parking below.

NOTE: There is a 7 km potholed gravel road to travel. My 2-wheel drive car made it with no difficulty, but I would imagine it would be a challenge in snow or wet conditions. Even during the best weather, take it slow due to the large number of potholes.

Tip: shut off the fresh air intake, so you don’t get dust in your car.

Trail Stats

  • Distance: 15 km (return)
  • Time: 3 to 6 hours
  • Low point: 832 m
  • High point: 899 m
  • Elevation gain: 67 m
  • Cumulative elevation gain: 360 m
  • Trailhead and parking: 50° 2′ 31″ N, 122° 59′ 23″ W (Google Maps and navigation)

The Route

The actual GPS track from this hike, drawn on the map below. Green marks the start/end point.

Photos
Cheakamus Lake
Cheakamus Lake
Cheakamus Lake
Cheakamus Lake
Cheakamus Lake
Cheakamus Lake
Cheakamus Lake
Cheakamus Lake
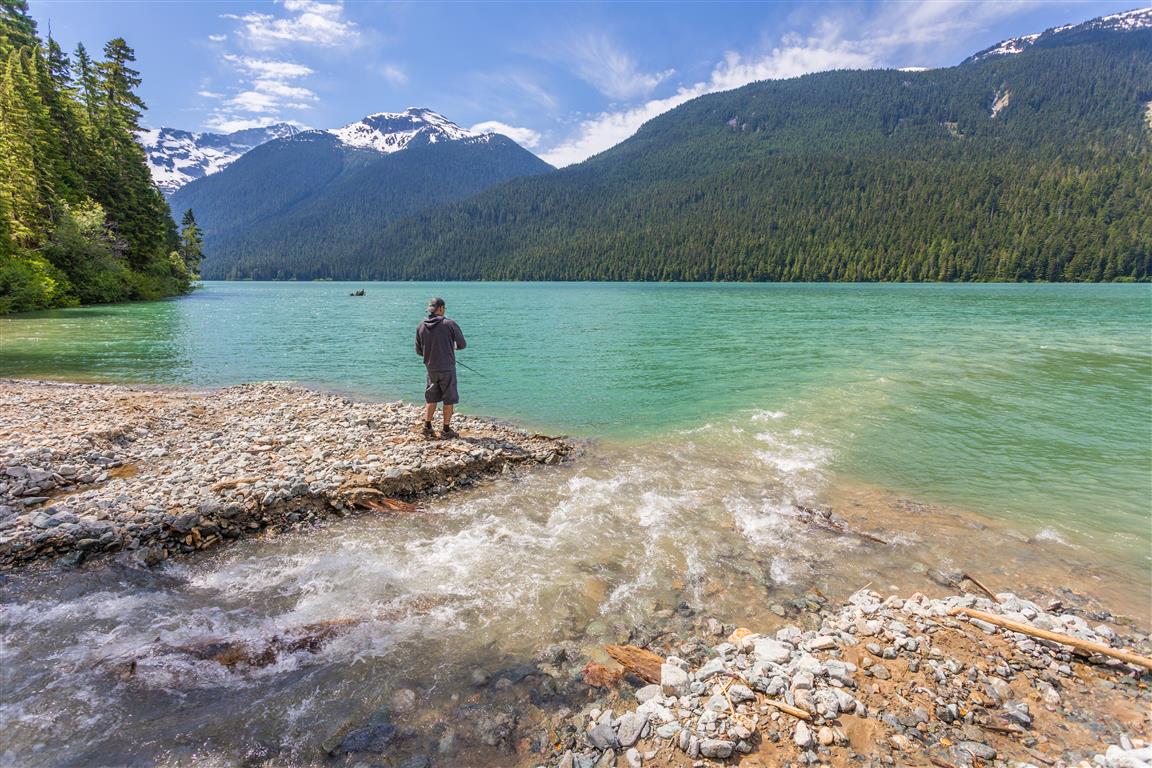
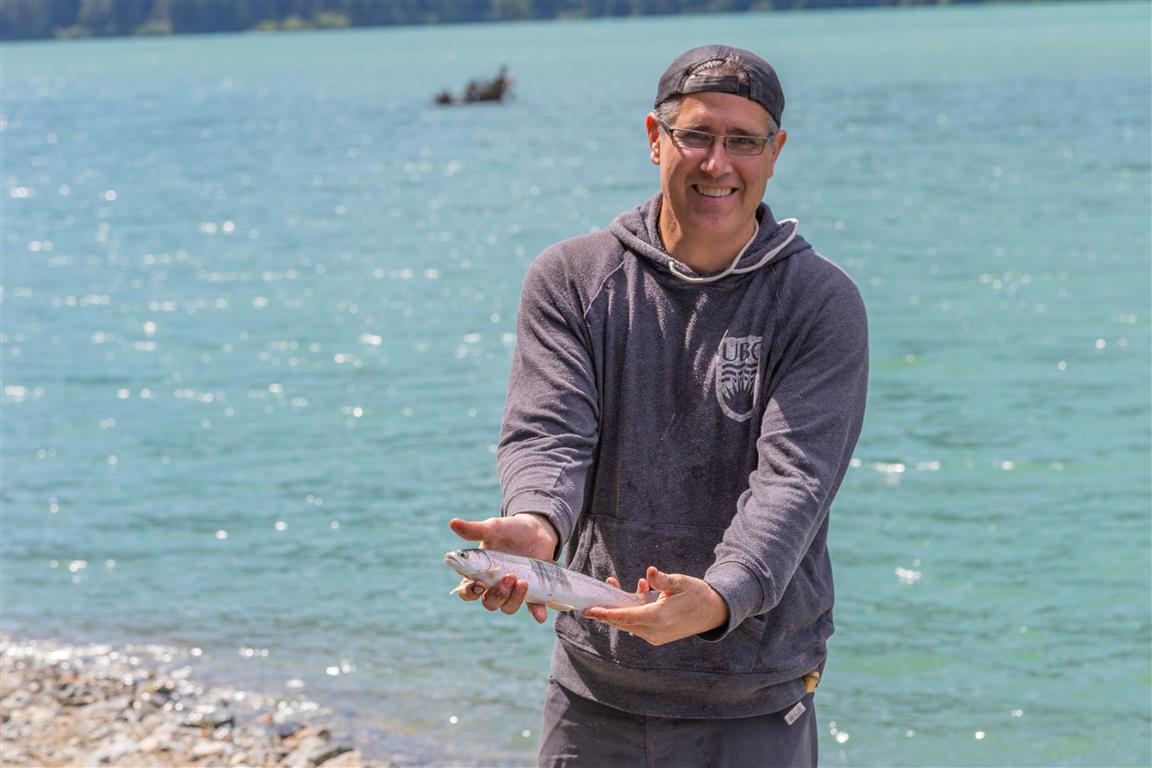
Fishing at Cheakamus Lake

The fishing was great:

Fishing
Fishing
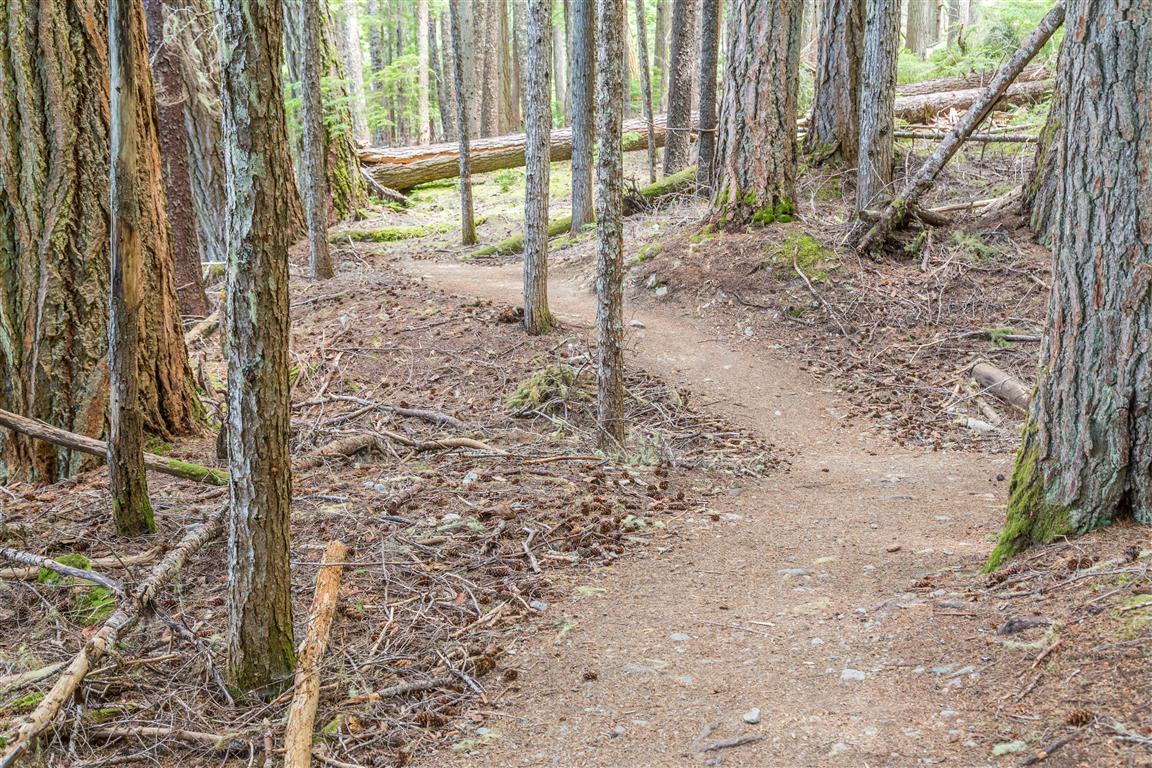
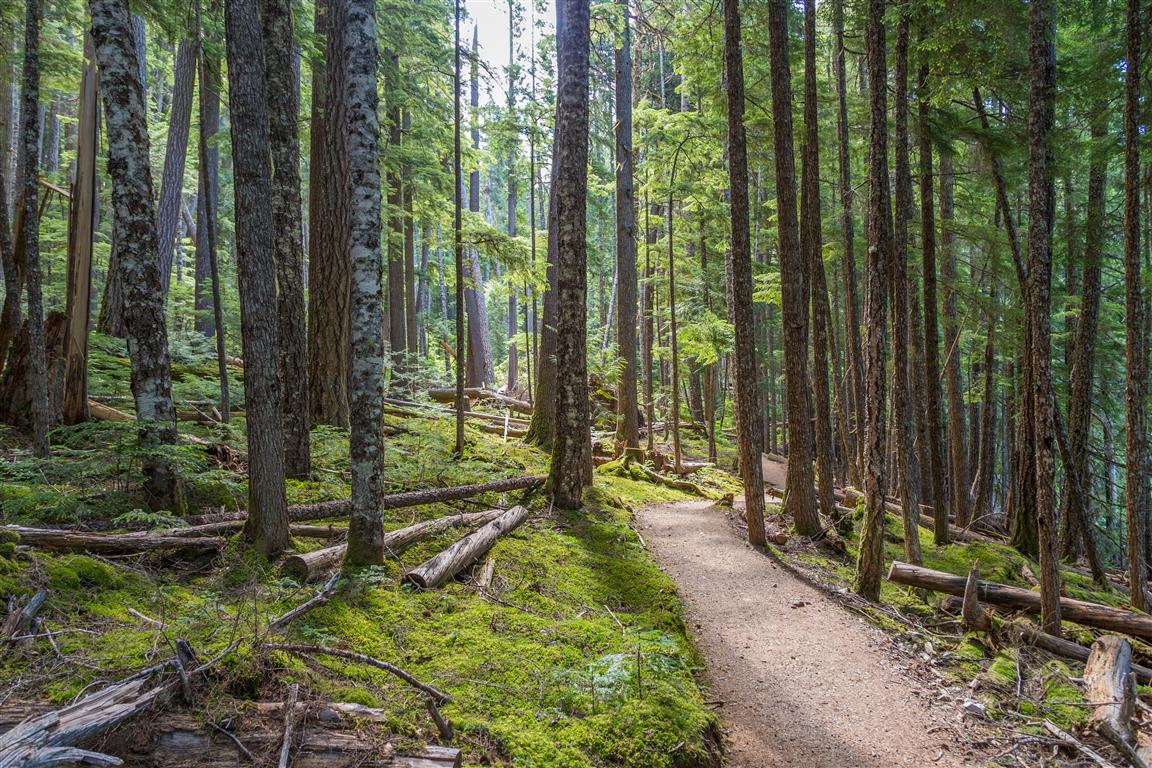
Trail
Trail
Trail and Cheakamus Lake
Trail
Trail

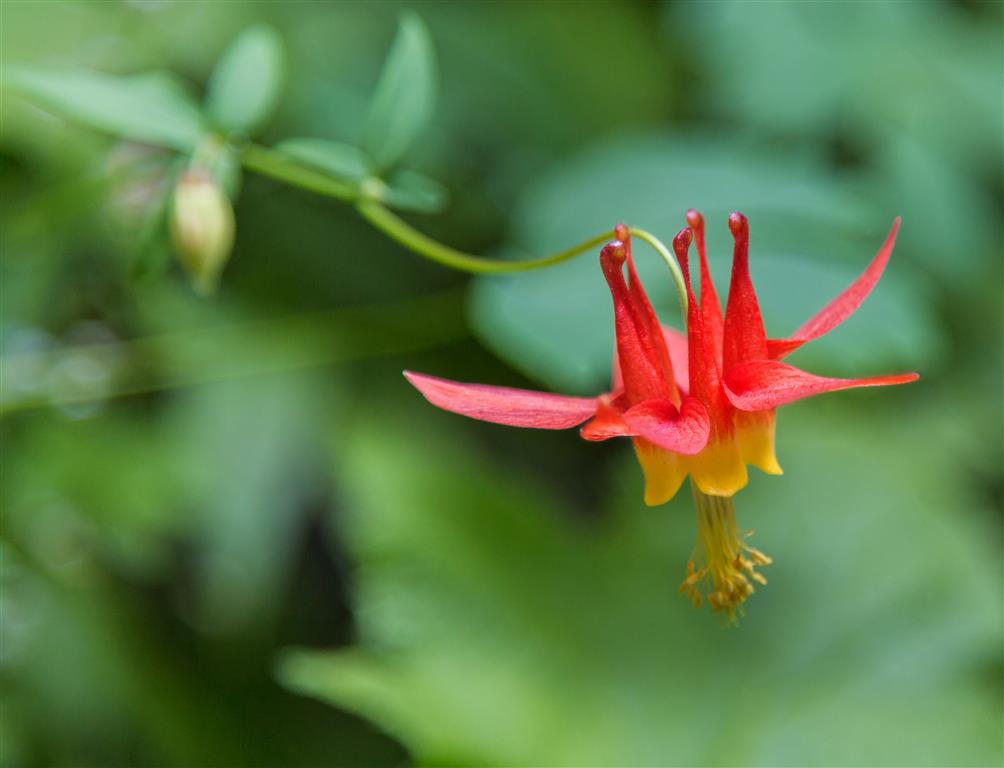
Western columbine:

Western columbine
Western columbine

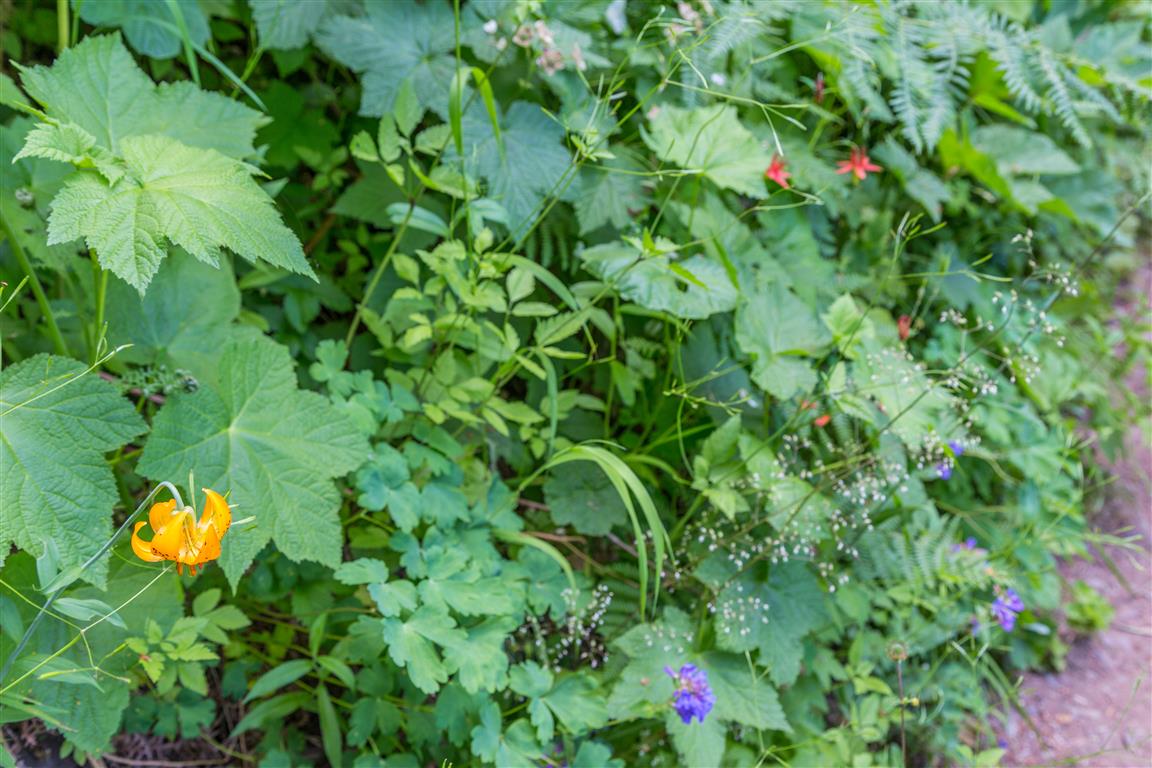
So many wildflowers in bloom:

Wildflowers
Wildflowers

This is the bridge to cross Singing Creek:
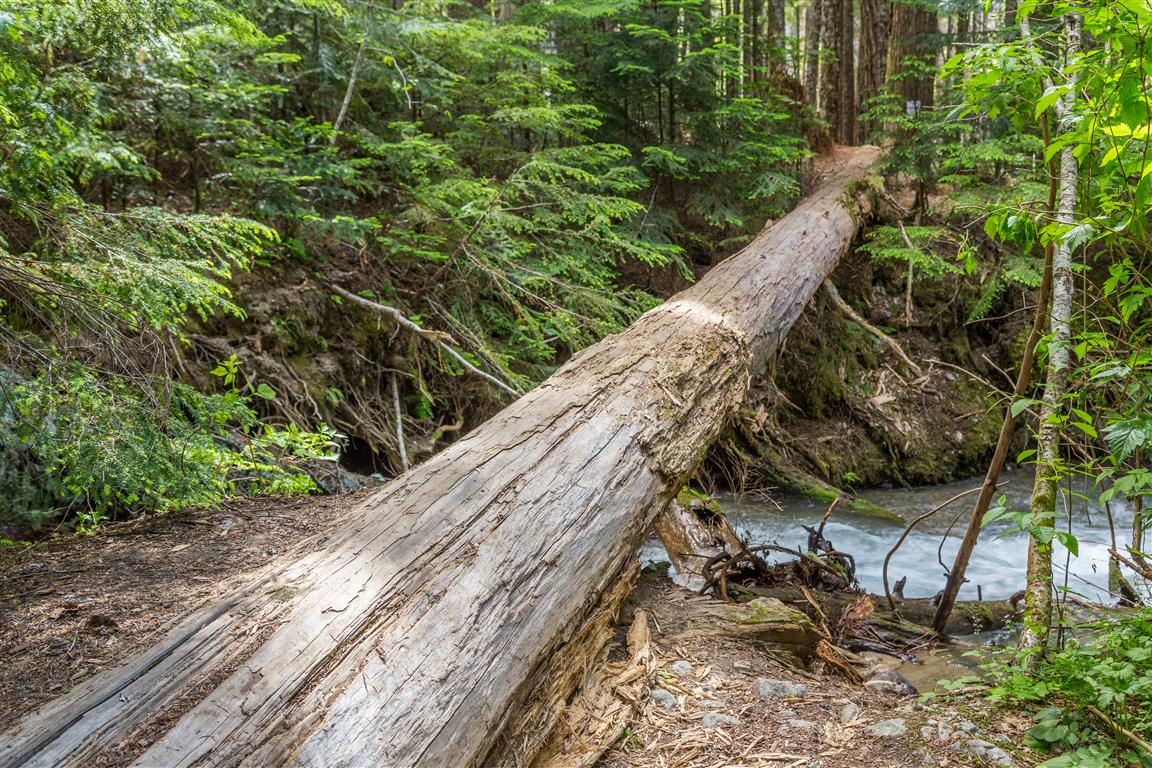
Bridge over Singing Creek
Conditions on this trail can change over time — trailheads move, access rules shift, and businesses close. This post reflects what I found when I did the hike.

Before You Hike

Before heading out on your hike, make sure you are well prepared. This means having the TEN ESSENTIALS. It is also important to leave a trip plan (route details and estimated return time) with someone you trust.

Bring your smartphone, fully charged, and put it in airplane mode while hiking. I always bring backup battery packs for extra peace of mind. It is highly recommended that you bring a GPS device. I use my smartphone with a GPS app (Backcountry Navigator). The GPS will work in airplane mode. Learn how to use it before your hike.

For anyone new to hiking, there is a rule that hikers follow called “Leave No Trace” or LNT. The concept is generally to pack out what you pack in and respect nature, so all future visitors can enjoy what you have enjoyed. To learn more about LNT, please check out this blog by a certified LNT Trainer.
Four Lakes Trail at Alice Lake

This post is for the 4 Lakes Trail at Alice Lake Provincial Park, just north of Squamish. This hike is fairly flat and quite easy. The trail meanders through a forest and around 4 lakes. Although the highlight for me was a stop on the Cheekeye River with an amazing view.

Interesting Facts

  • Alice Lake Provincial Park was established in November 1956. The lake itself is named after Alice Rose, an early settler in the district (around 1888), said to be the first woman to hike and fish in this area
  • Of the park’s four lakes, Edith Lake was named in 1889 after the wife of pioneer Henry Judd, Stump Lake still shows remnants of logging done by the Merrill and Ring Company in the 1920s, and Fawn Lake was named after sightings of young deer — fittingly, since its name in the Squamish language translates to “the place where deer gather”
  • This trail sits within the Coastal Western Hemlock (CWH) biogeoclimatic zone, typical of the Squamish lowlands at this elevation

Trail Stats

  • Distance: 8.4 km (loop)
  • Time: 3 hours (lots of breaks)
  • Low point: 192 m
  • High point: 317 m
  • Elevation gain: 125 m
  • Cumulative elevation gain: 280 m
  • Trailhead: 49° 47′ 1.3″ N, 123° 7′ 17.1″ W (Google Map)

The Route

The actual GPS track from this walk, drawn on the map below. Green marks the start/end point. Use the layer control in the top right to switch to a satellite view.

Photos

Alice Lake
Alice Lake
Cheekeye River
Cheekeye River
Hop Ranch Creek
Hop Ranch Creek
Cheekeye River
Cheekeye River
Mountain view
Mountain view
Tall trees
Tall trees
Trail pic
Trail pic
Trail pic
Trail pic
Trail pic
Trail pic

Here’s a link to all my photos from the hike.

Conditions on this trail can change over time — trailheads move, access rules shift, and businesses close. This post reflects what I found when I did the walk.

Crater Rim Trail

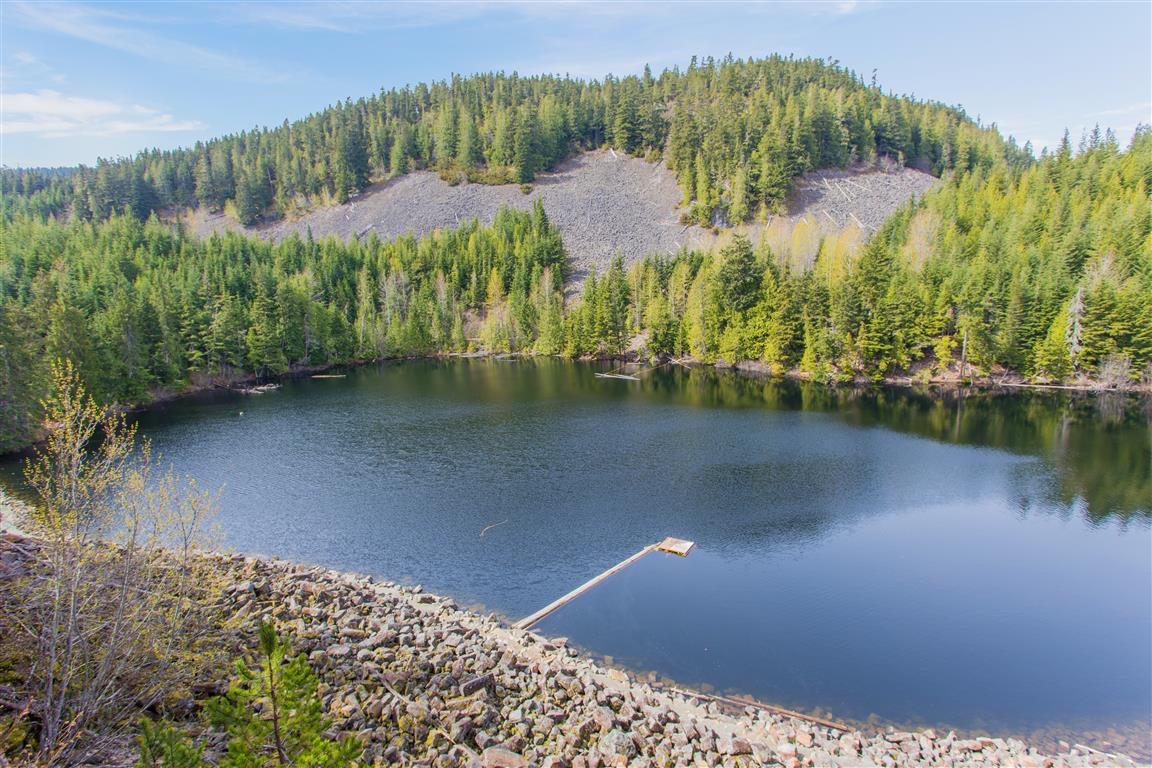
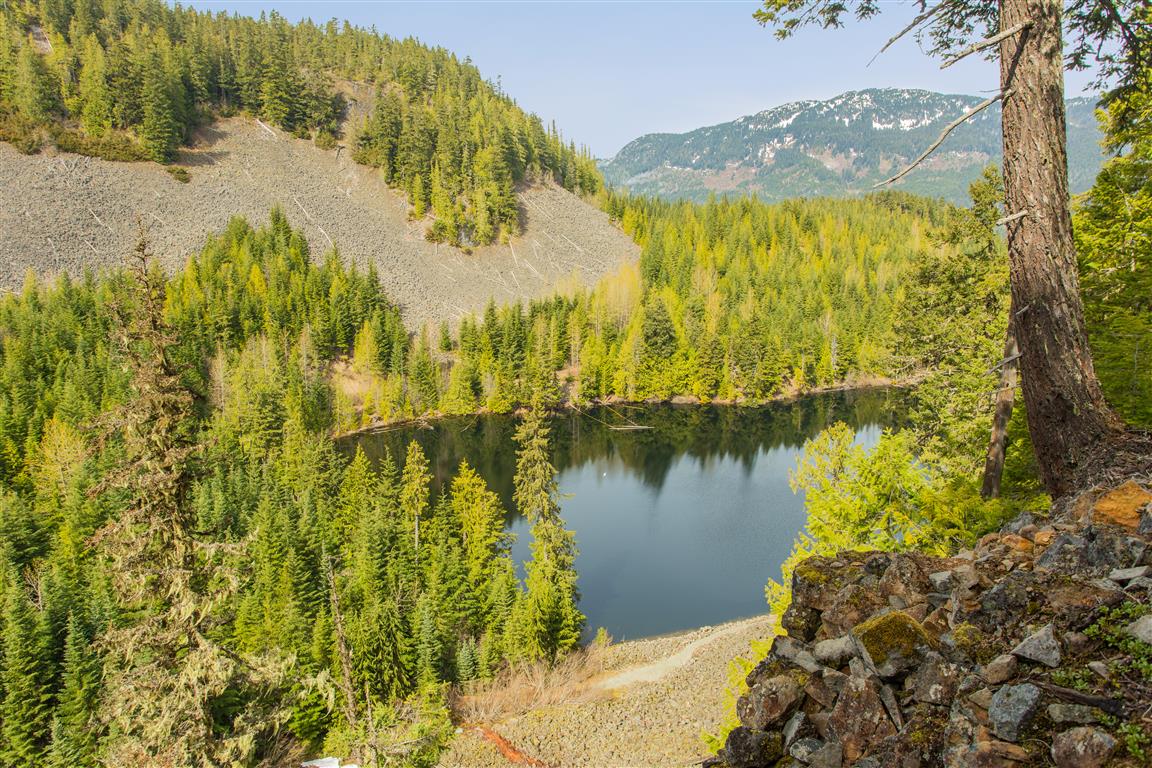
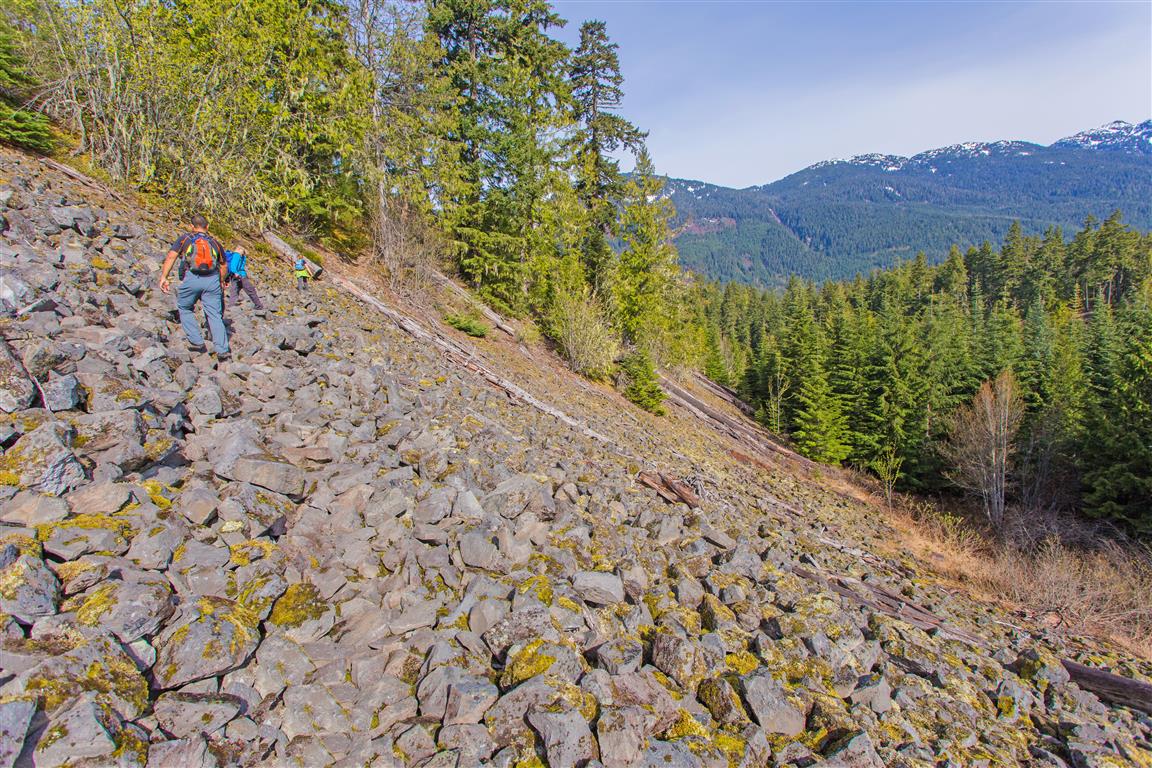
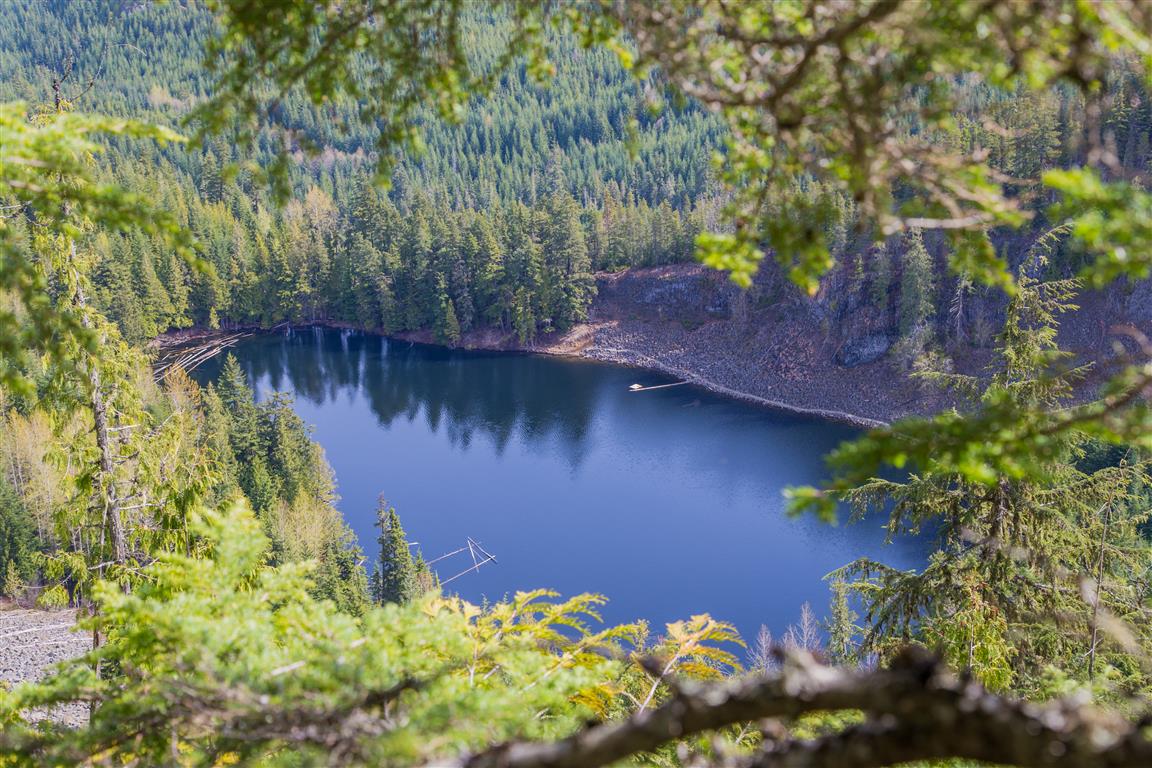
Before heading out to this place, I never knew Whistler had its own crater lake! It’s pretty cool to explore these new trails and learn new stuff! The Crater Rim Trail is in Whistler Interpretive Forest, and the trailhead is on the opposite side of the highway from Function Junction. The lake is named Logger’s Lake. The trail takes you through a boulder field and up to the crater rim and along the ridge. Eventually the trail makes its way down towards the lake. There are a number of viewpoints along the way.

Interesting Facts

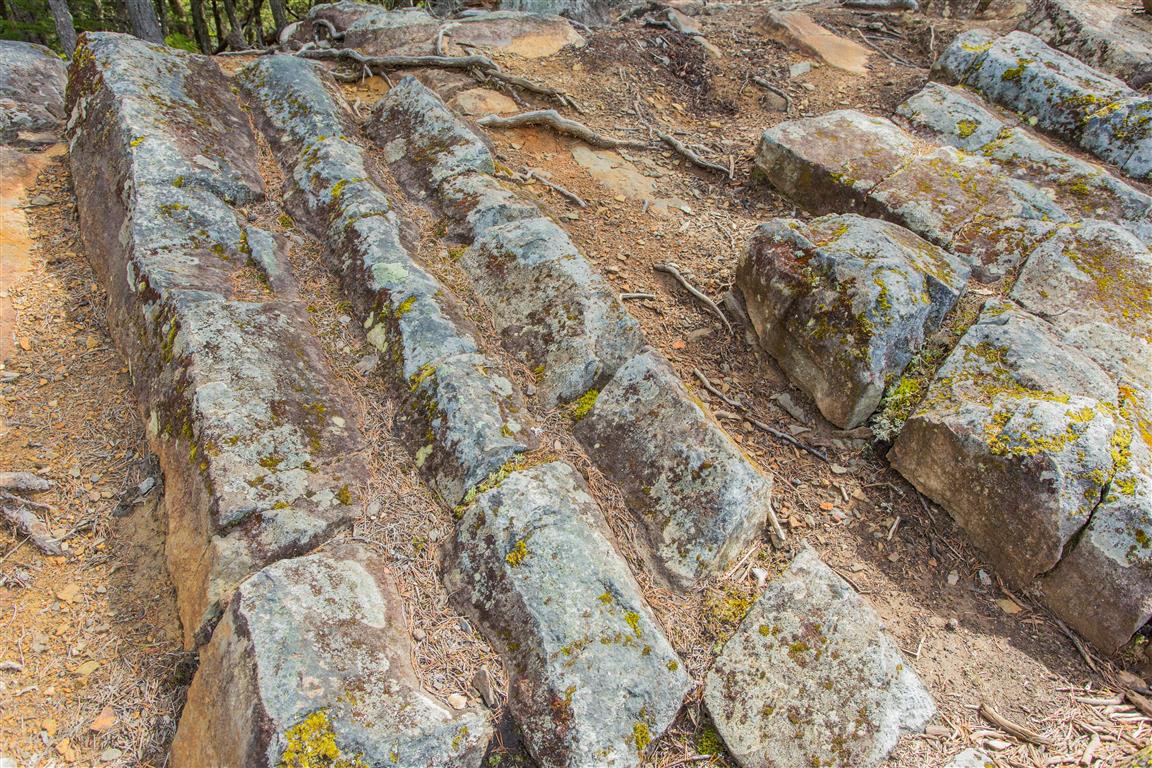
  • Logger’s Lake really does sit inside a volcanic crater. The volcanic cone pushed up through glacial ice around 10,000 years ago, and as the lava cooled, it formed the columns of basalt you can still see in the rock outcroppings on the hillsides above the lake
  • Logger’s Lake is considered one of the best spots in the Whistler area for swimming, often cited as the warmest lake around thanks to its relatively shallow, sheltered setting
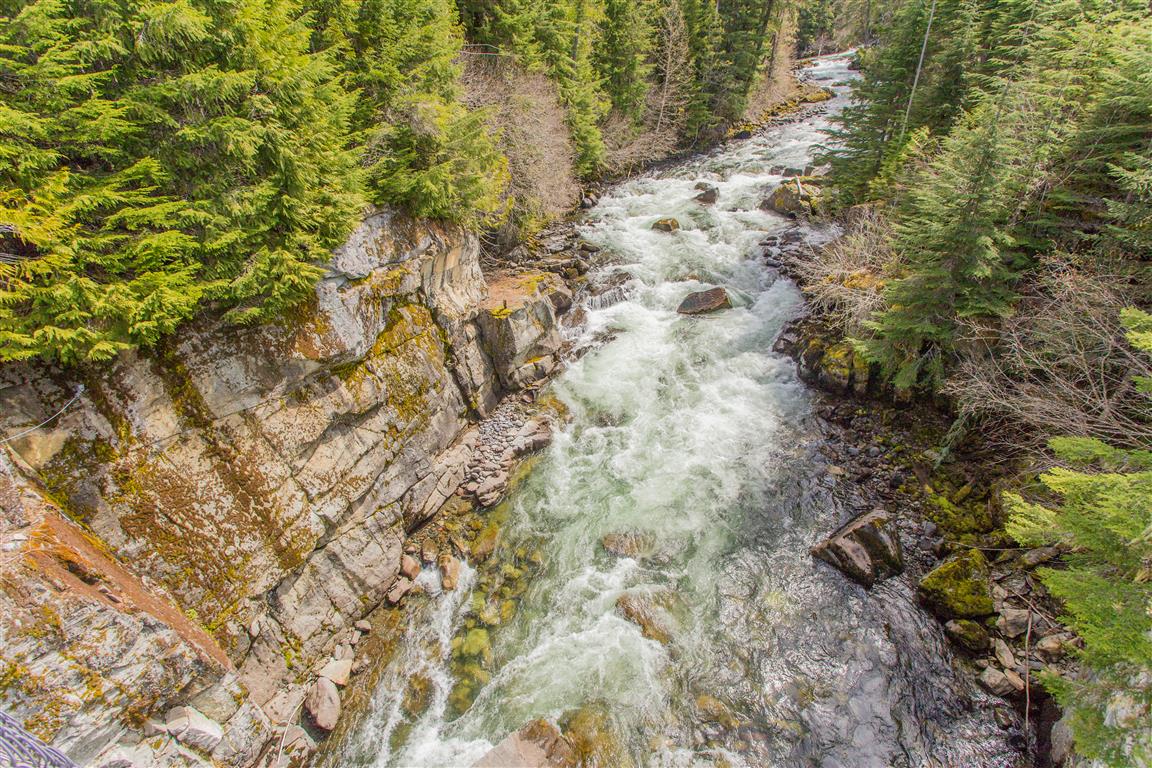
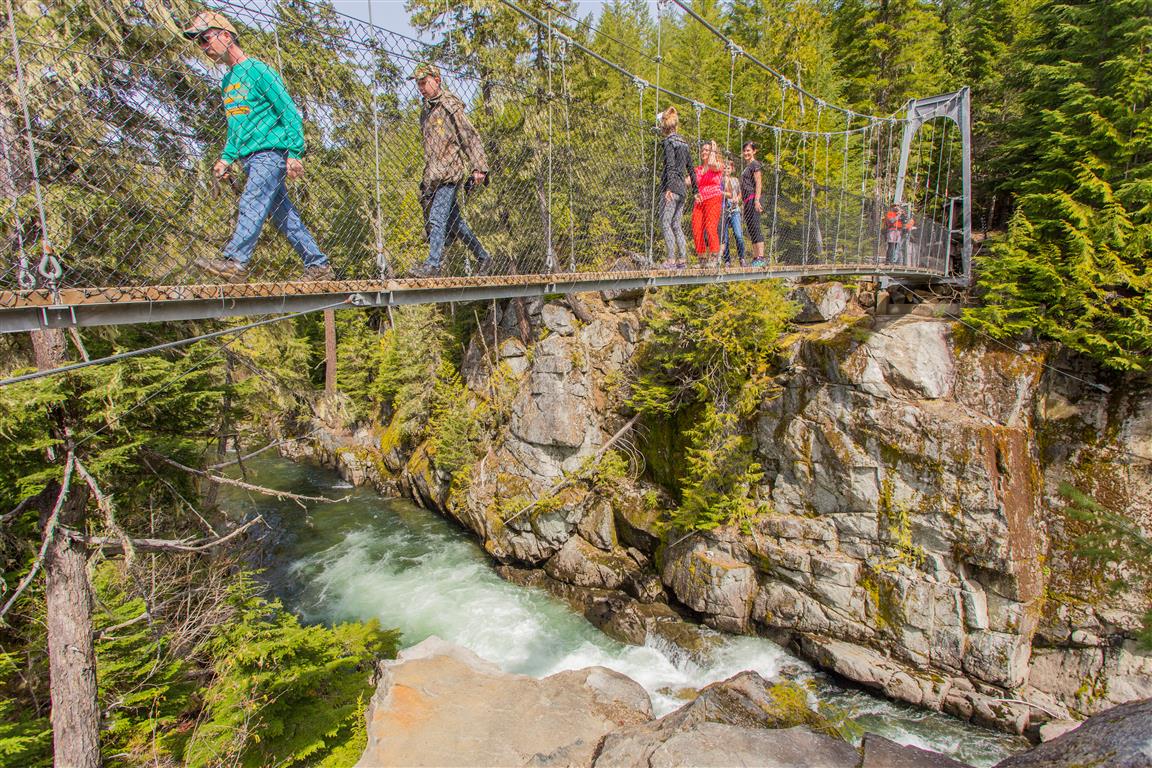
  • The suspension bridge on this route crosses the Cheakamus River, a glacially fed river that eventually flows into the Squamish River on its way to Howe Sound
  • This trail sits within the Coastal Western Hemlock (CWH) biogeoclimatic zone at its lower elevations, transitioning toward the Mountain Hemlock (MH) zone near the higher points along the crater rim

Trail Stats

  • Distance: 11.2 km
  • Time: 4 hours
  • Low point: 611 m
  • High point: 925 m
  • Elevation gain: 314 m
  • Cumulative elevation gain: 438 m
  • Trailhead: 50° 5′ 11.3″ N, 123° 2′ 9.8″ W (Google Map)

The Route

The actual GPS track from this hike, drawn on the map below. Green marks the start/end point. Use the layer control in the top right to switch to a satellite view.

Photos

Logger's Lake
Logger’s Lake
Trail pic
Trail pic
Logger's Lake
Logger’s Lake
Boulder field
Boulder field
View
View
Trail pic
Trail pic
Logger's Lake area trails
Logger’s Lake area trails
Logger's Lake
Logger’s Lake
First view of Logger's Lake
First view of Logger’s Lake
Columnar basalt
Columnar basalt
Cheakamus River
Cheakamus River
Cheakamus River Suspension Bridge
Still some snow around
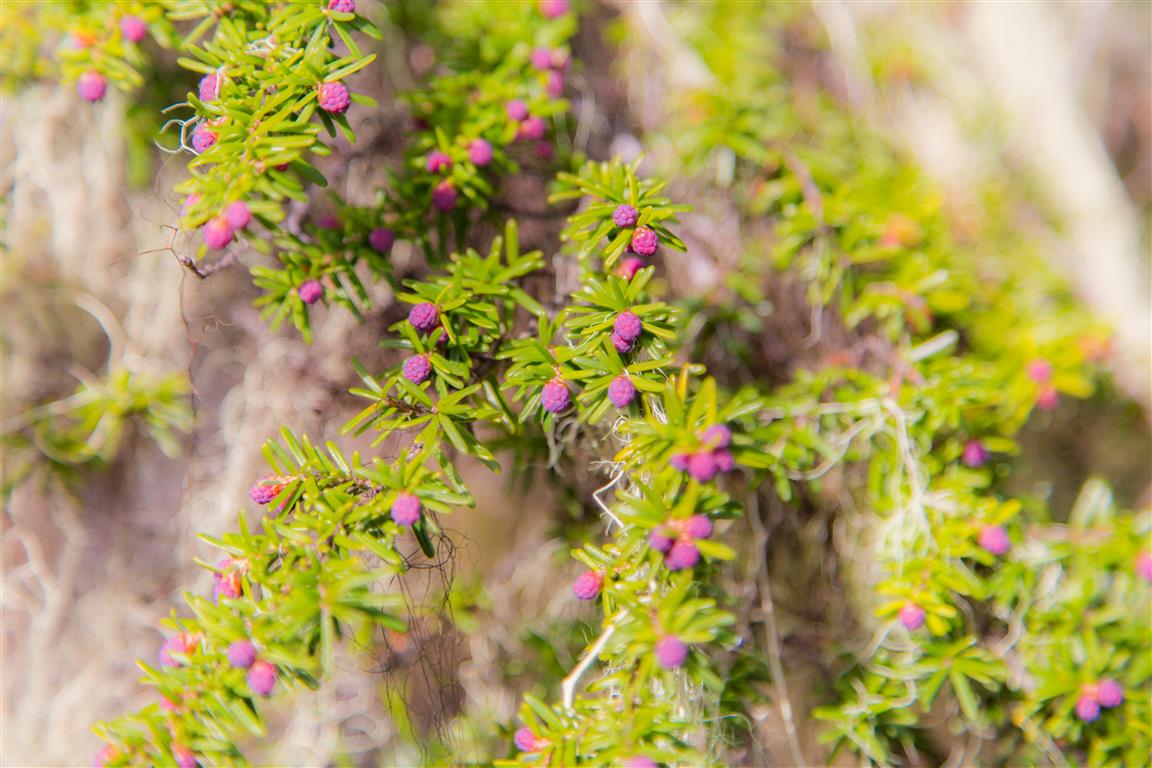
Flowering pine
Flowering pine
Conditions on this trail can change over time — trailheads move, access rules shift, and businesses close. This post reflects what I found when I did the hike.

Before You Hike

Before heading out on your hike, make sure you are well prepared. This means having the TEN ESSENTIALS. It is also important to leave a trip plan (route details and estimated return time) with someone you trust.

Bring your smartphone, fully charged, and put it in airplane mode while hiking. I always bring backup battery packs for extra peace of mind. It is highly recommended that you bring a GPS device. I use my smartphone with a GPS app (Backcountry Navigator). The GPS will work in airplane mode. Learn how to use it before your hike.

For anyone new to hiking, there is a rule that hikers follow called “Leave No Trace” or LNT. The concept is generally to pack out what you pack in and respect nature, so all future visitors can enjoy what you have enjoyed. To learn more about LNT, please check out this blog by a certified LNT Trainer.
Upper Shannon Falls

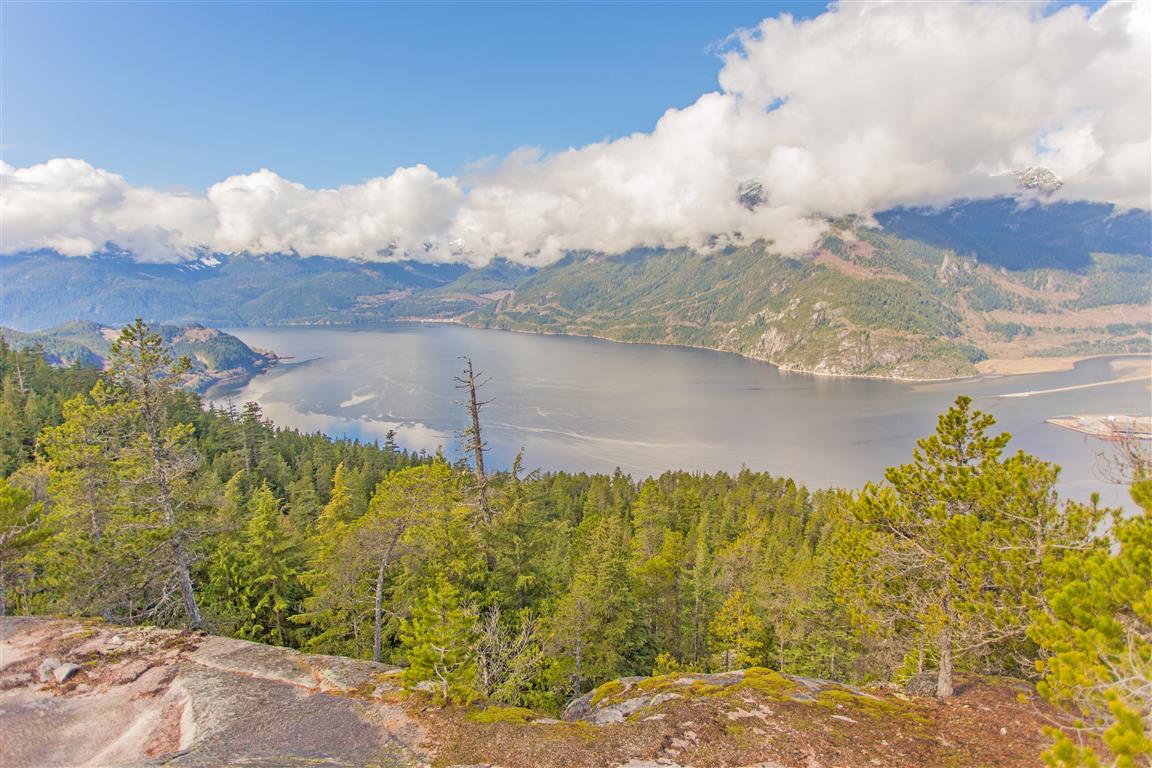
Upper Shannon Falls is a steep but rewarding hike near Squamish that climbs from Shannon Falls Park to the upper falls and a broad rocky bluff with excellent views over Howe Sound, Squamish, the Squamish River Estuary, and the Stawamus Chief. We did this hike in March 2016, starting from the Shannon Falls parking lot.

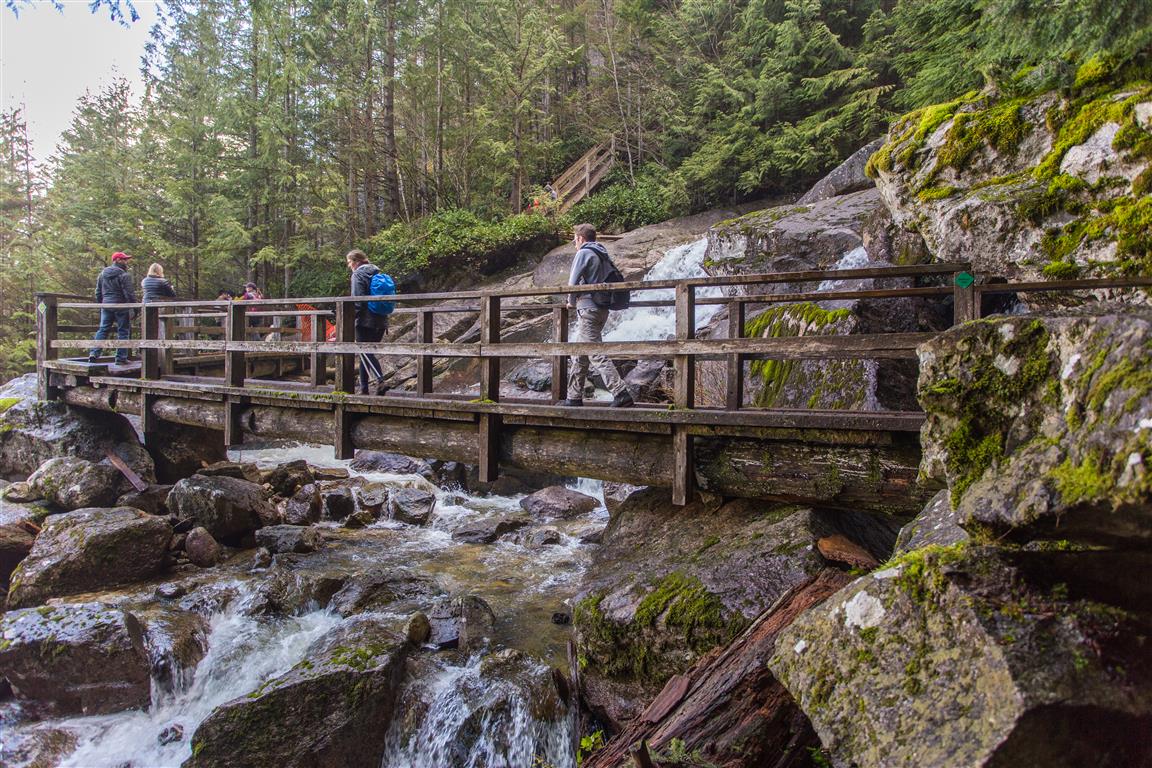
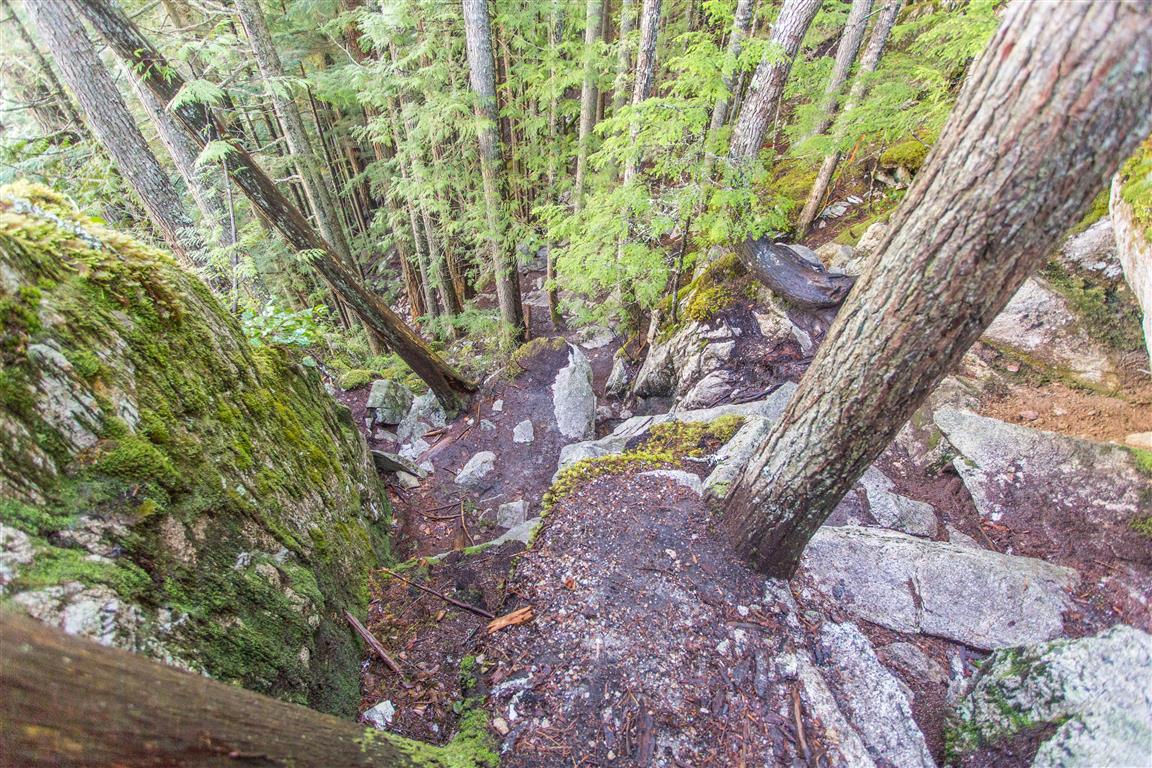
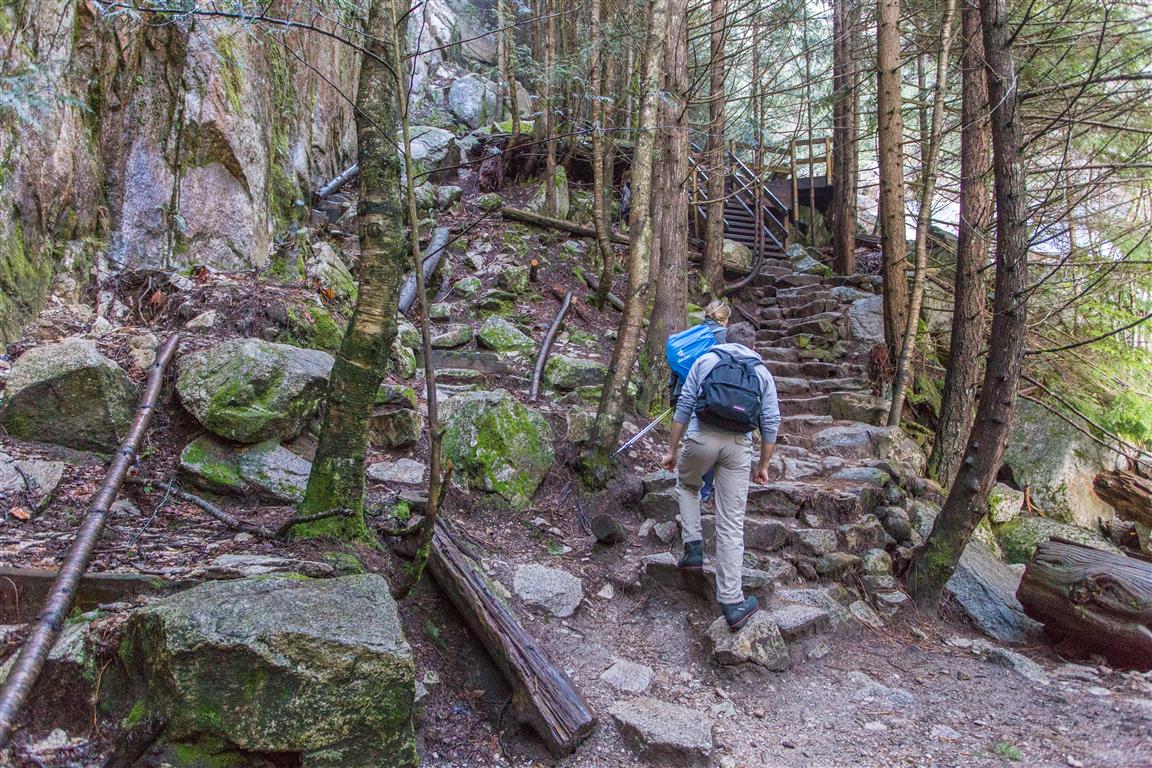
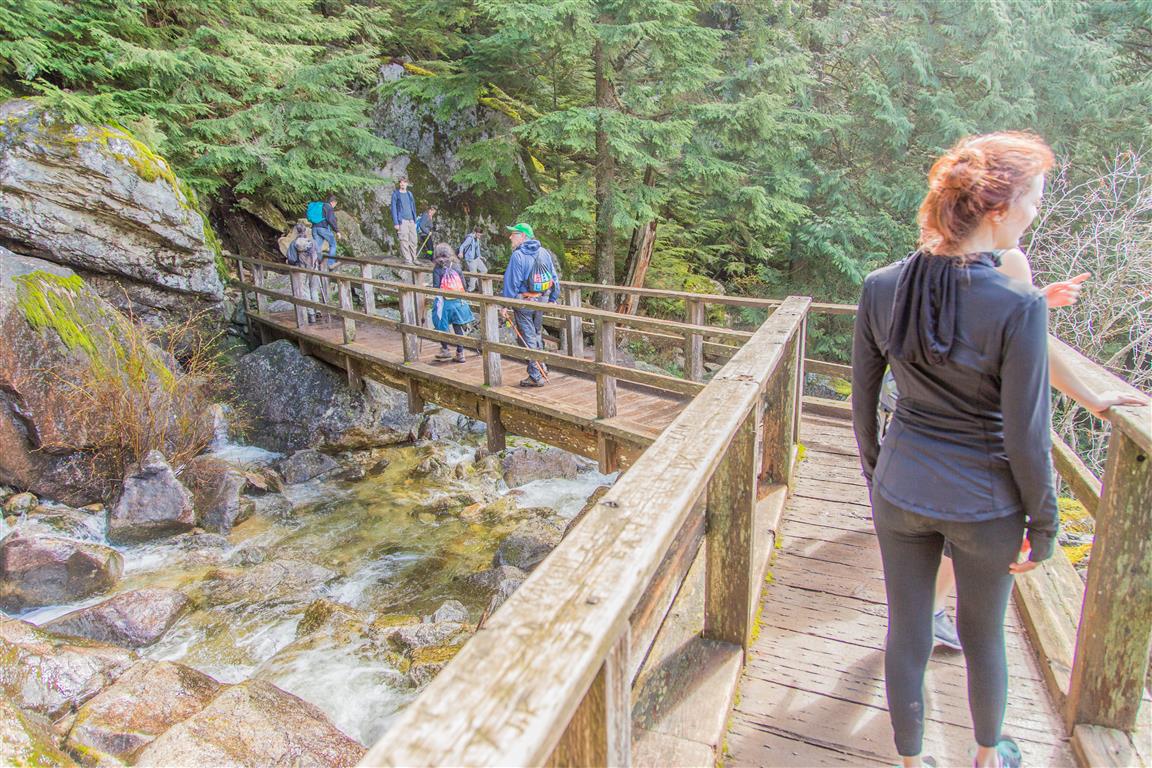
The route initially follows the trail network connecting Shannon Falls with the Stawamus Chief before branching onto the Upper Shannon Falls route. The lower sections pass through coastal forest and cross several bridges, including bridges over Olesen Creek. Higher up, the trail becomes considerably steeper, with rock, cobbled steps, and fixed ropes or chains in a few places.

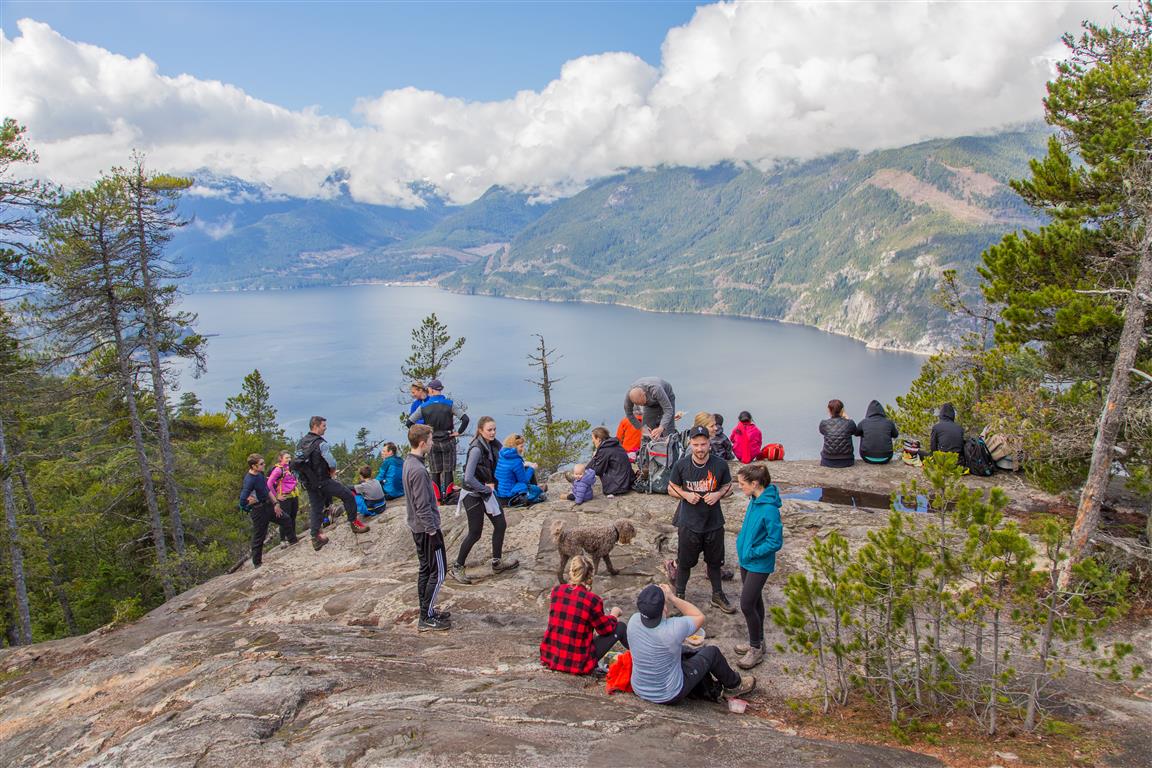
There are several viewpoints along the way, including a close look at the upper portion of Shannon Falls. Near the end of the hike, the trail reaches a large rocky bluff with expansive views. We took plenty of breaks on this hike and spent some time enjoying the viewpoints, so our total time was about 5.5 hours.

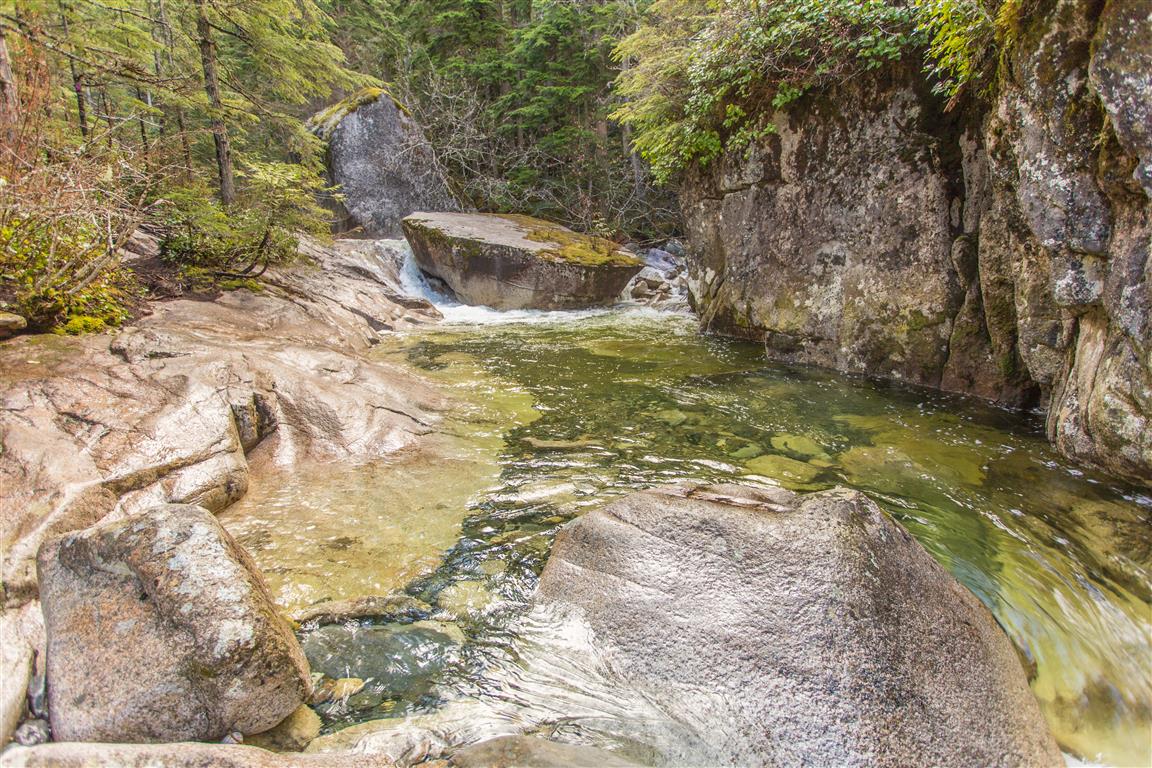
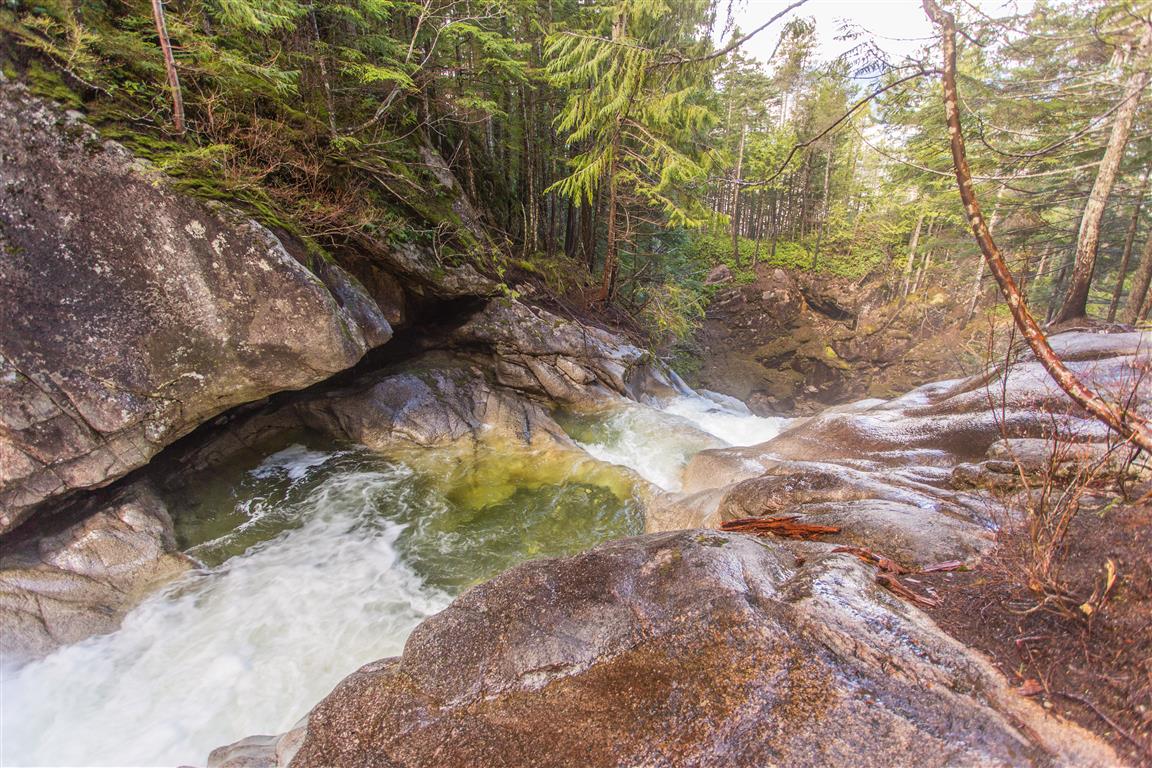
One section of the route passes close to Shannon Creek and some attractive pools near the upper falls. The water may look inviting, particularly during warmer weather, but BC Parks warns visitors not to wade in the creek or climb onto wet rocks. Water levels can change quickly, and the rocks and creek edges can be extremely slippery.

Interesting Facts

  • Shannon Falls is 335 m high, making it the third highest waterfall in British Columbia, behind Della Falls in Strathcona Provincial Park and Hunlen Falls in Tweedsmuir Provincial Park. The water flowing over Shannon Falls originates from the Mount Habrich and Sky Pilot Mountain area.
  • The Squamish name for Shannon Falls is Kwékwetxwm. BC Geographical Names describes the name as referring to the deep rumbling sound of the cascading water. The area has long been important to the Squamish people for resource gathering and has significant cultural and spiritual associations.
  • This hike is within the Coastal Western Hemlock (CWH) biogeoclimatic zone. The Stawamus Chief area is within the dry maritime portion of the CWH zone. Typical trees include western hemlock, Douglas-fir, and western red cedar. The route remains below about 500 m elevation, well below the higher-elevation Mountain Hemlock zone.
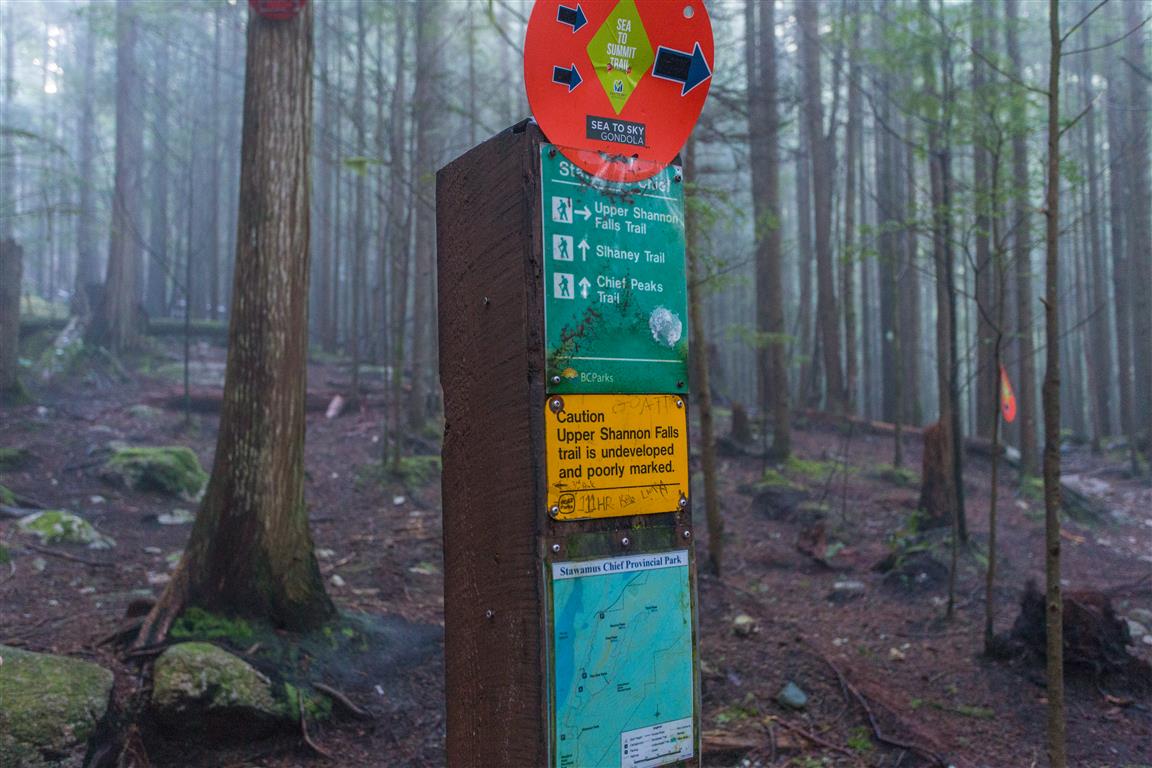
  • The Upper Shannon Falls route is now incorporated into the Sea to Summit Trail. Hikers can continue beyond the Upper Shannon Falls area and climb all the way to the Sea to Sky Gondola summit.
  • The history of Shannon Falls Park has an unusual connection to beer. Carling O’Keefe Brewery purchased the property in 1976 and used the mountain water for brewing. The company donated the land to BC Parks in 1982.

Trail Stats

  • Distance: 7.4 km (return)
  • Time: 5.5 hours (lots of breaks)
  • Low point: 3 m
  • High point: 485 m
  • Elevation gain: 482 m
  • Cumulative elevation gain: 820 m
  • Trailhead: 49° 40′ 18.6″ N, 123° 09′ 35.2″ W (Google Map)

The Route

The actual GPS track from this hike is drawn on the map below. The GPX file records the ascent to the Upper Shannon Falls viewpoint; the return follows the same route. Green marks the trailhead, and red marks the turnaround point. Use the layer control in the top right to switch to a satellite view.

Photos

View from the Upper Shannon Falls viewpoint
View from the top
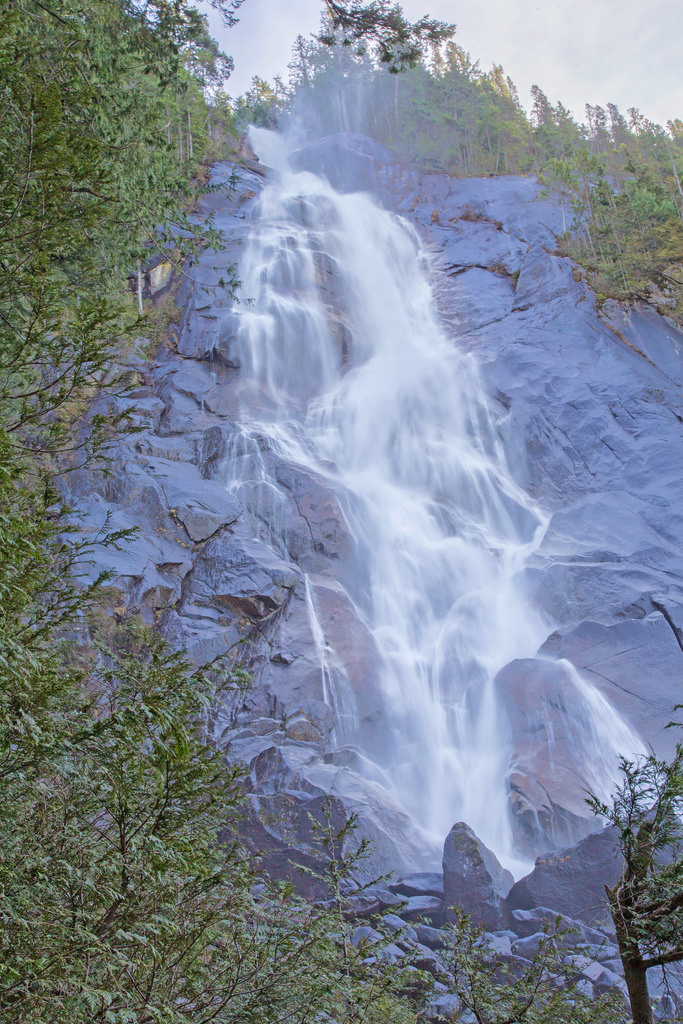
Shannon Falls
Shannon Falls from below
Bridge over Olesen Creek
Squamish River Estuary
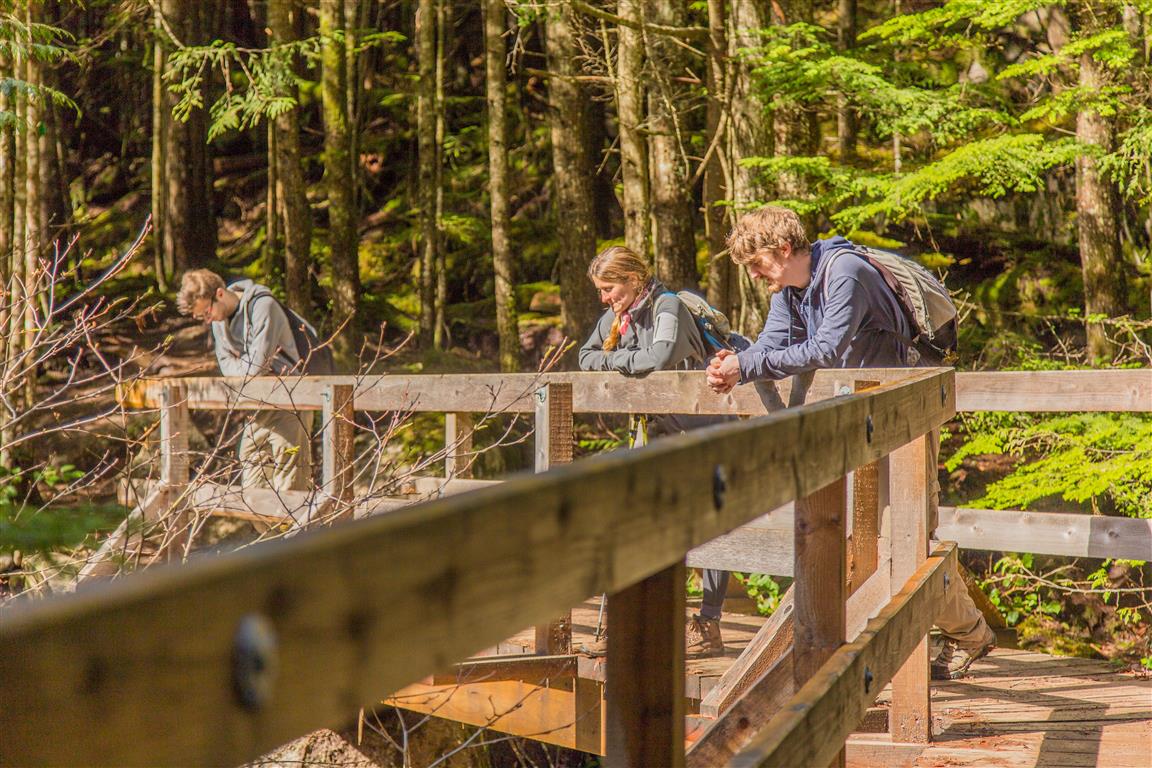
Bridge on the Upper Shannon Falls trail
Another bridge along the trail
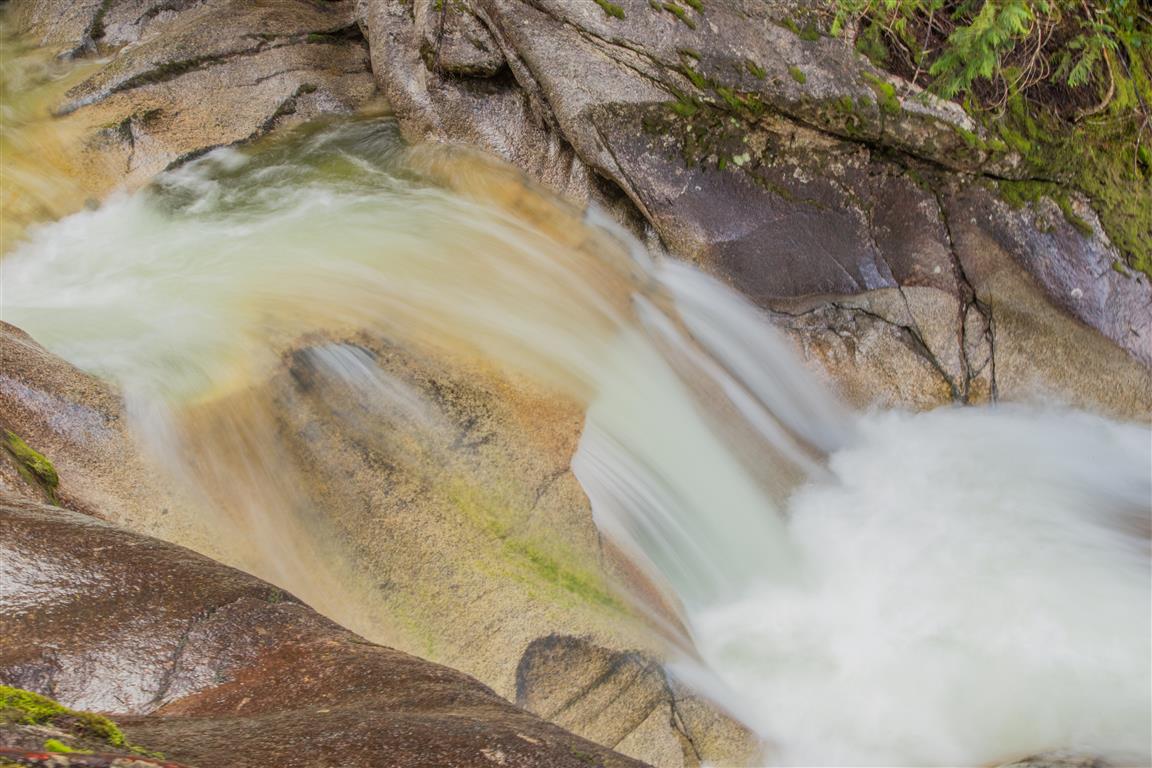
Cascading water
Cascading water
Trail junction
Trail junction
Hikers at the Upper Shannon Falls viewpoint
The large rocky bluff at the top
Olesen Creek
Olesen Creek
Olesen Creek
Olesen Creek
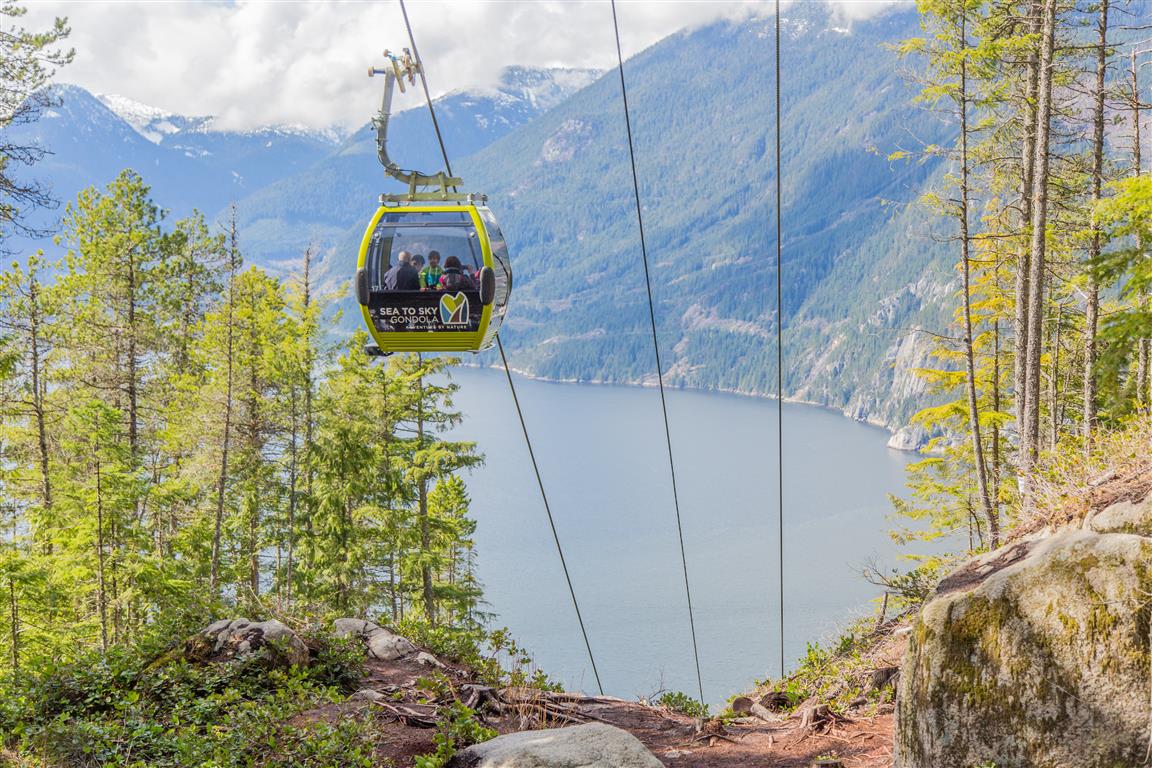
Sea to Sky Gondola
Sea to Sky Gondola
Pool along Shannon Creek
Bridge on the trail
Another bridge
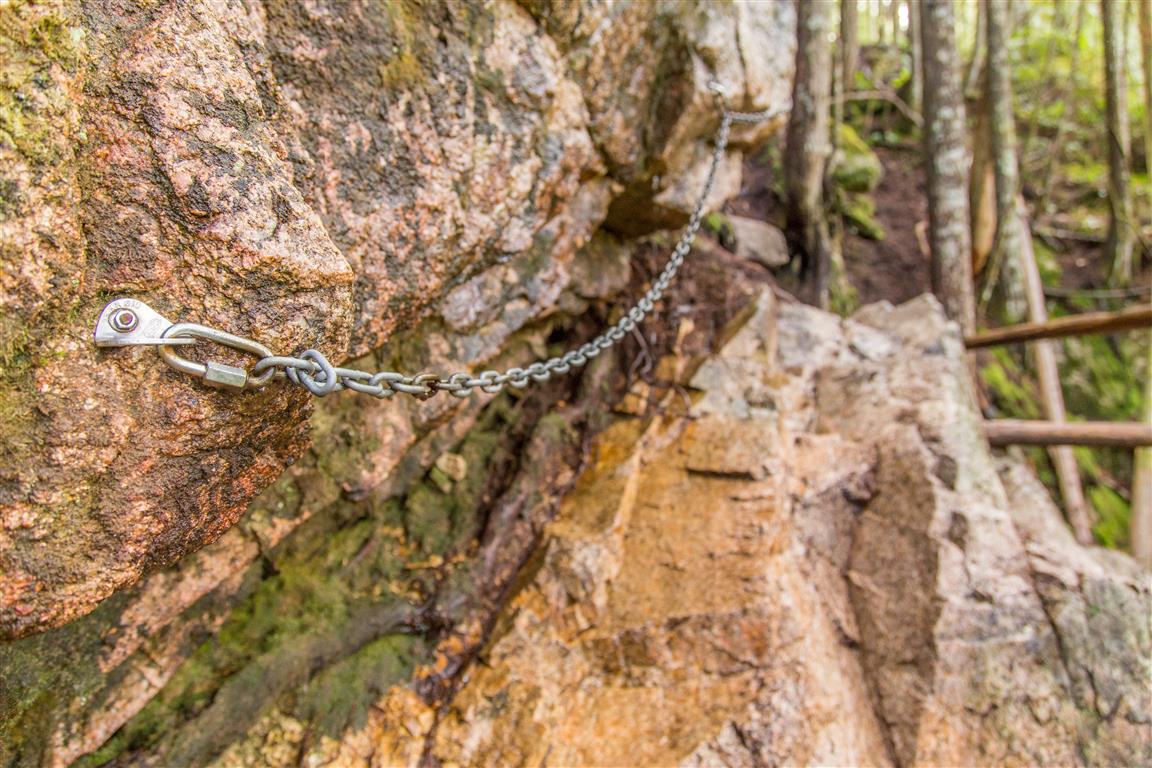
Fixed rope on the Upper Shannon Falls trail
Fixed rope for assistance
Steep section of the trail
Steep section
Stawamus Chief overlooking Squamish
The Stawamus Chief overlooking Squamish
Upper Shannon Falls trail
Trail through the forest
Upper Shannon Falls
Upper Shannon Falls

You can also view my full Flickr photo album from this hike.

Conditions on this trail can change over time. Trailheads move, access rules shift, and facilities and trail conditions change. This post reflects what I found when I did the hike.

Before You Hike

Before heading out on your hike, make sure you are well prepared. This means having the TEN ESSENTIALS. It is also important to leave a trip plan (route details and estimated return time) with someone you trust.

Bring your smartphone, fully charged, and put it in airplane mode while hiking. I always bring backup battery packs for extra peace of mind. It is highly recommended that you bring a GPS device. I use my smartphone with a GPS app (Backcountry Navigator). The GPS will work in airplane mode. Learn how to use it before your hike.

For anyone new to hiking, there is a rule that hikers follow called “Leave No Trace” or LNT. The concept is generally to pack out what you pack in and respect nature, so all future visitors can enjoy what you have enjoyed. To learn more about LNT, please check out this blog by a certified LNT Trainer.