Category Archives: Non-Buntzen Lake Hikes

Teapot Hill Trail

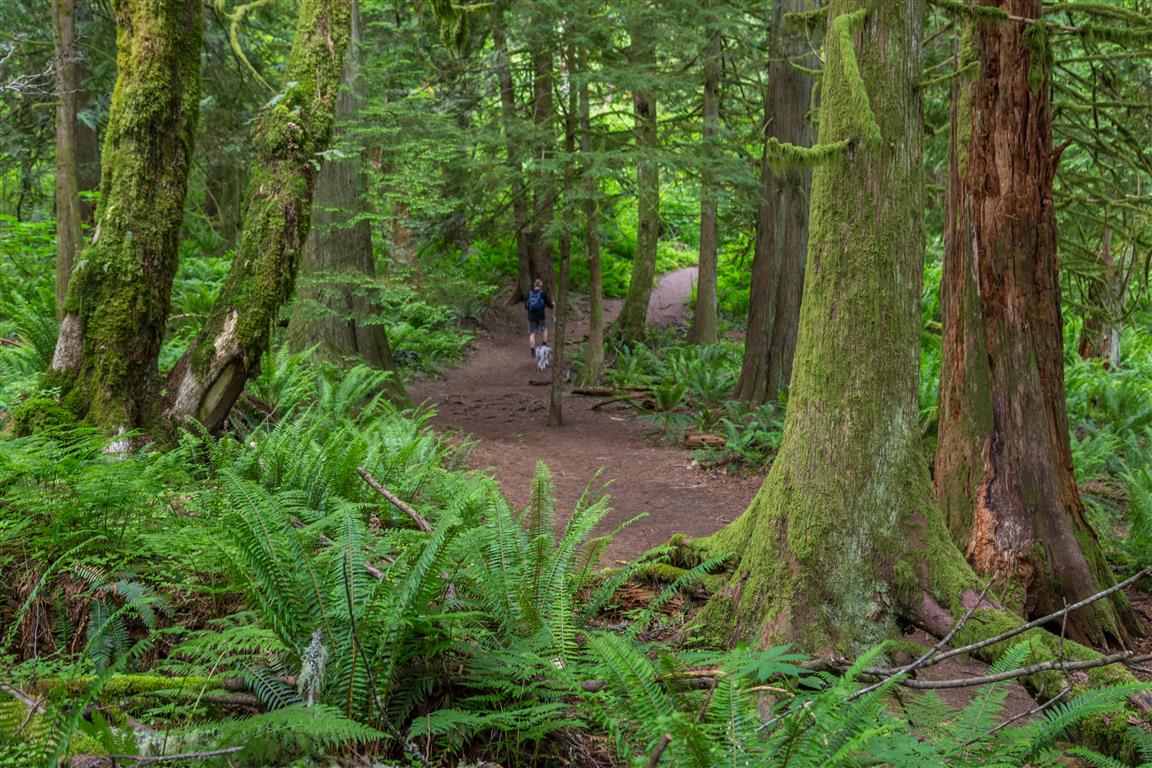
Teapot Hill is a short forest hike in Cultus Lake Provincial Park in south Chilliwack. The trail is best known for the teapots and teacups hidden along the route, along with a few partially open viewpoints toward Cultus Lake, the Columbia Valley, and the surrounding hills.

The trail starts near the south shore of Cultus Lake, where there is a small parking area for Teapot Hill hikers. On the morning we went, there were only a couple of other cars at 7:45 a.m., although the area can become much busier later in the day and during the summer.

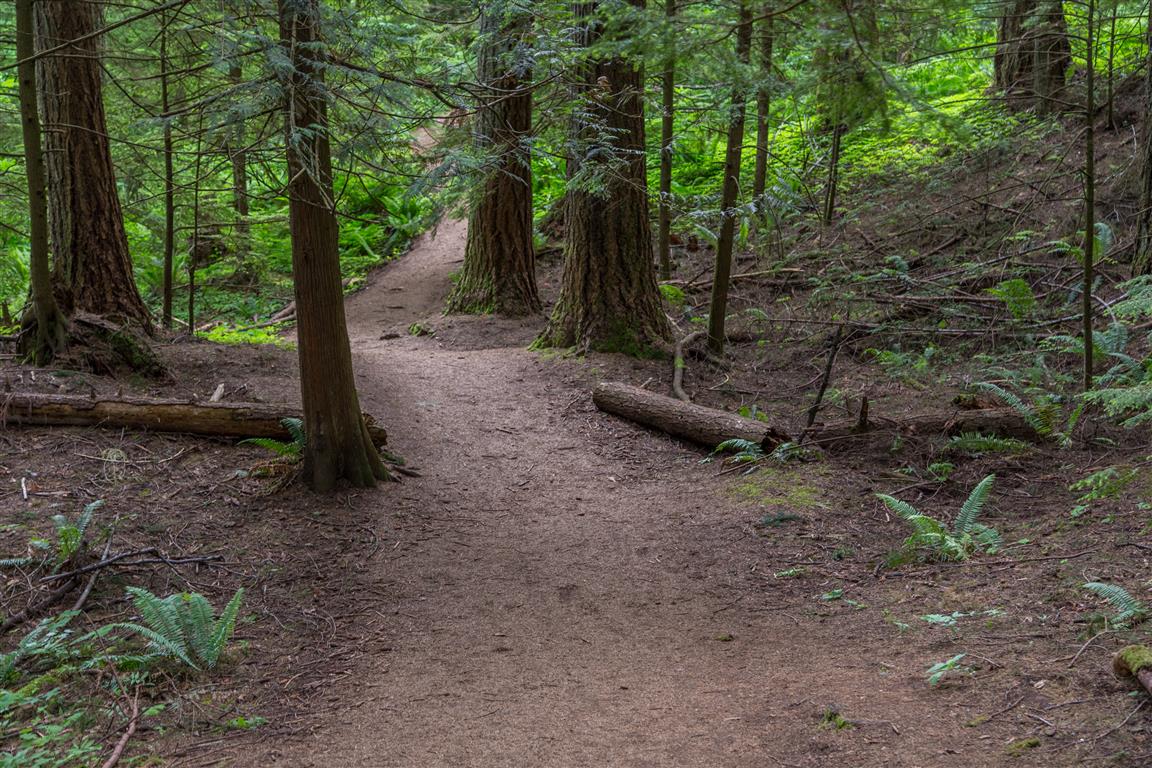
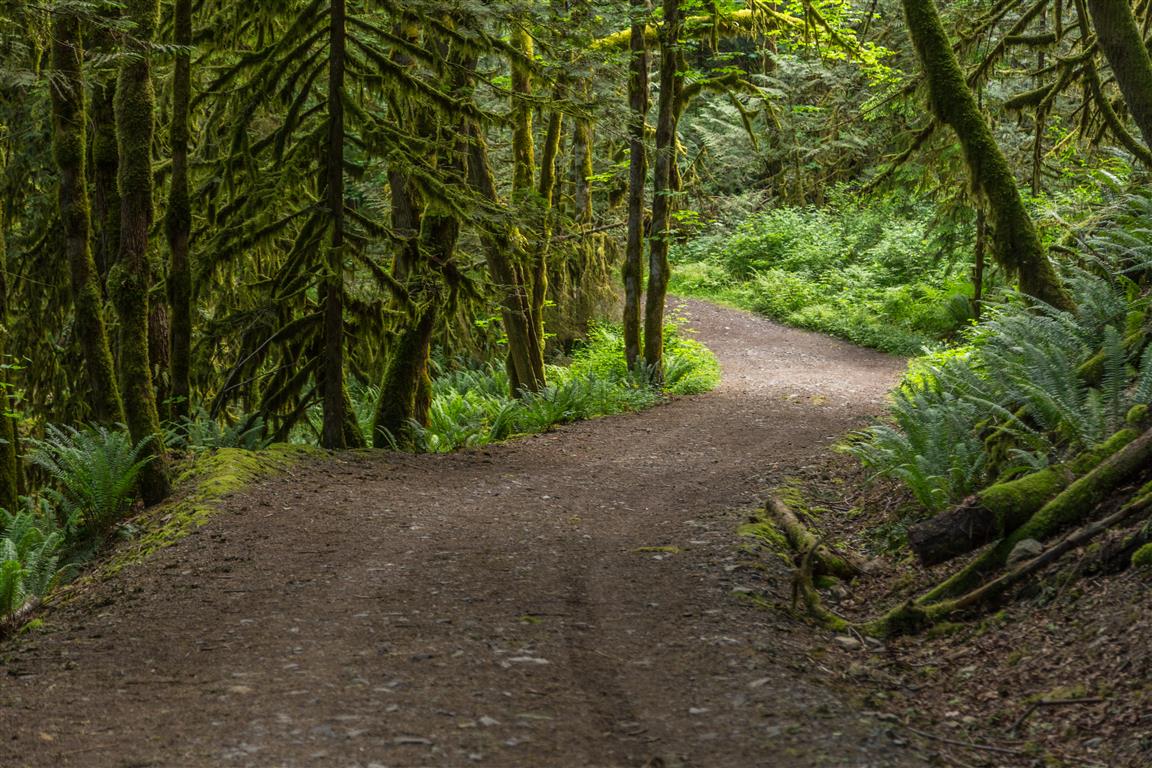
The hike begins on a wide trail before gradually becoming narrower and more like a traditional hiking trail. Along the way, you will see teapots and teacups tucked into the trees and bushes, as well as a stream beside part of the lower trail. The route climbs steadily toward the high point, where there are a couple of viewpoints with partially obstructed views of Cultus Lake, the Columbia Valley, and the hills to the west.

Interesting Facts

  • The hill got its name back in the 1940s, when a logger working the area found a teapot on the hill.
  • In more recent decades, hikers began leaving their own teapots and teacups along the trail as a tradition, which is how the hill ended up covered in them.
  • The area is also home to sensitive native plants, including a rare trillium orchid, as well as western columbine and tiger lily. Because hikers wandering off-trail to place or search for teapots can trample this habitat, BC Parks has asked people not to leave new teapots on the trail and periodically clears out broken ones. You will still spot plenty left over from before the request, but it is best to leave your own teapot at home.

Trail Stats

  • Distance: approximately 5.3 km return
  • Typical time: about 2 hours, although hiking time will vary
  • Recorded GPS time: approximately 1 hour 46 minutes
  • Low point: approximately 50 m
  • High point: approximately 307 m
  • Elevation gain: approximately 260 m
  • Trailhead and parking: 49° 2′ 33.4″ N, 121° 59′ 2.2″ W (Google Map — opens Google Maps and navigation)

The Route

The interactive map below shows the actual GPS track from my hike, recorded on 4 June 2017. The route measured approximately 5.3 km return. Green marks the start/end point. Use the layer control in the upper-right corner to switch between the regular map and satellite imagery.

Photos
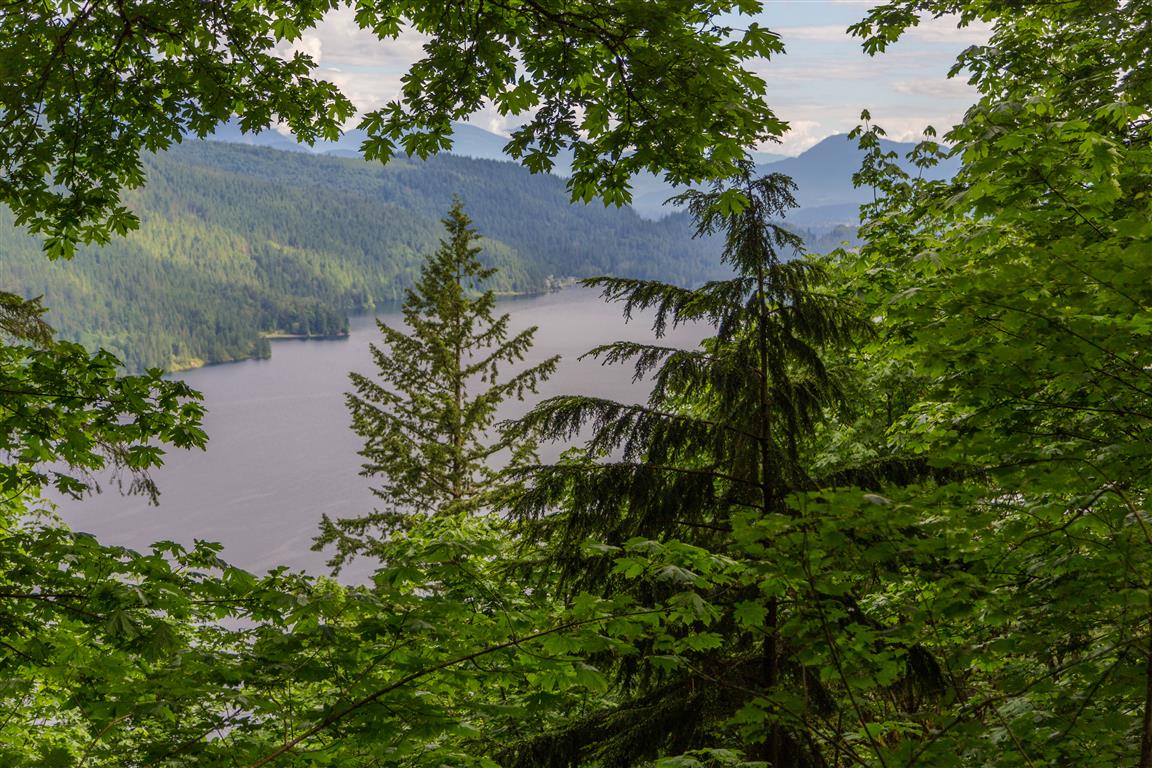
Cultus Lake
Cultus Lake
View of the Columbia Valley and hills to the west
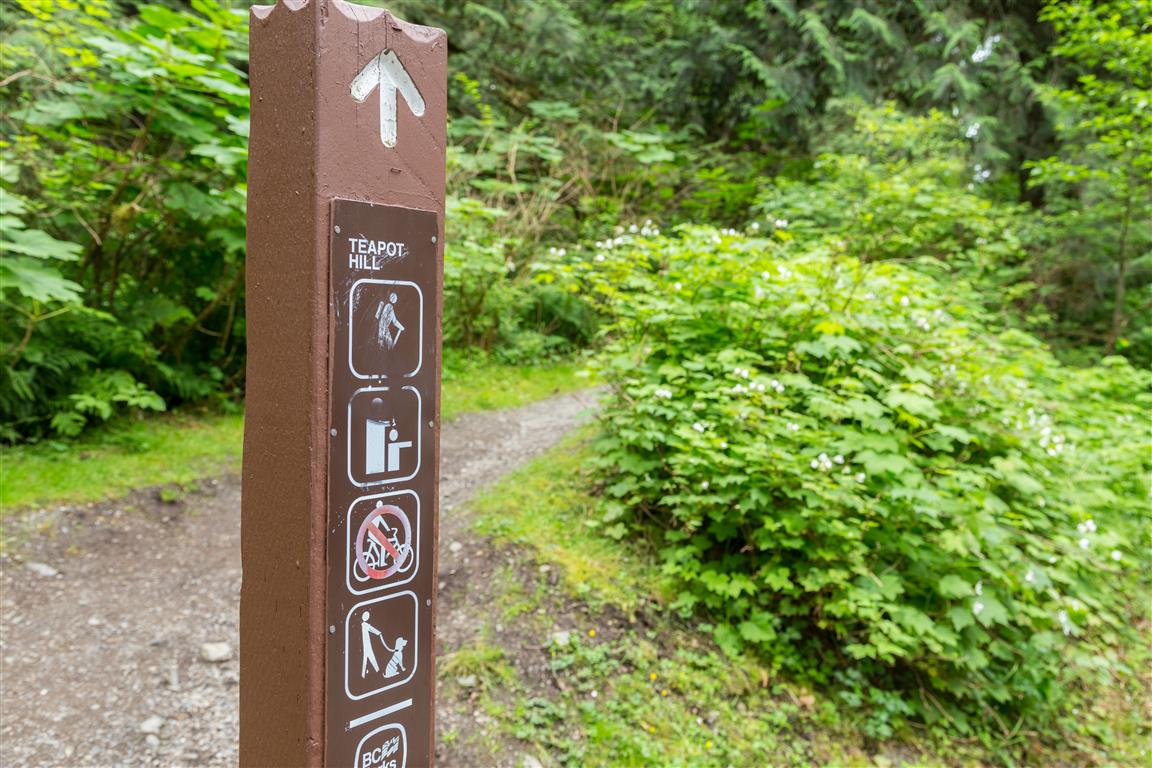
Sign at Teapot Hill trailhead
Sign at the trailhead
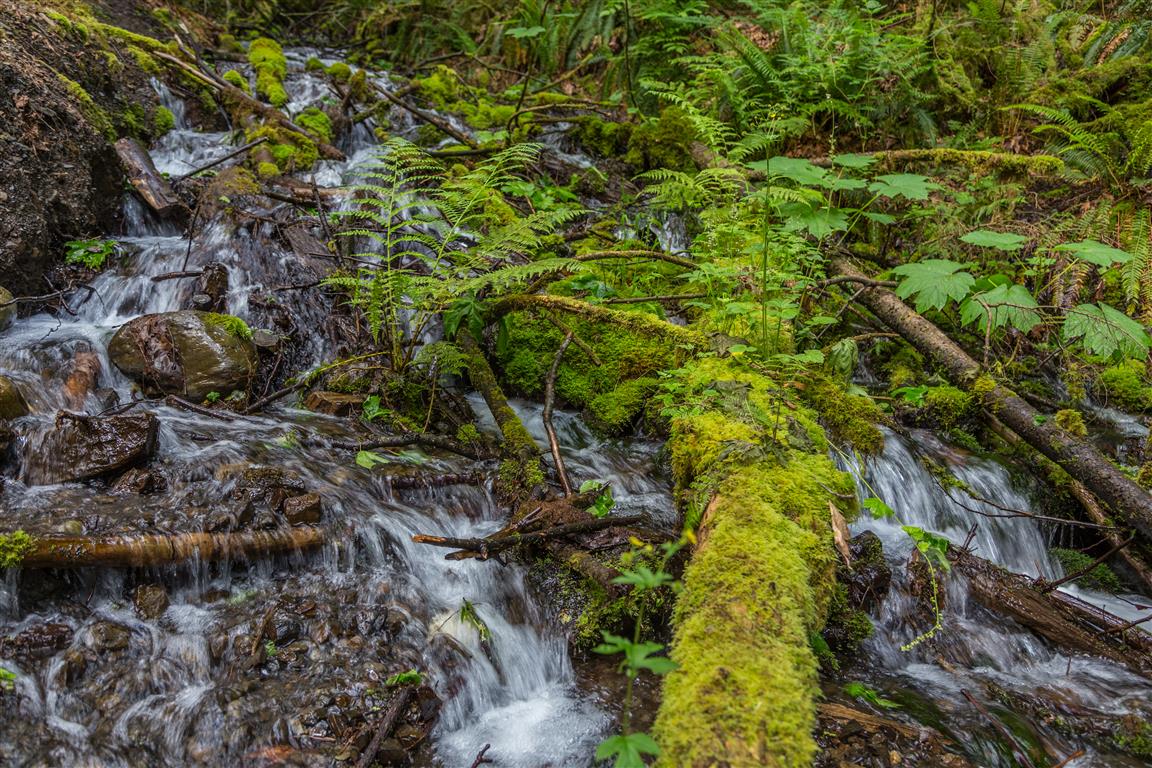
Stream beside the Teapot Hill Trail
Stream beside the trail
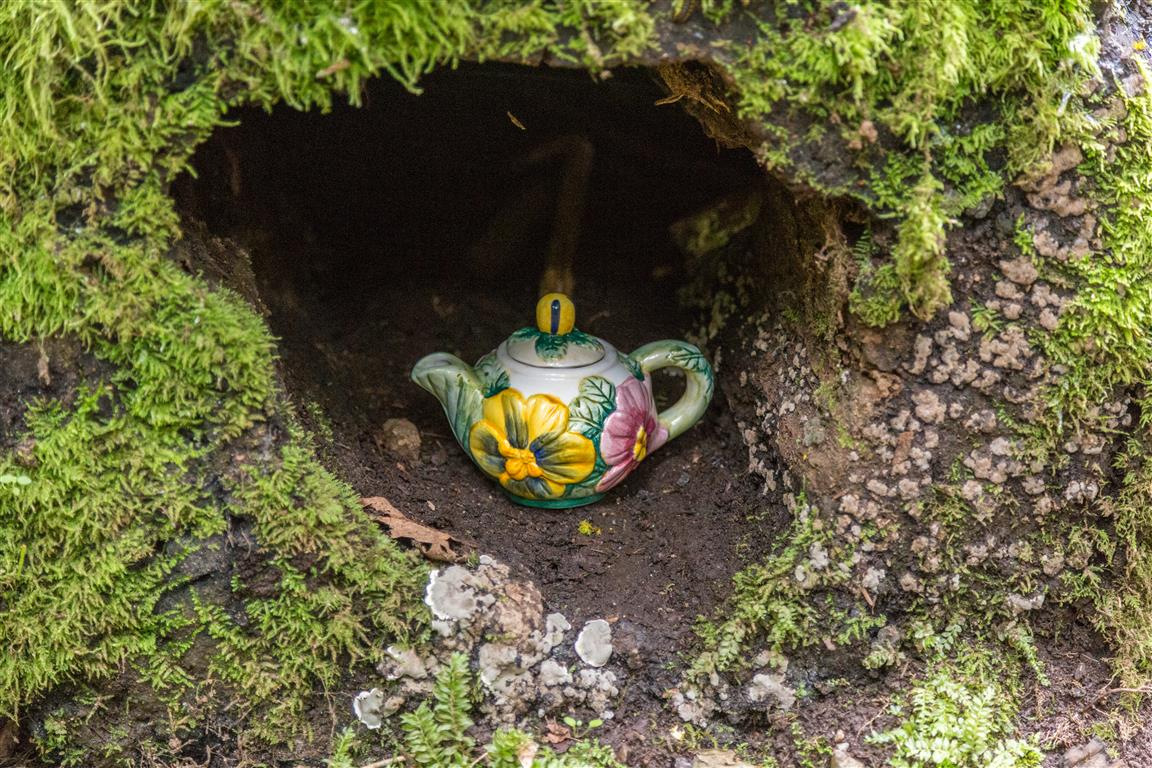
A hidden teapot on Teapot Hill
A hidden teapot
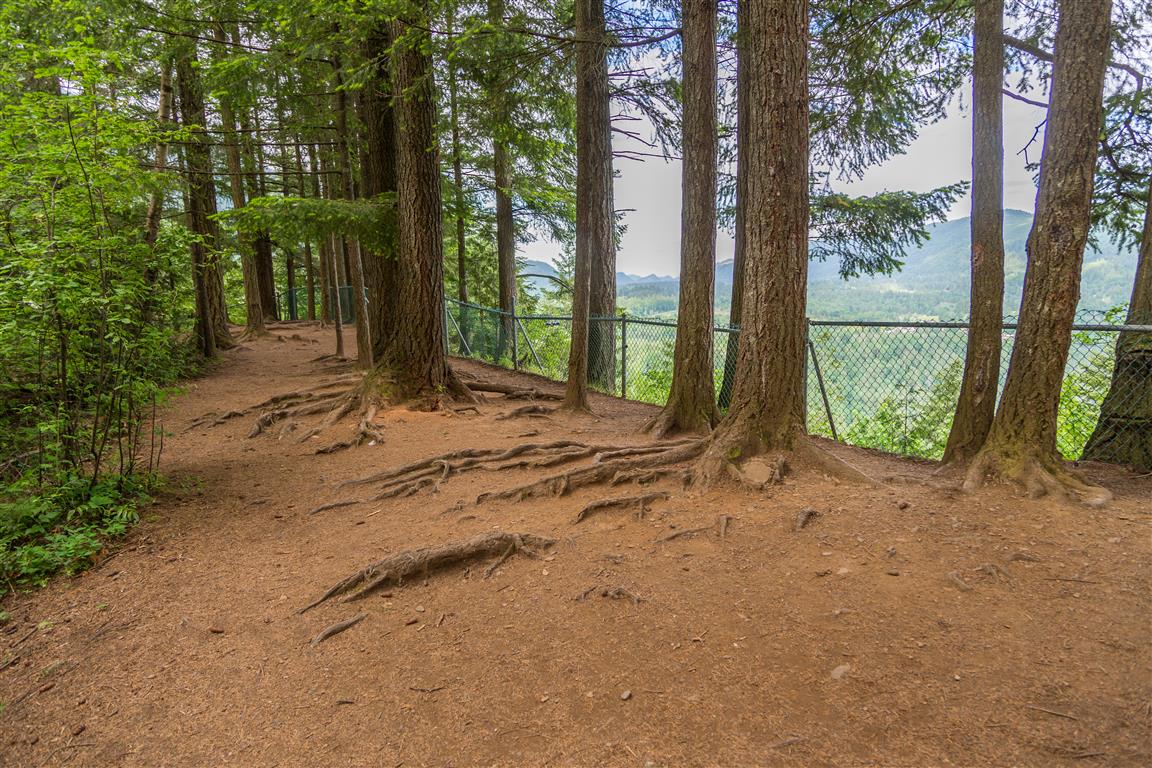
Viewpoint near the top of Teapot Hill
Viewpoint area near the top
Teapot Hill Trail
Teapot Hill Trail
Forested section of Teapot Hill Trail
A forested section of the trail
Trail through the forest on Teapot Hill
Trail through the forest
Conditions on this trail can change over time. Trailheads, parking, access rules, and trail conditions may differ from when I completed the hike, so check current information before heading out.

A Quick Note on the Teapots

The teapots are a fun part of the trail’s history, but the surrounding forest contains sensitive plants and habitat. Enjoy the teapots that are already there rather than bringing another one to add, and stay on the established trail where possible.

Hope Lookout Trail

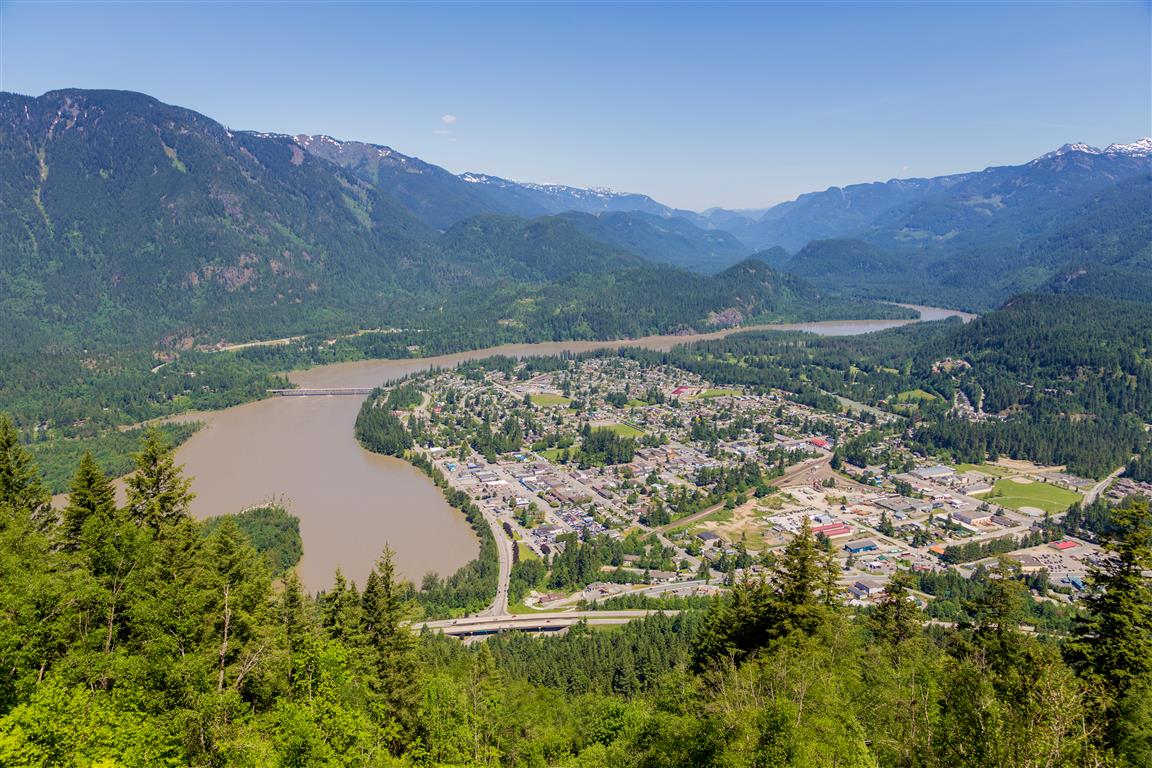
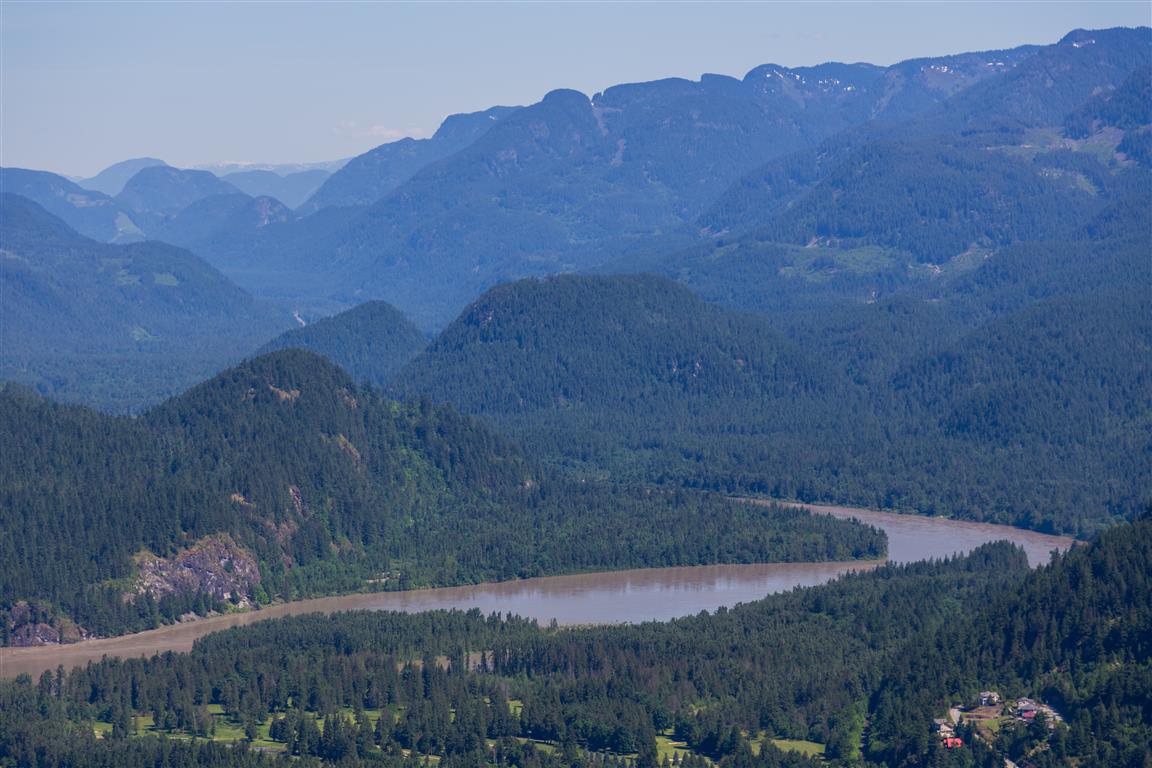
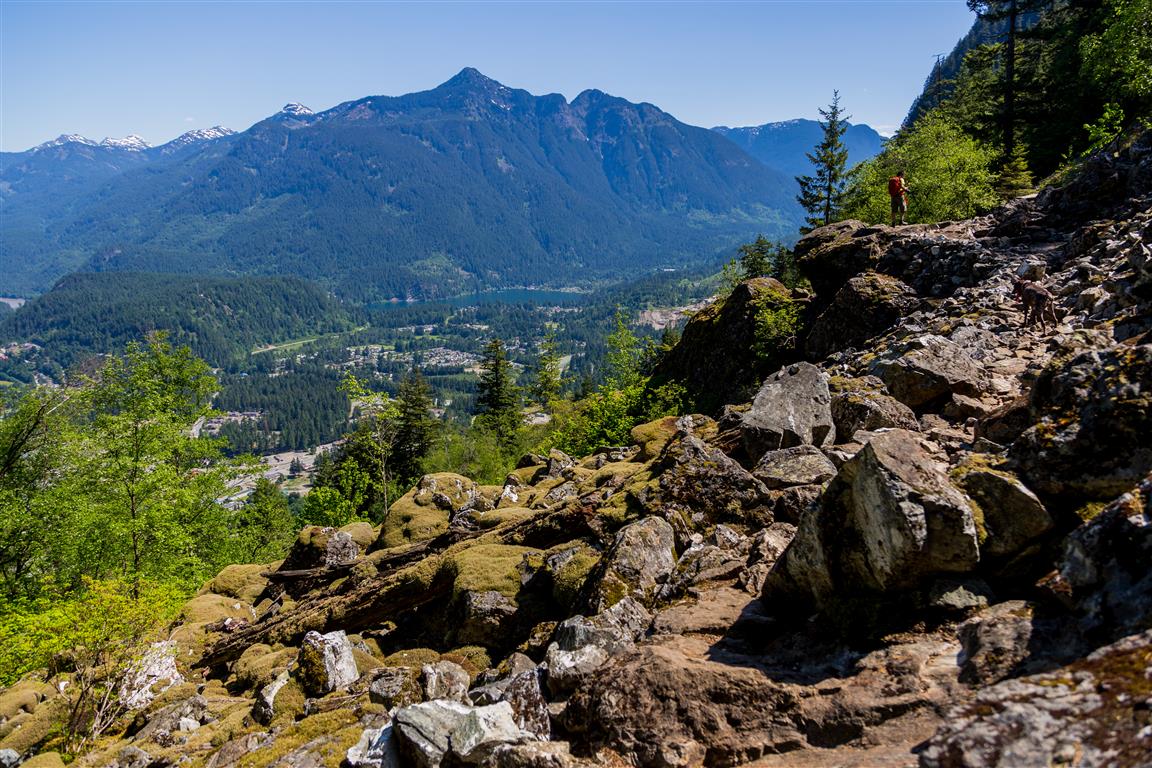
The Hope Lookout Trail is also known as the Hope Grind. It is a good workout trail with an amazing view of Hope and the Fraser River. The trail is well maintained and easy to follow. For a diversion, we took the Joan Greenwood loop on the way down, which only adds a small distance to the hike. Overall, I would say the hike is okay — it’s more of a workout than a pleasant stroll in the forest. The view at the end was spectacular!

Interesting Facts

  • The trail was built in the 1990s, and is often called “Hope’s version of the Grouse Grind”
  • Each year on Brigade Days weekend, the Hope BC Running Club hosts a race up the trail called the Hope Hustle
  • From the lookout, you can see all of Hope, the Fraser River, Kawkawa Lake, and about a dozen mountain peaks
  • The trail is maintained each year by the Hope Mountain Centre for Outdoor Learning, a local non-profit, with funding support from the District of Hope

Trail Stats

These stats include taking the Joan Greenwood loop at the end.

  • Distance: 4.9 km
  • Time: 3 hours
  • Low point: 62 m
  • High point: 537 m
  • Elevation gain: 475 m
  • Cumulative elevation gain: 637 m
  • Trailhead: 49° 22′ 21″ N, 121° 26′ 30.4″ W (Google Maps and navigation)

The Route

The actual GPS track from this hike, drawn on the map below. Green marks the start/end point.

Photos

View
View
Bend in the Fraser River
Viewpoint
Viewpoint
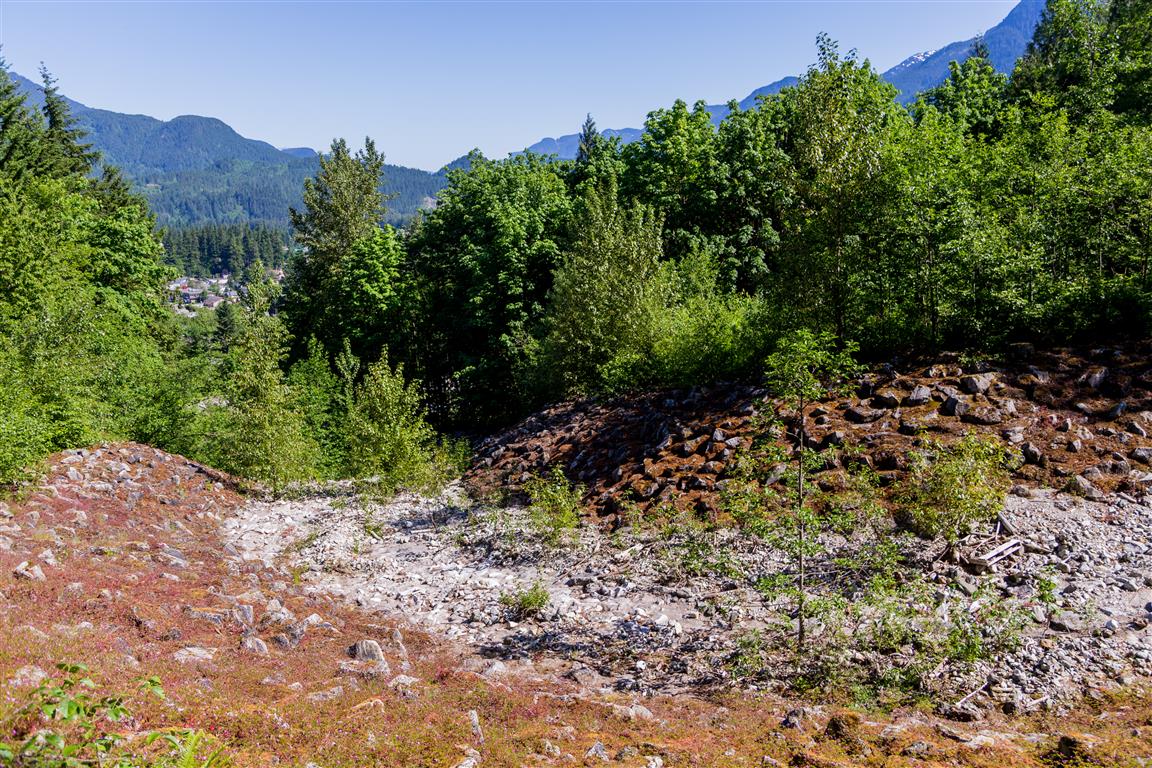
Dry ravine
Dry ravine
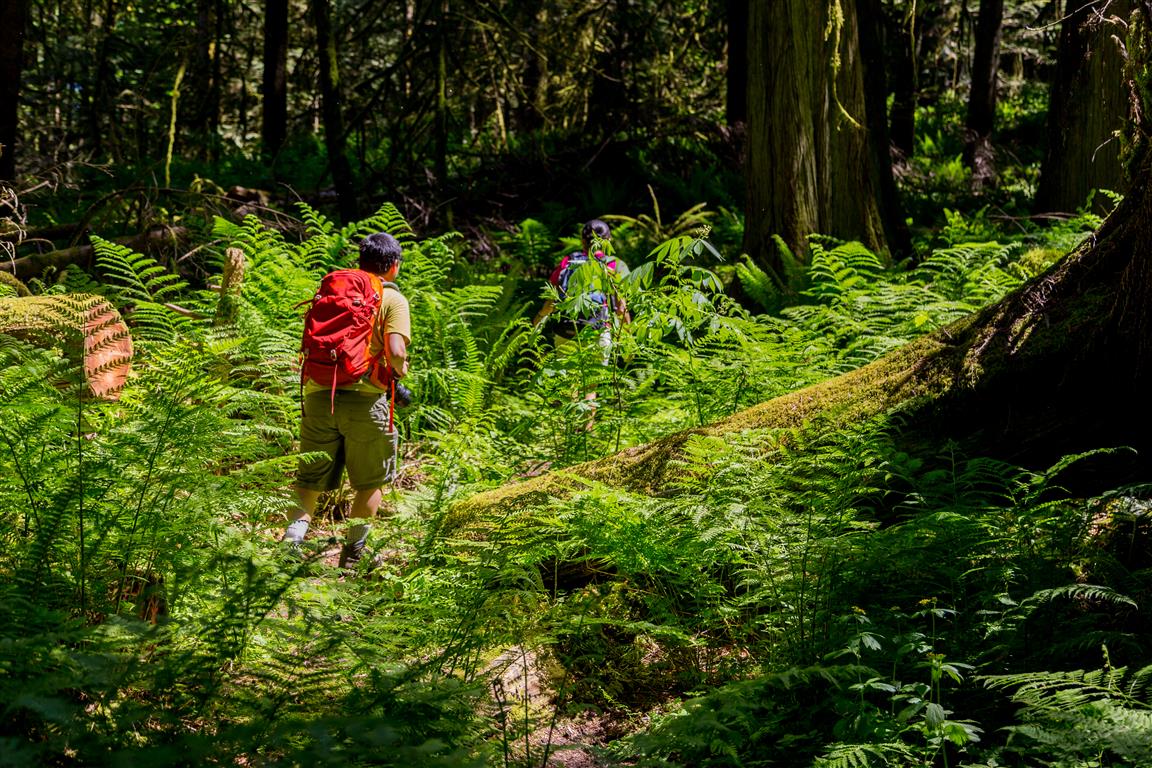
Trail
Trail
Tree uprooted
Tree uprooted
Viewpoint from parking
Conditions on this trail can change over time — trailheads move, access rules shift, and businesses close. This post reflects what I found when I did the hike.

Before You Hike

Before heading out on your hike, make sure you are well prepared. This means having the TEN ESSENTIALS. It is also important to leave a trip plan (route details and estimated return time) with someone you trust.

Bring your smartphone, fully charged, and put it in airplane mode while hiking. I always bring backup battery packs for extra peace of mind. It is highly recommended that you bring a GPS device. I use my smartphone with a GPS app (Backcountry Navigator). The GPS will work in airplane mode. Learn how to use it before your hike.

For anyone new to hiking, there is a rule that hikers follow called “Leave No Trace” or LNT. The concept is generally to pack out what you pack in and respect nature, so all future visitors can enjoy what you have enjoyed. To learn more about LNT, please check out this blog by a certified LNT Trainer.

Englishman River Falls

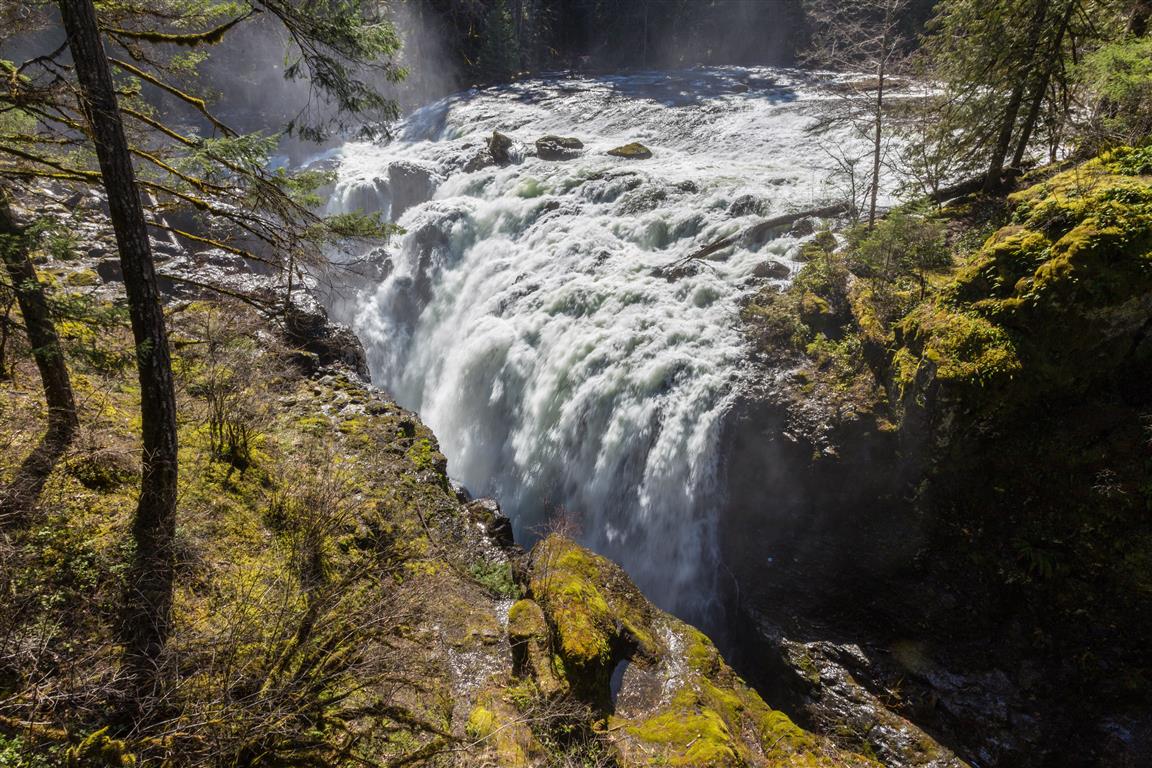
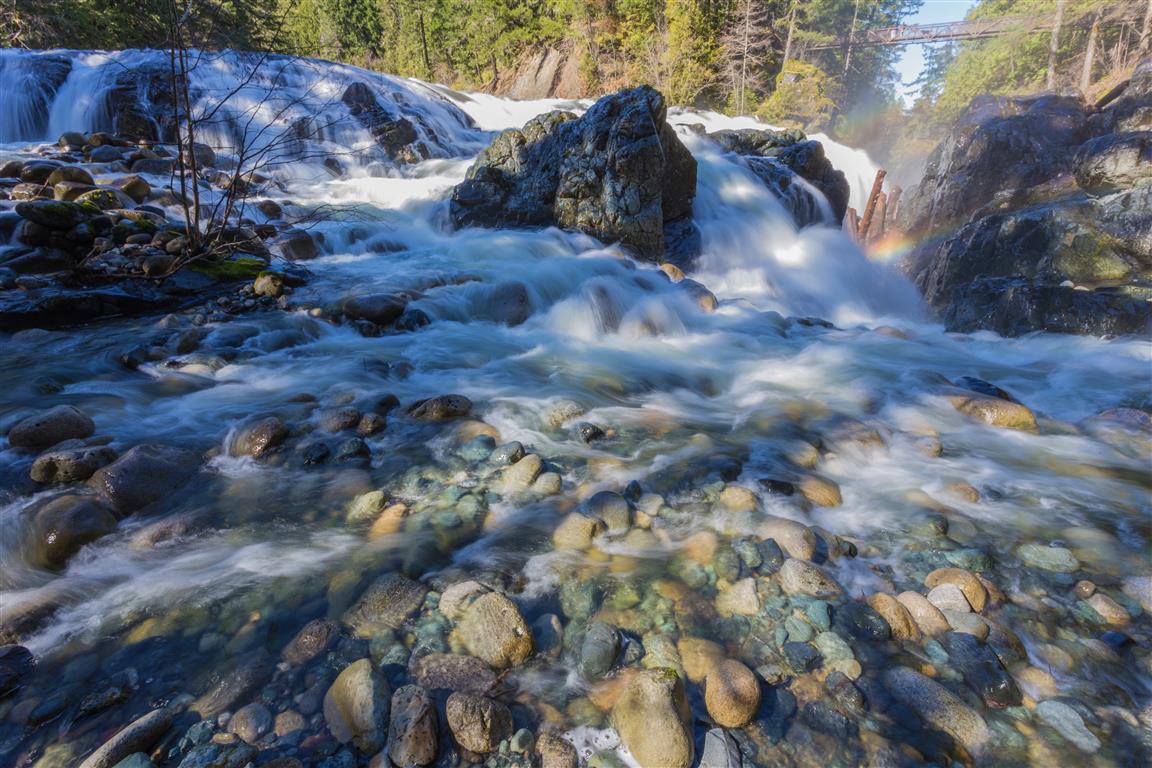
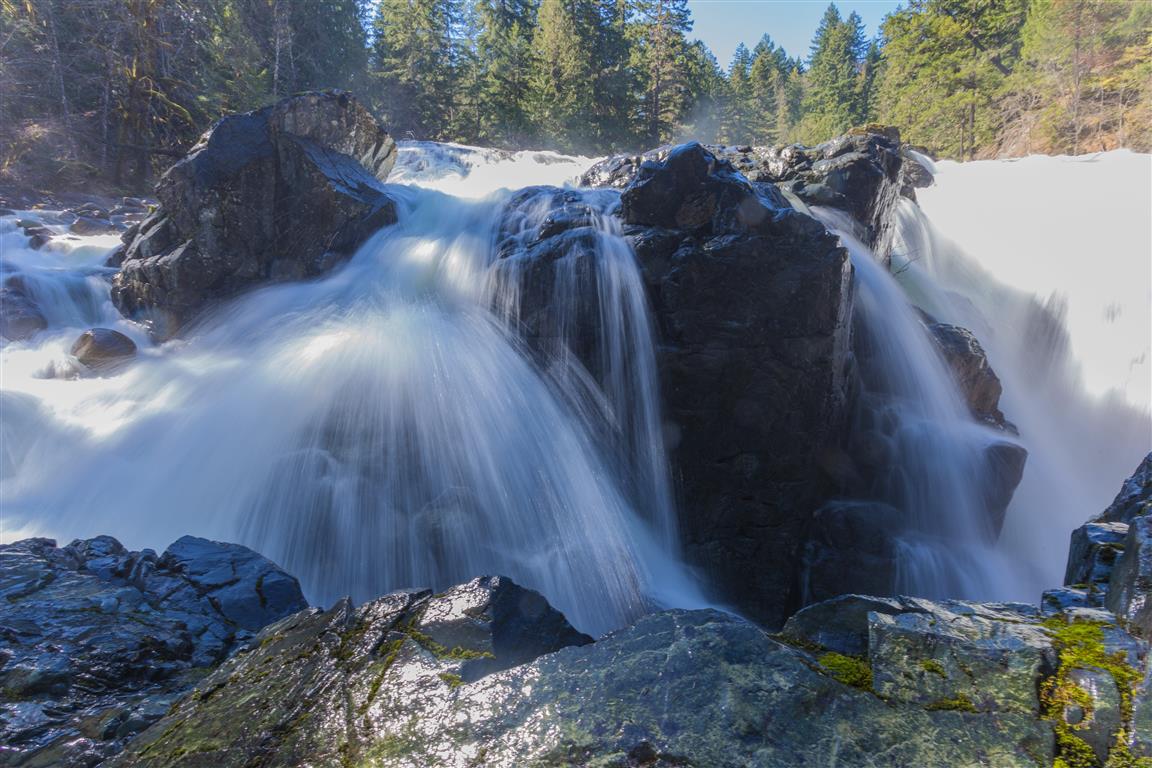
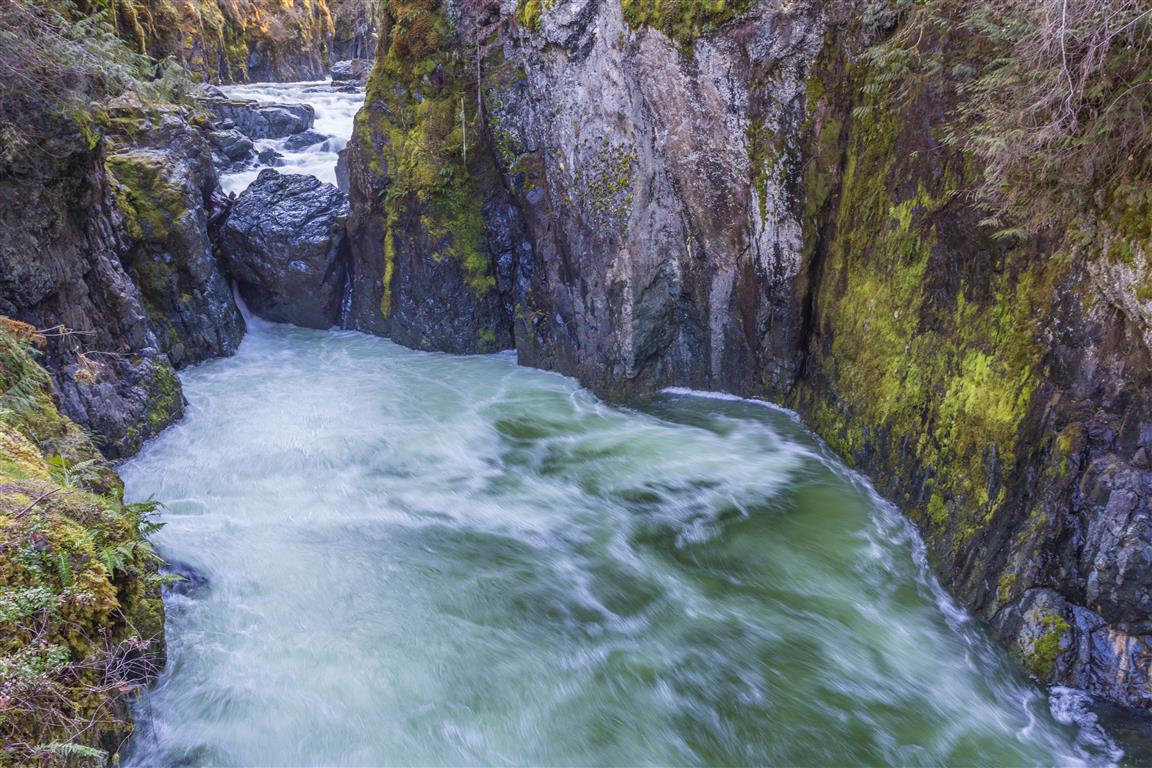
Englishman River Falls Provincial Park is located less than 14 km from the City of Parksville on Vancouver Island. There are a number of hiking trails in the park — I took a fairly short loop today. The highlight of the hike is seeing the waterfall from a little bridge. It was sunny today, and that is not ideal for taking waterfall pictures. I will have to come back on a cloudy day!

Interesting Facts

  • The park was established on December 20, 1940, to protect the old-growth Douglas fir forest and the surrounding ecosystem near the falls. It covers about 97 ha
  • According to local legend, the river’s name comes from the discovery of the skeleton of a Caucasian man near the falls by Indigenous people in the area, which is how it came to be called the Englishman River
  • The Englishman River runs about 40 km from the slopes of Mount Arrowsmith and Mount Moriarty before entering the Strait of Georgia at Parksville. It’s an important salmon habitat, and a dammed reservoir upstream supplies drinking water to Parksville
  • The park has both an upper and a lower falls. Swimming is allowed in the river below the lower falls, though fishing is not permitted anywhere in the park

Trail Stats

  • Distance for my loop: 2 km (return)
  • Time: less than 1 hour
  • Low point: 142 m
  • High point: 180 m
  • Elevation gain: 38 m
  • Trailhead and parking: 49° 14′ 43.6″ N, 124° 21′ 01″ W (Google Maps and navigation)

The Route

The actual GPS track from this walk, drawn on the map below. Green marks the start/end point.

Photos

Englishman River Falls
Englishman River Falls Park
Conditions on this trail can change over time — trailheads move, access rules shift, and businesses close. This post reflects what I found when I did the walk.

Heather – Maple Pass Loop

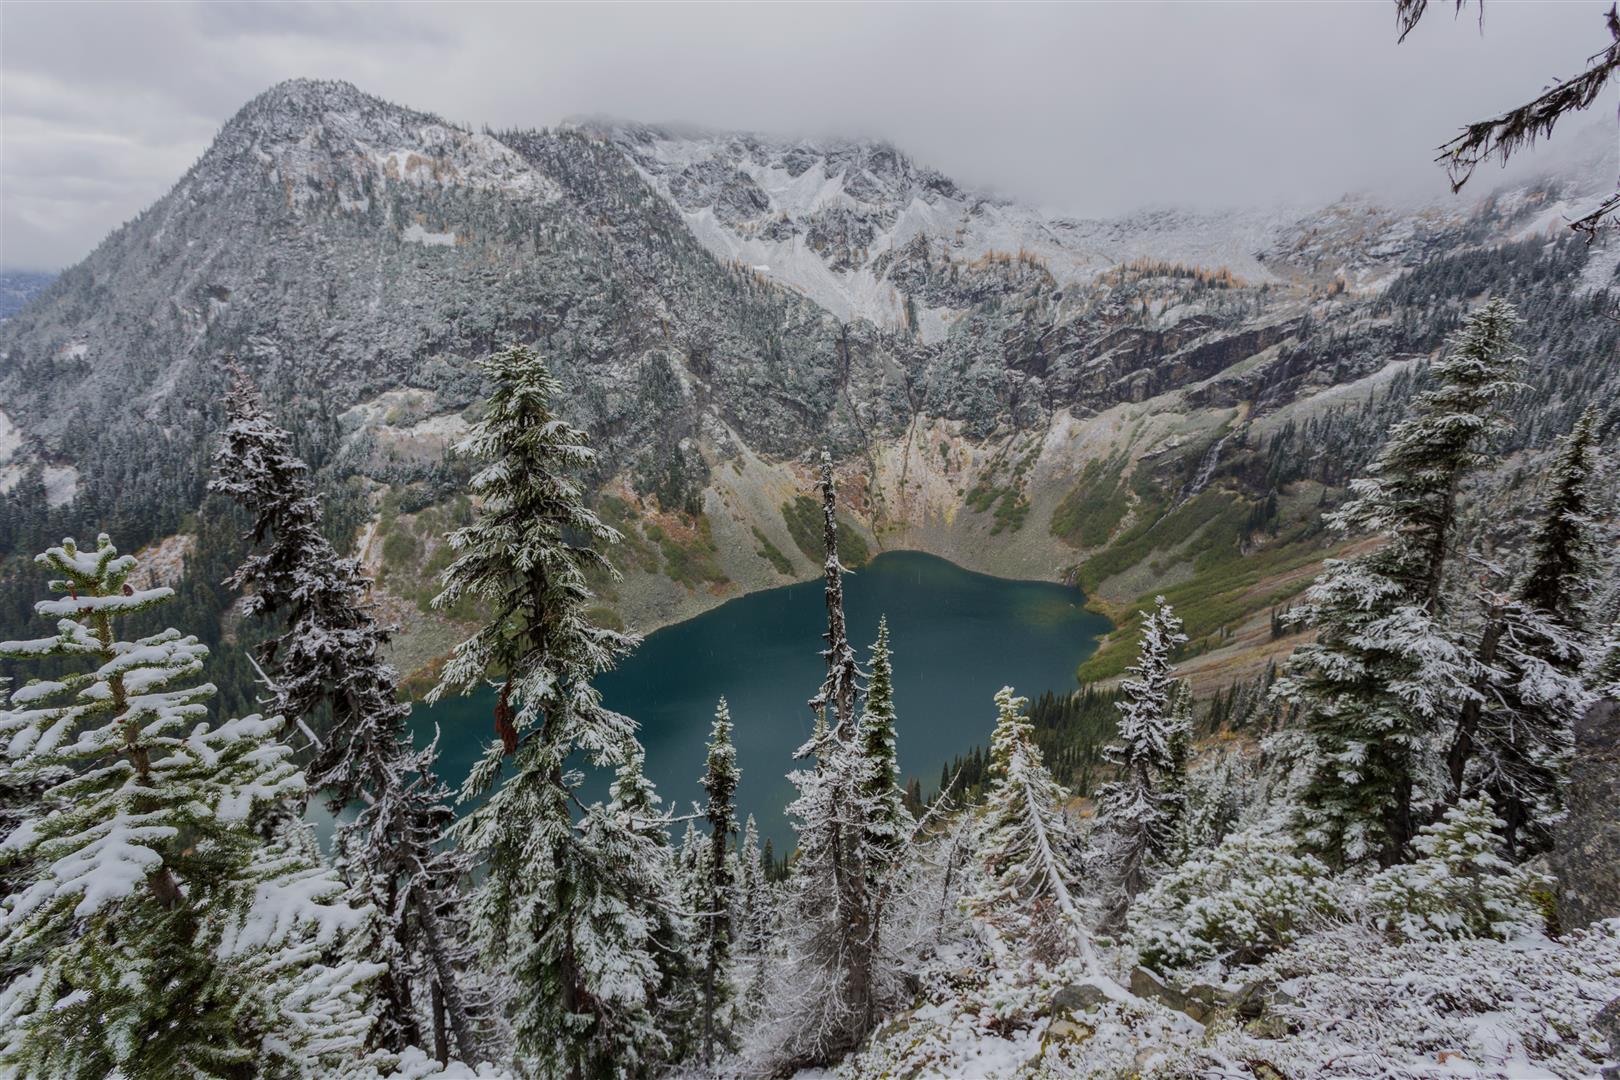
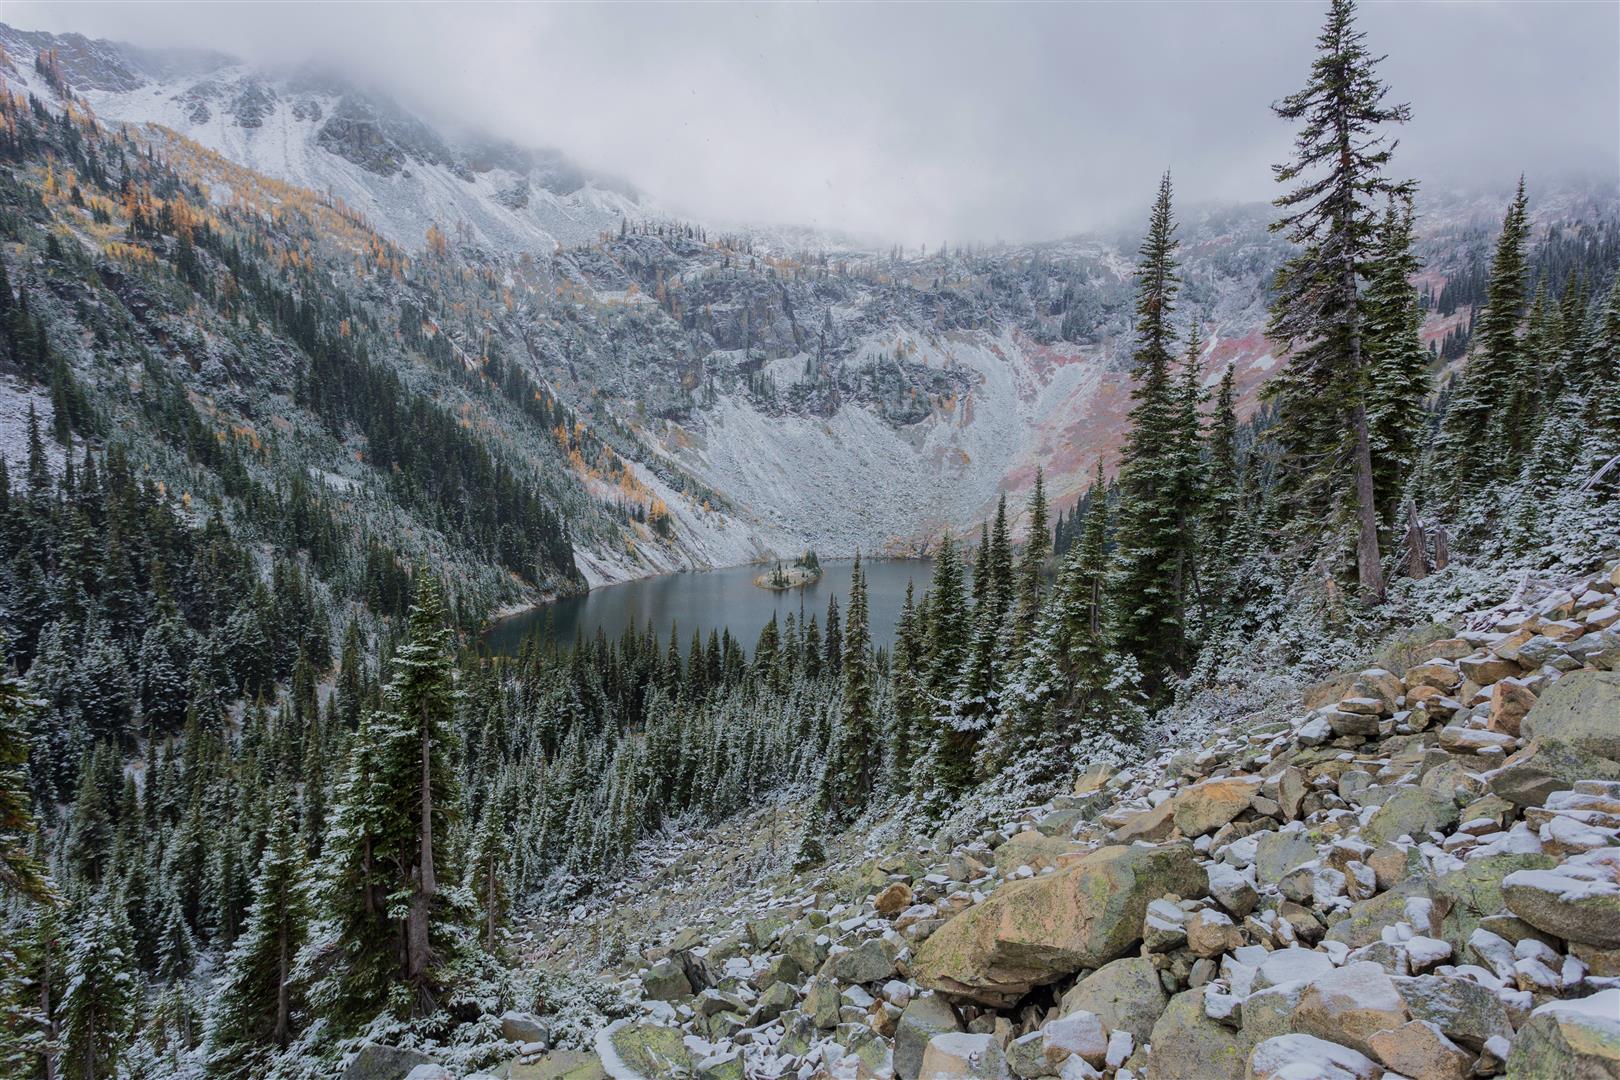
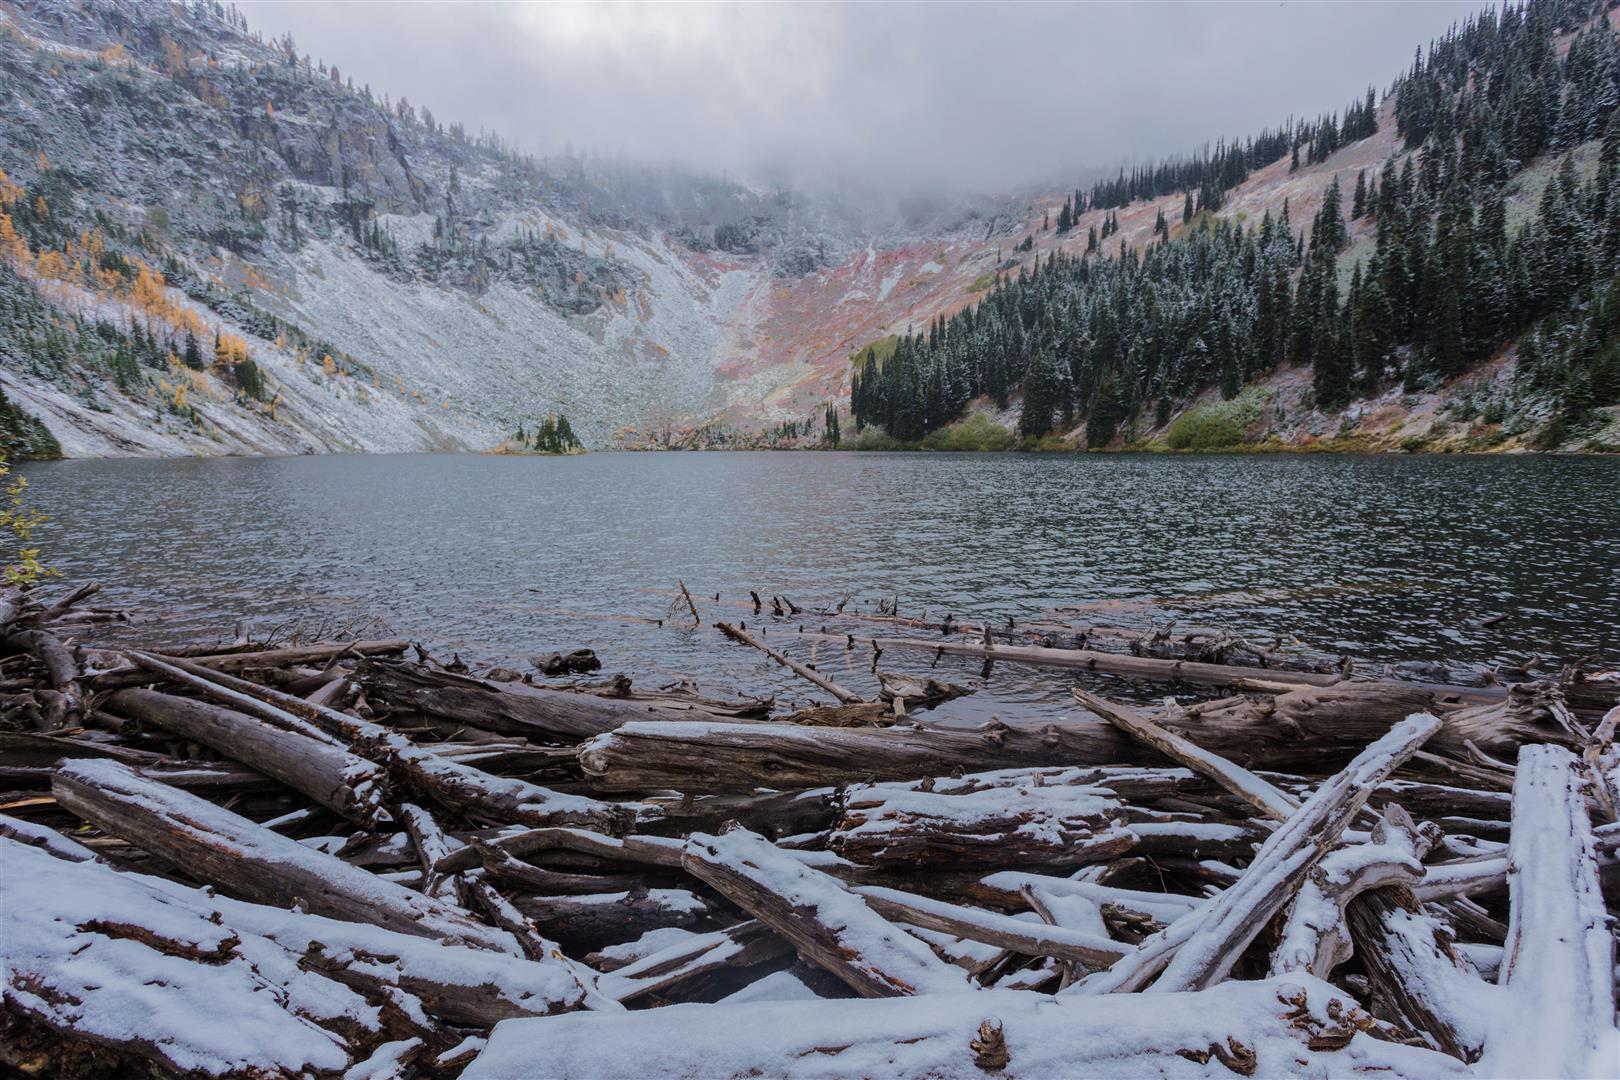
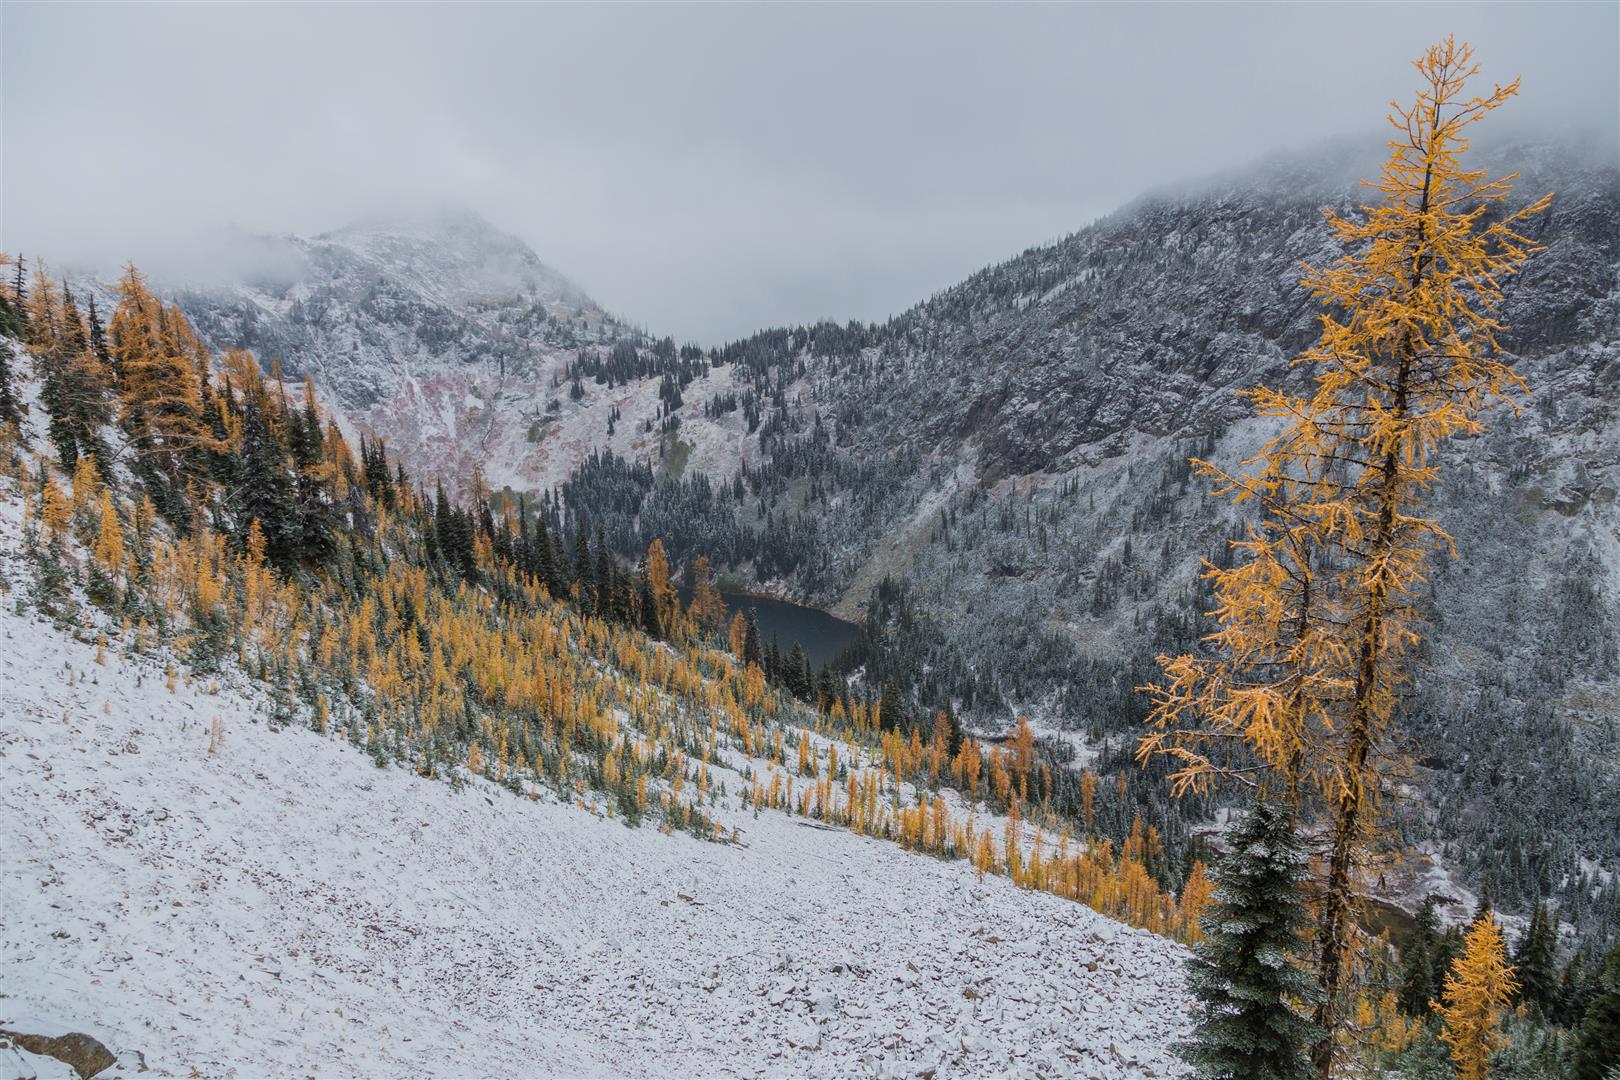
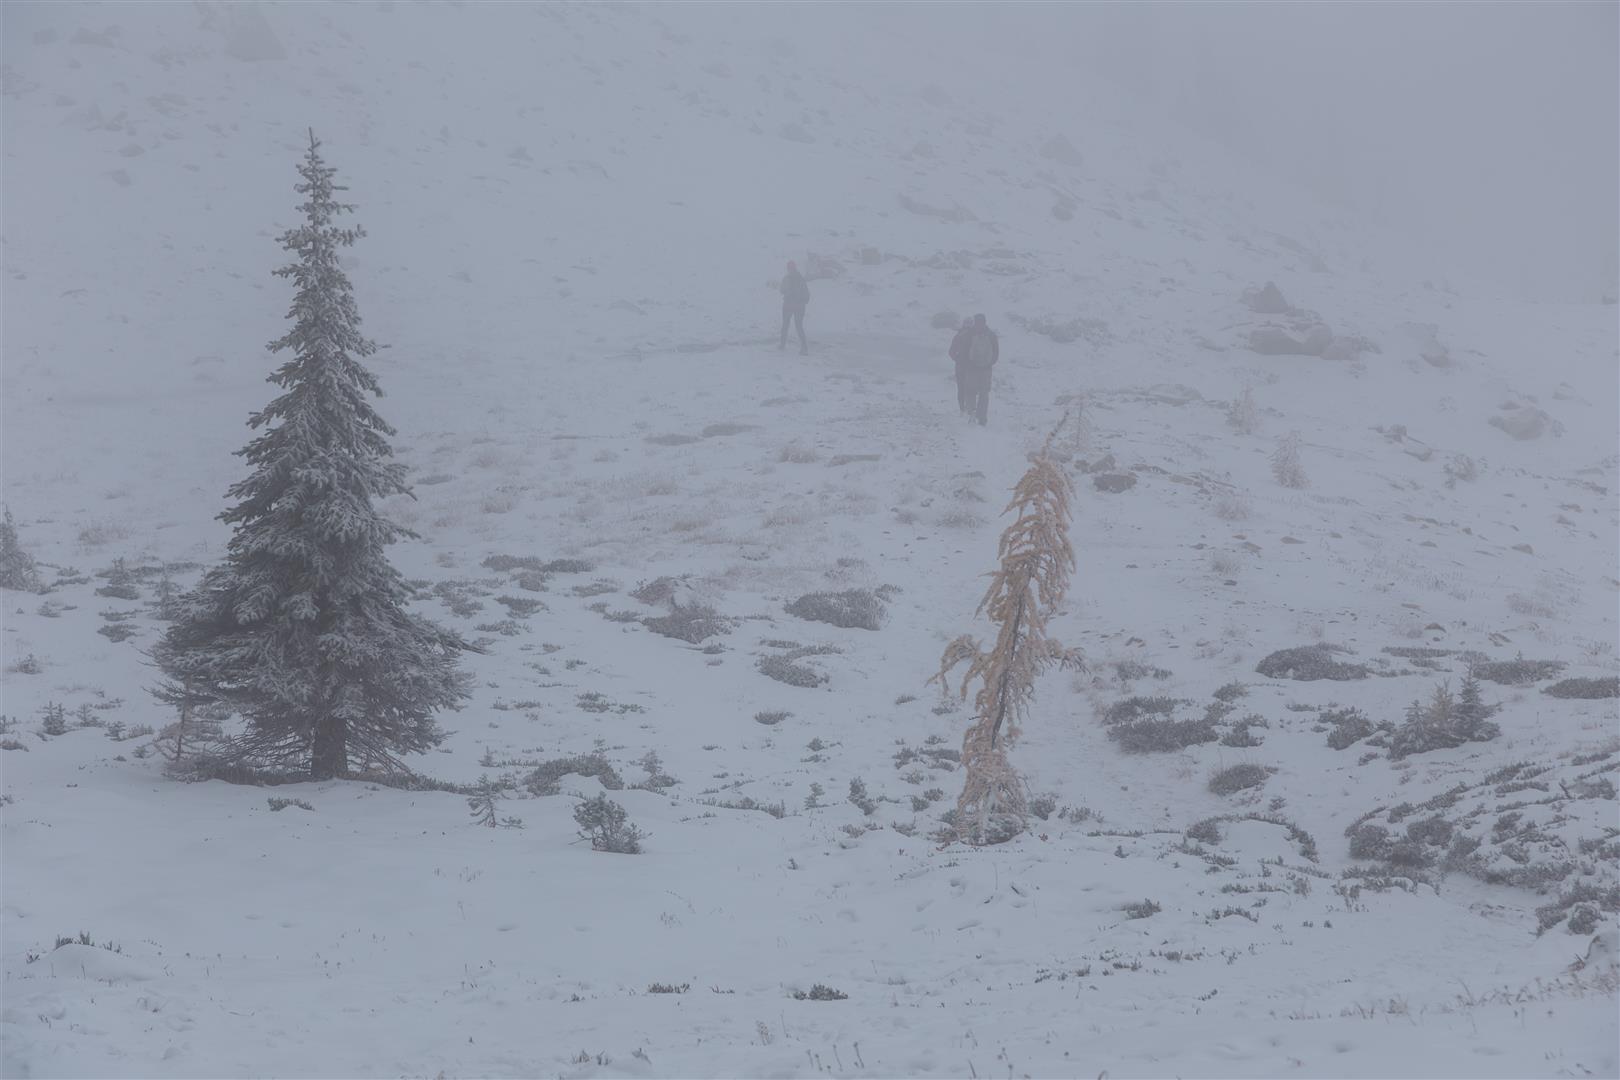
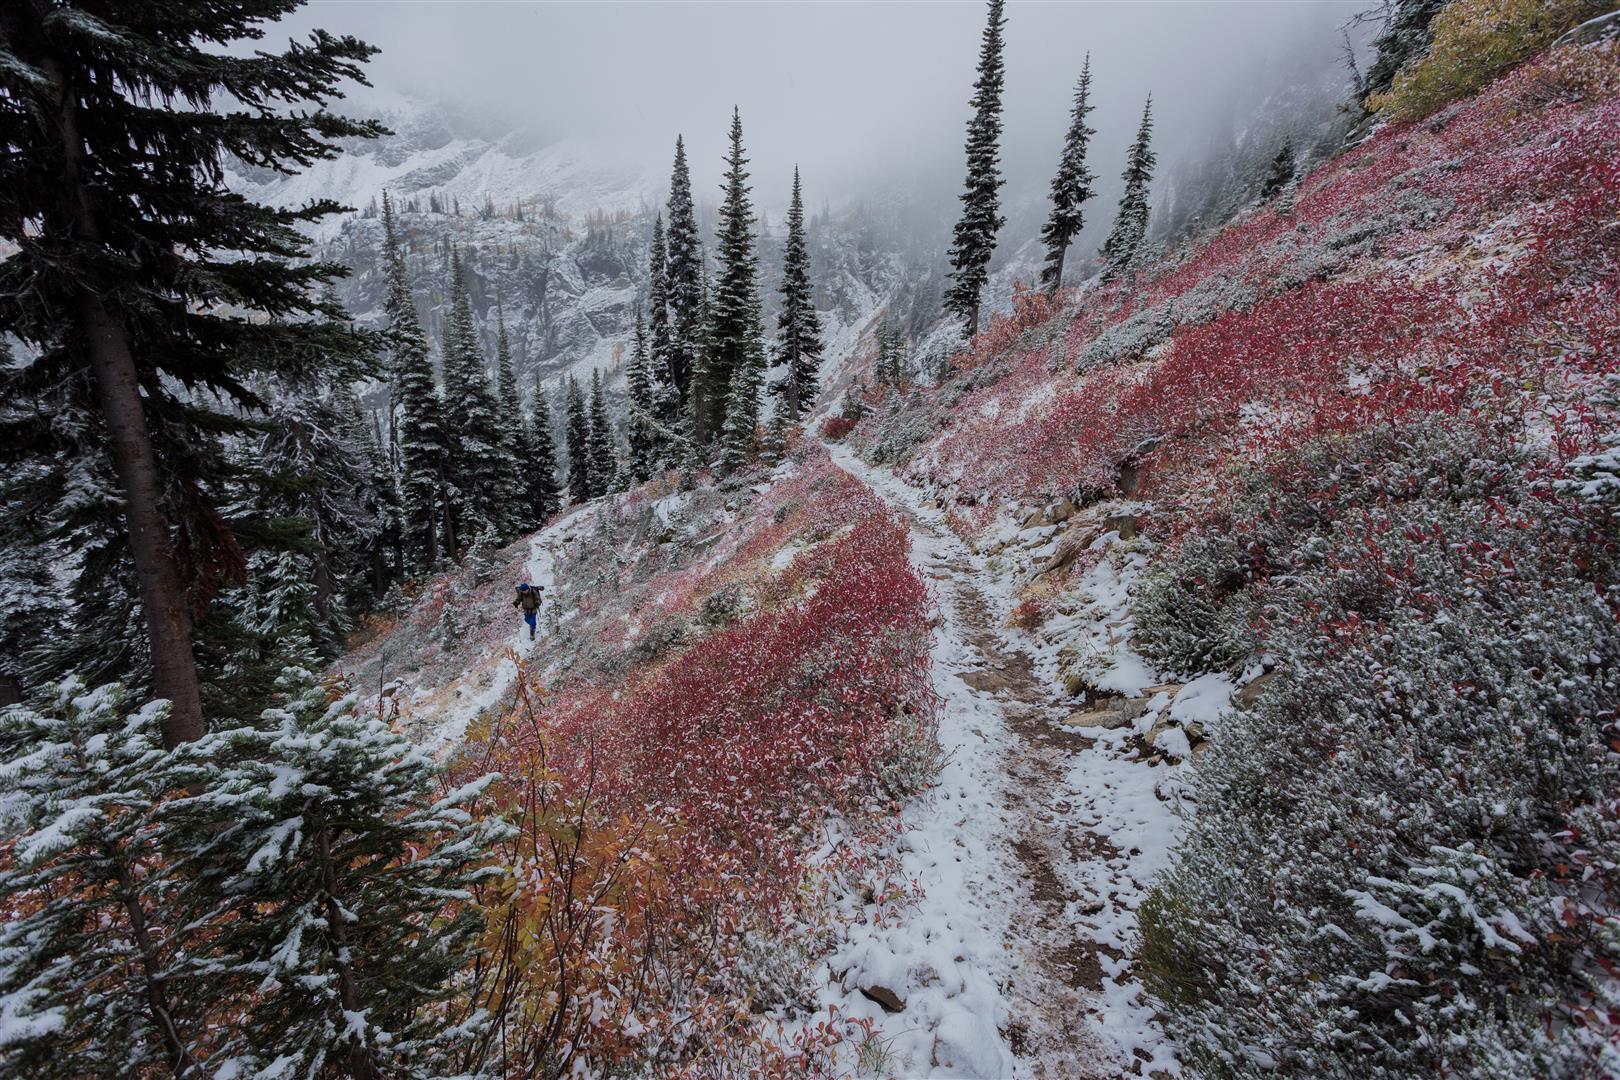
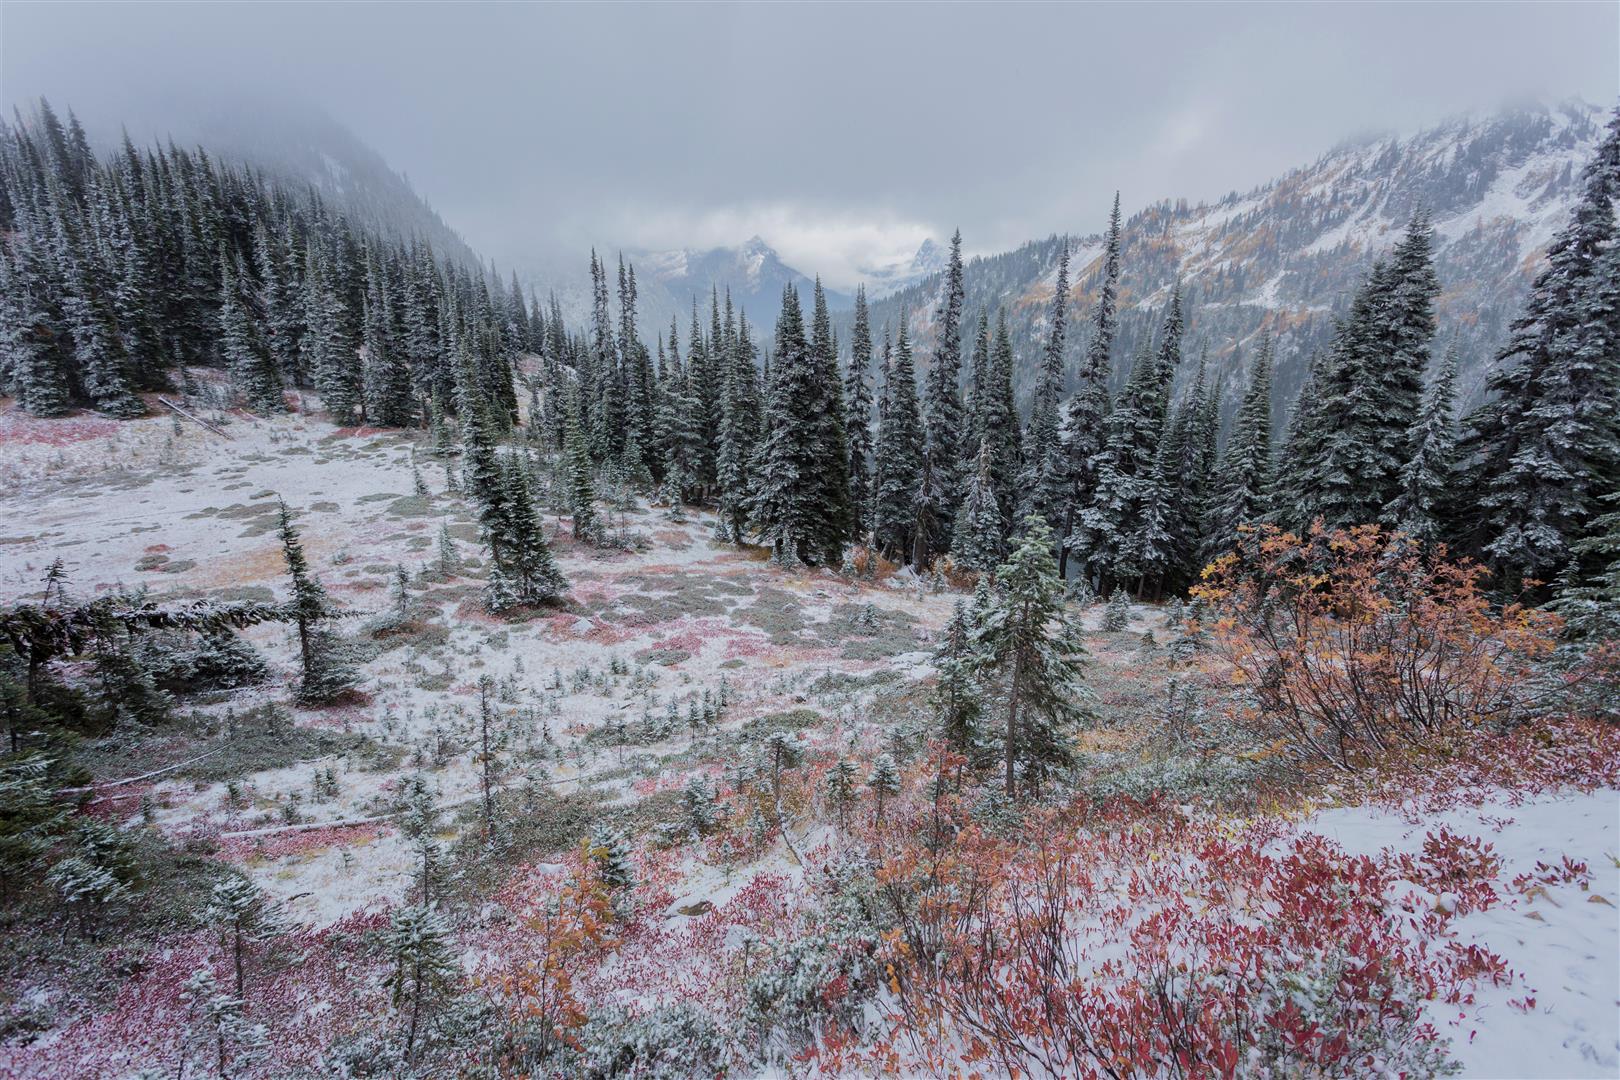
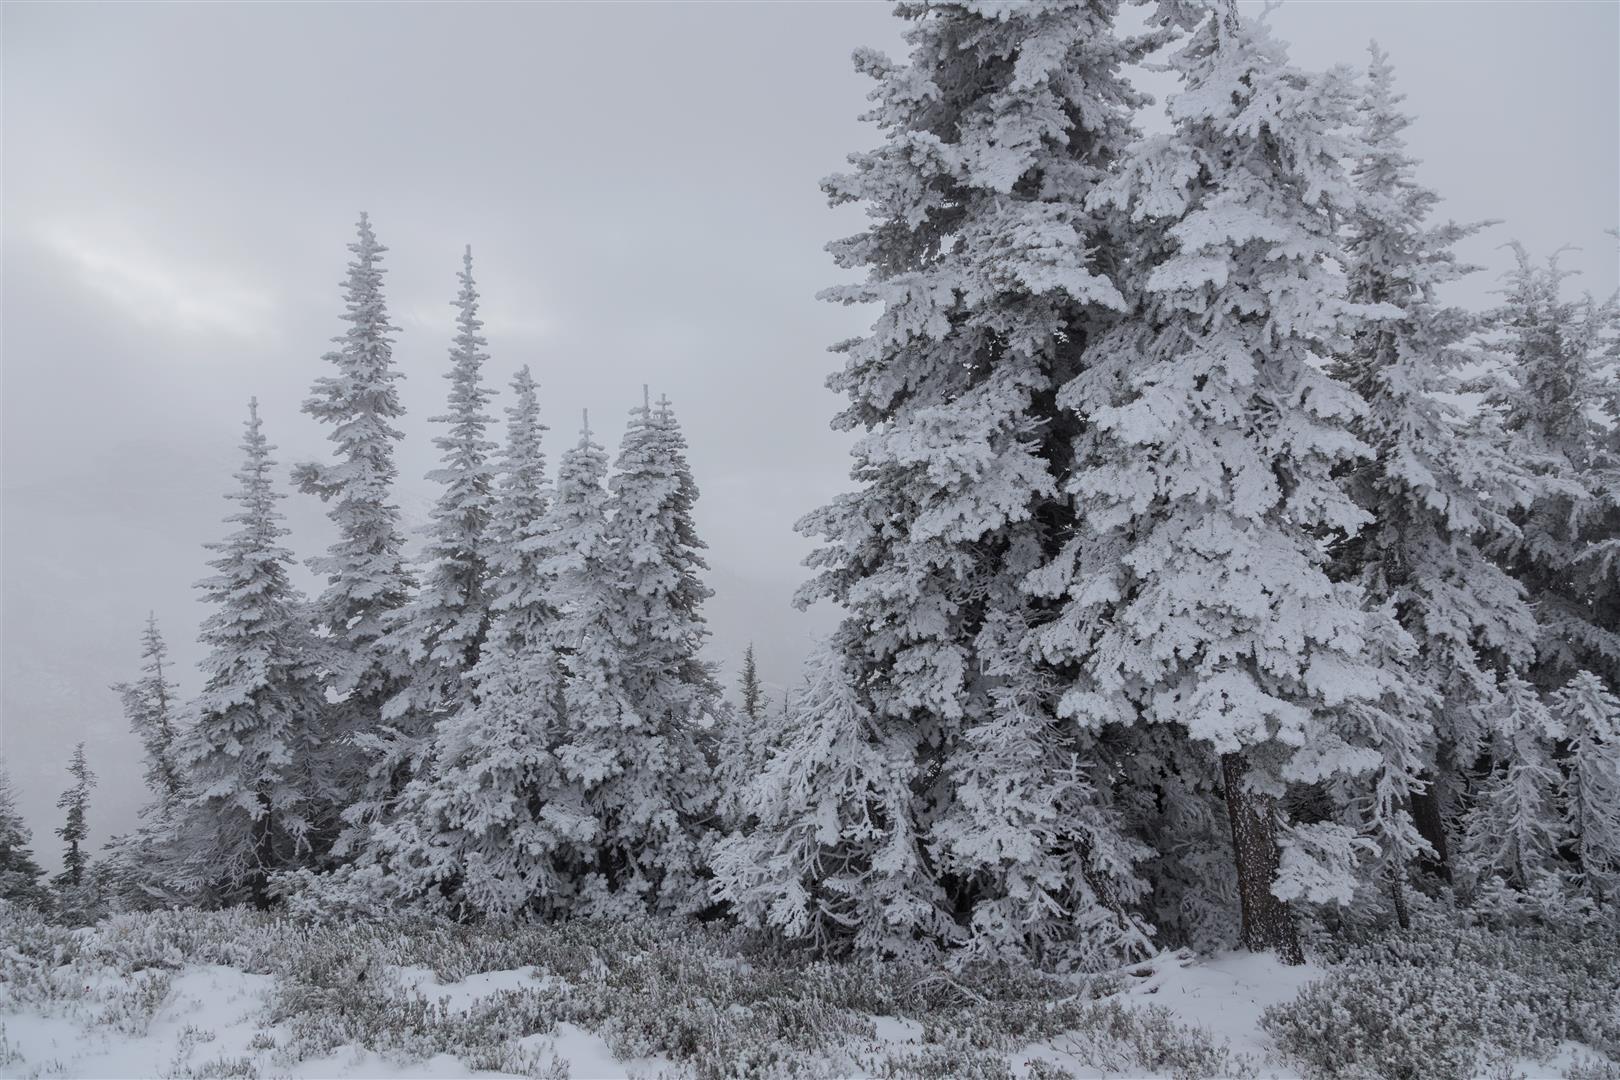
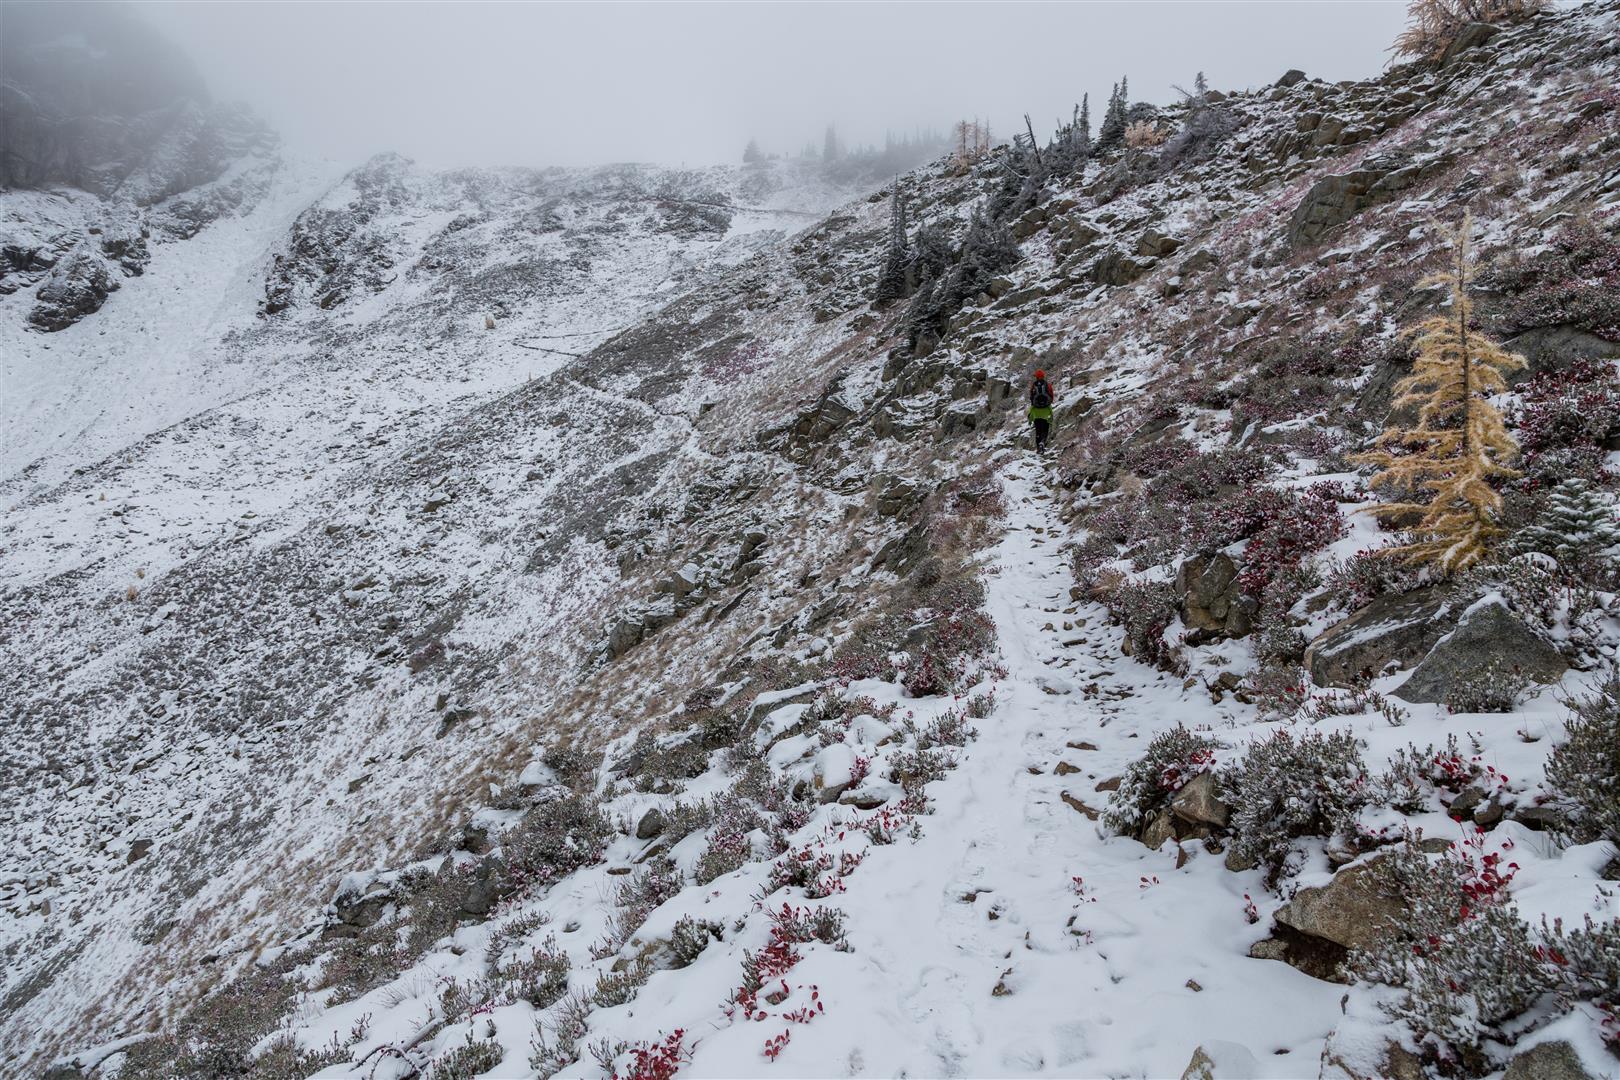
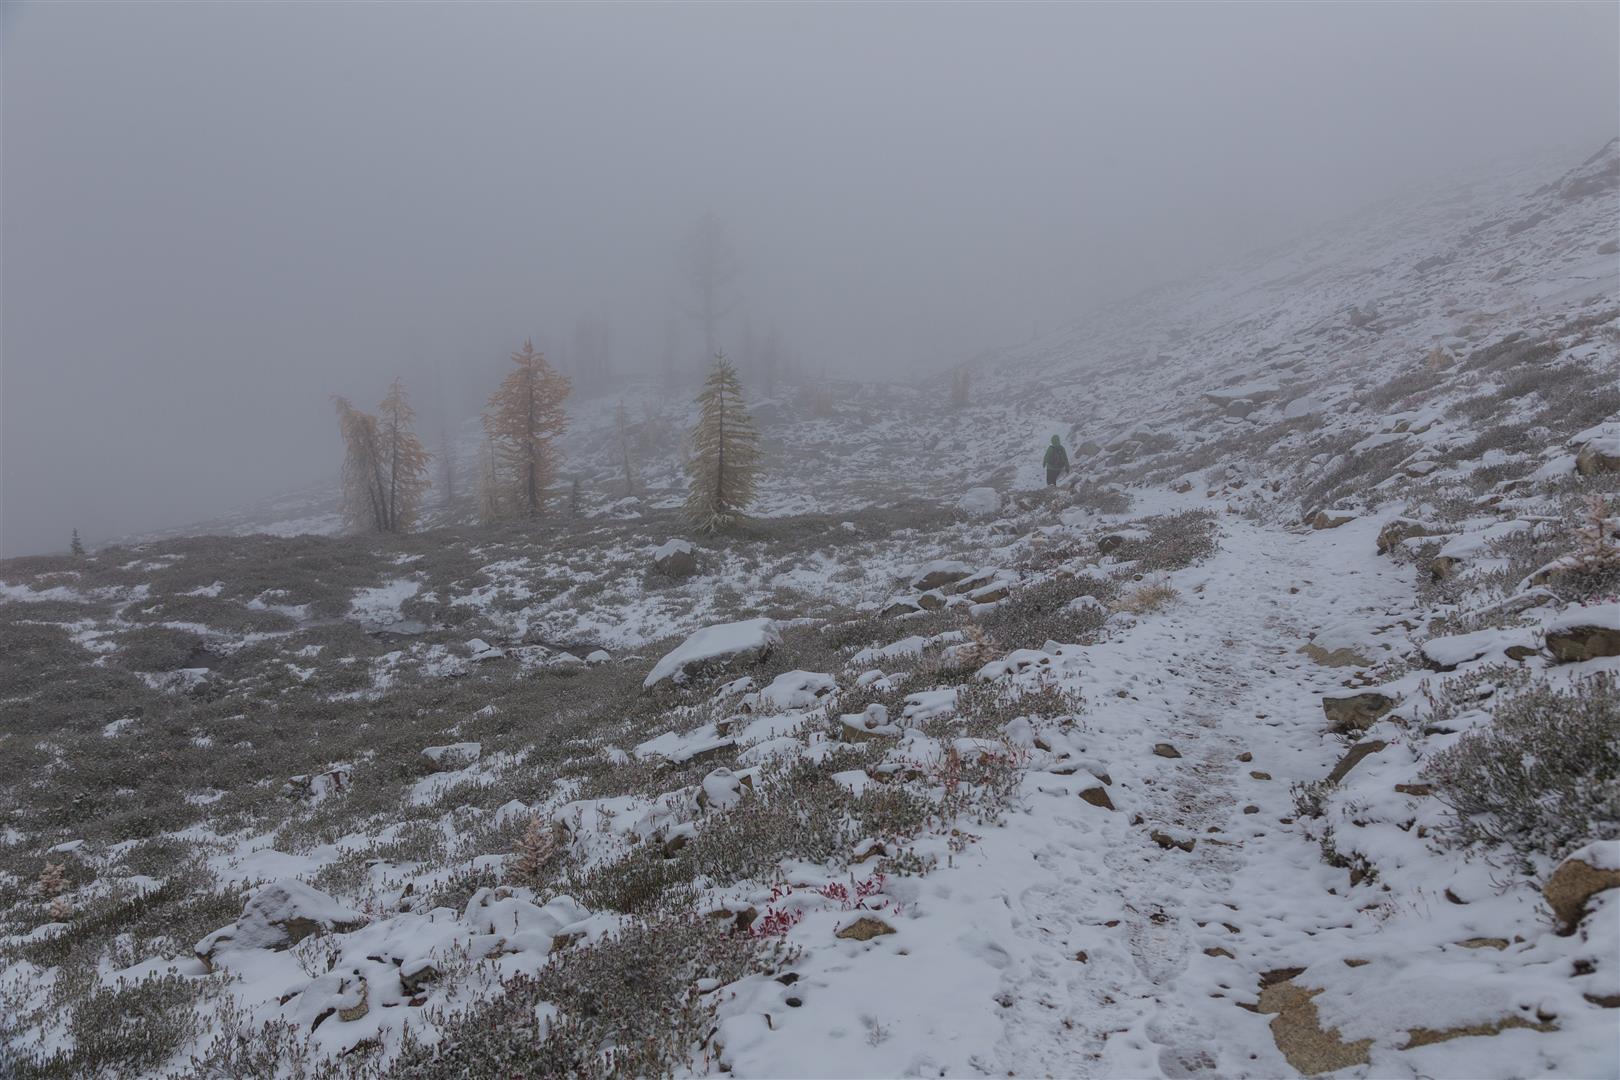
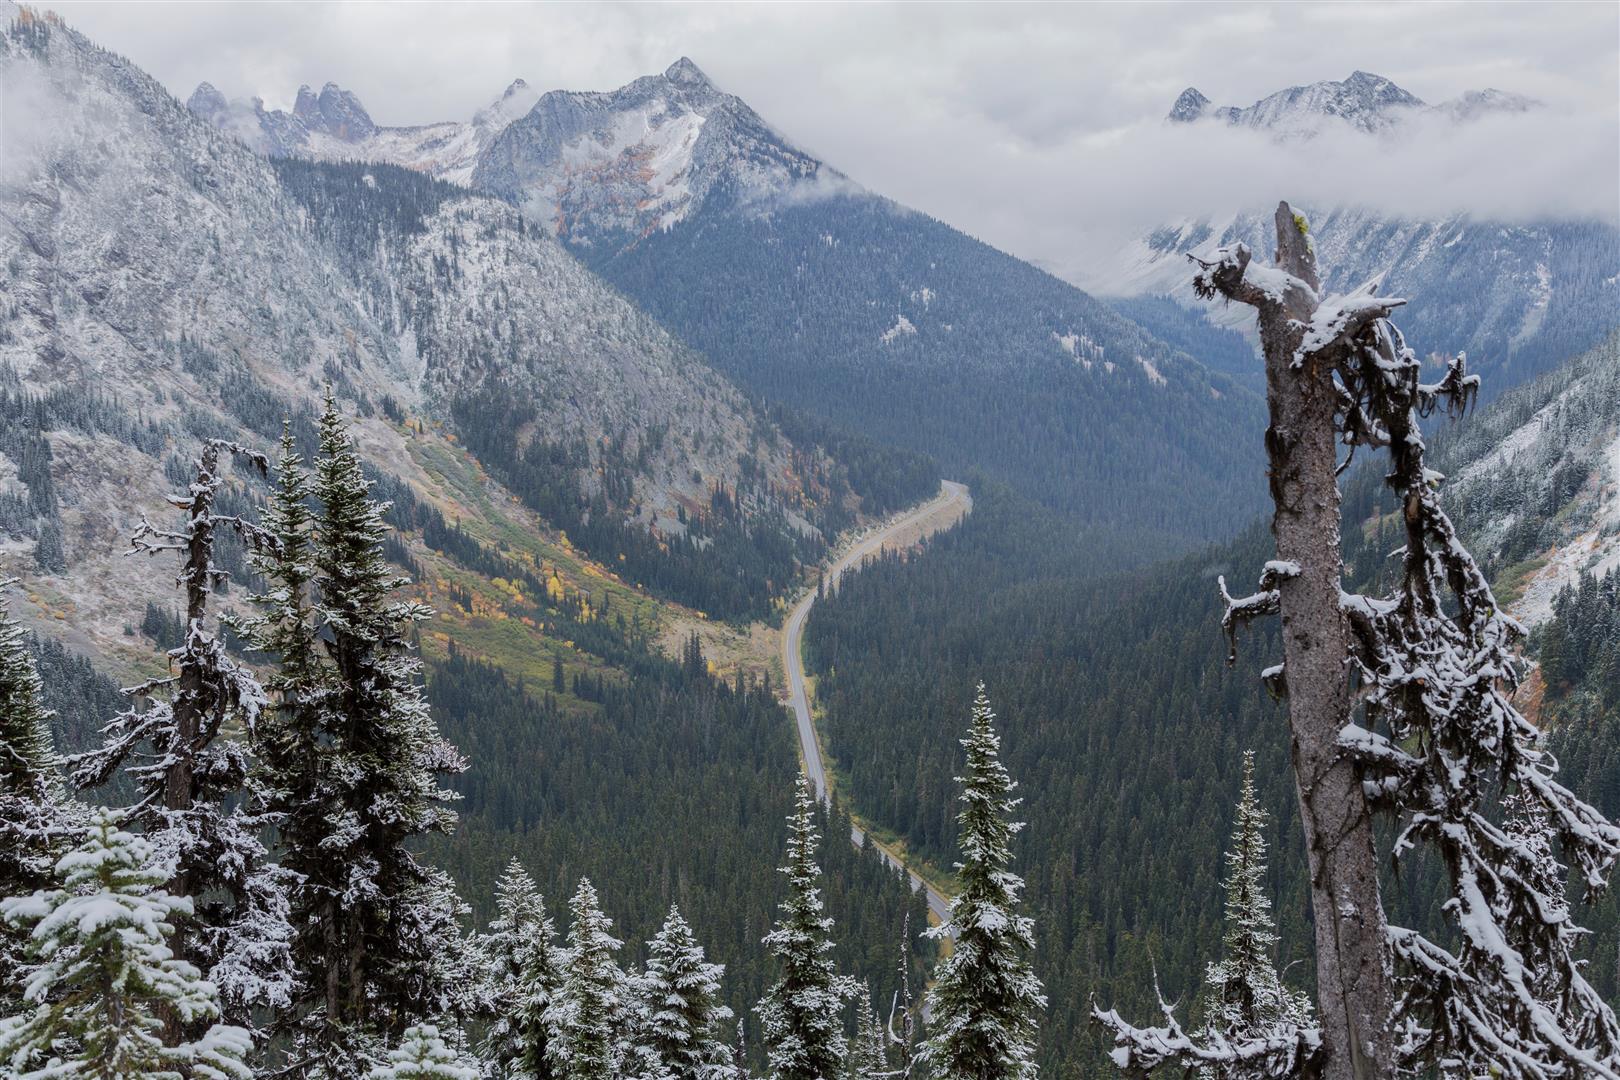
Back to the North Cascades for an epic day hike. The Heather–Maple Pass Loop is a gem of a hike that starts around 1,500 m elevation (4,900 ft) and goes up to 2,120 m (6,950 ft). The forecast for today was sunny; however, we did not see the sun at all and saw blue sky only briefly. It was freezing and snowing lightly all day, and most of our views were obstructed. But thankfully, not all views were obstructed, and we did get quite a treat. The views we did have were just amazing, and the fresh snow made it really feel like a winter wonderland! I will definitely have to go back in the summer to do this hike on a sunny day. We also included the trip to Lake Ann at the end — this is a fairly flat section of about 1 km each way.

Interesting Facts

  • Maple Pass sits right on the boundary of North Cascades National Park, with a large wooden sign marking the line
  • The loop crosses the traditional homeland of the Chelan, Okanogan, and Nlaka’pamux peoples
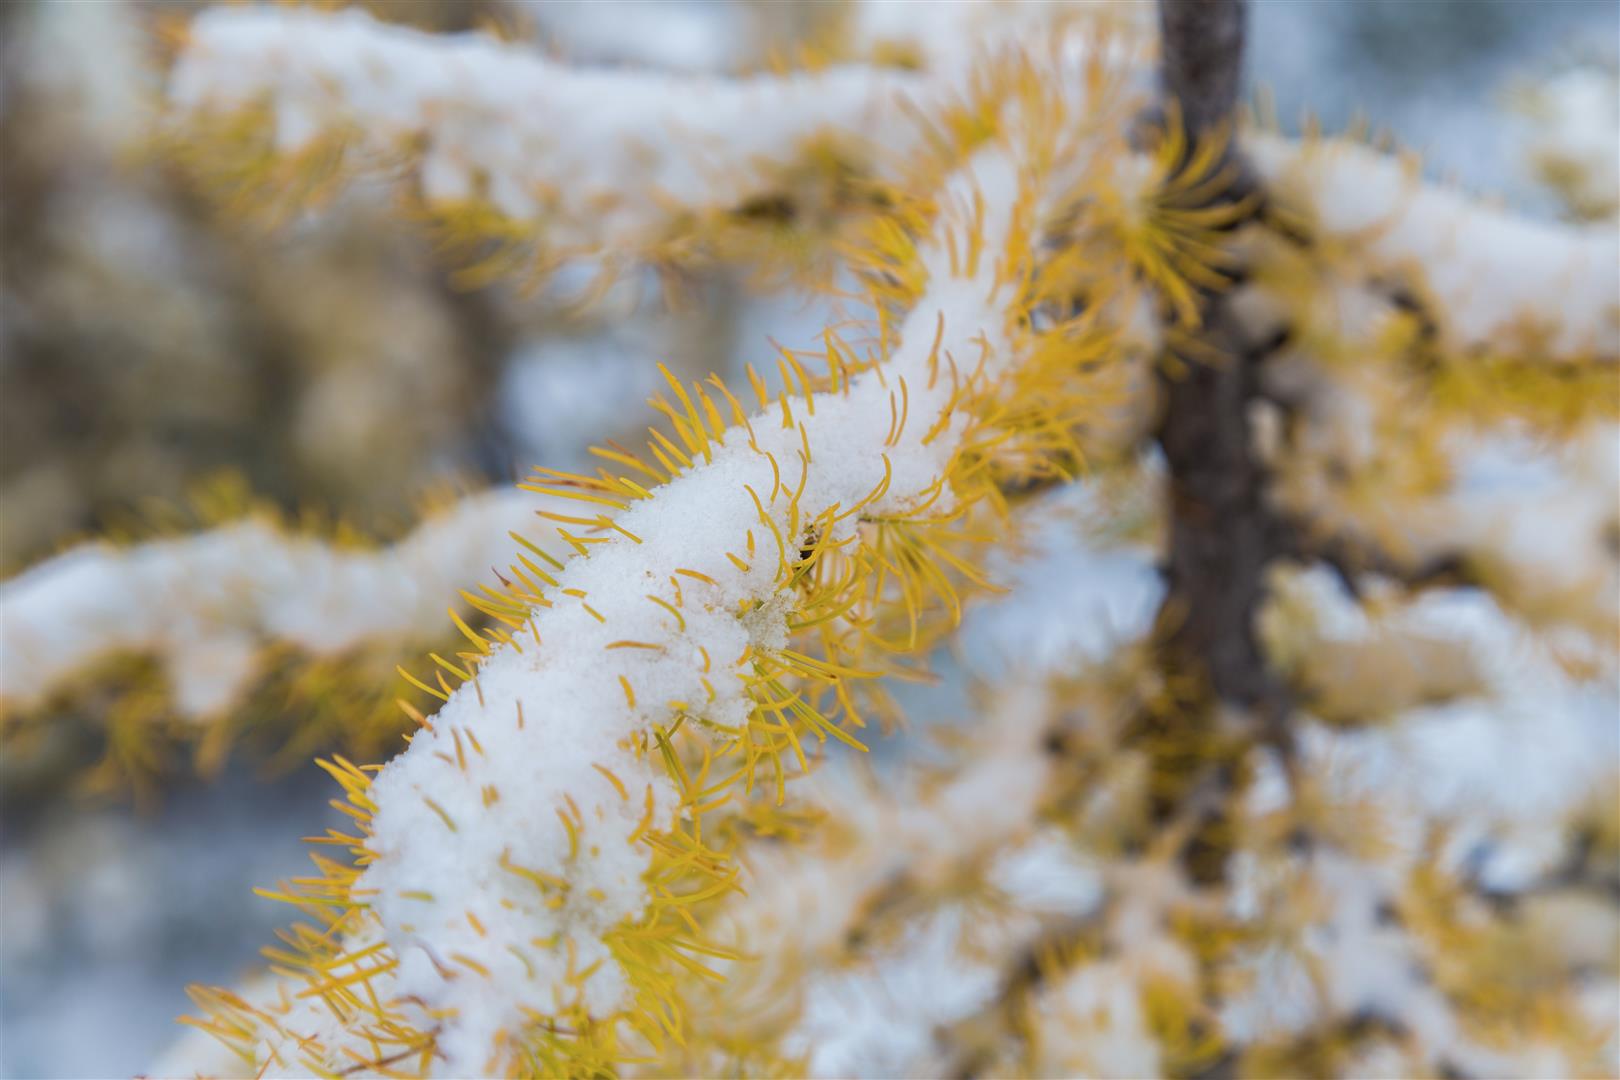
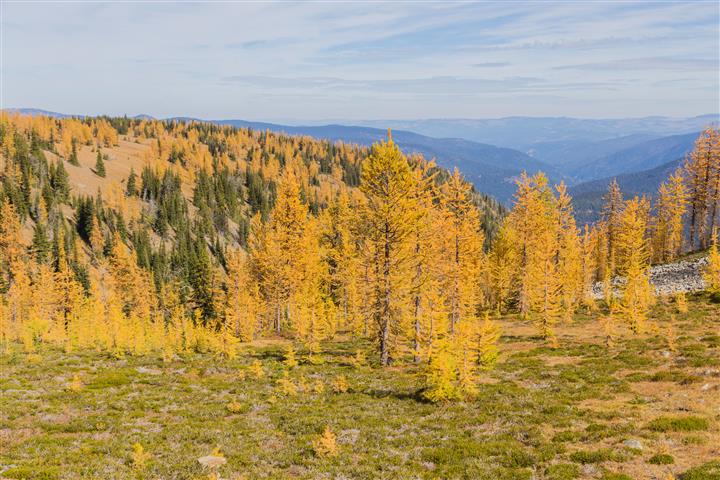
  • The golden trees you see turning colour in the fall are alpine larches (Larix lyallii), one of the few conifers that are deciduous, dropping their needles every year after they turn gold. They only grow at high elevations in a narrow band of the Pacific Northwest and northern Rockies, which is part of why this hike is so popular in autumn

Permits & Border Crossing

NOTE: You will need a Northwest Forest Pass (one per car), which can be purchased in person at the Mt. Baker Ranger District – Mt. Baker Office, 810 State Route 20, Sedro-Woolley, WA (link to map).

Or you can buy an ePass in advance online at the Discover Your Northwest website.

Or you can leave money in an envelope (by the big info sign) at the Rainy Lake parking lot.

Border crossing tips: bring your passport, Nexus, or enhanced ID. No fruit, no vegetables, no meat (this isn’t a complete list). Trail mix is okay. There are stores in Sedro-Woolley if you want to get some fruit or a sandwich for your hike.

A great resource for current conditions for this hike is the WTA website. Check it out!

The hike starts at the Rainy Pass trailhead, off Highway 20 (see location of trailhead below).

Trail Stats

The stats below include the side trip to Lake Ann.

  • Distance: approximately 13.0 km
  • Time: 4.5 hours
  • Low point: 1,482 m
  • High point: 2,120 m
  • Elevation gain: 638 m
  • Cumulative elevation gain: 885 m
  • Trailhead: 48° 30′ 54.6″ N, 120° 44′ 09″ W (Google Map)

The Route

The interactive map below shows my actual GPS track for the Heather–Maple Pass Loop, including the side trip to Lake Ann. Use the layer control in the upper-right corner to switch between the regular map and satellite imagery.

Photos
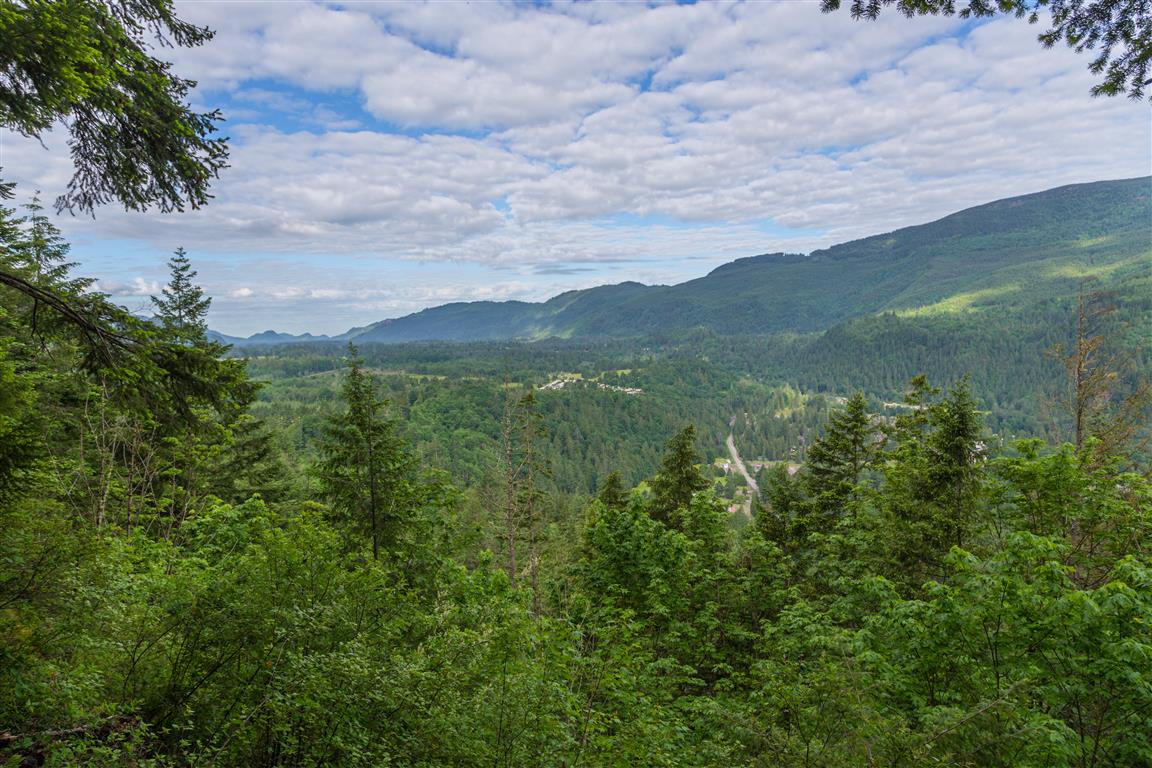
Winter wonderland
Winter wonderland
Lake Ann from above
Lake Ann from above
Lake Ann
Lake Ann
Gorgeous golden alpine larches
Cold and cloudy summit
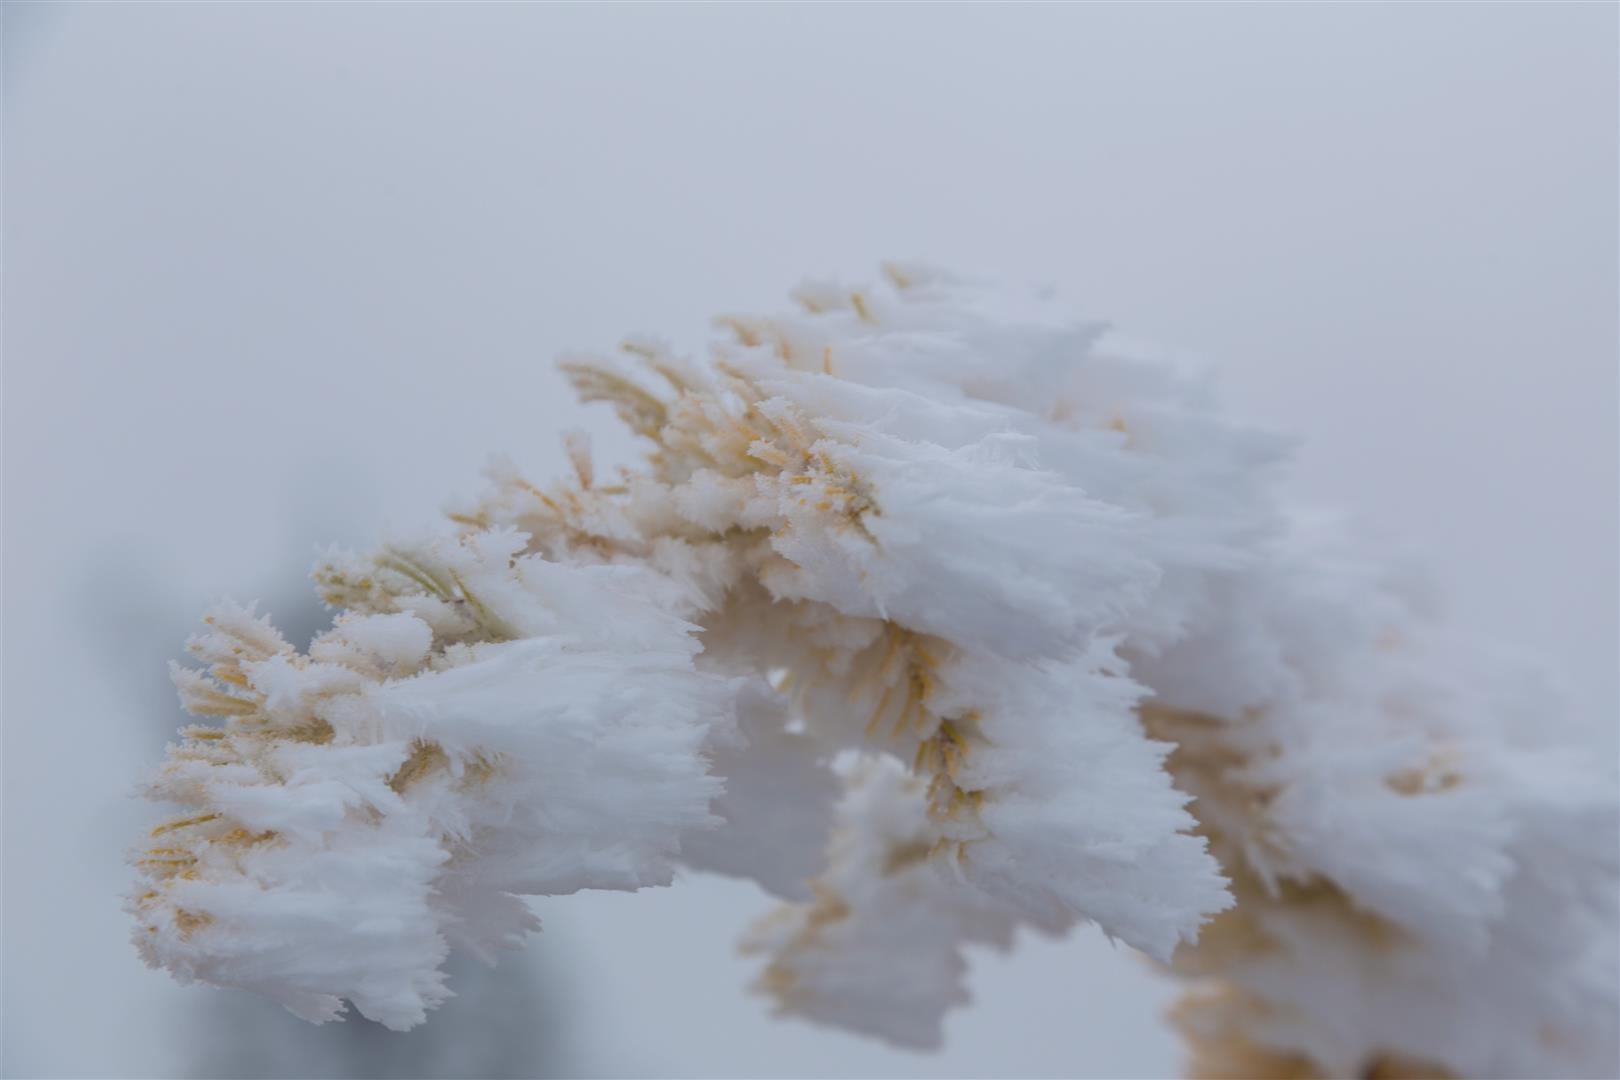
Frozen alpine larch
Frozen alpine larch
Autumn colours
Autumn colours
Autumn colours
Autumn colours
Snow on a golden alpine larch
Snow-covered trees at the summit
Snowy trail
Snowy trail
Snowy trail
Snowy trail
View of the highway
View of the highway

Link to all Heather–Maple Pass photos on Flickr

Conditions on this trail can change over time — trailheads move, access rules shift, and businesses close. This post reflects what I found when I did the hike.
Before You Hike

Before heading out on your hike, make sure you are well prepared. This means having the TEN ESSENTIALS. It is also important to leave a trip plan (route details and estimated return time) with someone you trust.

Bring your smartphone, fully charged, and put it in airplane mode while hiking. I always bring backup battery packs for extra peace of mind. It is highly recommended that you bring a GPS device. I use my smartphone with a GPS app (Backcountry Navigator). The GPS will work in airplane mode. Learn how to use it before your hike.

For anyone new to hiking, there is a rule that hikers follow called “Leave No Trace” or LNT. The concept is generally to pack out what you pack in and respect nature, so all future visitors can enjoy what you have enjoyed. To learn more about LNT, please check out this blog by a certified LNT Trainer.

Frosty Mountain Trail

Frosty Mountain is one of the classic high-elevation hikes in E.C. Manning Provincial Park. It is a long, demanding day hike with sustained climbing, a high alpine finish, loose rock near the summit, and some of the best mountain views in the park.

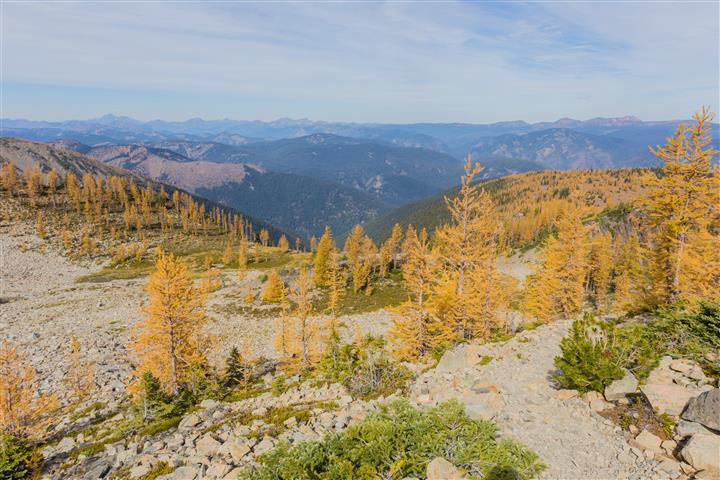
The trail is especially famous in autumn, when the alpine larches turn brilliant gold before dropping their needles. Unlike most conifers, larches are deciduous. The Frosty Mountain larch grove includes some exceptionally old trees, with BC Parks noting that alpine larches in this area can live for more than 2,000 years.

This is not a beginner hike.
Frosty Mountain involves more than 20 km of hiking, roughly 1,150 m of elevation gain, sustained climbing, exposed alpine terrain, loose rock, and a summit above 2,400 m. You should be comfortable with long mountain hikes and prolonged uphill travel before attempting it.

Trail Stats

  • Distance: approximately 21 km return
  • My hiking time: approximately 8 hours, including plenty of photography stops
  • BC Parks estimate: 4 to 6 hours one way
  • Low point: approximately 1,250 m
  • Summit elevation: approximately 2,408 m
  • Elevation gain: approximately 1,150 m
  • Difficulty: Difficult
  • Route: Out and back
  • Trailhead: Lightning Lake day-use area

The Route

The hike begins at the Lightning Lake day-use area and climbs steadily toward Frosty Mountain. My GPS recording covers approximately 10.5 km from the trailhead to the summit; the return follows essentially the same route.

The interactive map below shows my actual GPS track to the summit. Green marks the trailhead and red marks the summit. Use the layer control in the upper-right corner to switch between the regular map and satellite imagery.

The Climb from Lightning Lake

The trail begins near Lightning Lake and immediately starts climbing through the forest. The first several kilometres are not especially technical, but the climbing is steady and persistent. This is the kind of trail where the total elevation gain gradually adds up rather than arriving in one short, steep section.

After roughly 5 km, the grade becomes easier for a while and the trail rolls through a flatter section before reaching Frosty Creek.

Frosty Creek and the Larch Grove

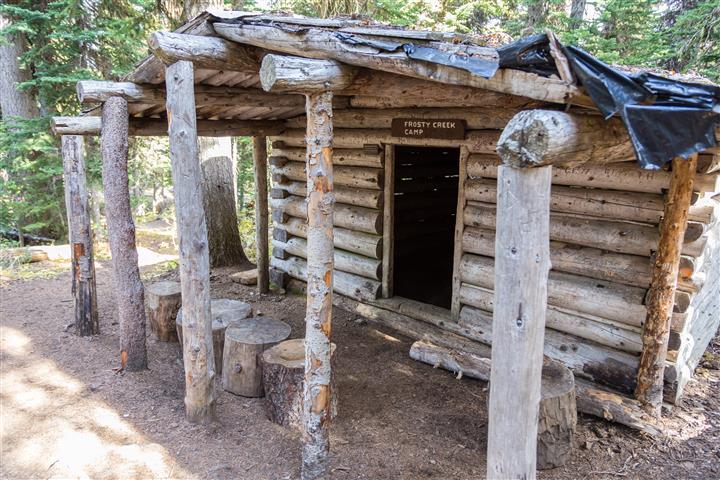
Frosty Creek Campground is about 7 km from Lightning Lake. Shortly beyond the campground, the trail starts climbing again and enters the alpine larch grove.

The larches begin roughly half a kilometre beyond the campground and continue for around 1.5 km. In autumn, this section can be spectacular. The needles change from green to brilliant yellow before falling for the winter.

The timing varies from year to year, but the best colour is often around late September into early October. I timed my hike well and had a great display of golden larches on the way toward the summit.

Golden alpine larches on Frosty Mountain
Golden alpine larches on Frosty Mountain.
Golden larches along the Frosty Mountain Trail
More golden larches along the trail.

Into the Alpine

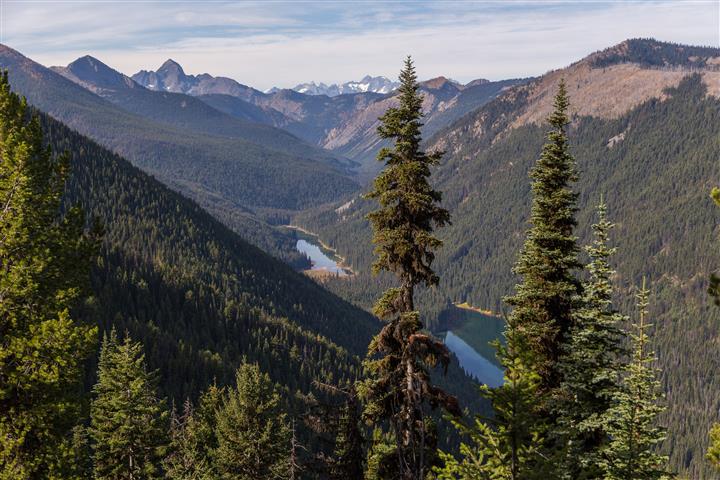
As you climb higher, the forest opens and the mountain scenery becomes much more dramatic. The terrain becomes increasingly rocky above roughly 2,200 m.

Mountain and lake view from Frosty Mountain Trail
Lake and mountain views from the trail.
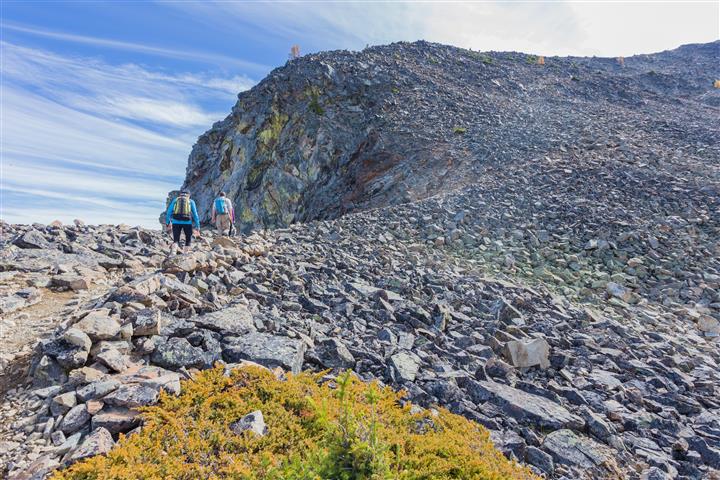
Start of the rocky climb toward Frosty Mountain ridge
The start of the climb toward the ridge.

The upper section crosses loose rock and scree. The route is considerably rougher here than the lower forest trail, and careful footing is important, especially when descending.

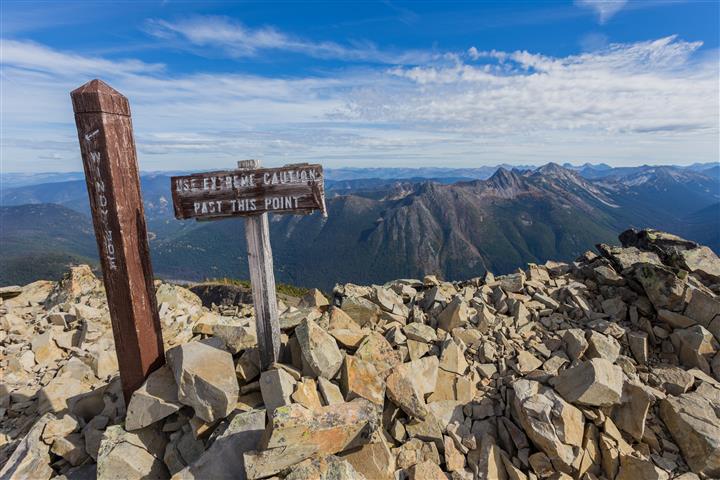
Take extra care on the upper mountain.
The final approach includes loose rock, scree, exposed alpine terrain, and sections where the route is less obvious than in the forest below. Weather can also change quickly at this elevation.
Caution sign on Frosty Mountain ridge
Caution sign on the ridge.

The Ridge and Summit

Once you reach the ridge, the views open dramatically in almost every direction. From here, the route follows the ridge toward the summit of Frosty Mountain.

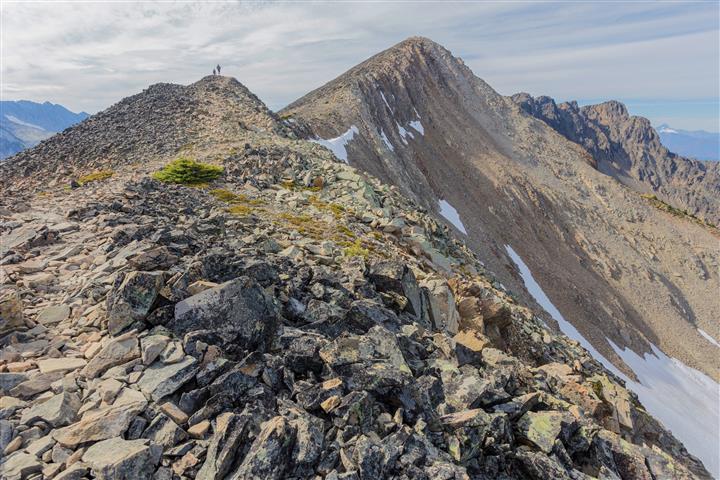
Looking along Frosty Mountain ridge
Looking along the ridge toward the summit.
Final section approaching Frosty Mountain summit
The final section toward the summit.

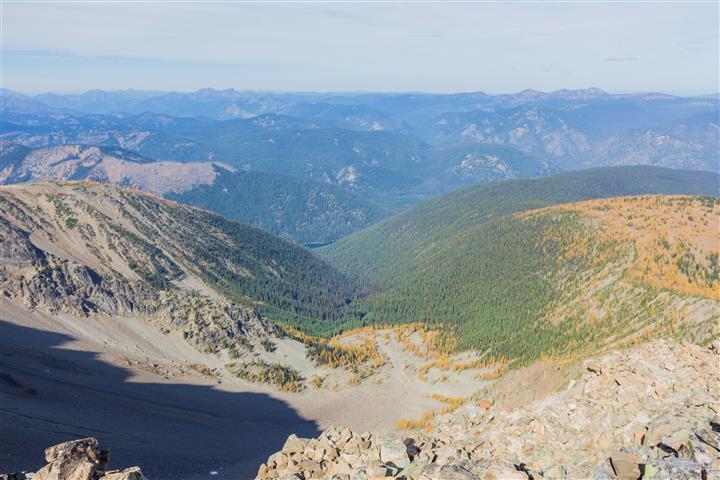
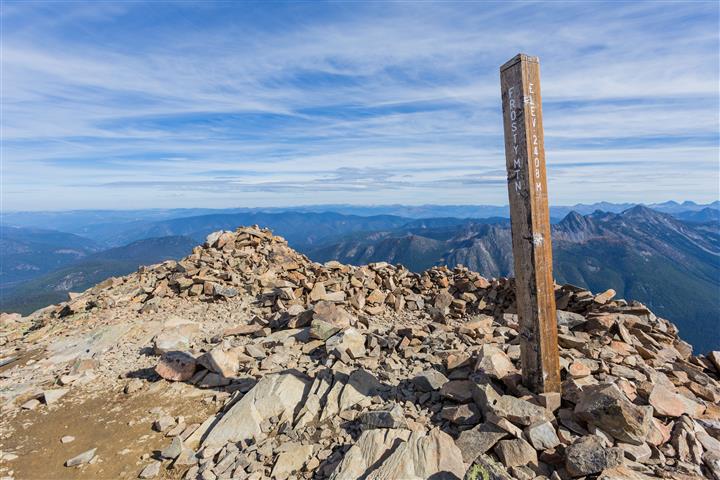
The summit sits at approximately 2,408 m and provides sweeping views across the surrounding Cascade Mountains. On a clear day, the panorama is the reward for a very long climb.

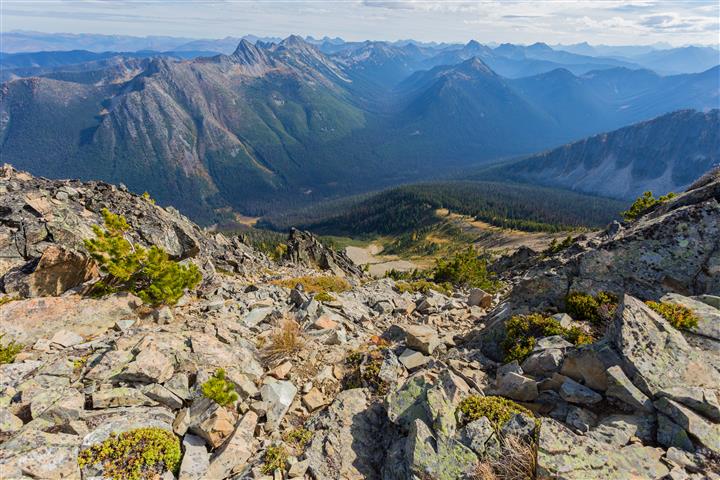
Mountain view from Frosty Mountain summit
View from the summit.
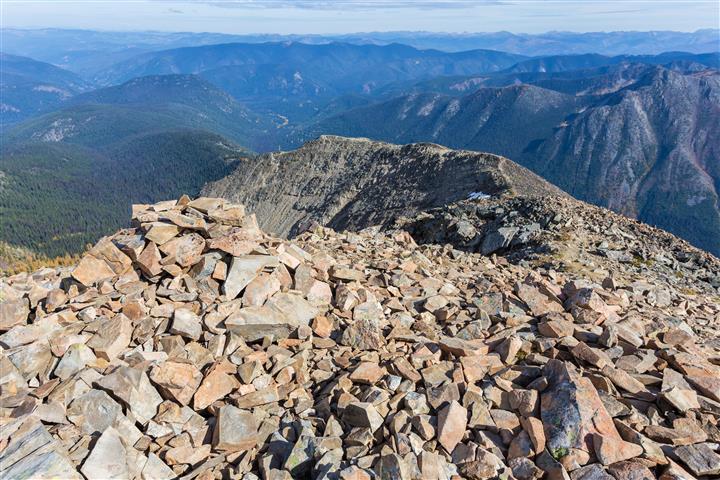
View down Frosty Mountain ridge from the summit
Looking back down the ridge from the summit.
Panoramic view from Frosty Mountain summit
Another summit view.
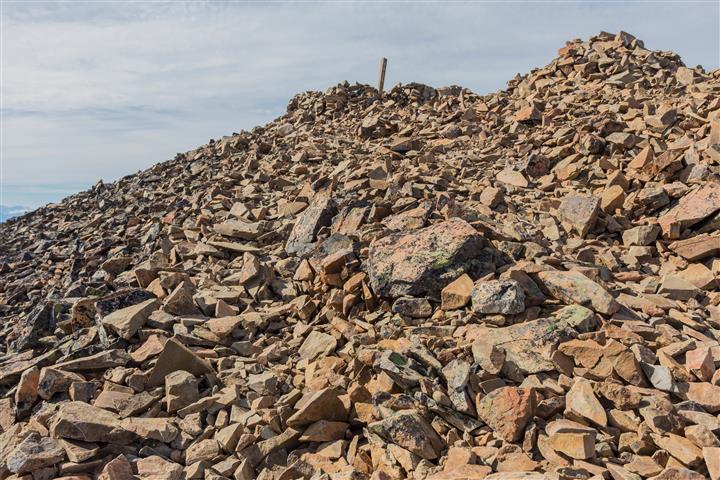
Frosty Mountain summit marker
Frosty Mountain summit marker.

More Photos from the Hike

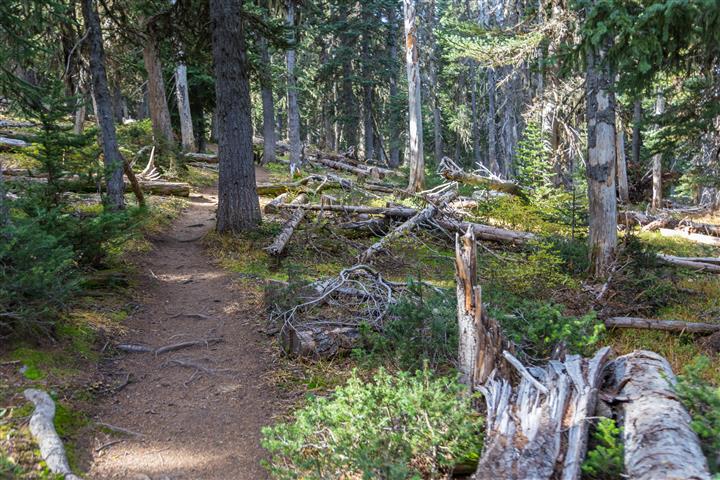
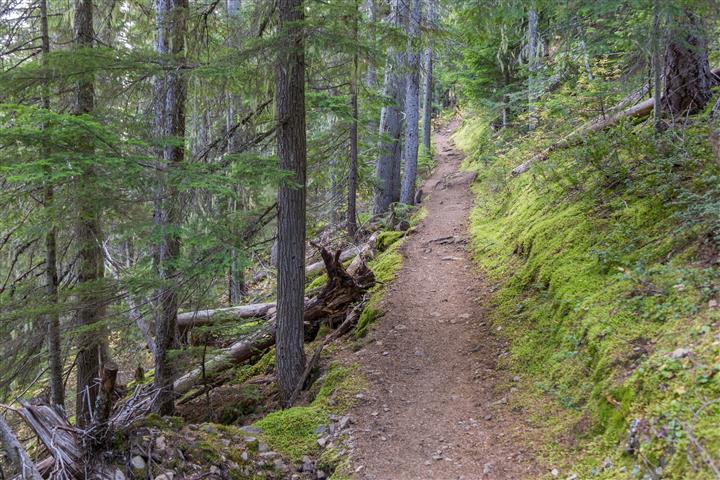
Frosty Mountain Trail
Frosty Mountain Trail.
High-elevation trail on Frosty Mountain
High-elevation trail on Frosty Mountain.
Frozen alpine larch on Frosty Mountain
Frozen alpine larch.
Frosty Creek shelter
Frosty Creek shelter.
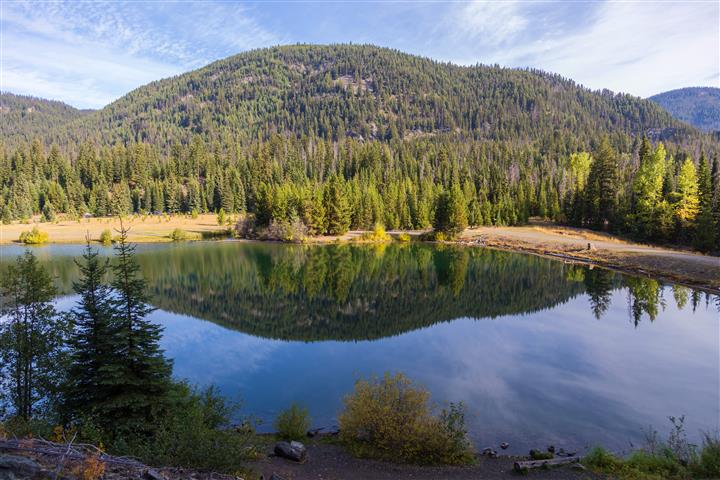
Lightning Lake in Manning Provincial Park
Lightning Lake.

Before You Go

Frosty Mountain is a full-day mountain hike. Start early, carry enough food and water, wear appropriate footwear, and be prepared for large temperature differences between Lightning Lake and the summit.

There is no reliable cellular service in E.C. Manning Provincial Park, so download an offline map or GPS route before starting. Weather and trail conditions can change quickly at high elevation, and snow can remain or return outside the main summer hiking season.

For current trail conditions and advisories, check the BC Parks E.C. Manning Park page before heading out.

This route description and the photographs reflect conditions when I completed the hike. Snow, weather, trail conditions, and access can change considerably, especially at higher elevations.