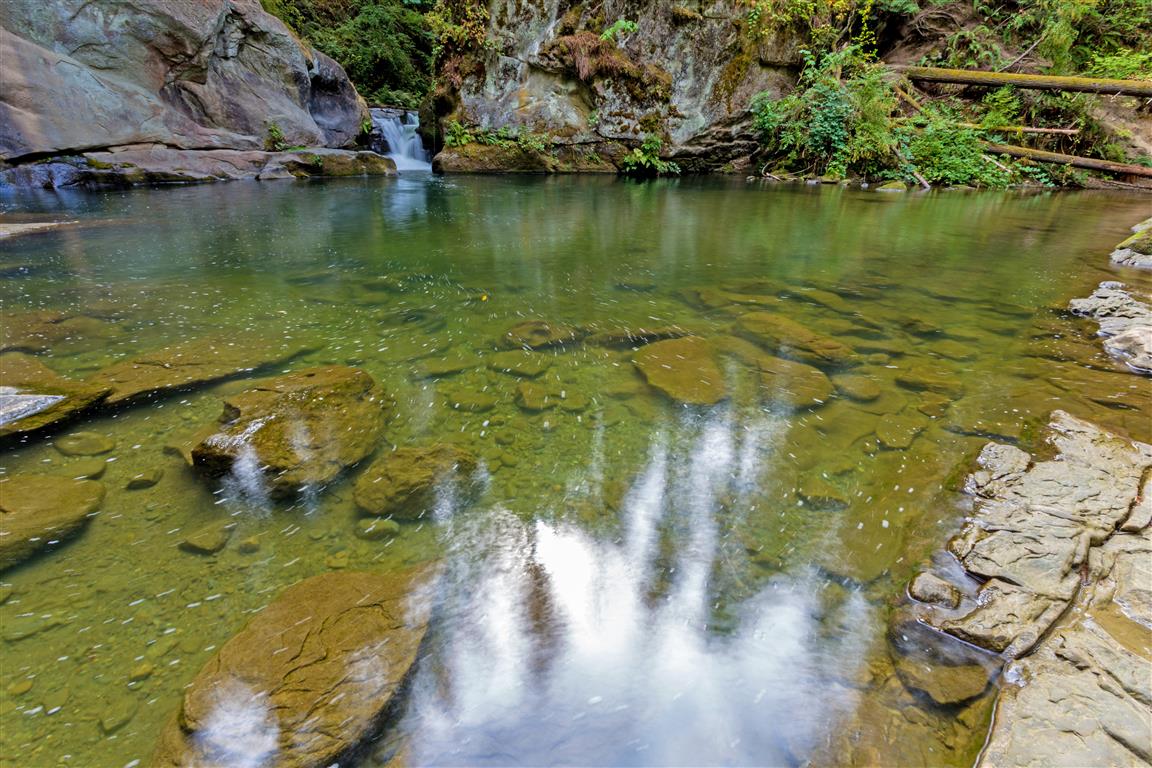
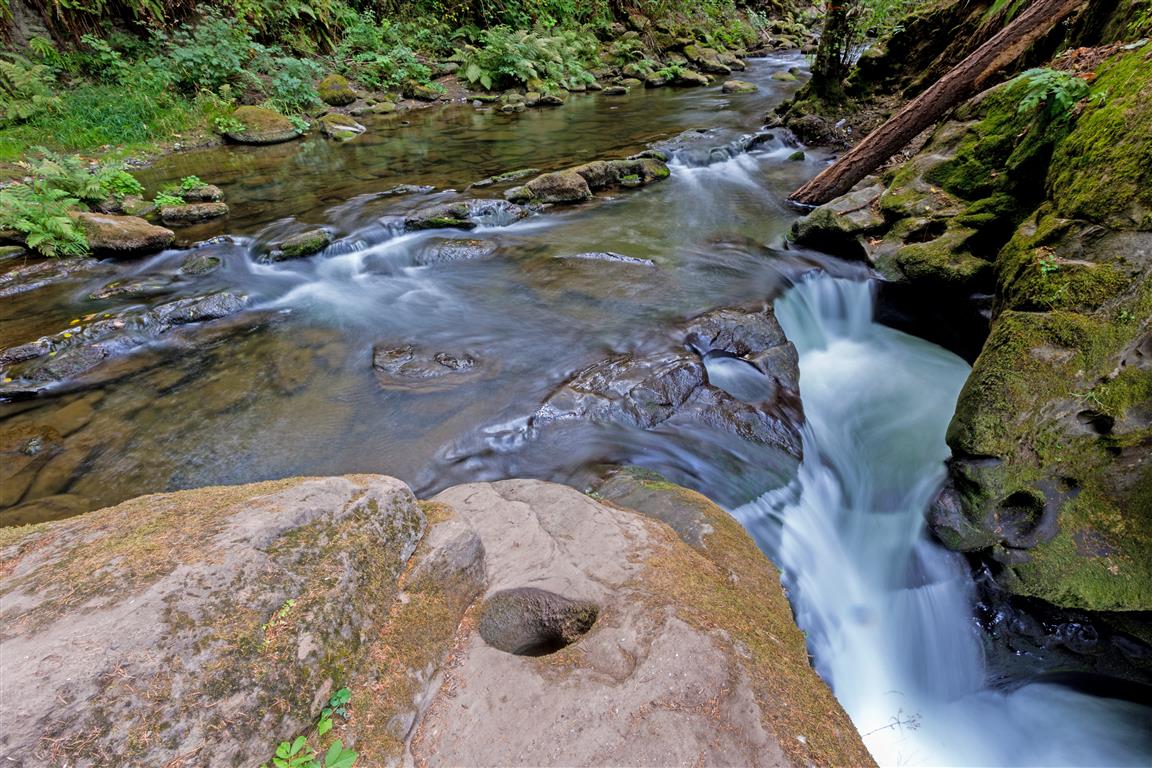
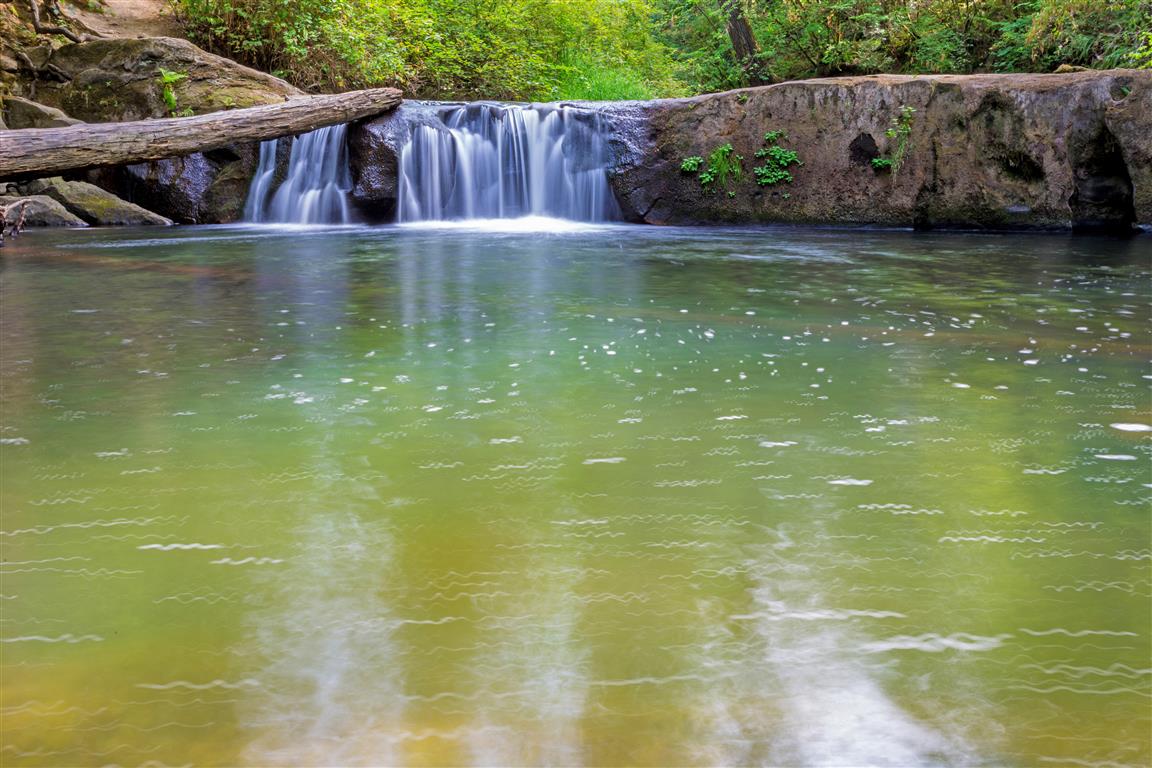
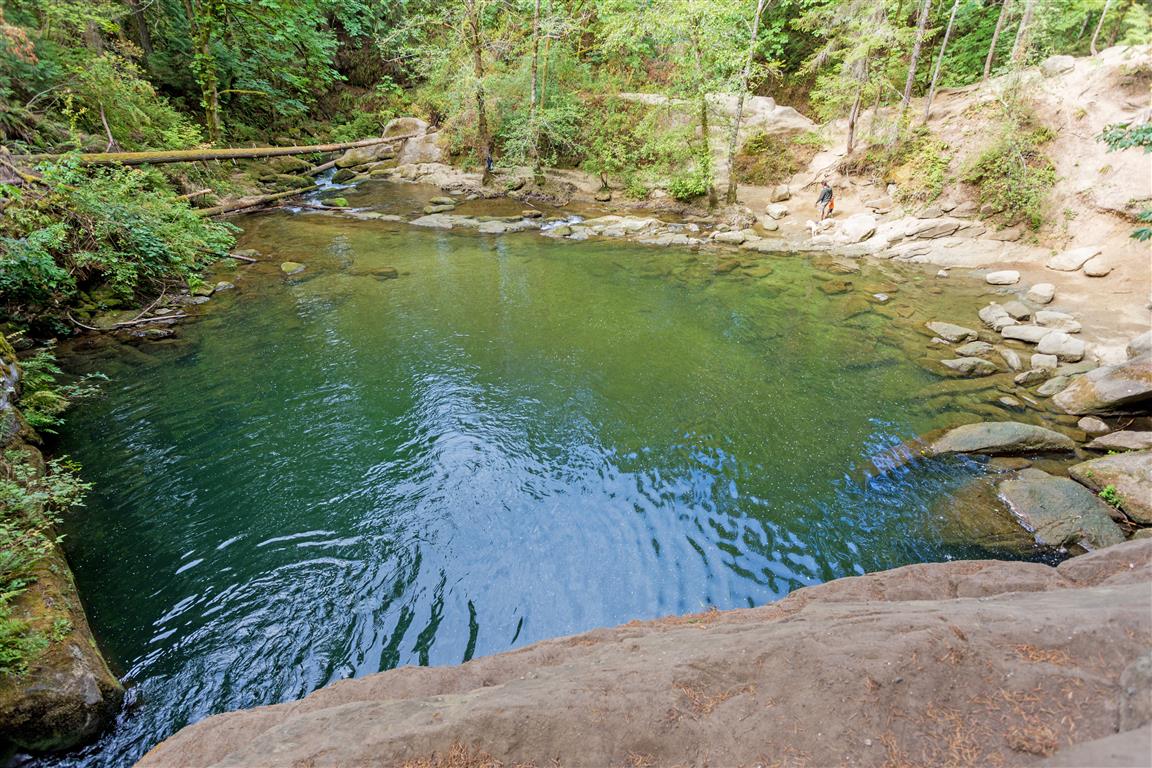
Category Archives: Washington

Oyster Dome

The Oyster Dome hike is in the Chuckanut Mountain Range, a short distance south of Bellingham, Washington. There are a number of trails in the mountain, and we extended our hike and visited North Bluff, Lily Lake, and Lizard Lake. On the way back, we took Max’s Shortcut (which isn’t really a shortcut, but is a nice gentle slope down).

Getting There

We started the hike at the recommended spot at the Samish Overlook parking lot (see the map below).

NOTE: There is a 6 km (3.8 mi) gravel road to travel on to reach the parking lot. The road is fine for most vehicles — just take it slow, as there are some big potholes.

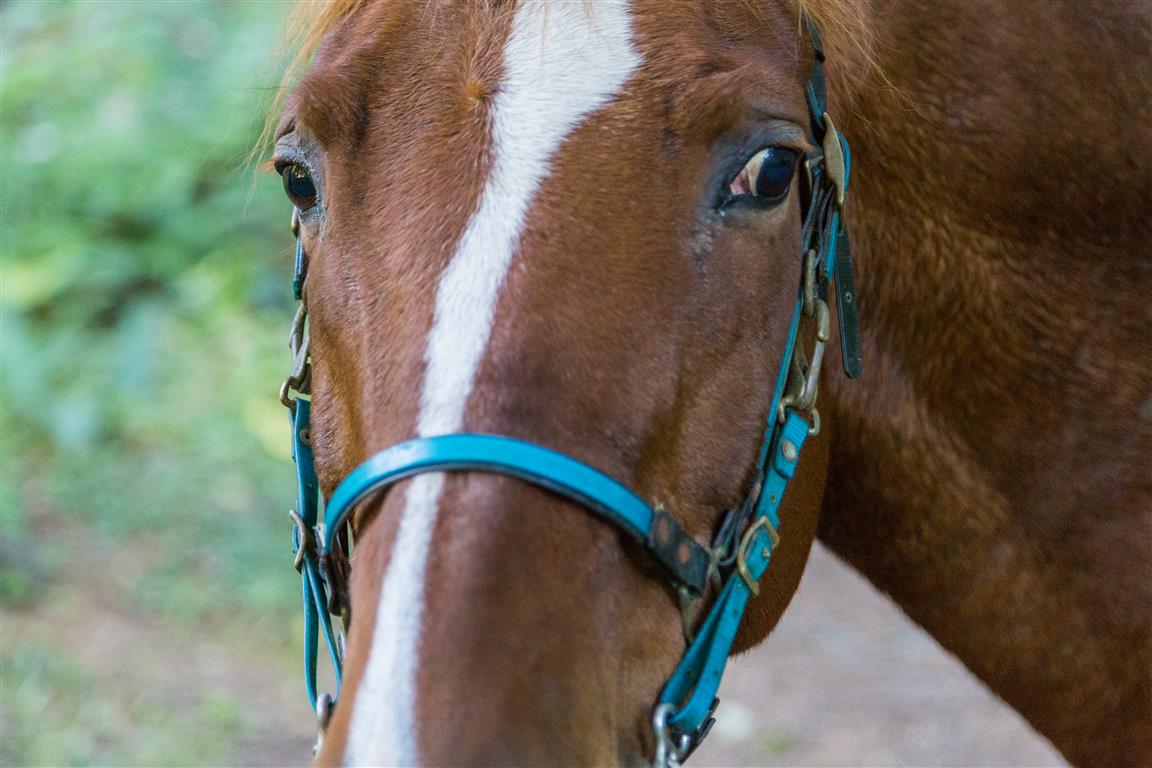
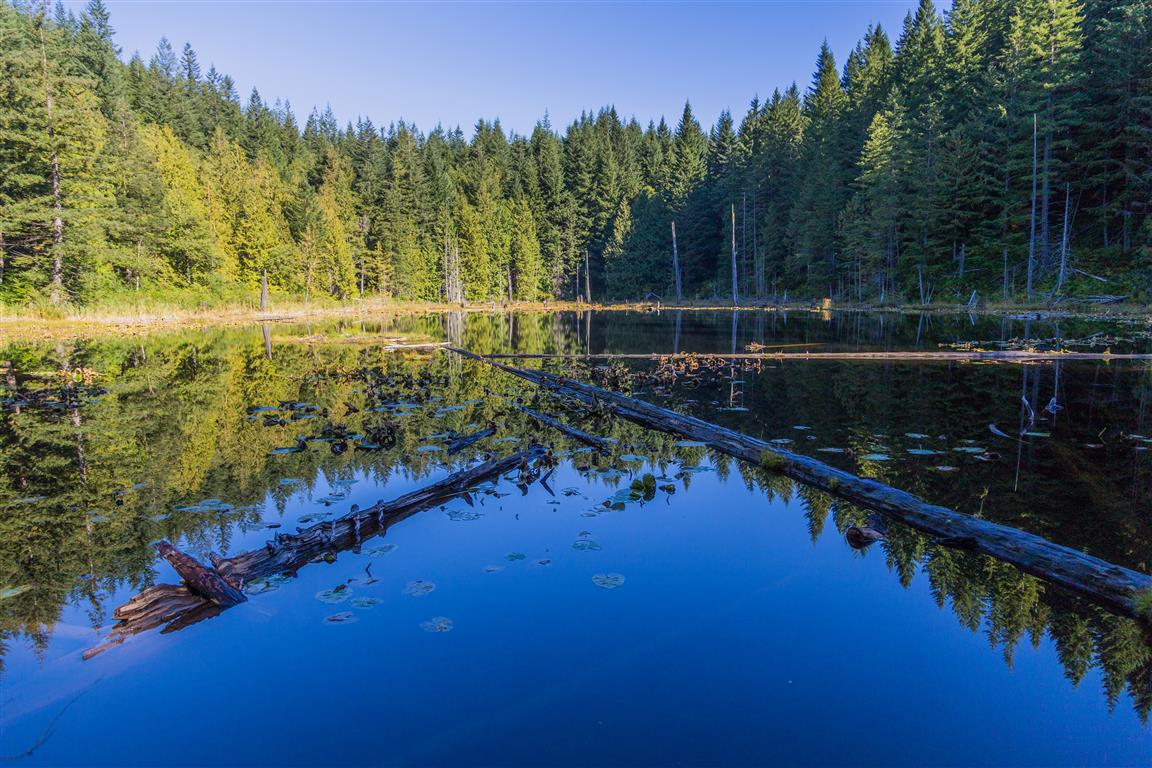
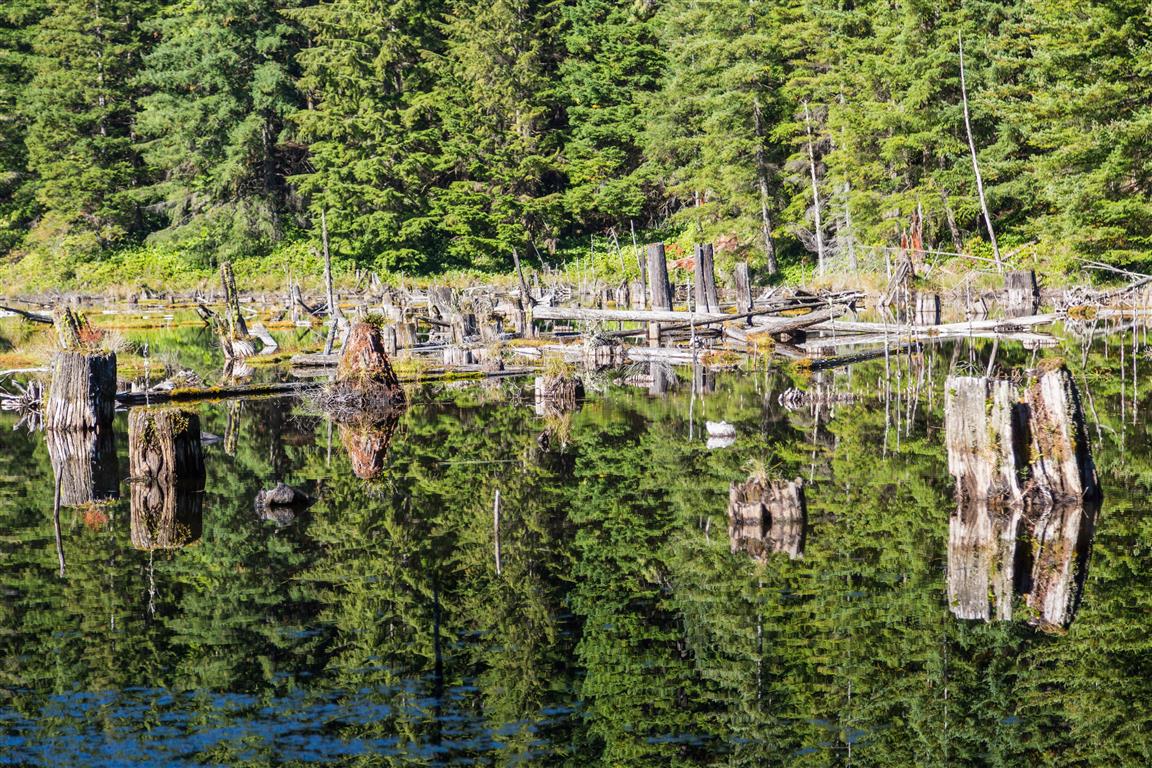
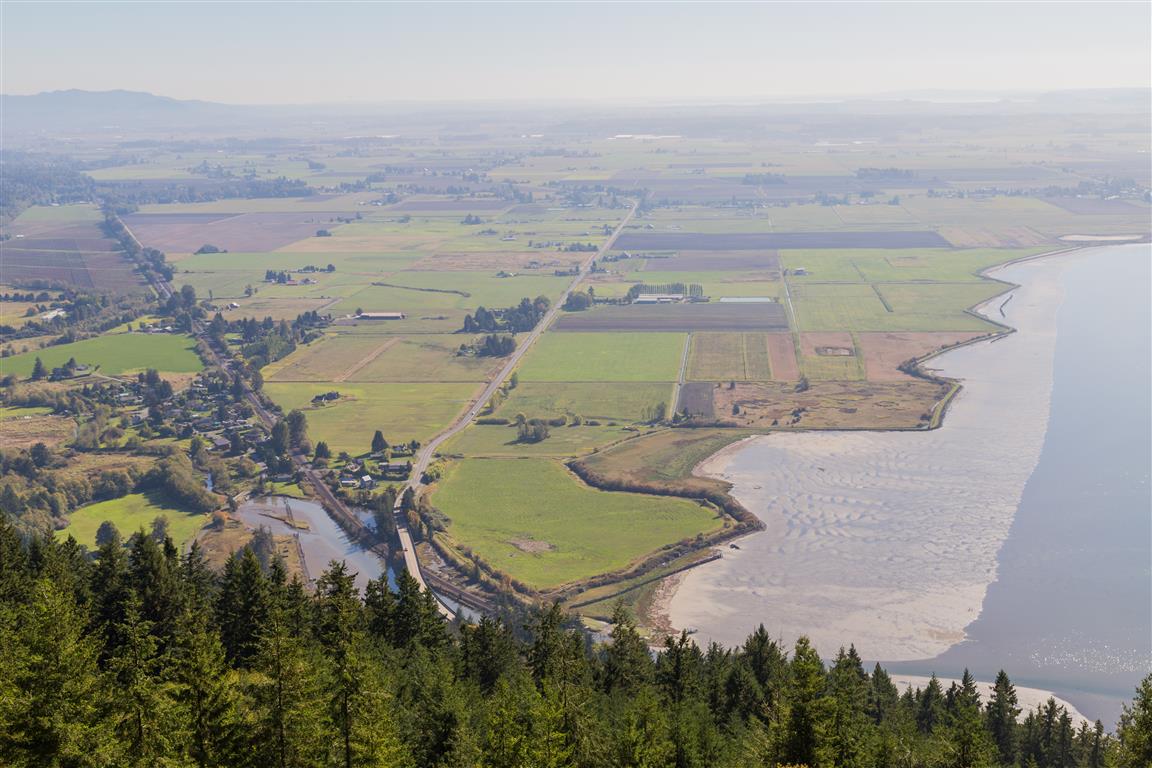
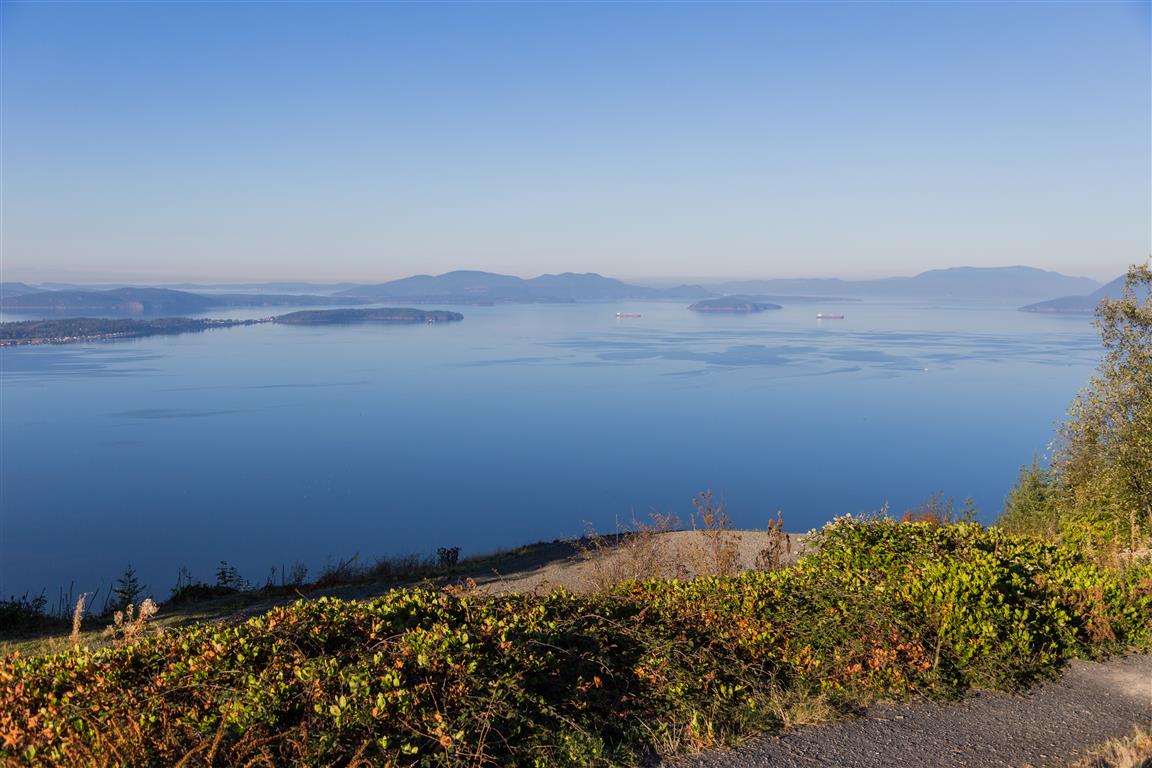
From the parking lot, there is already a great view of Samish Bay. The first viewpoint on the trail is Oyster Dome, which took us about 1.5 hours to reach. About 30 minutes after leaving the Oyster Dome viewpoint, we arrived at Lily Lake for a quick visit. After Lily Lake, our destination was North Bluff, another 30 minutes away. These bluffs are a great stopping point, and it’s here we had lunch. Following an extended visit to North Bluff, we made our way to Lizard Lake, which we arrived at in 20 minutes. At Lizard Lake, we saw three horses and their riders. After the visit to Lizard Lake, we headed back via Max’s Shortcut.

Discover Pass & Border Crossing

NOTE: You will need a Discover Pass to park here. For more about the Discover Pass, go here.

A Discover Pass can be purchased in advance online at the Washington Department of Fish and Wildlife website.

Border crossing tips: bring your passport, Nexus, or enhanced ID. No fruit, no vegetables, no meat (this isn’t a complete list). Trail mix is okay.

A great resource for current conditions for this hike is the WTA website. Check it out!

Trail Stats

  • Distance: 13 km (loop)
  • Time: 5.5 hours (including lunch and many breaks)
  • Low point: 334 m
  • High point: 677 m
  • Elevation gain: 333 m
  • Cumulative elevation gain: 685 m
  • Trailhead and parking: 48° 36′ 29.5″ N, 122° 25′ 59″ W (Google Map)

The Route

The actual GPS track from this hike, drawn on the map below. Green marks the start/end point.

Photos
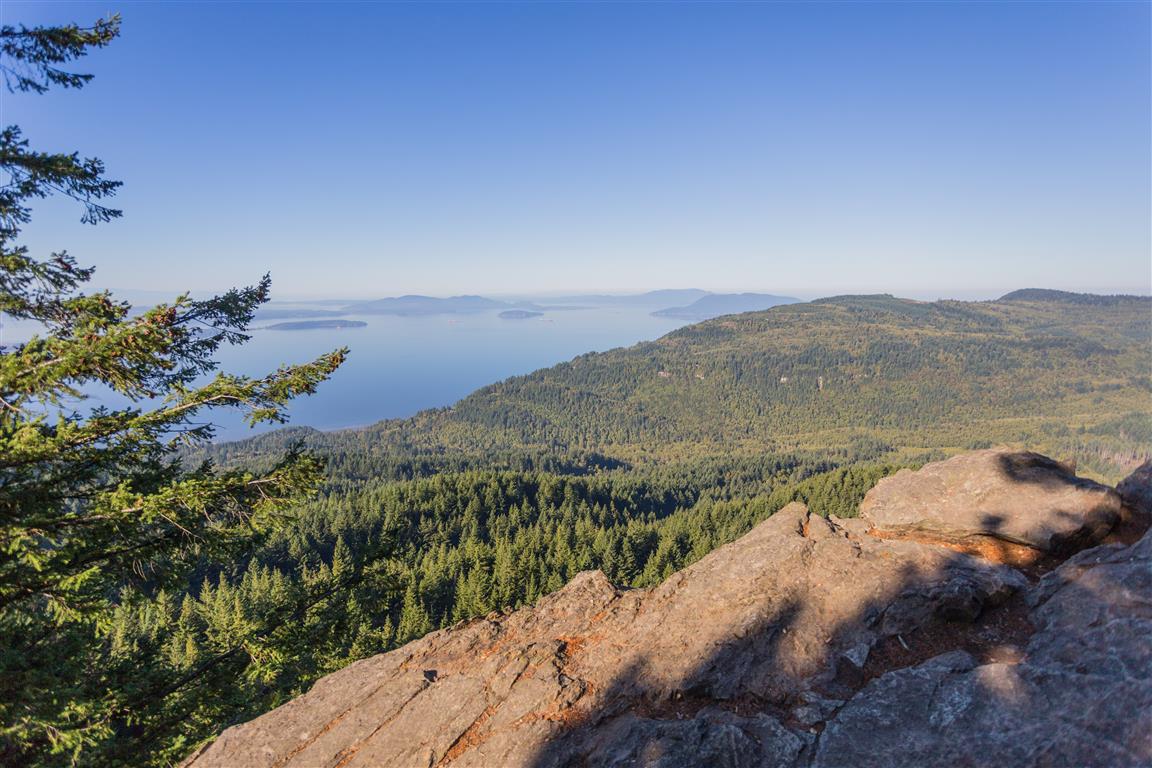
Oyster Dome viewpoint
Trail
Trail
View near North Bluff
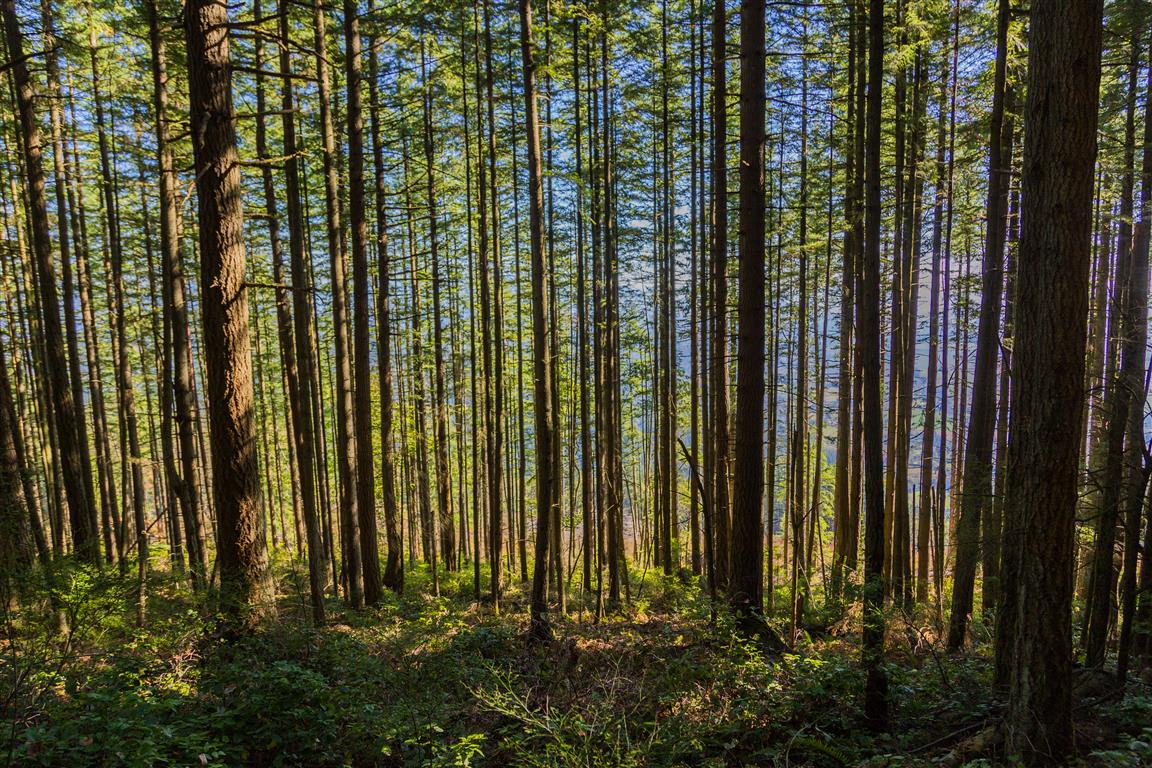
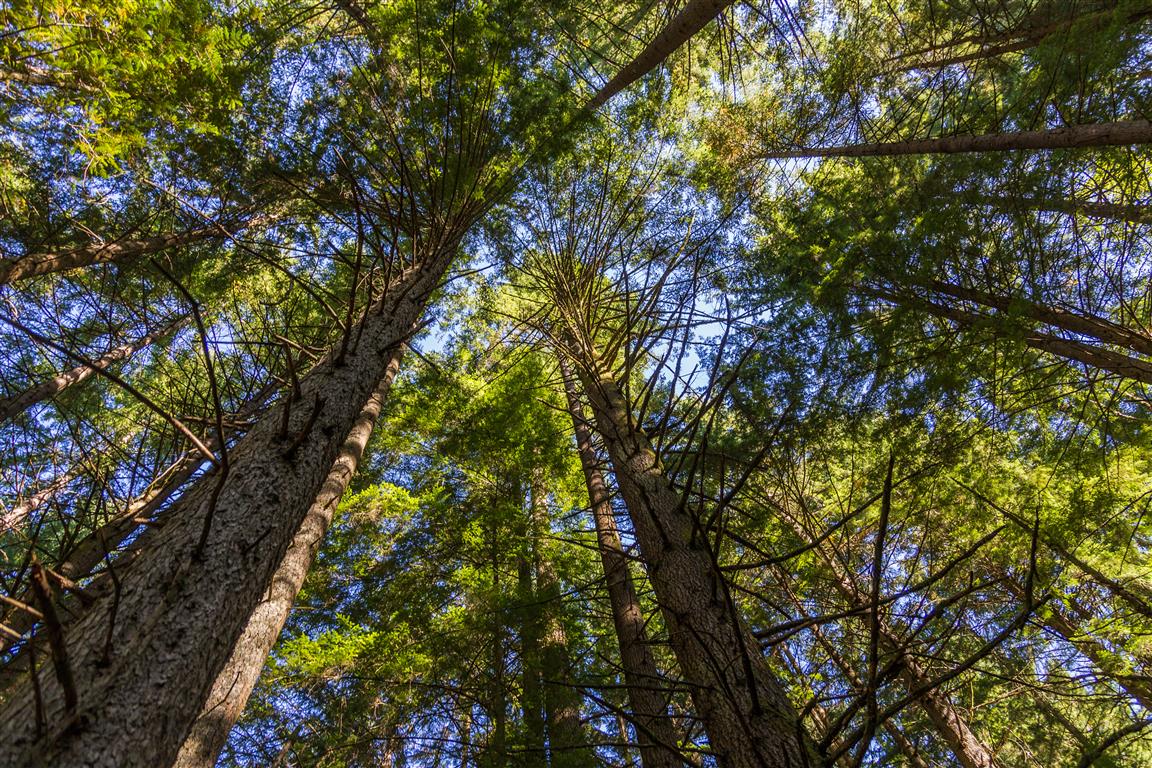
Forest
Forest
Horse at Lizard Lake
Lily Lake
Lily Lake
Lizard Lake
Lizard Lake
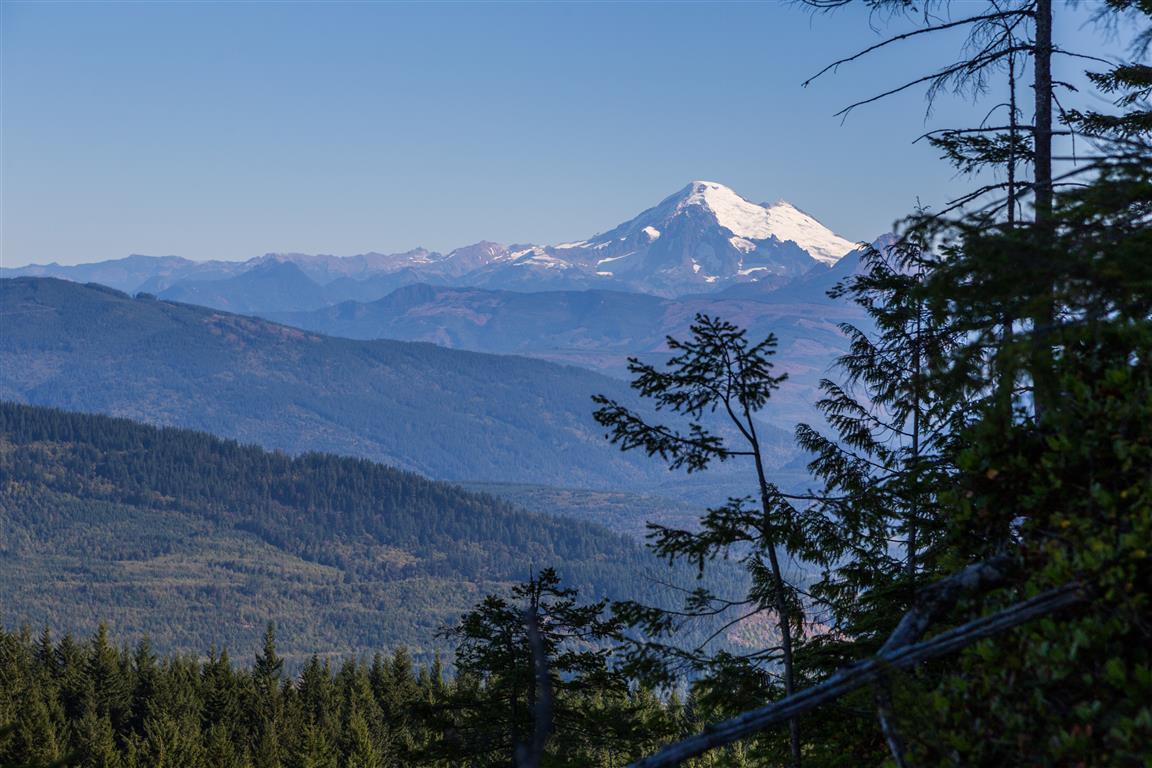
Mt. Baker
Mt. Baker
Trees
Trees
View from Samish Overlook
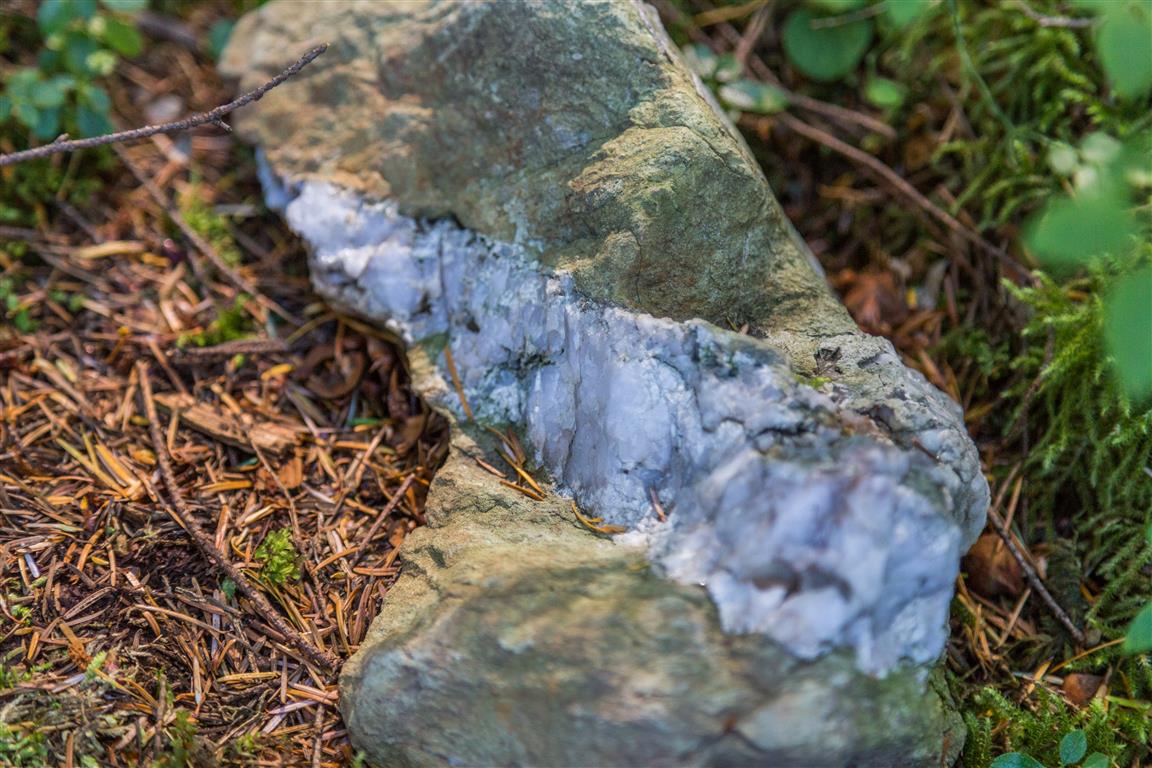
Neat rock
Neat rock
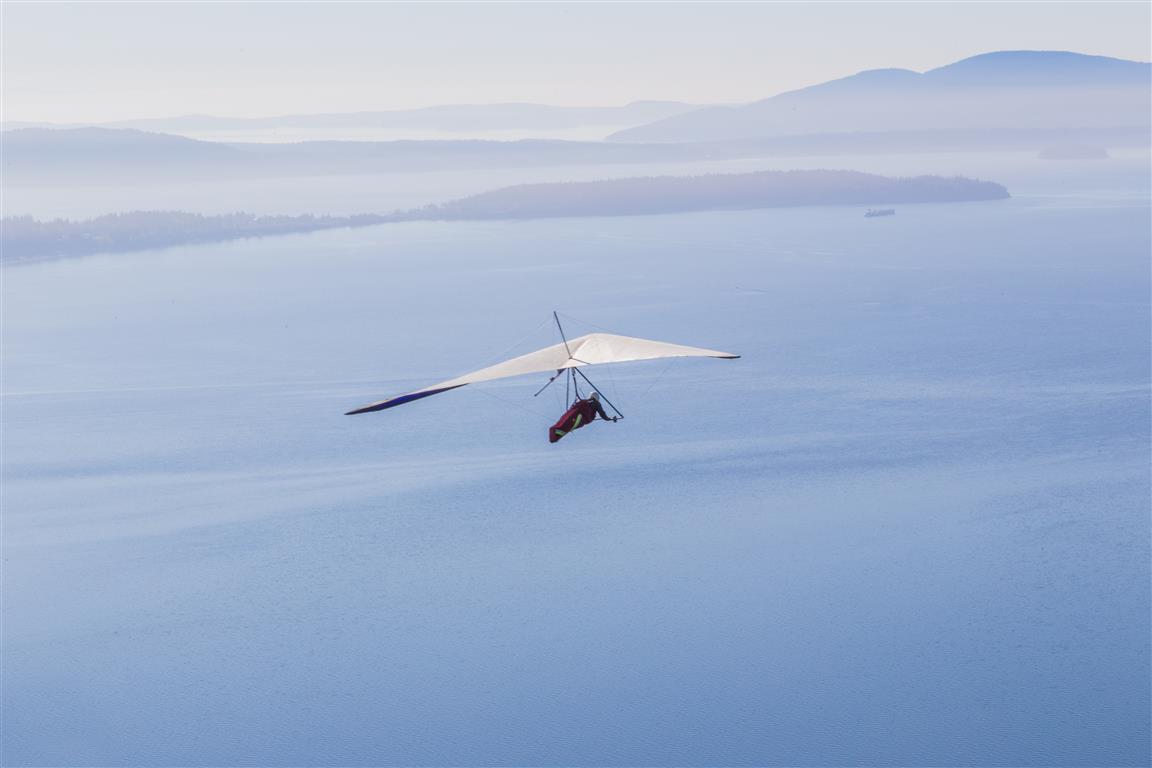
Hang glider
Hang glider
Conditions on this trail can change over time — trailheads move, access rules shift, and businesses close. This post reflects what I found when I did the hike. If you spot something that’s changed, feel free to mention it in the comments.

Before You Hike

Before heading out on your hike, make sure you are well prepared. This means having the TEN ESSENTIALS. It is also important to leave a trip plan (route details and estimated return time) with someone you trust.

Bring your smartphone, fully charged, and put it in airplane mode while hiking. I always bring backup battery packs for extra peace of mind. It is highly recommended that you bring a GPS device. I use my smartphone with a GPS app (Backcountry Navigator). The GPS will work in airplane mode. Learn how to use it before your hike.

For anyone new to hiking, there is a rule that hikers follow called “Leave No Trace” or LNT. The concept is generally to pack out what you pack in and respect nature, so all future visitors can enjoy what you have enjoyed. To learn more about LNT, please check out this blog by a certified LNT Trainer.

Table Mountain

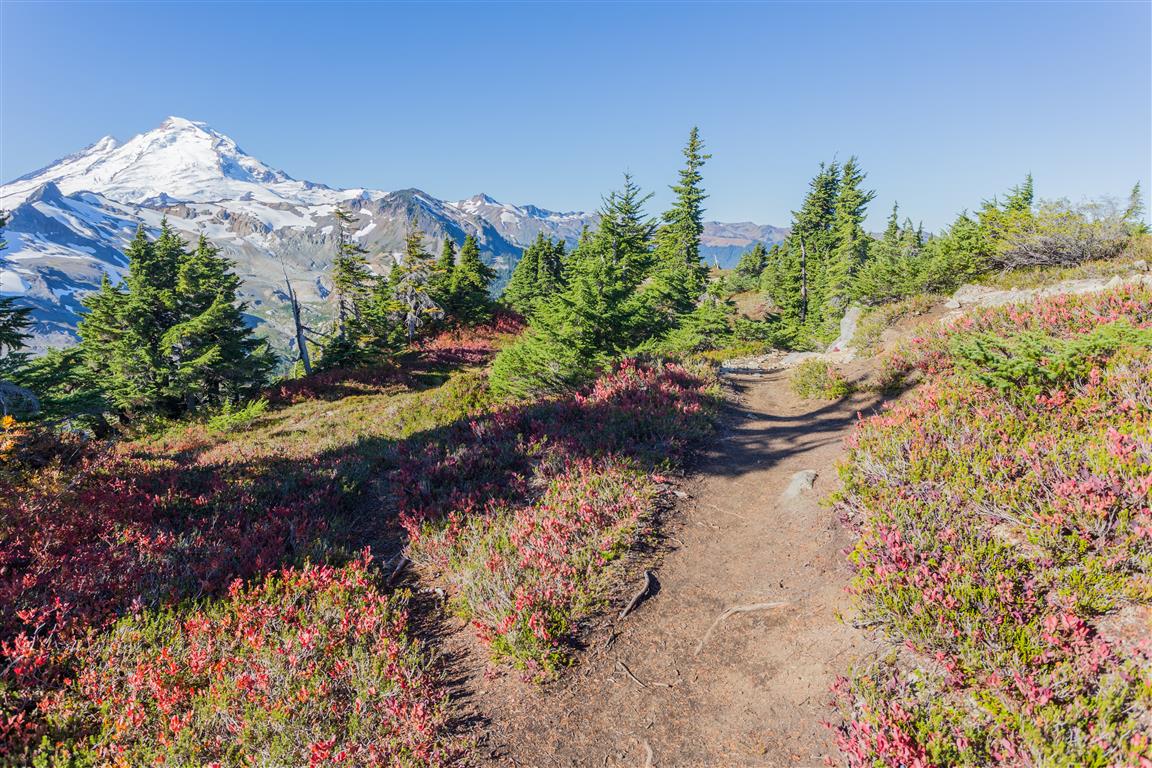
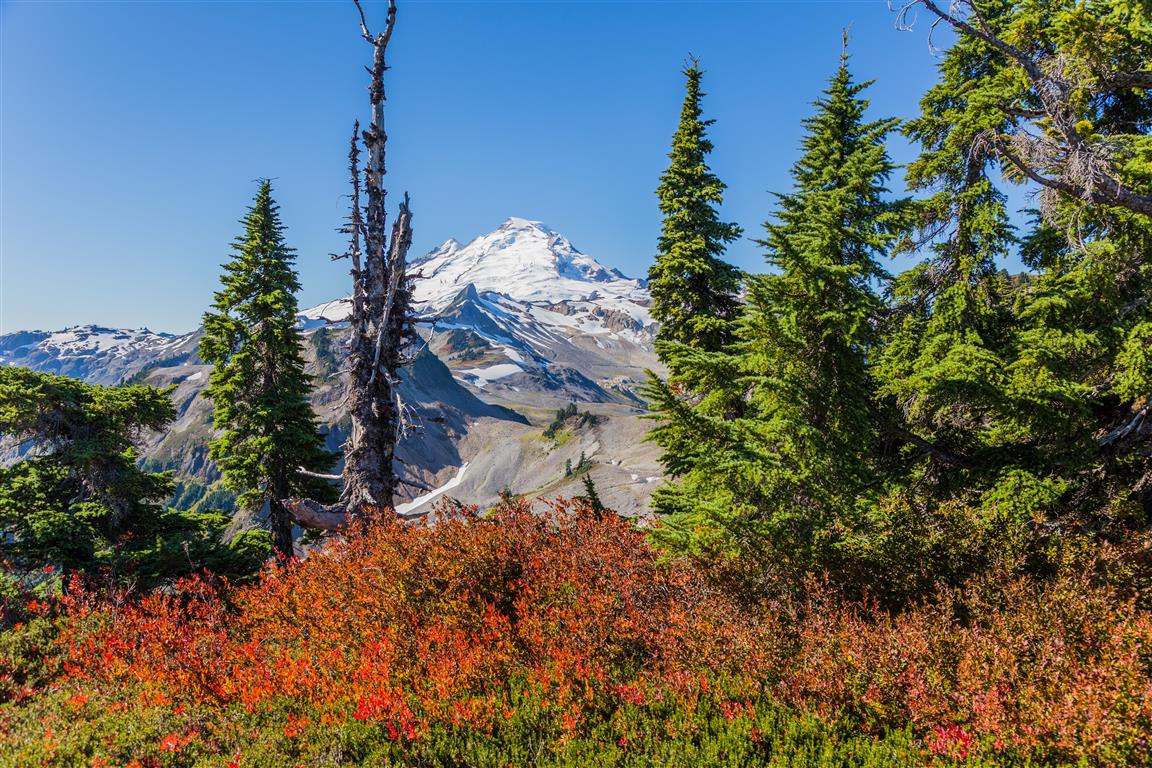
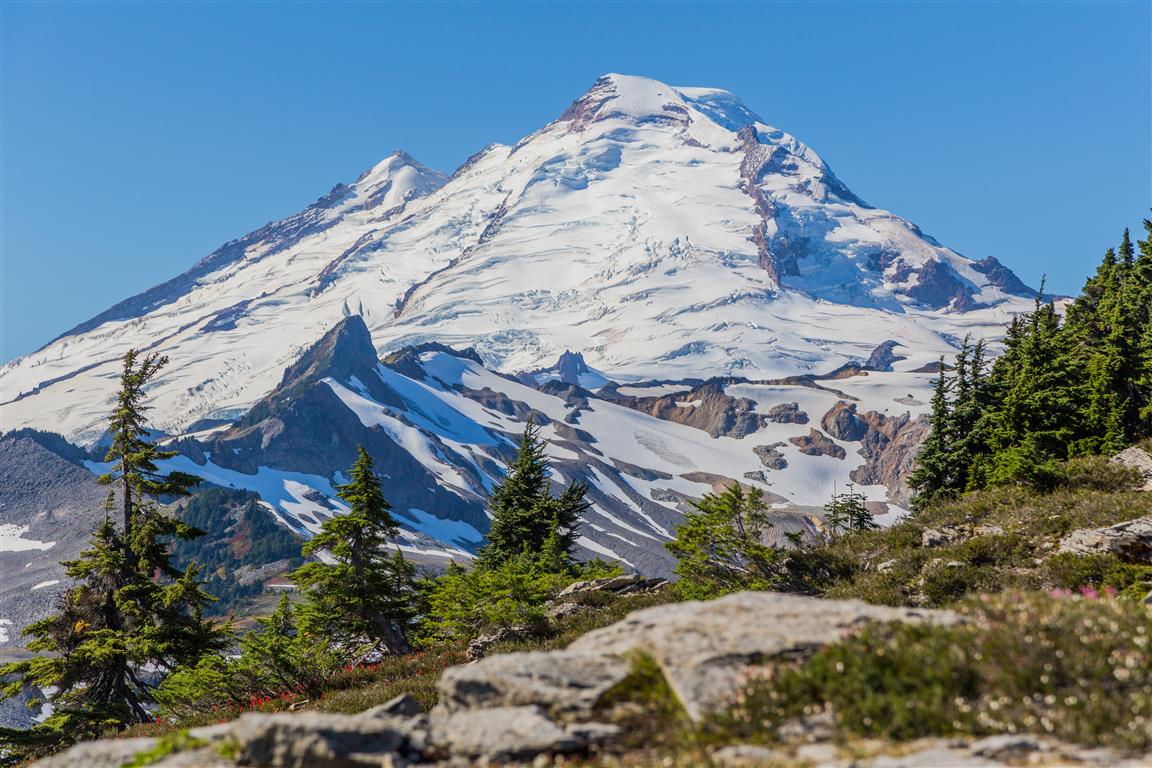
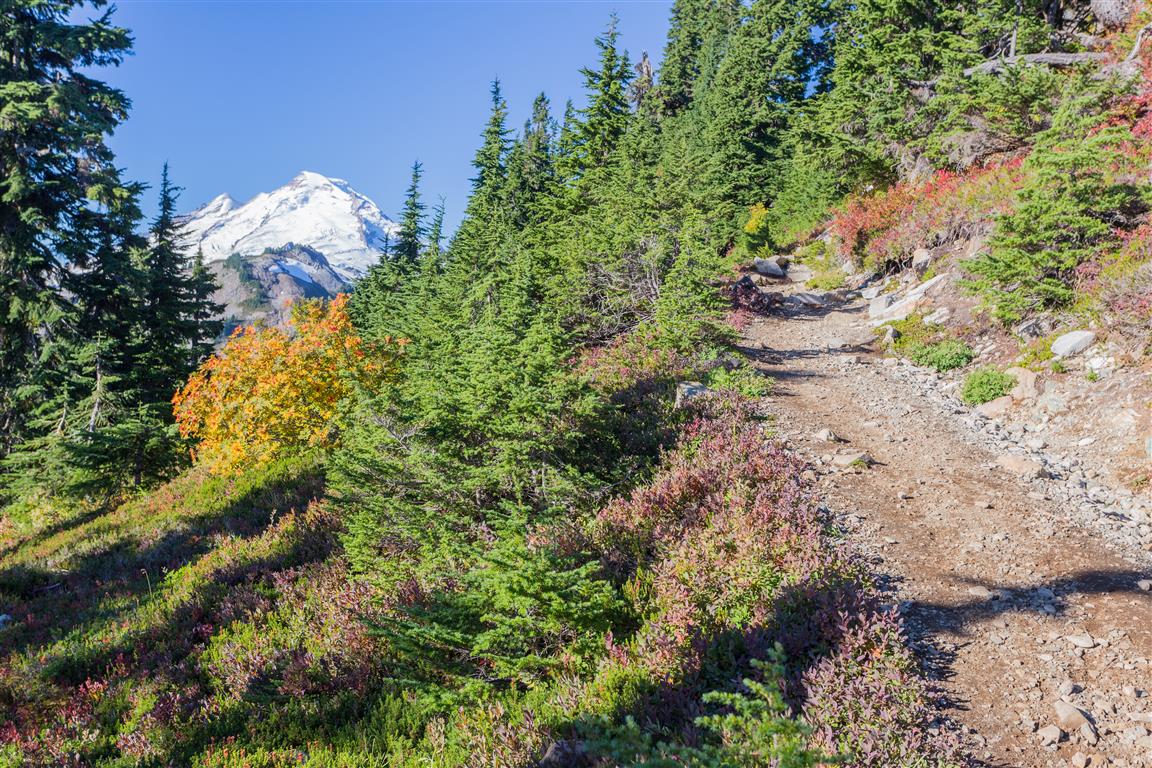
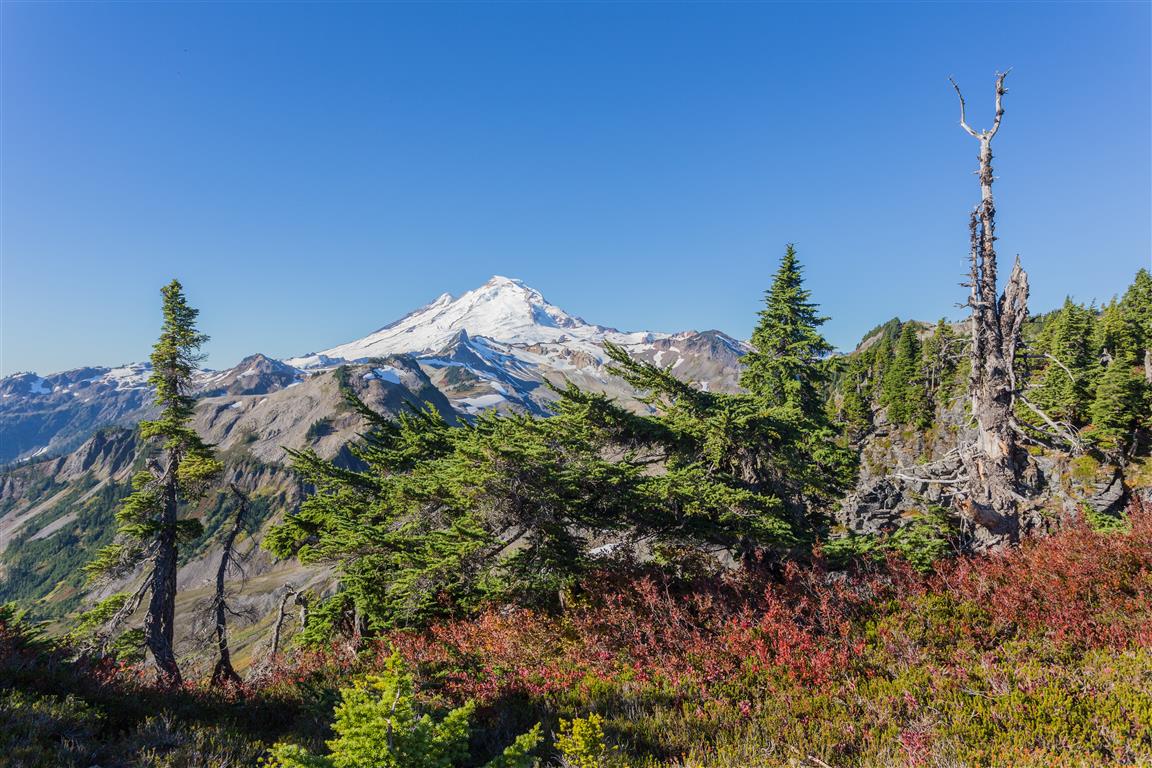
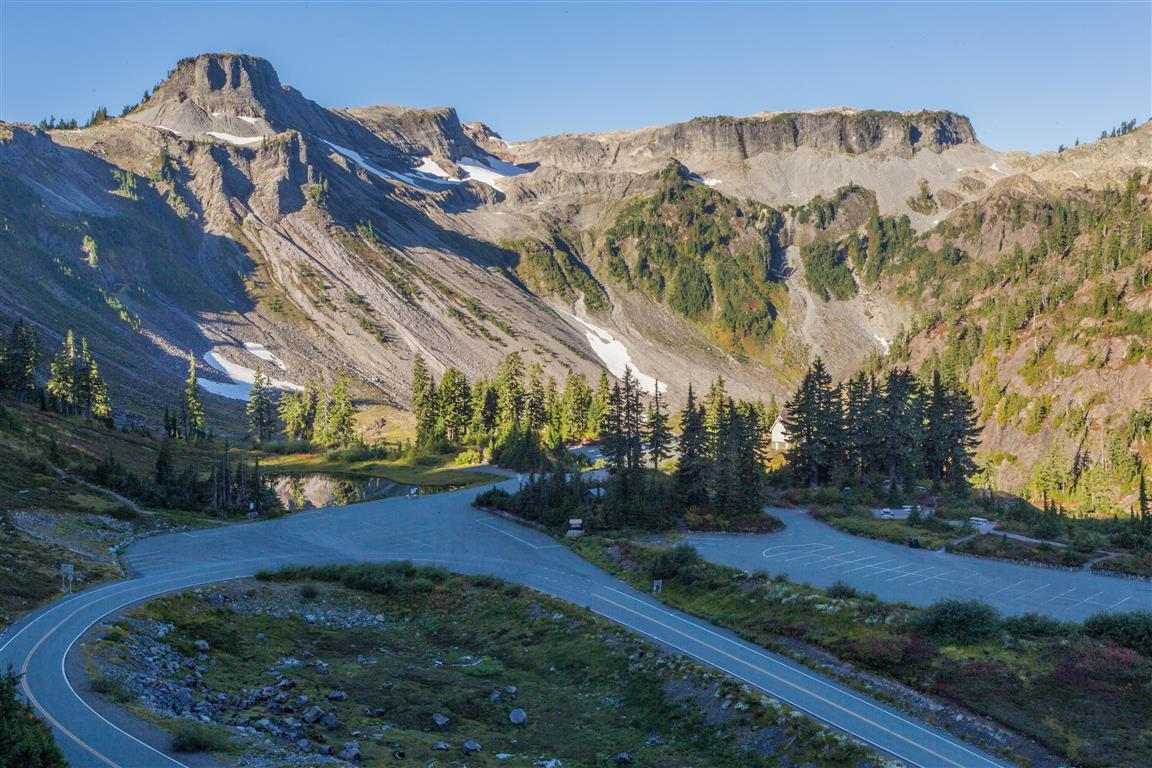
Table Mountain, in the Mt. Baker area, must be one of the easier hikes here, but the payoff is simply spectacular. The trail starts at Artist Point, 12 km northeast of the Mount Baker summit. Artist Point is the starting point for a number of great hikes, such as Ptarmigan Ridge and Chain Lakes. And a bonus — the road to Artist Point is paved the entire way!

The Trail

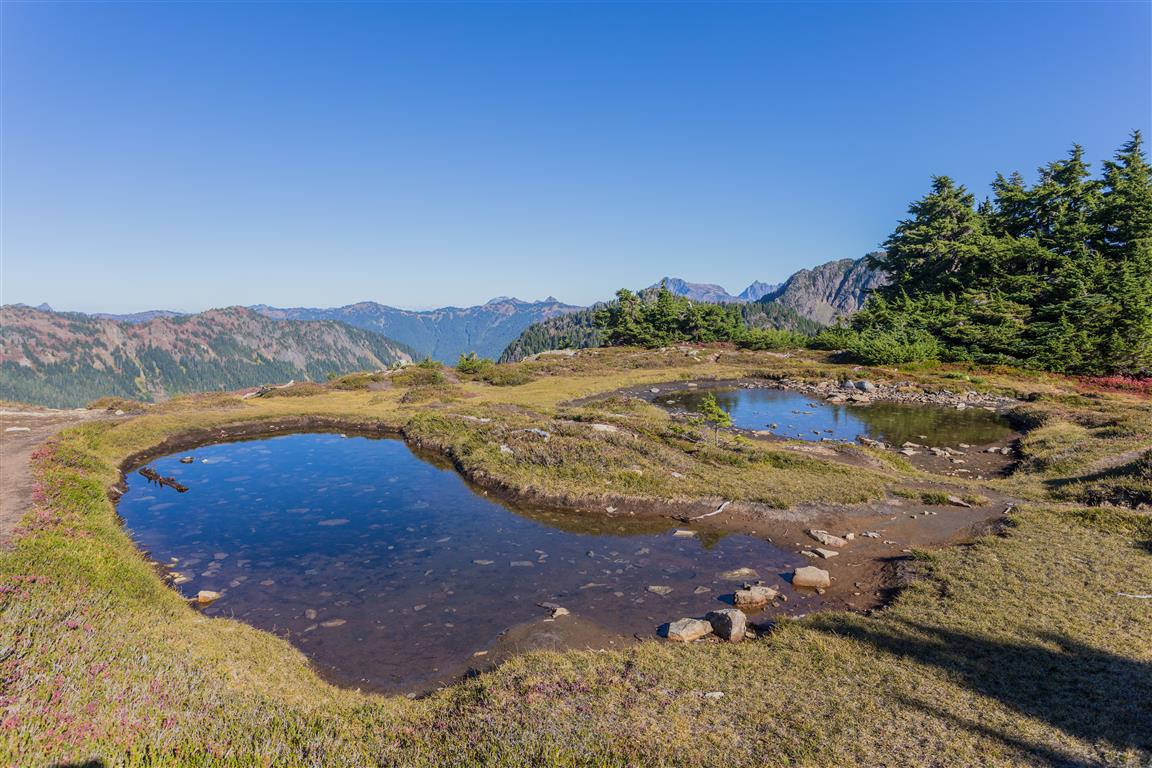
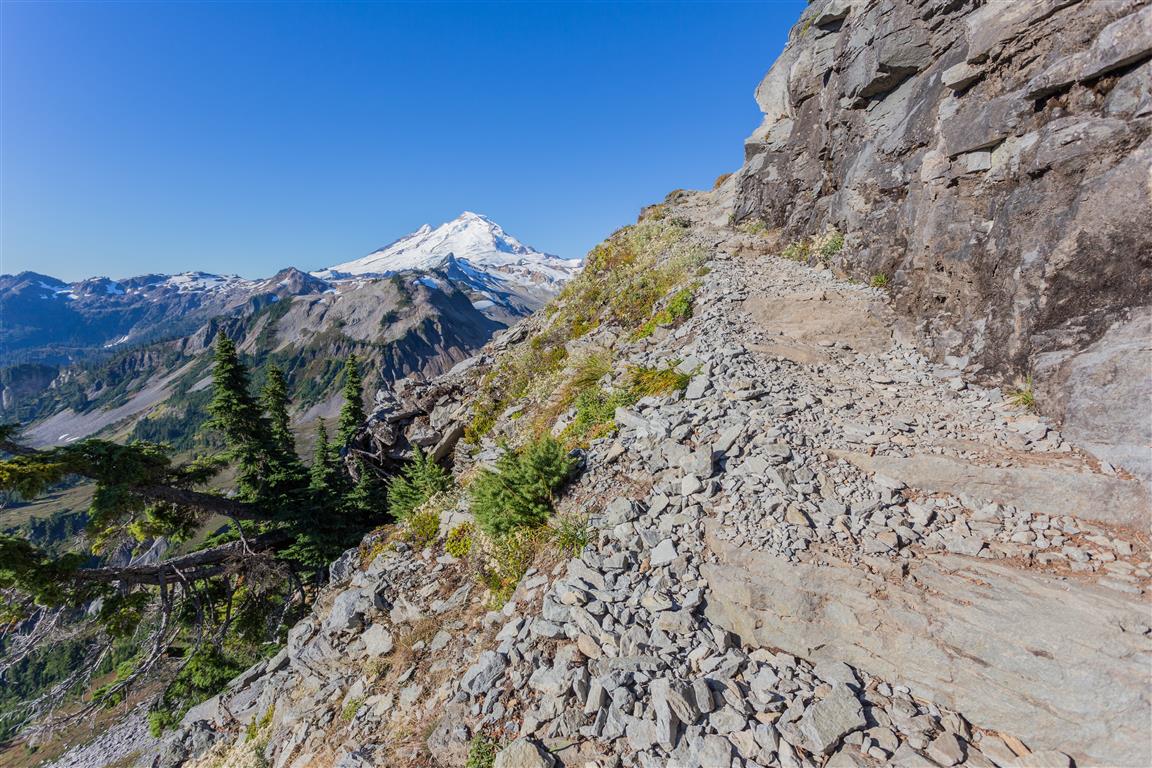
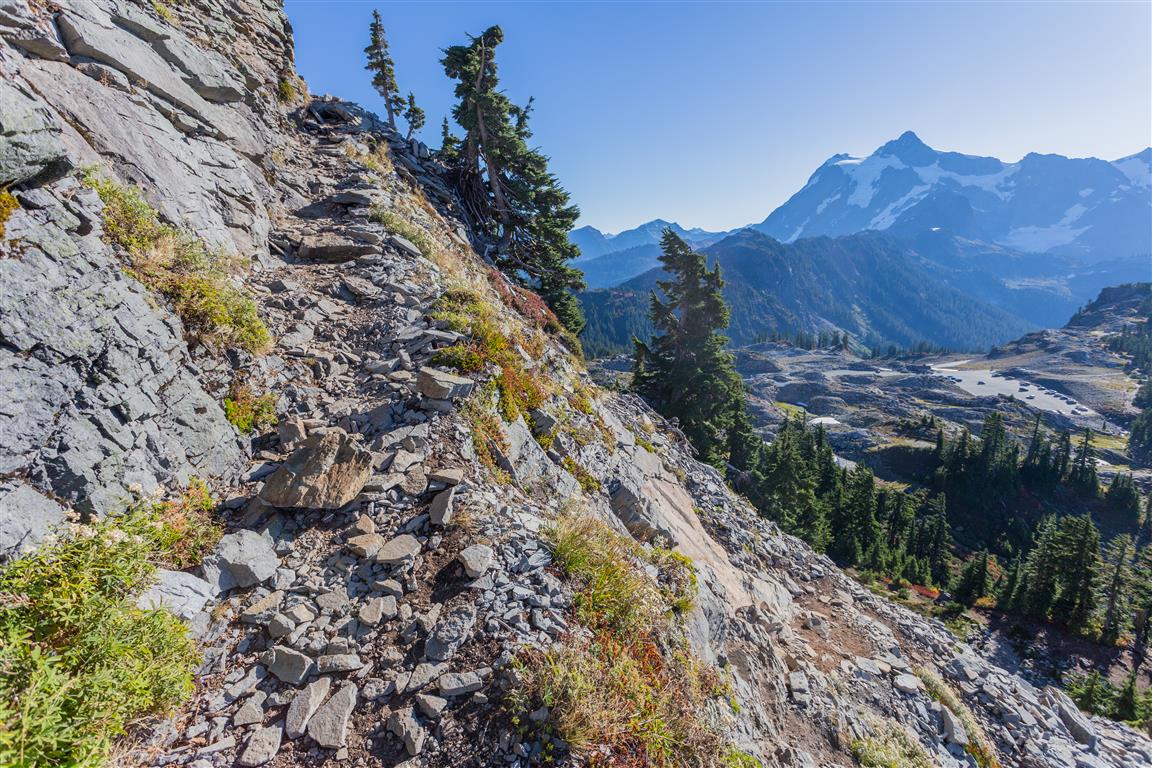
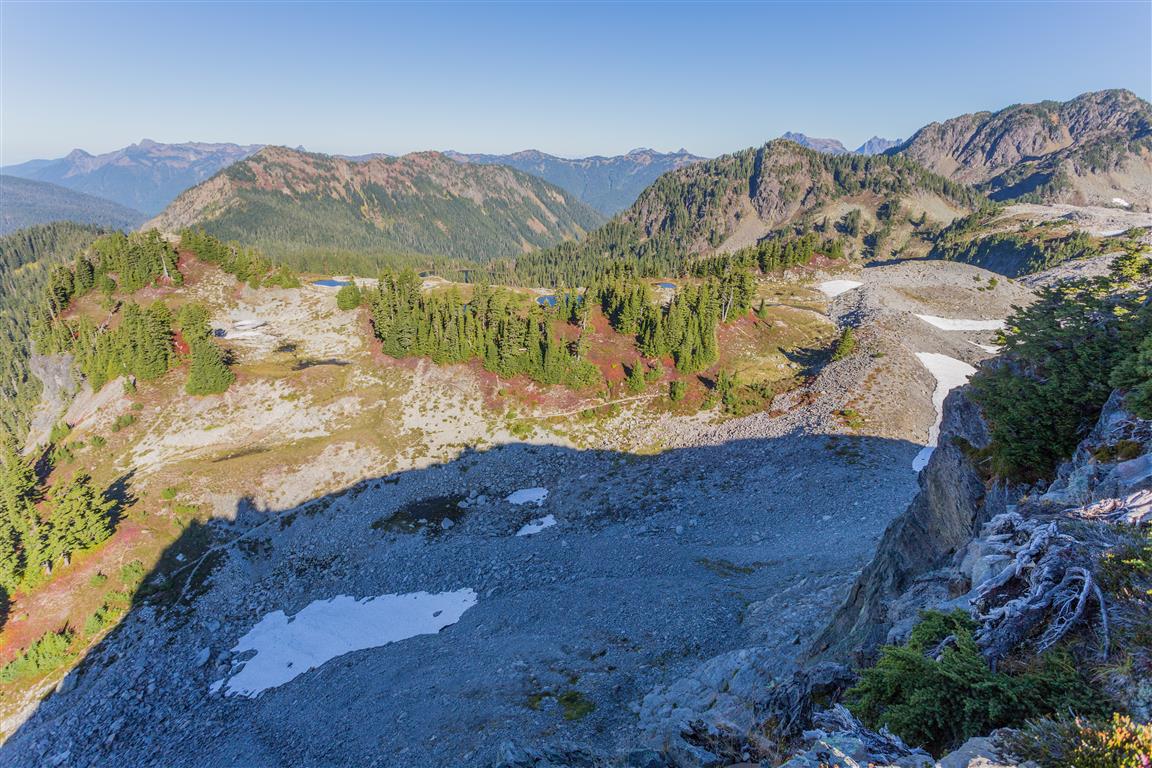
The trail starts from the west side of the parking lot at Artist Point. Watch for the sign for Table Mountain. Soon, you will start heading up via switchbacks carved into the side of the mountain. The views here are amazing and never stop! There is quite a drop-off from the trail, but I found it pretty safe. I would be wary of bringing small children. Dogs are not allowed on this trail. Once at the top, the trail meanders through scree and vegetated areas, finally terminating at a couple of small tarns (very small). There is a lesser-used trail that continues here and joins up with the Chain Lakes trail, but it is pretty rough and would require some scrambling (which is always more difficult going down). From this point, most people just turn around and go back.

Permits & Border Crossing

Remember: you will need a Northwest Forest Pass, which can be purchased in person at the Glacier Public Service Center at 10091 Mt. Baker Highway, Glacier, WA (link to map).

Or you can buy an ePass in advance online at the Discover Your Northwest website.

Border crossing tips: bring your passport, Nexus, or enhanced ID. No fruit, no vegetables, no meat (this isn’t a complete list). Trail mix is okay.

A great resource for current conditions for this hike is the WTA website. Check it out!

The location of Artist Point is here.

Trail Stats

  • Distance: 4 km (linear return)
  • Time: 3 hours
  • Low point: 1,545 m
  • High point: 1,741 m
  • Elevation gain: 196 m
  • Trailhead: 48° 50′ 47.6″ N, 121° 41′ 36.6″ W (Google Map)

The Route

The actual GPS track from this hike, drawn on the map below. Green marks the start/end point.

Photos
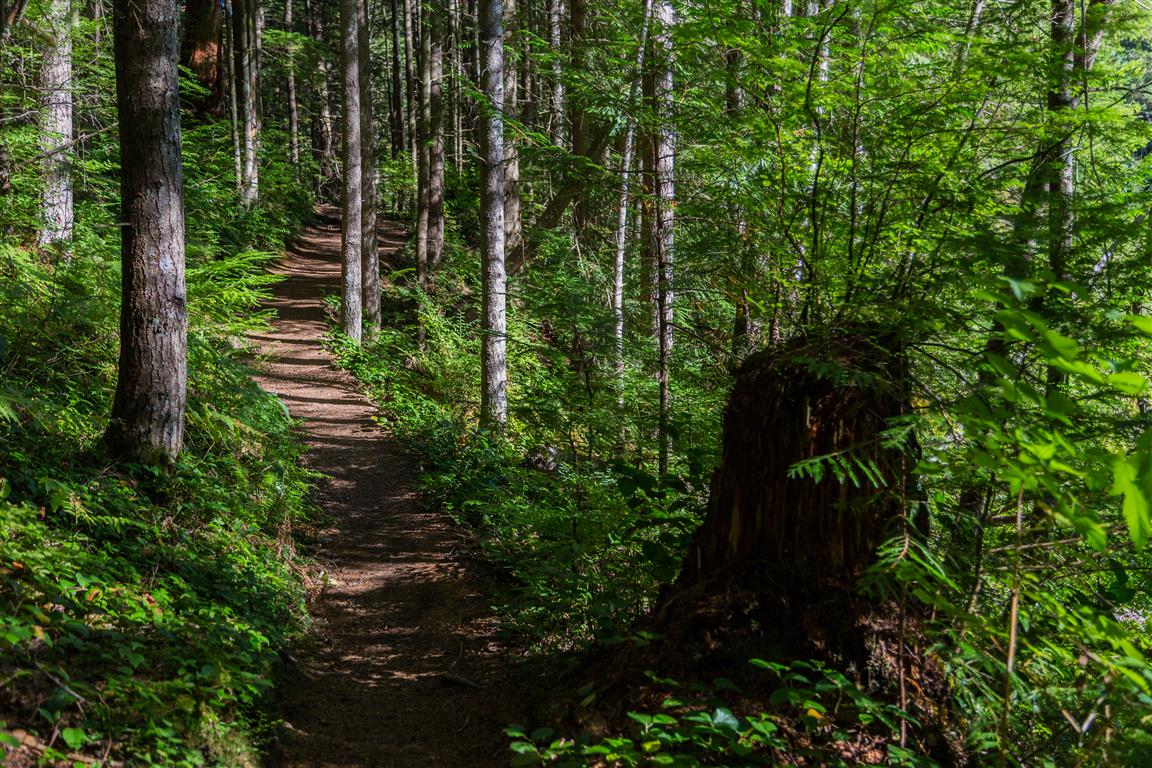
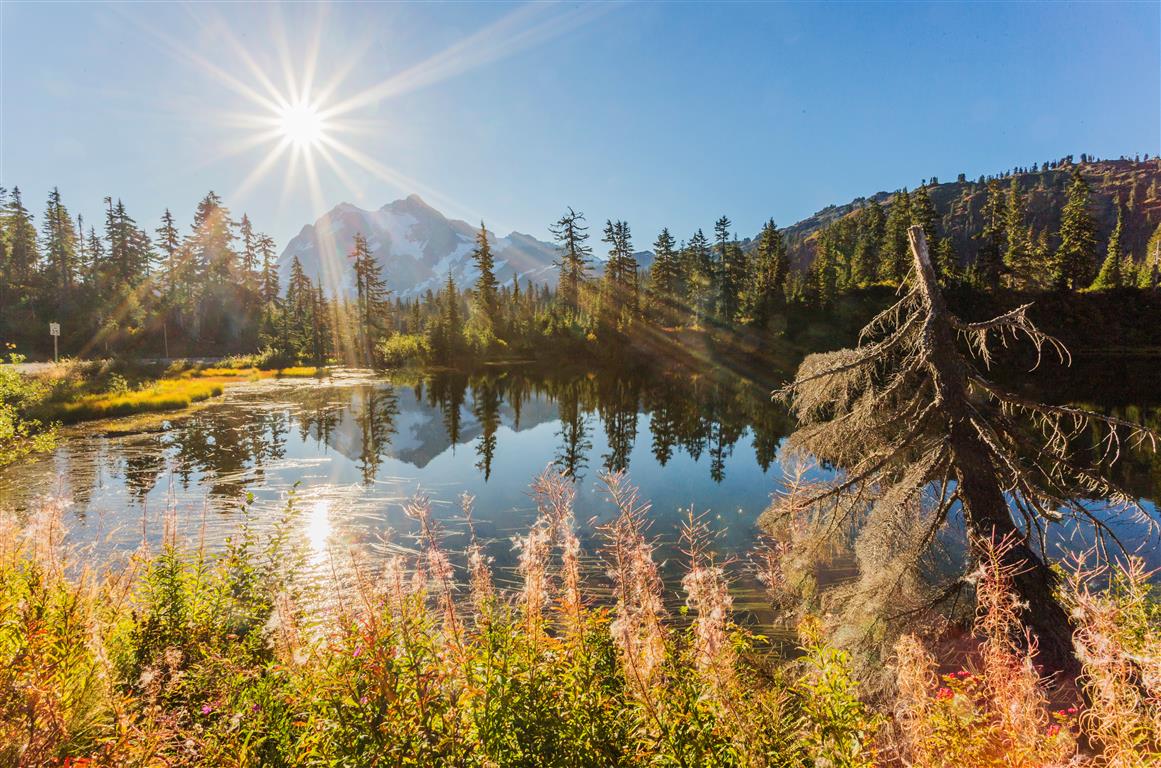
A photo I took on the drive up:

Morning sun over Mt. Shuksan
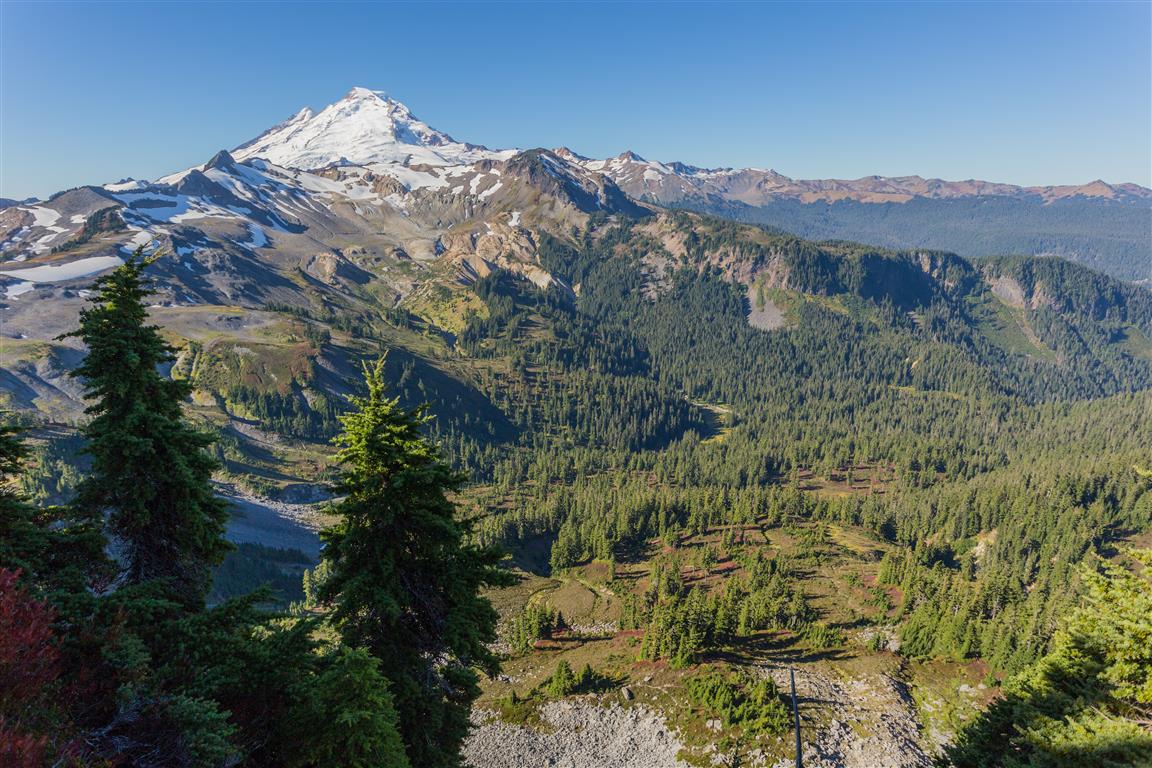
Mt. Baker
Mt. Baker
Mt. Baker
Mt. Baker
Mt. Baker
Mt. Baker
Mt. Baker
Mt. Baker
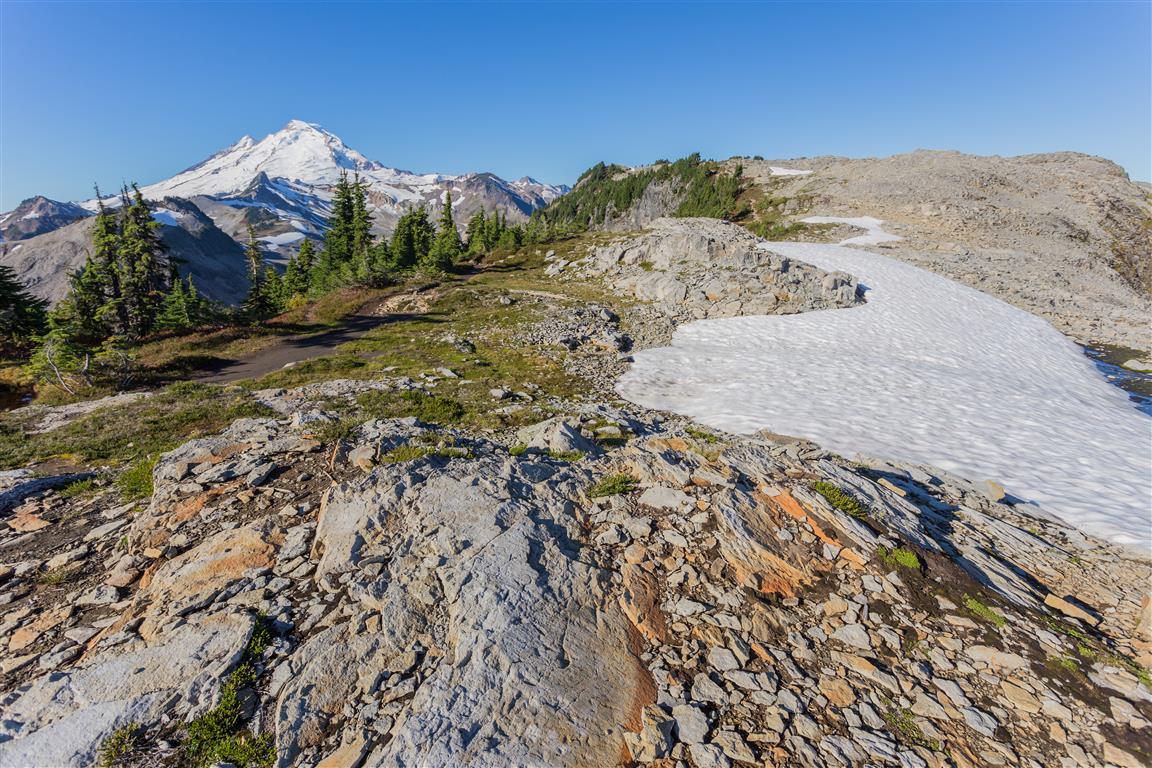
Mt. Baker on trail
Mt. Baker on trail
Mt. Baker
Mt. Baker
Small tarns
Small tarns
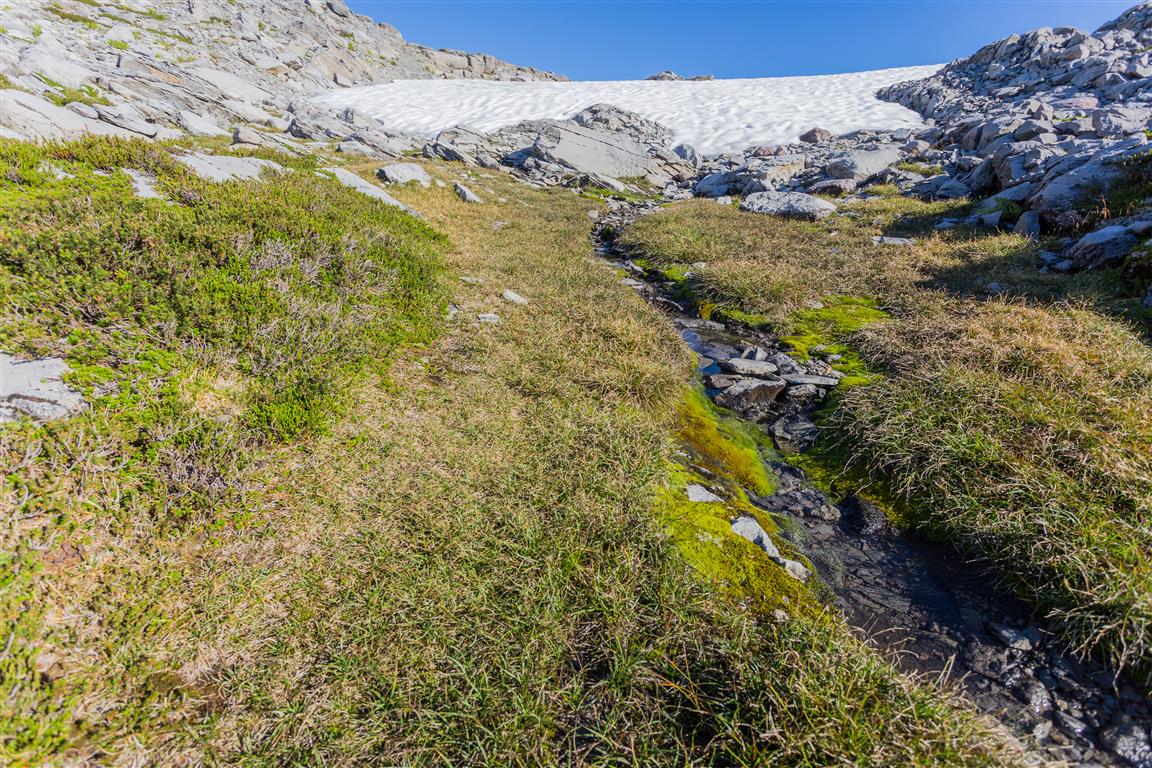
Snow melt
Snow melt
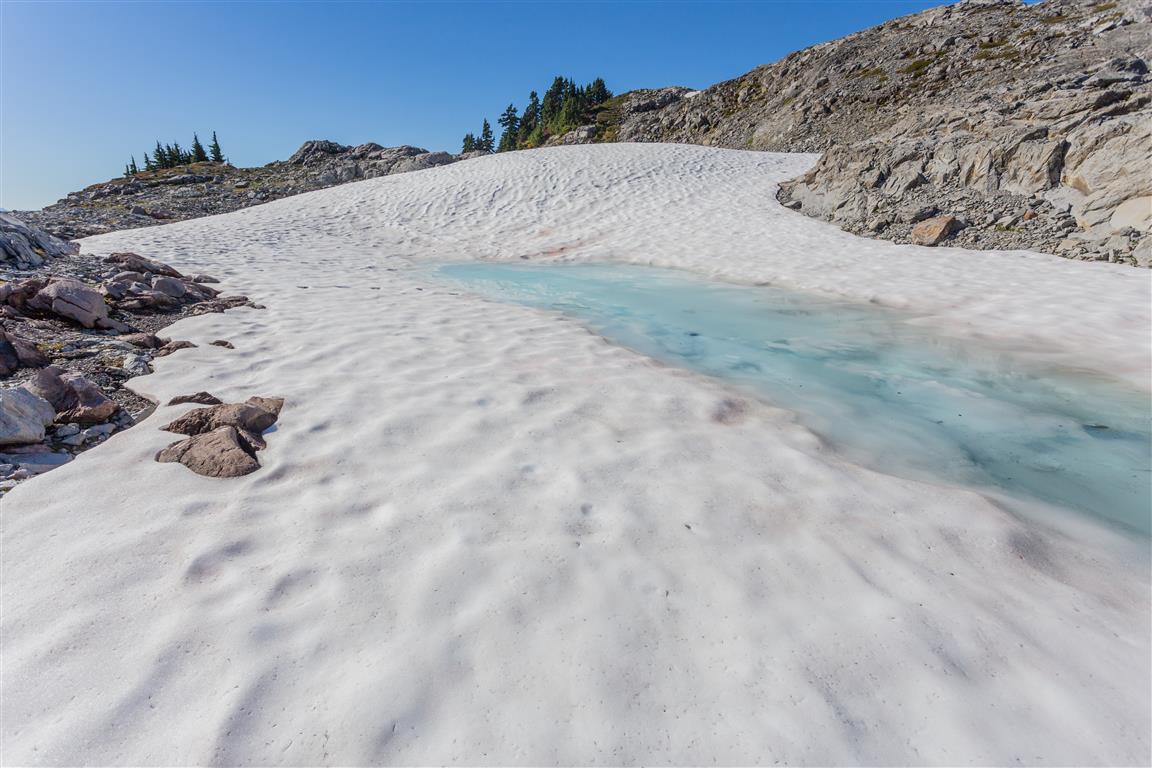
Still lots of snow
Still lots of snow
Table Mountain
Table Mountain
Trail
Trail
Trail
Trail
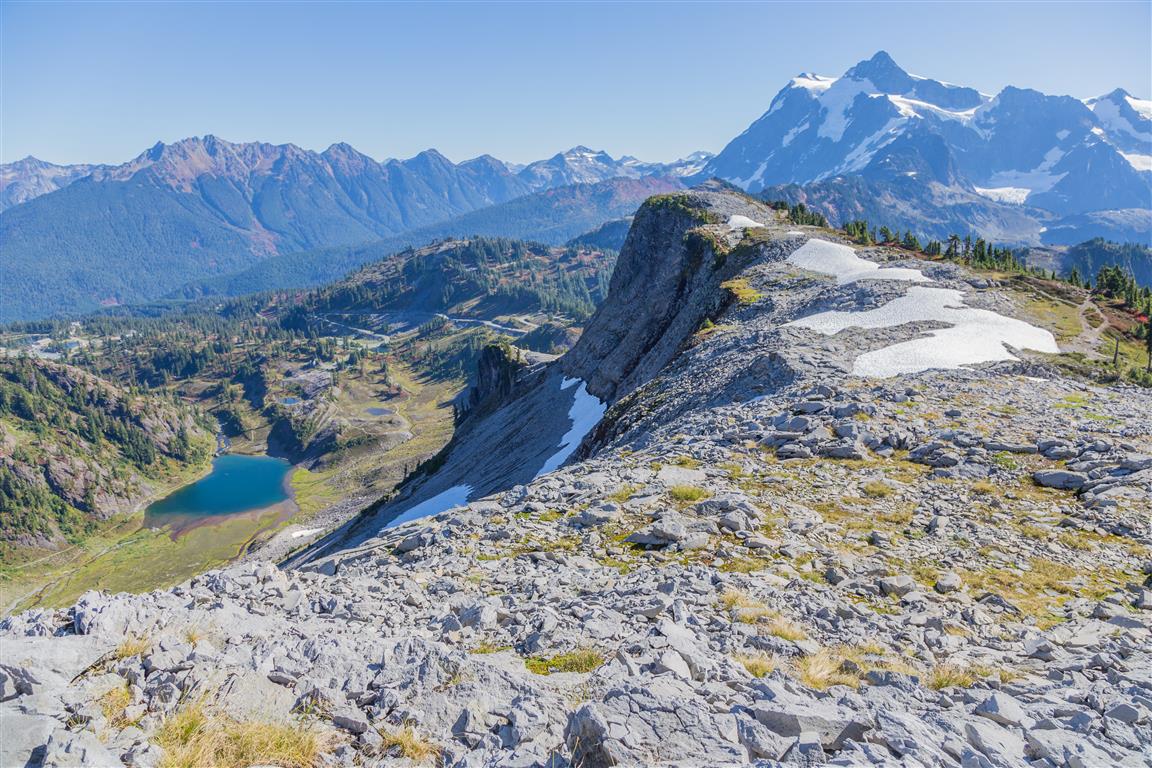
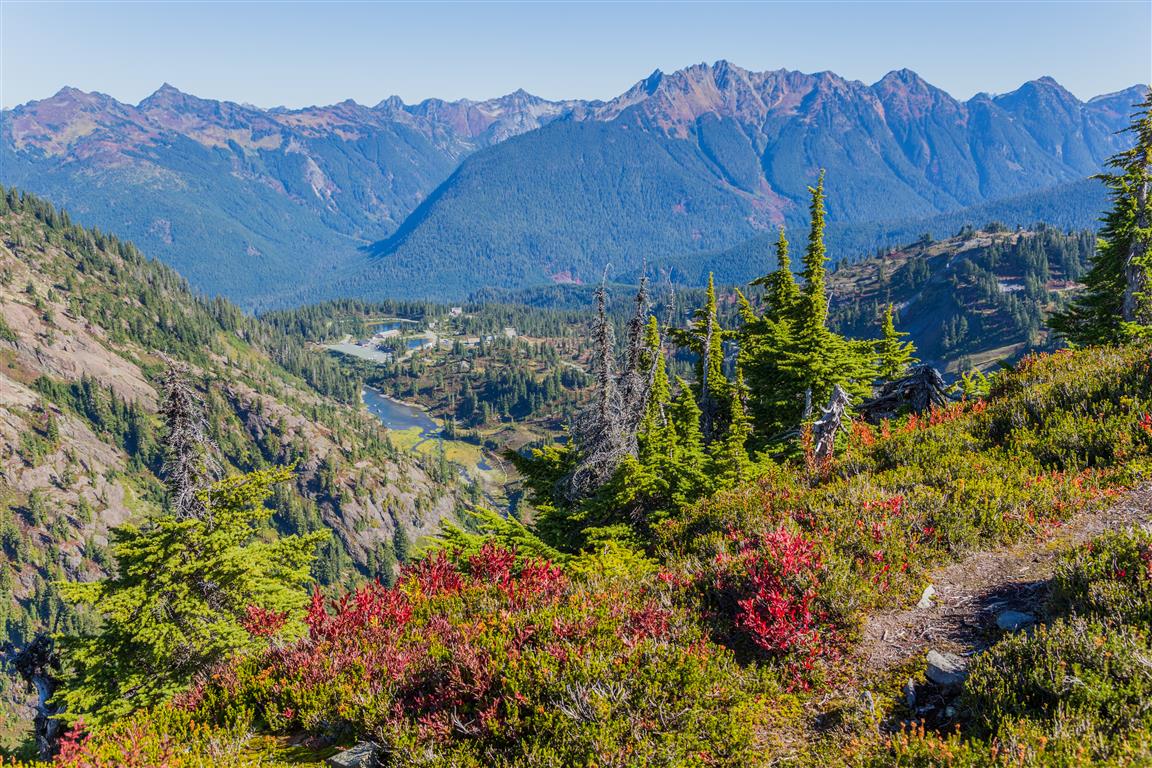
View from the top
View from the top
View from the top
View from the top
View from the top
View from the top
View from the top
View from the top
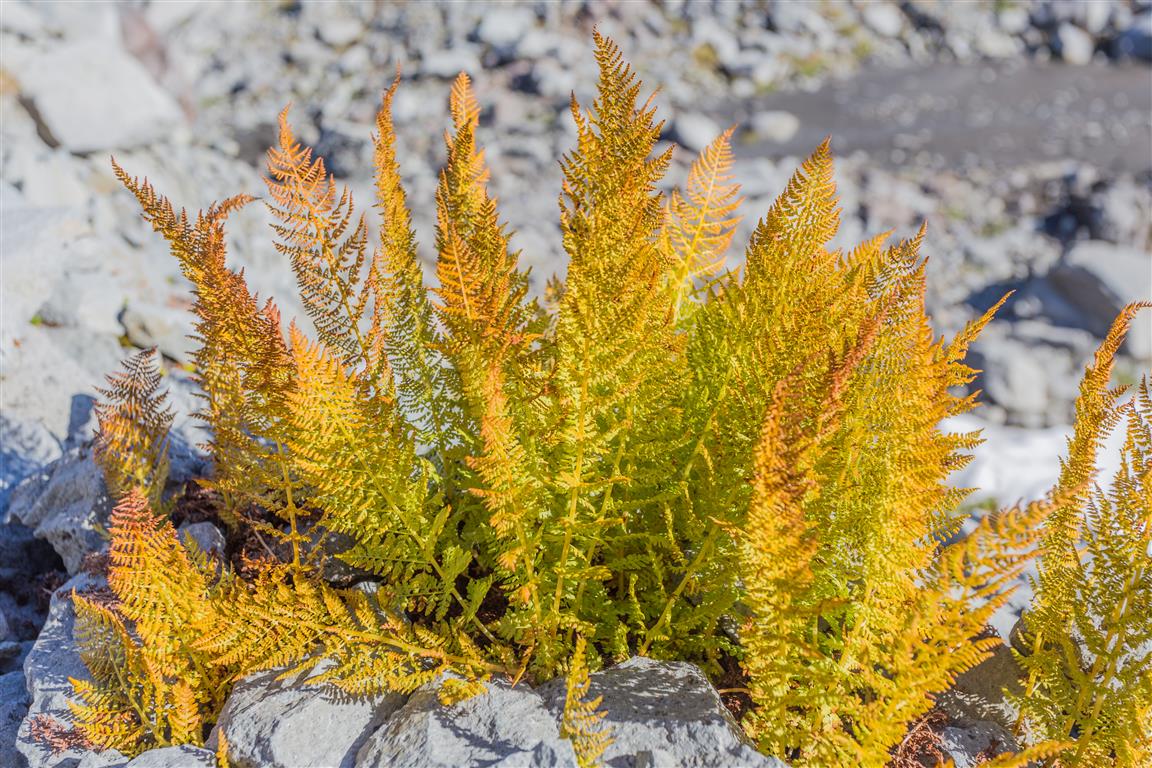
Alpine ferns
Alpine ferns

Here is a long video with stills and video:

Conditions on this trail can change over time — trailheads move, access rules shift, and businesses close. This post reflects what I found when I did the hike.

Before You Hike

Before heading out on your hike, make sure you are well prepared. This means having the TEN ESSENTIALS. It is also important to leave a trip plan (route details and estimated return time) with someone you trust.

Bring your smartphone, fully charged, and put it in airplane mode while hiking. I always bring backup battery packs for extra peace of mind. It is highly recommended that you bring a GPS device. I use my smartphone with a GPS app (Backcountry Navigator). The GPS will work in airplane mode. Learn how to use it before your hike.

For anyone new to hiking, there is a rule that hikers follow called “Leave No Trace” or LNT. The concept is generally to pack out what you pack in and respect nature, so all future visitors can enjoy what you have enjoyed. To learn more about LNT, please check out this blog by a certified LNT Trainer.

Horseshoe Bend

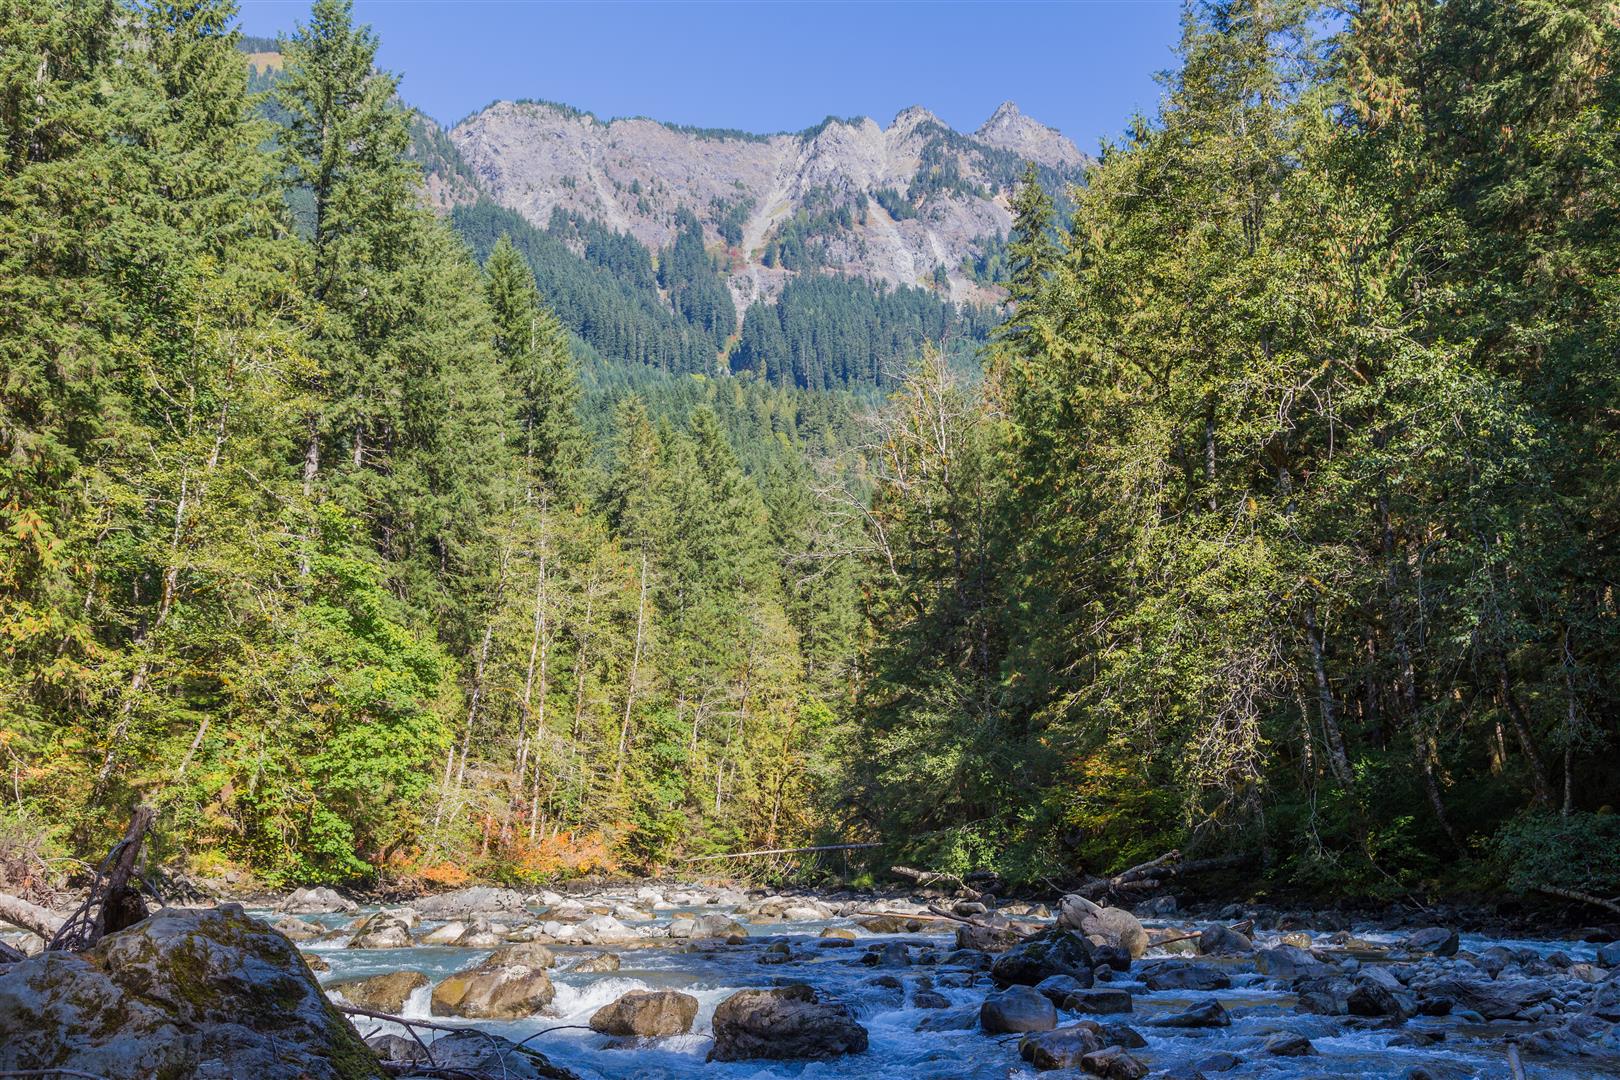
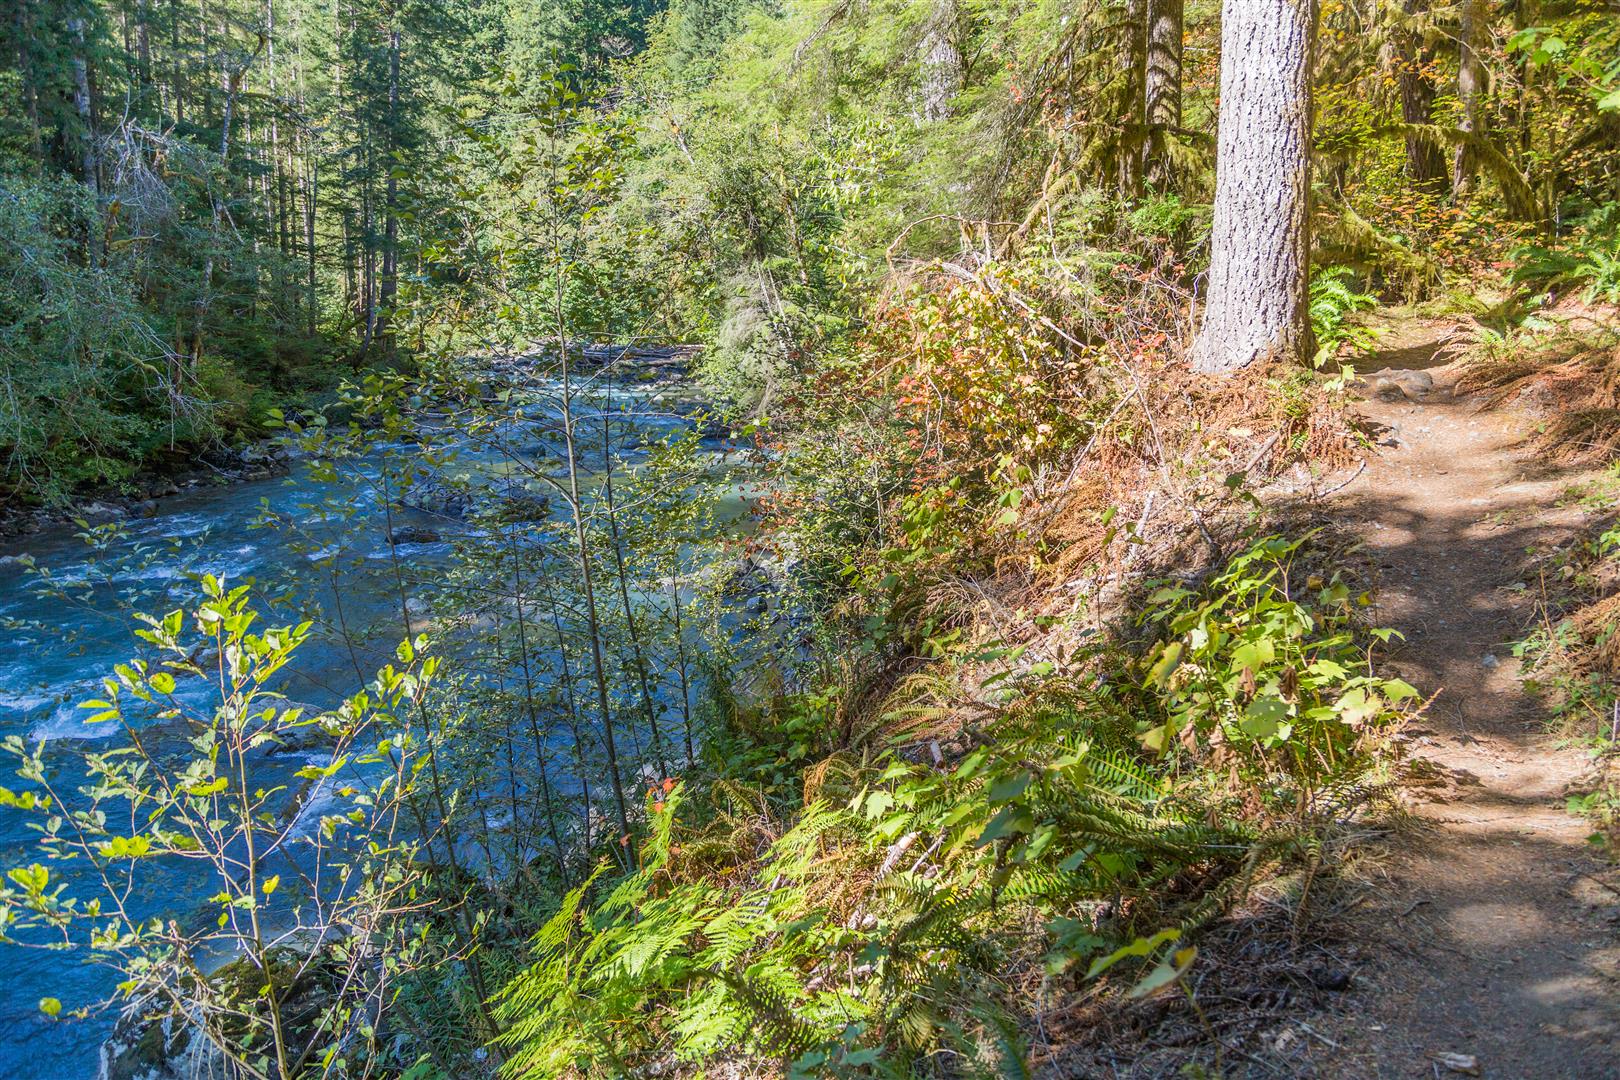
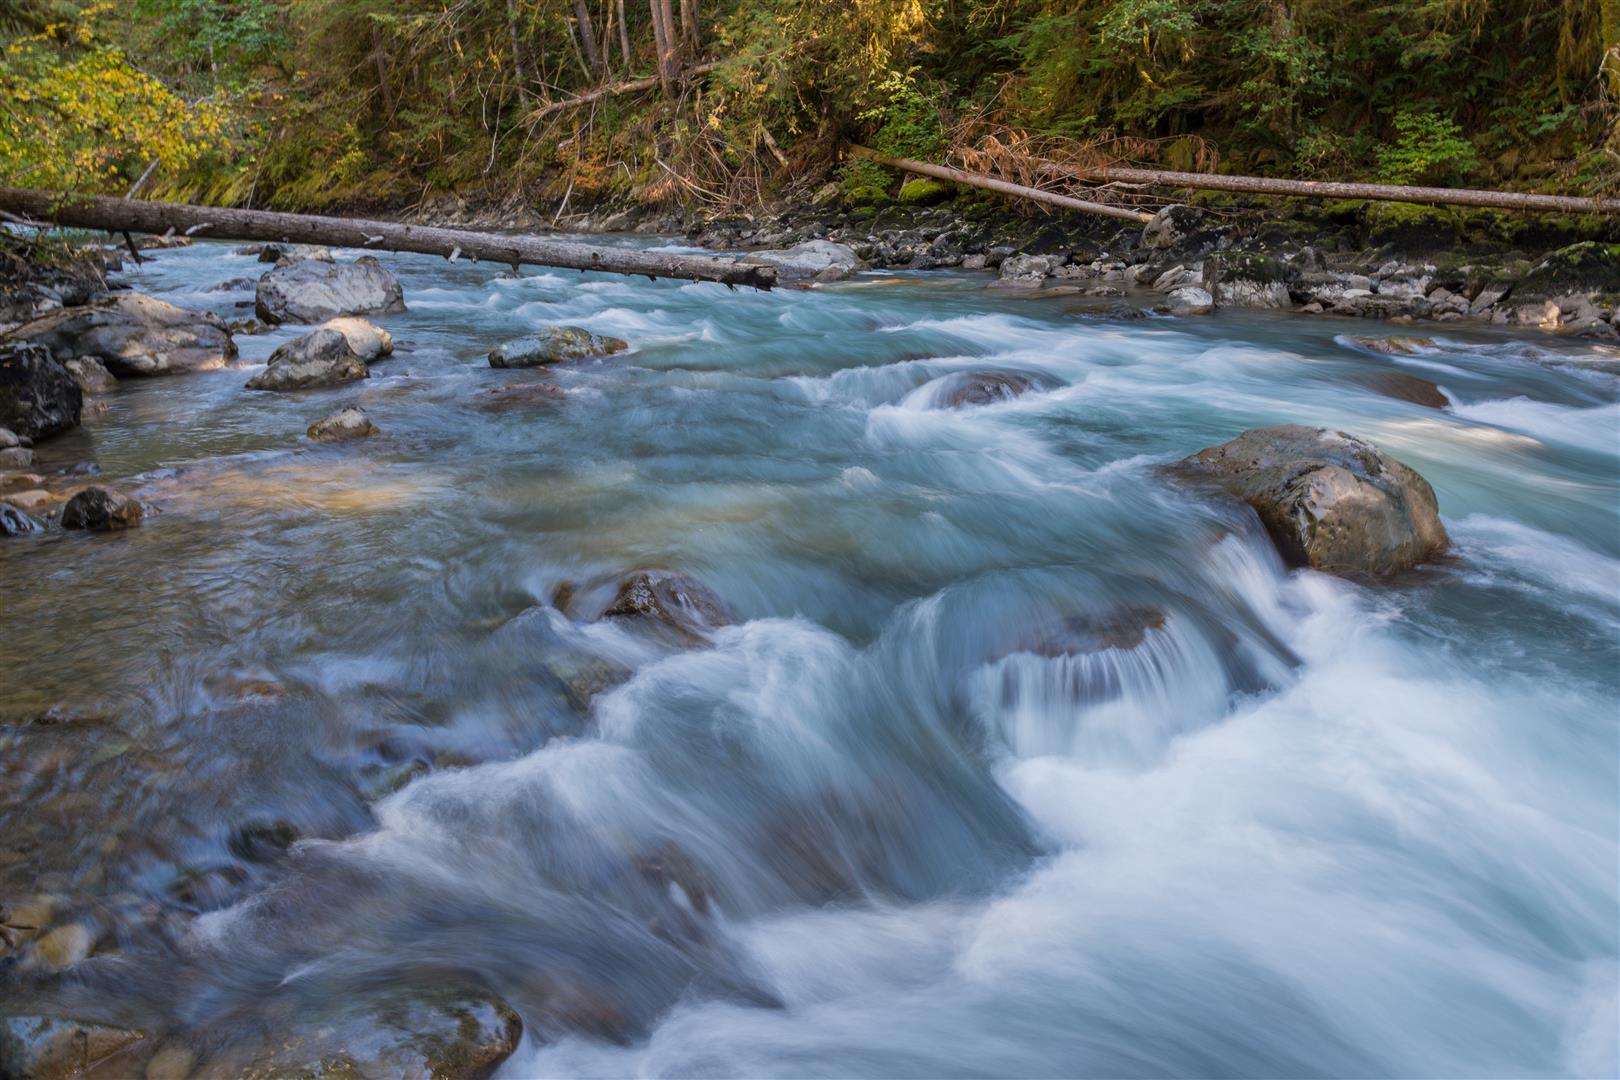
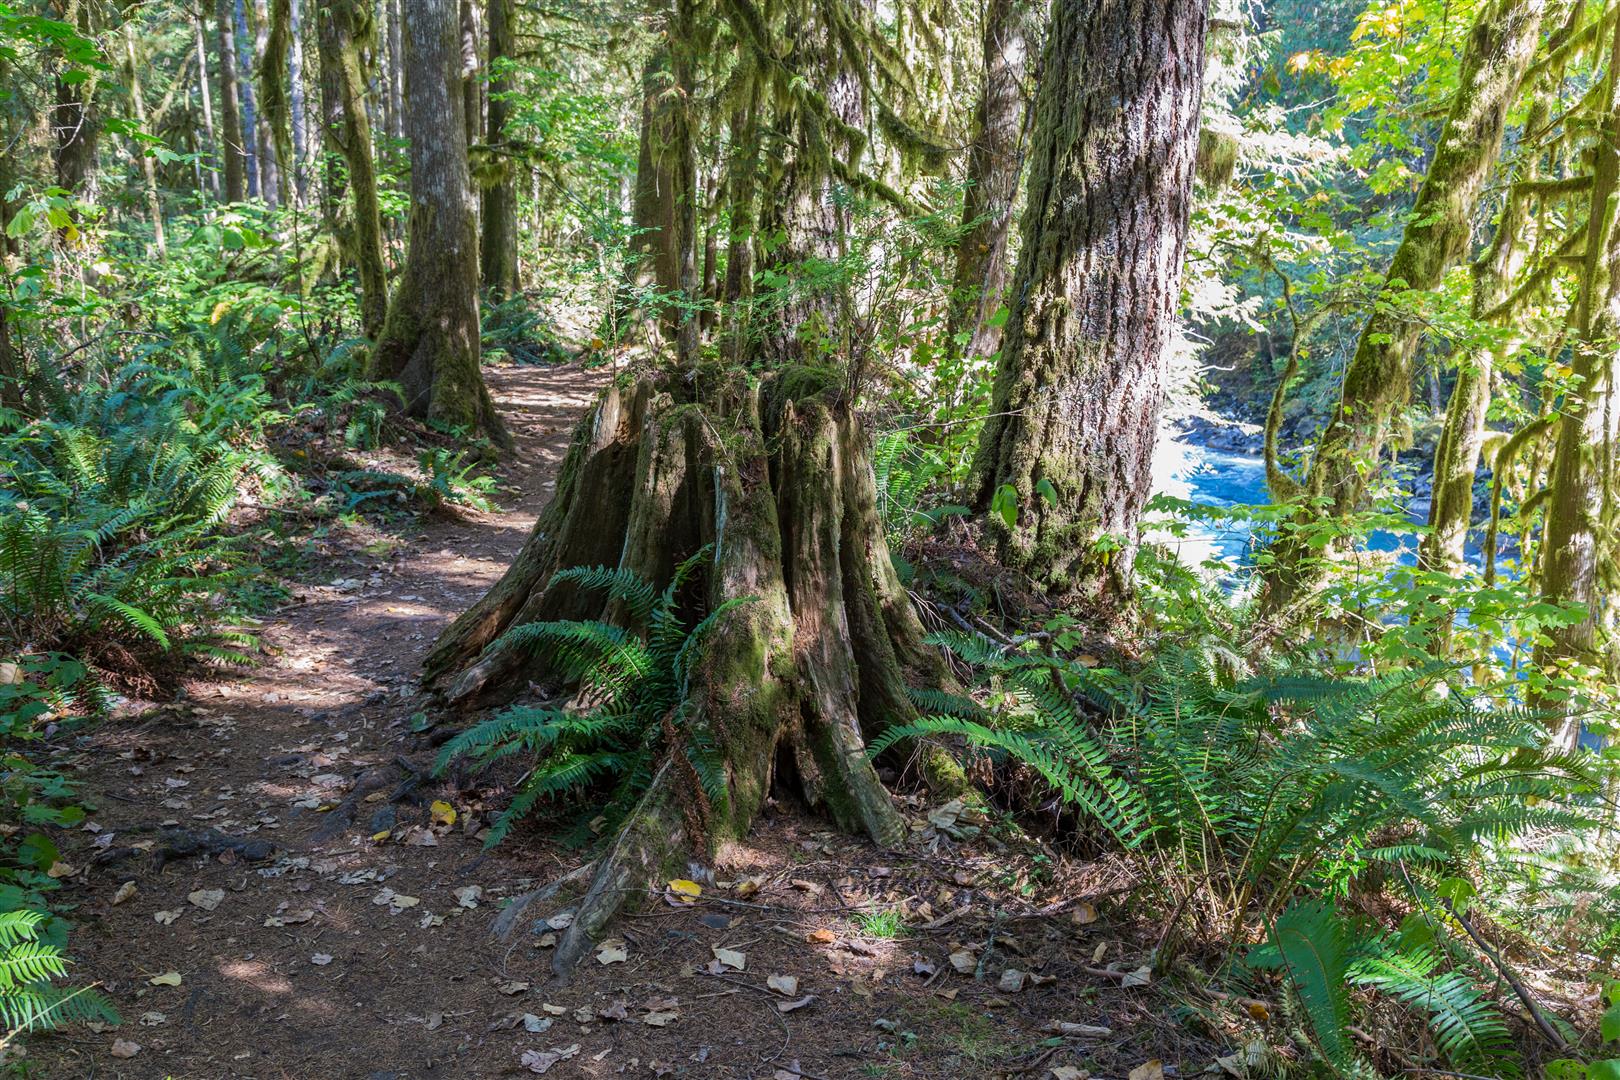
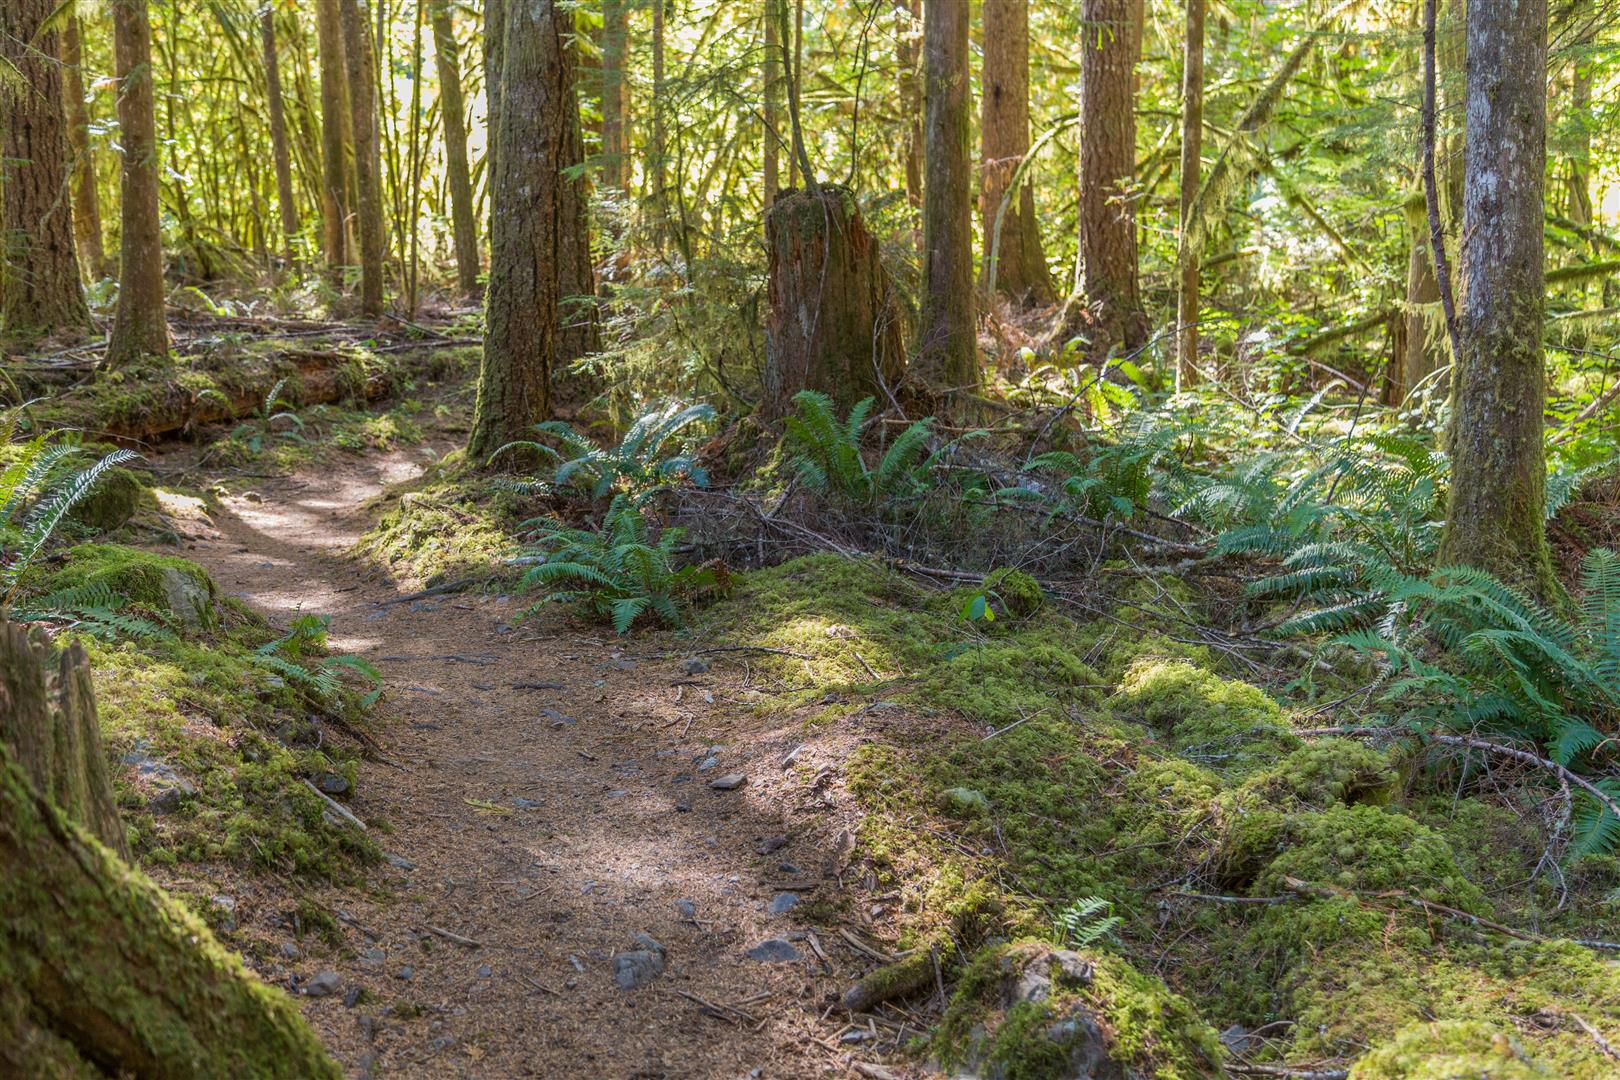
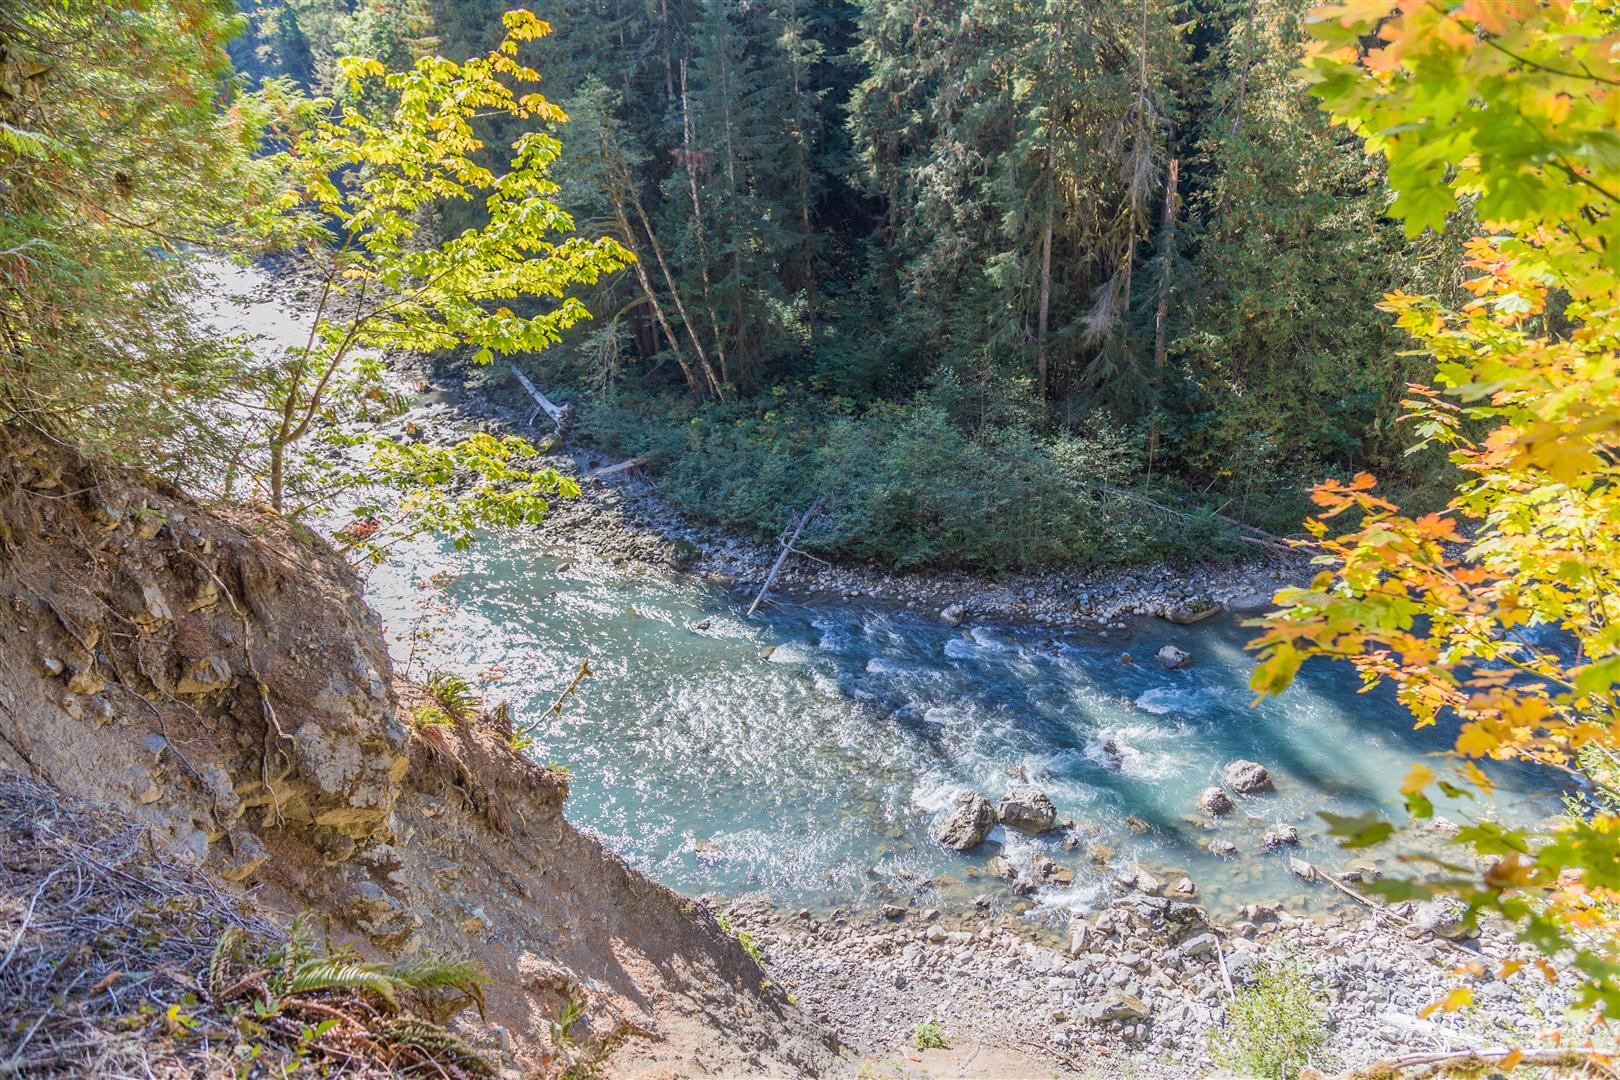
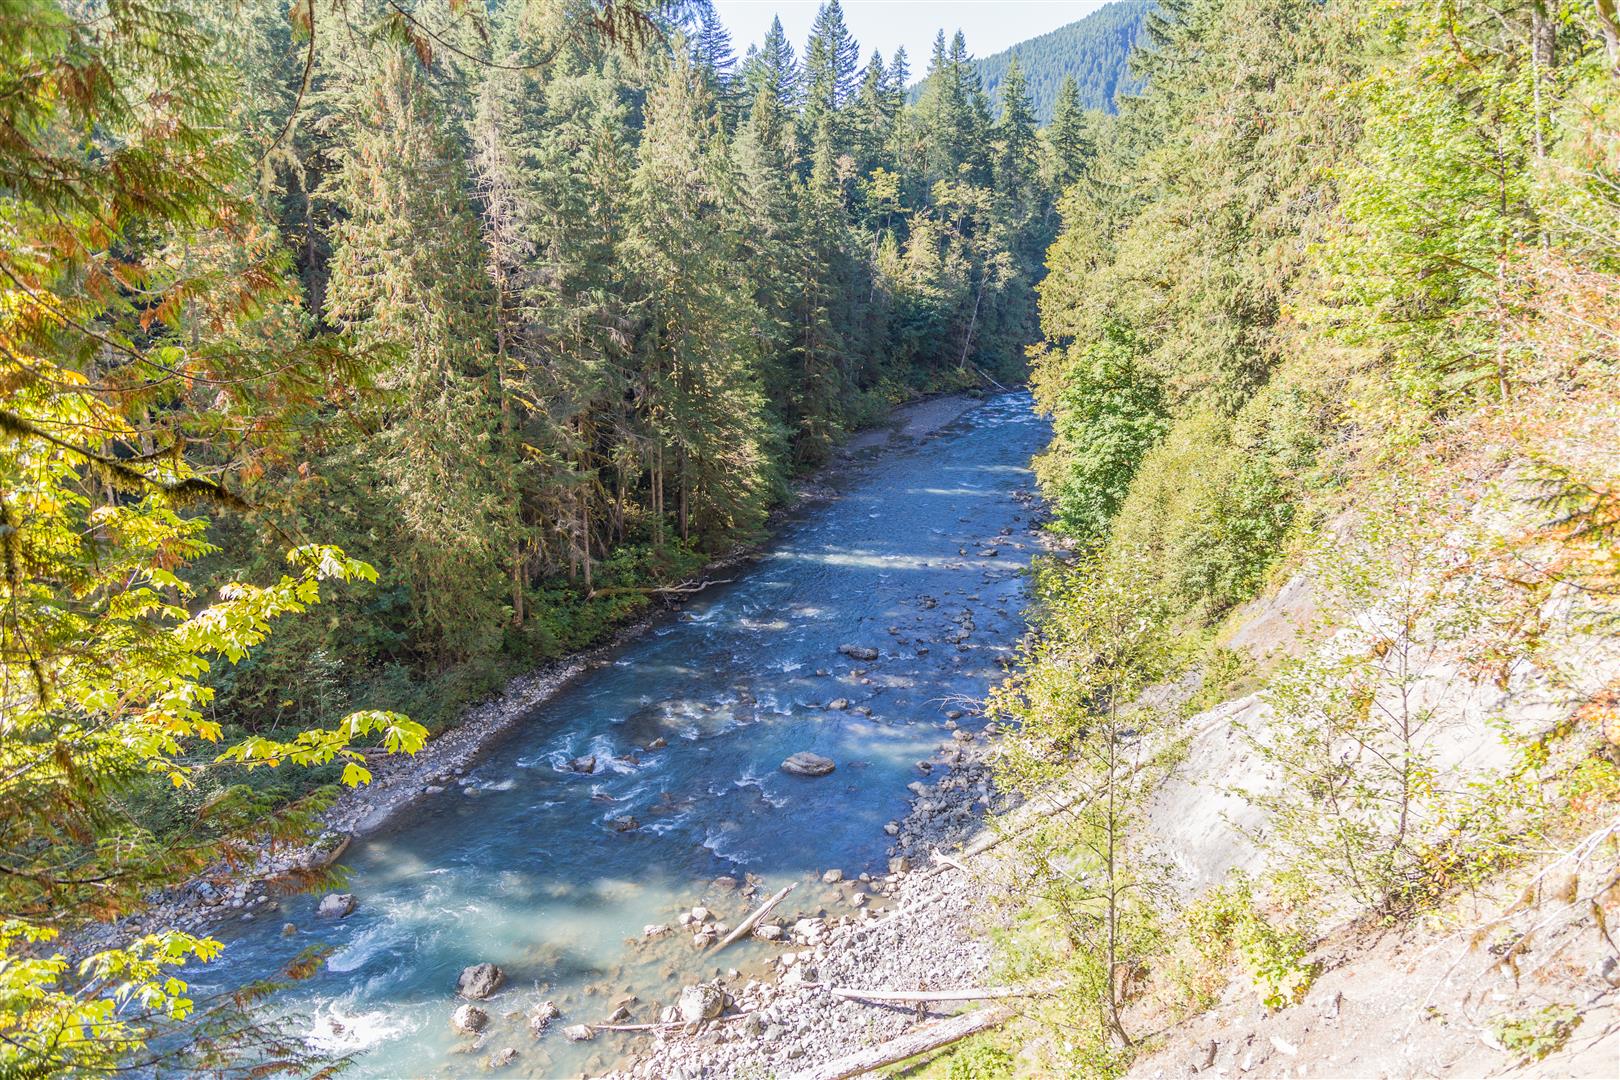
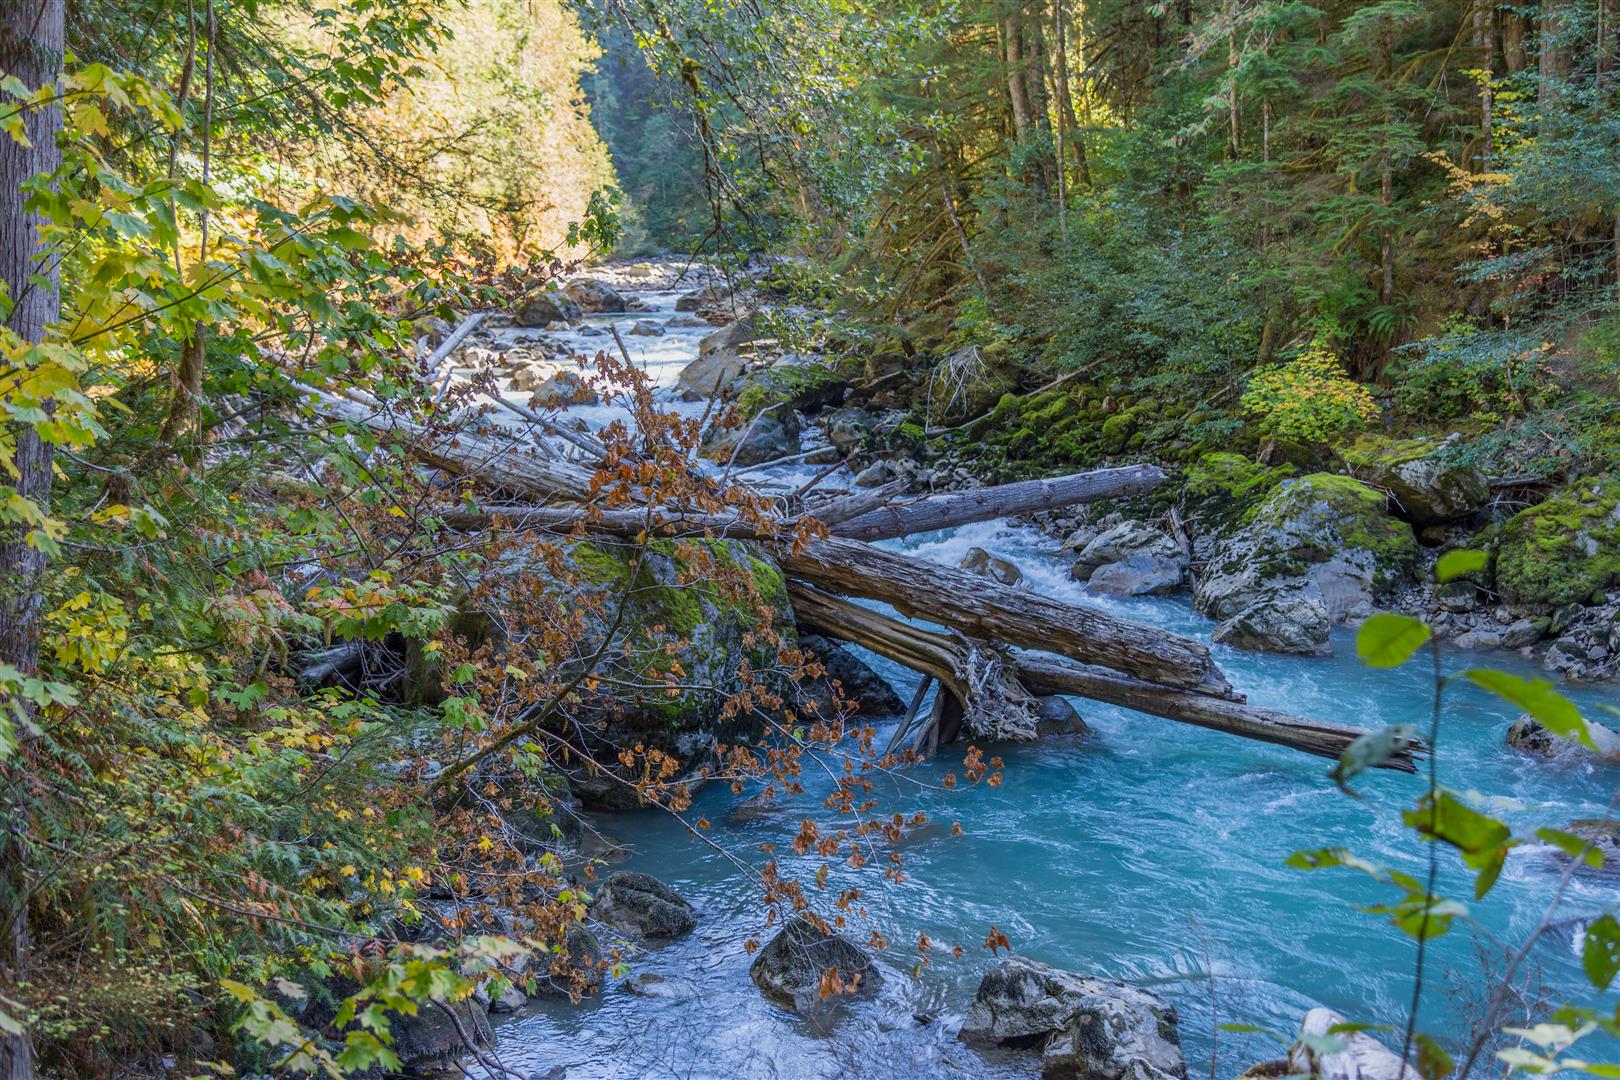
The Horseshoe Bend trail is located just off the Mt. Baker Highway, a short distance northeast of the town of Glacier. The trail starts on the banks of the North Fork of the Nooksack River (which originates from the glaciers of Mount Shuksan). This trail follows the river, crossing a number of ravines, and at the highest point you are 100 m above the Nooksack River. This is a great little trail, with some nice views and peaceful surroundings.

Nooksack Falls

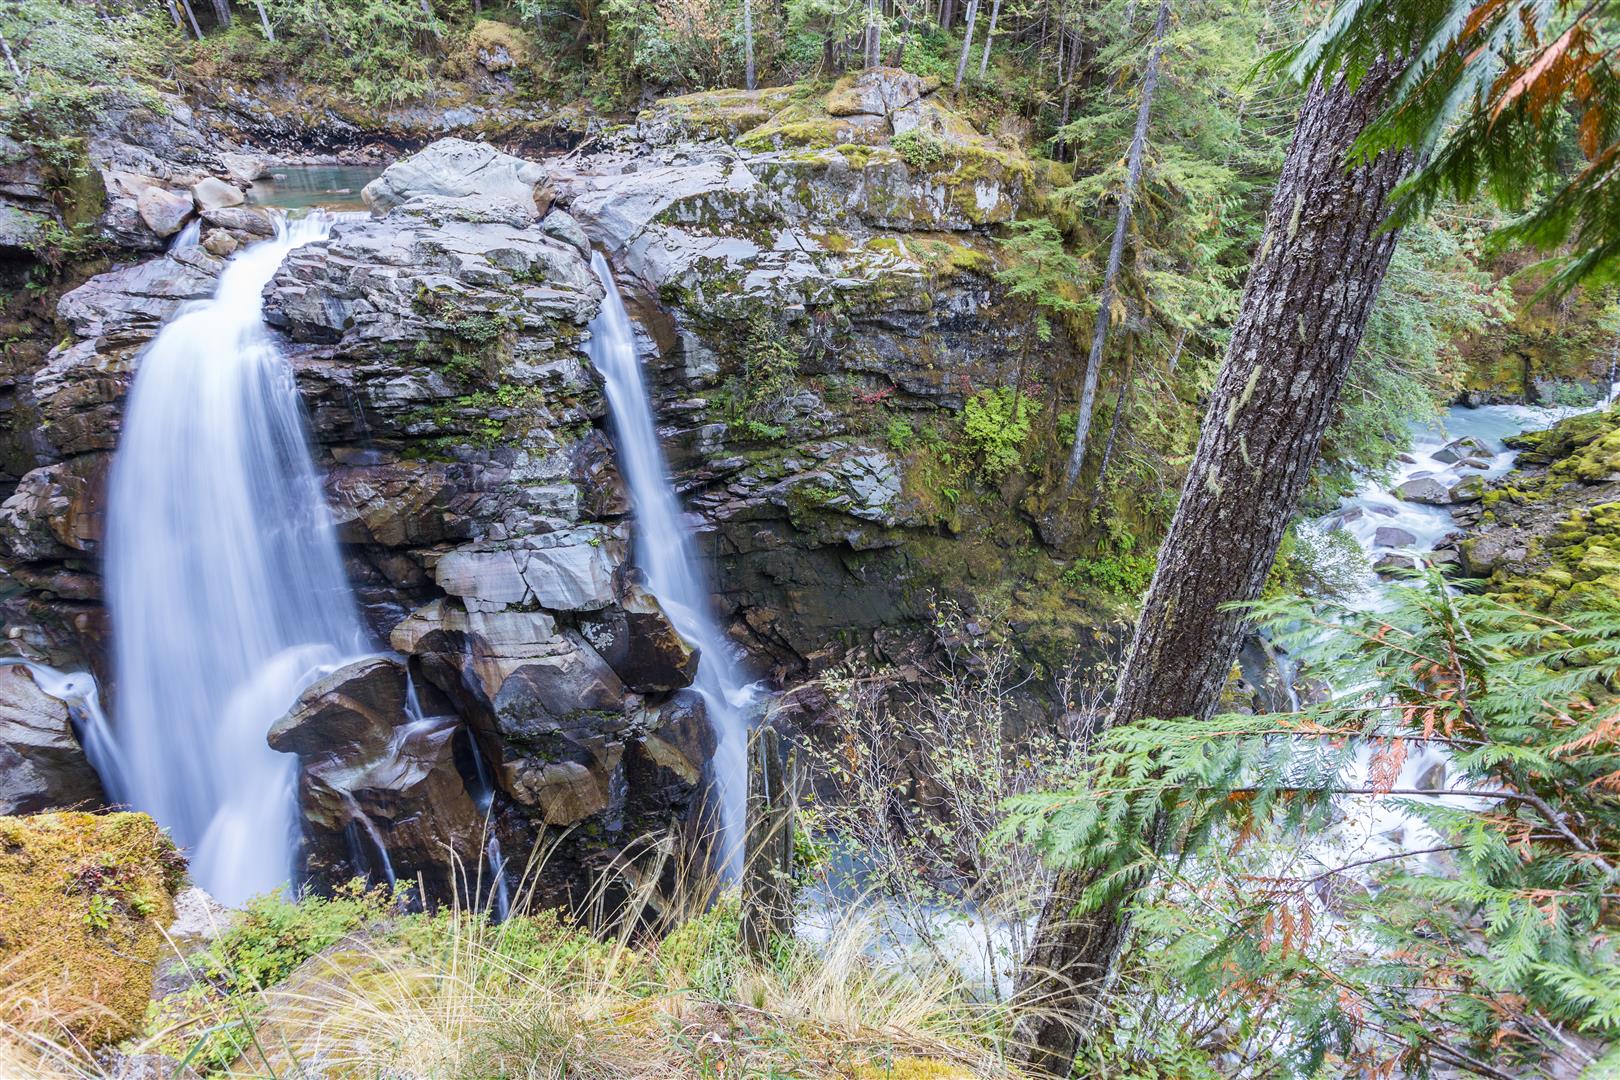
While you’re in the area, I suggest you take a look at the nearby Nooksack Falls. It’s only 10 km (6 miles) away! I have a photo below. The location is on NF-33, just off the Mt. Baker Highway. The parking lot for the falls is here.

Getting There

Update: the parking location for the Horseshoe Bend trail is here.

Permits & Border Crossing

Remember: you will need a Northwest Forest Pass, which can be purchased in person at the Glacier Public Service Center at 10091 Mt. Baker Highway, Glacier, WA (link to map).

Or you can buy an ePass in advance online at the Discover Your Northwest website.

Border crossing tips: bring your passport, Nexus, or enhanced ID. No fruit, no vegetables, no meat (this isn’t a complete list). Trail mix is okay.

A great resource for current conditions for this hike is the WTA website. Check it out!

Trail Stats

  • Distance: 5 km (linear return)
  • Time: 1 to 3 hours
  • Low point: 299 m
  • High point: 389 m
  • Elevation gain: 90 m
  • Cumulative elevation gain: 330 m
  • Trailhead: 48° 54′ 8.7″ N, 121° 54′ 42.2″ W (Google Map)

The Route

The actual GPS track from this hike, drawn on the map below. Green marks the start/end point.

Photos
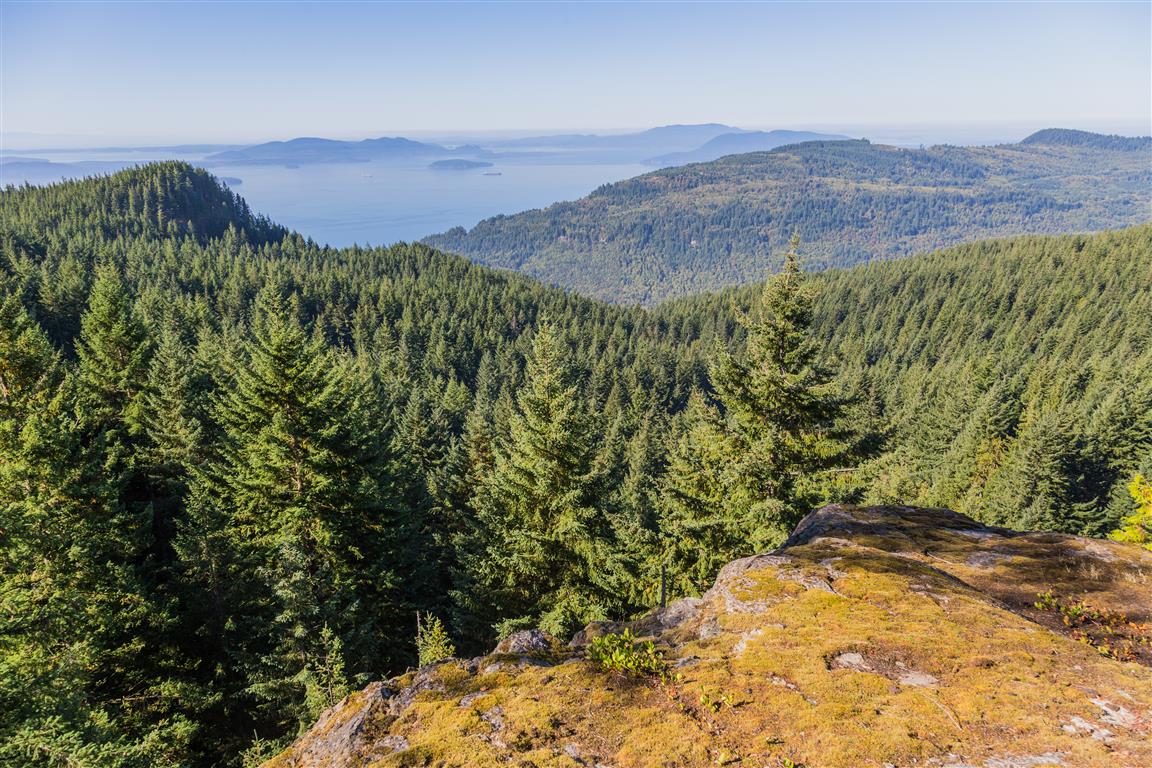
Nooksack River and mountain
Nooksack River and trail
Nooksack River
Nooksack River
Trail
Trail
Trail
Steep cliff
Steep cliff
Nooksack River
Nooksack River
Nooksack River
Nooksack River
Nooksack Falls
Nooksack Falls
Conditions on this trail can change over time — trailheads move, access rules shift, and businesses close. This post reflects what I found when I did the hike.

Before You Hike

Before heading out on your hike, make sure you are well prepared. This means having the TEN ESSENTIALS. It is also important to leave a trip plan (route details and estimated return time) with someone you trust.

Bring your smartphone, fully charged, and put it in airplane mode while hiking. I always bring backup battery packs for extra peace of mind. It is highly recommended that you bring a GPS device. I use my smartphone with a GPS app (Backcountry Navigator). The GPS will work in airplane mode. Learn how to use it before your hike.

For anyone new to hiking, there is a rule that hikers follow called “Leave No Trace” or LNT. The concept is generally to pack out what you pack in and respect nature, so all future visitors can enjoy what you have enjoyed. To learn more about LNT, please check out this blog by a certified LNT Trainer.

Whatcom Falls Park

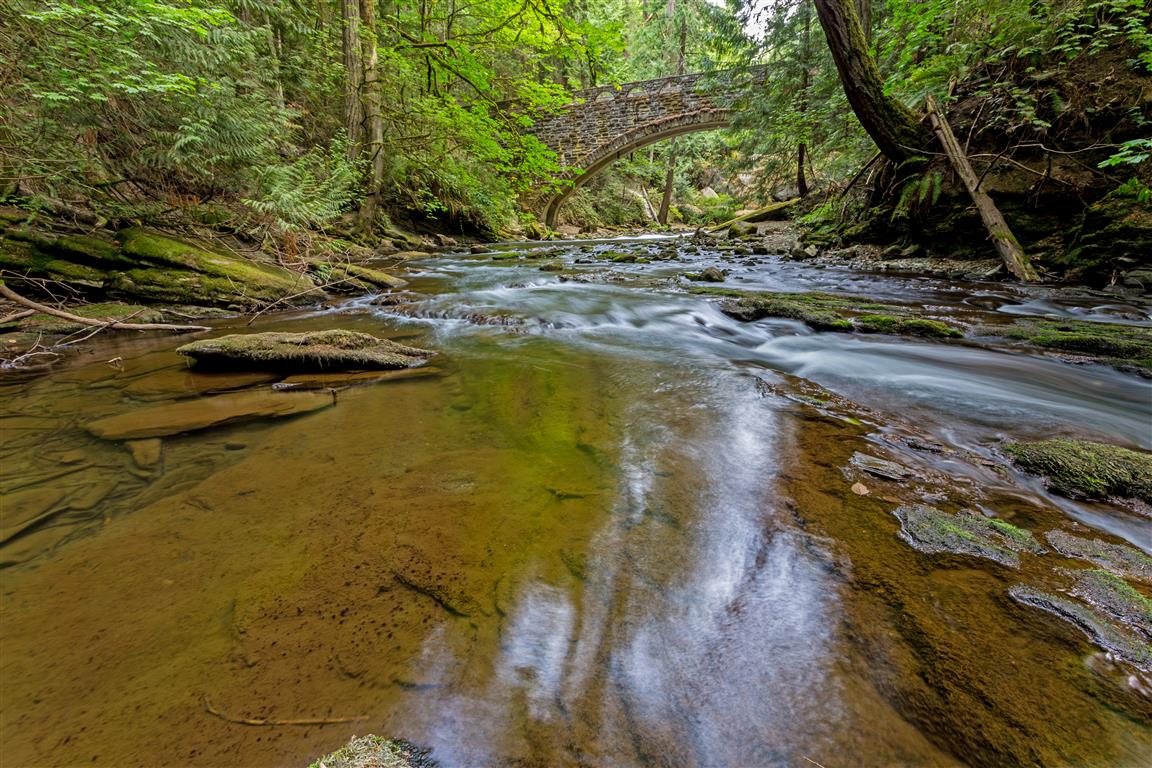
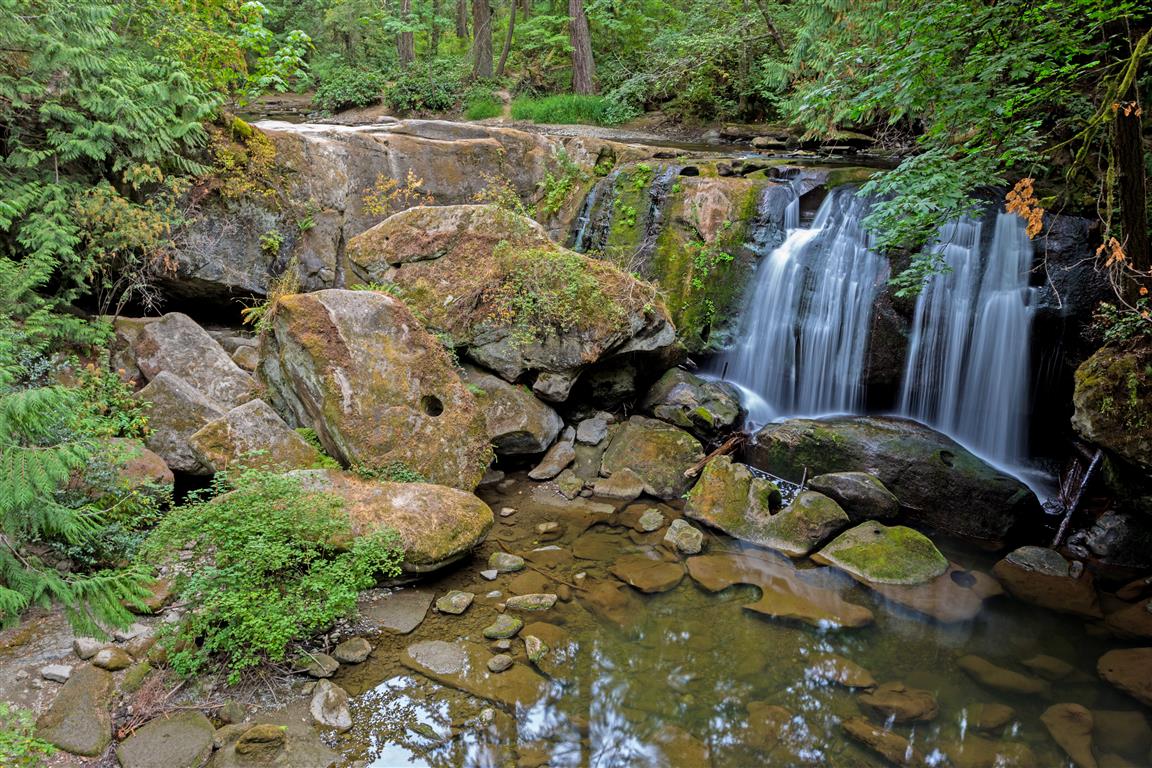
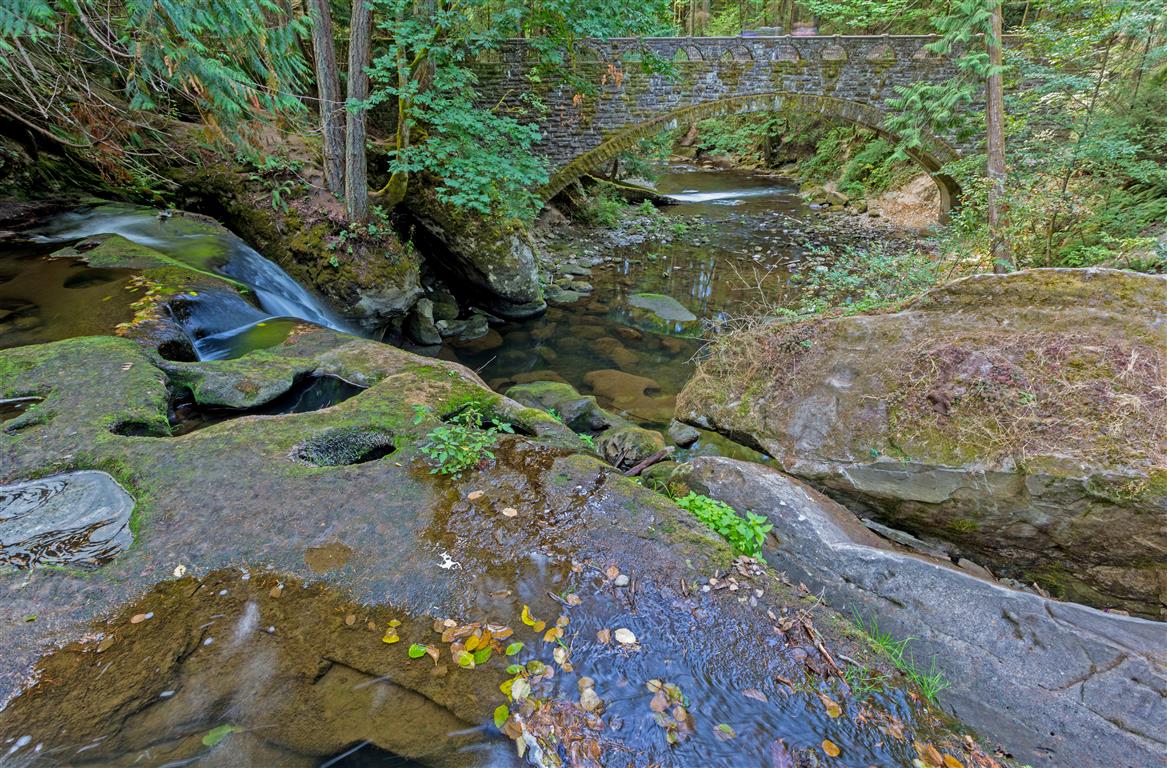
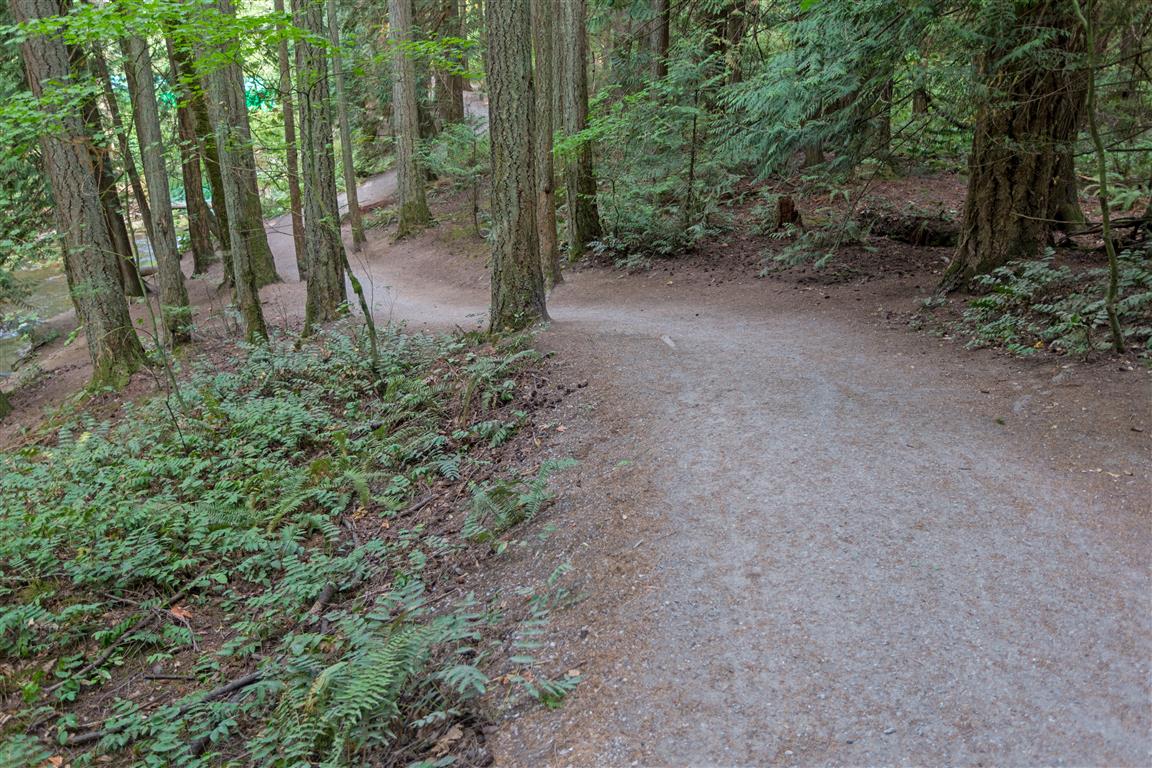
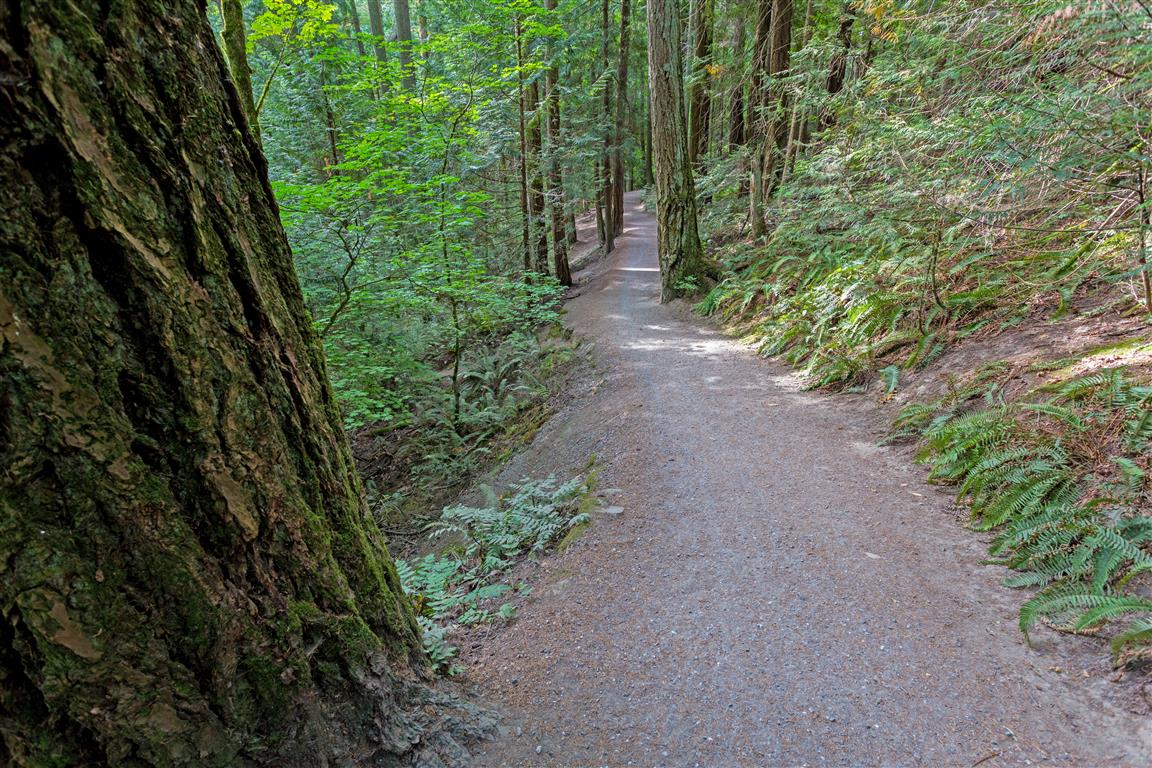
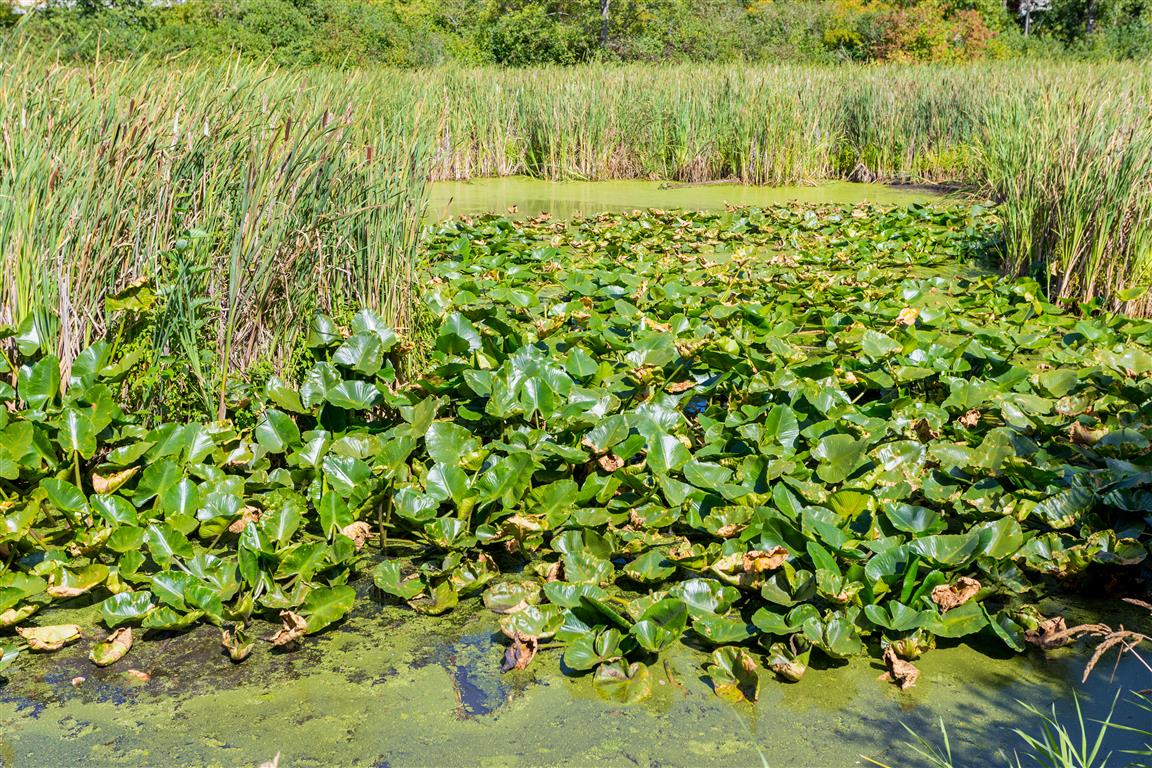
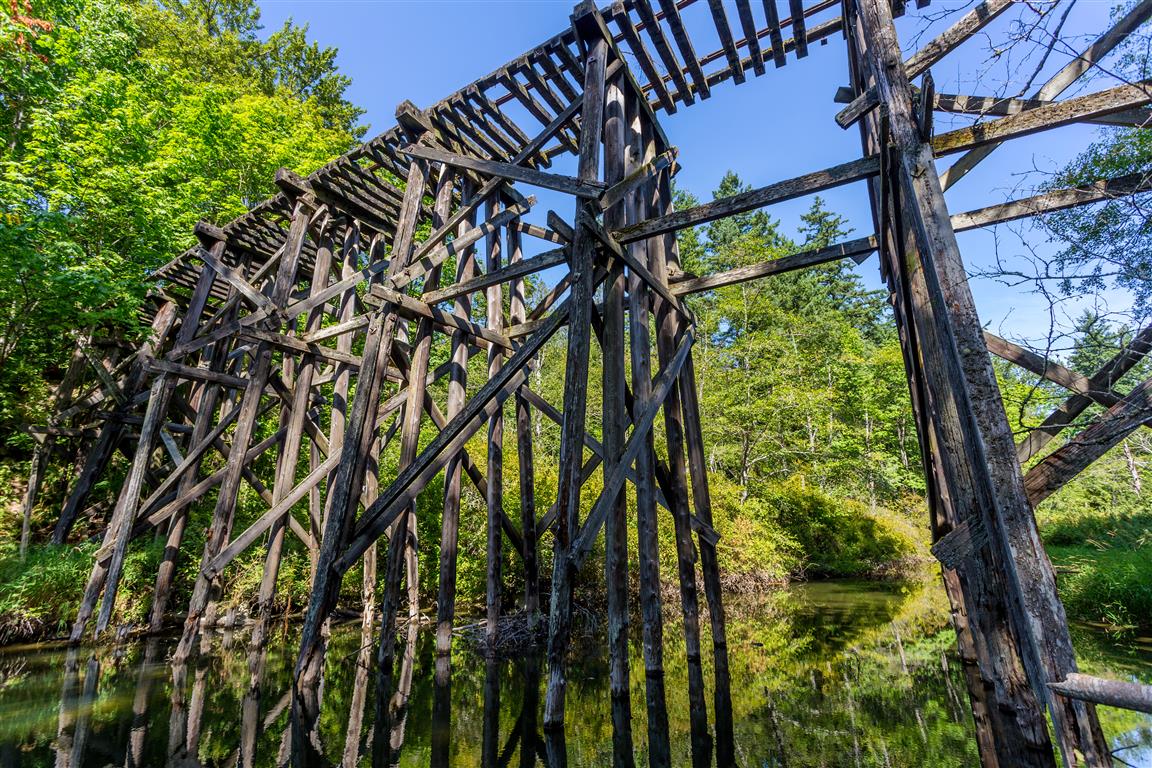
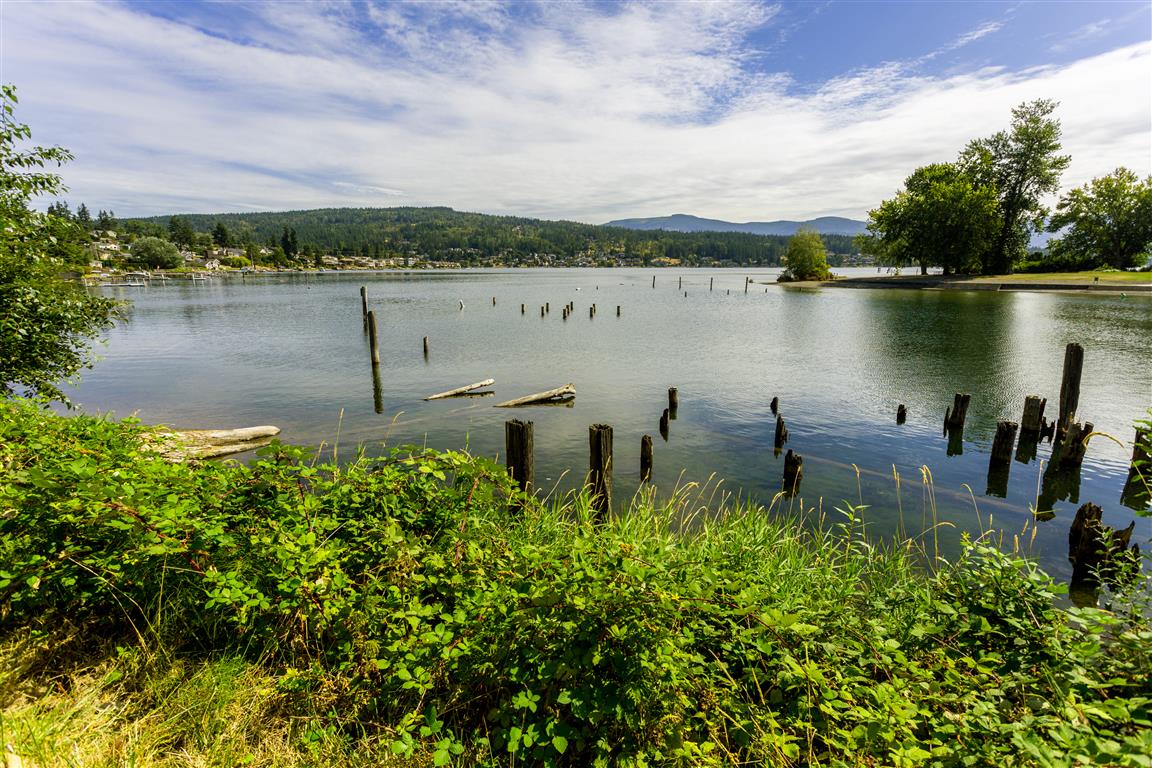
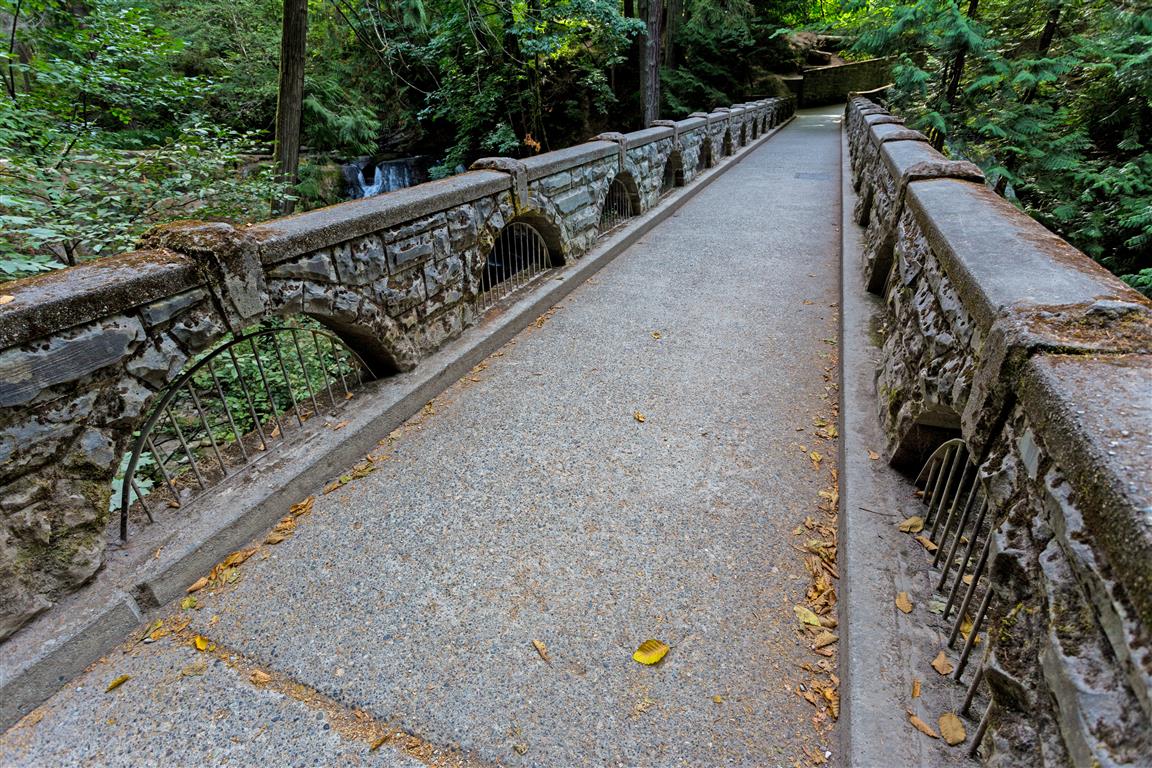
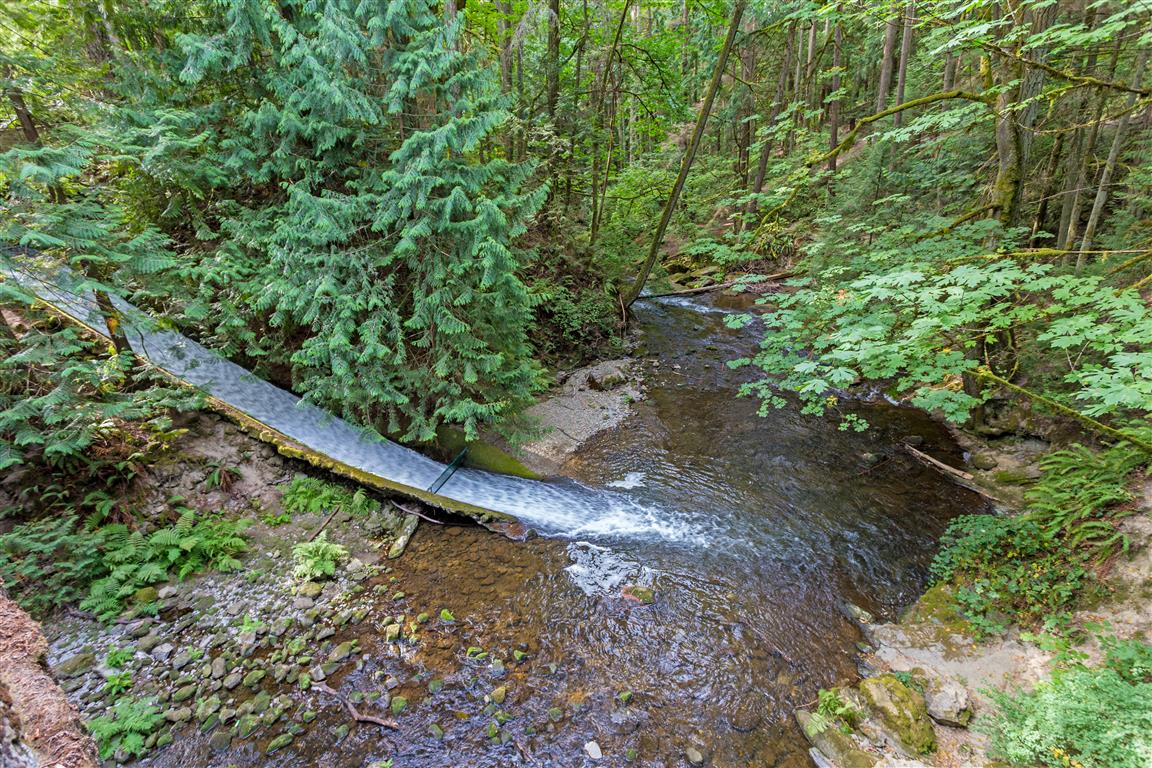
Whatcom Falls Park is an urban oasis in Bellingham, Washington. The park features a number of multi-use trails through a cool forest. It’s a great hike on a hot summer day! There are waterfalls, swimming holes, a great old stone bridge, and a decommissioned railway trestle. There are so many routes here, but I picked a nice loop (because I like loops!).

The geology of the area features sandstone, which is eroded smooth, and holes form in the rock. This park is similar in features and geology to Kanaka Creek Park in Maple Ridge, BC.

Trail Stats

  • Distance: 6.7 km (4.2 mi) (loop)
  • Time: 1 to 2 hours
  • Low point: 29 m
  • High point: 117 m
  • Elevation gain: 88 m
  • Trailhead and parking: 48° 45′ 4.7″ N, 122° 25′ 43.7″ W (Google Maps and navigation)

The Route

The actual GPS track from this hike, drawn on the map below. Green marks the start/end point.

Photos
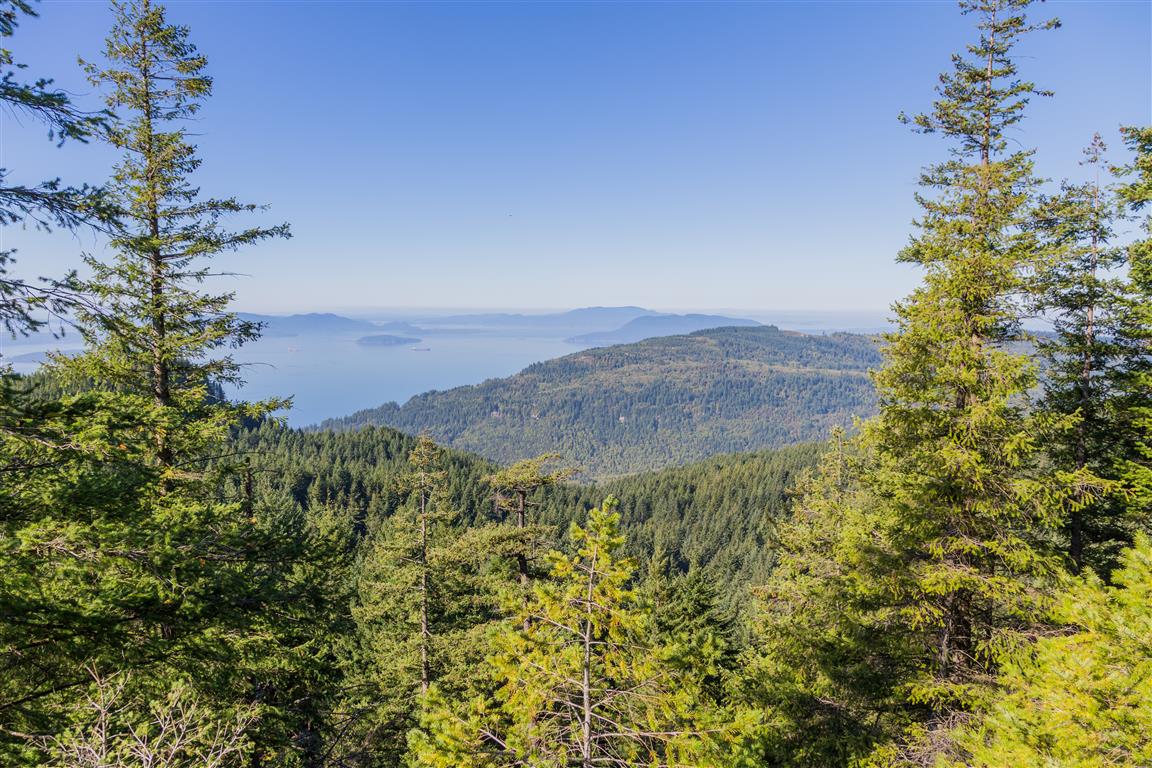
Stream and bridge
Stream and bridge
Whatcom Park Falls
Whatcom Park Falls
Falls and bridge
Falls and bridge
Falls and pool
Falls and pool
Falls to pool
Falls to pool
Little waterfall
Little waterfall
Pool
Pool
Trail
Trail
Trail
Trail
Marsh
Marsh
Whatcom Falls Park Trestle
Lake Whatcom
Lake Whatcom
Whatcom Park Falls Bridge
Whatcom Park Falls downstream
Conditions on this trail can change over time — trailheads move, access rules shift, and businesses close. This post reflects what I found when I did the hike.