All posts by admin

Crater Rim Trail

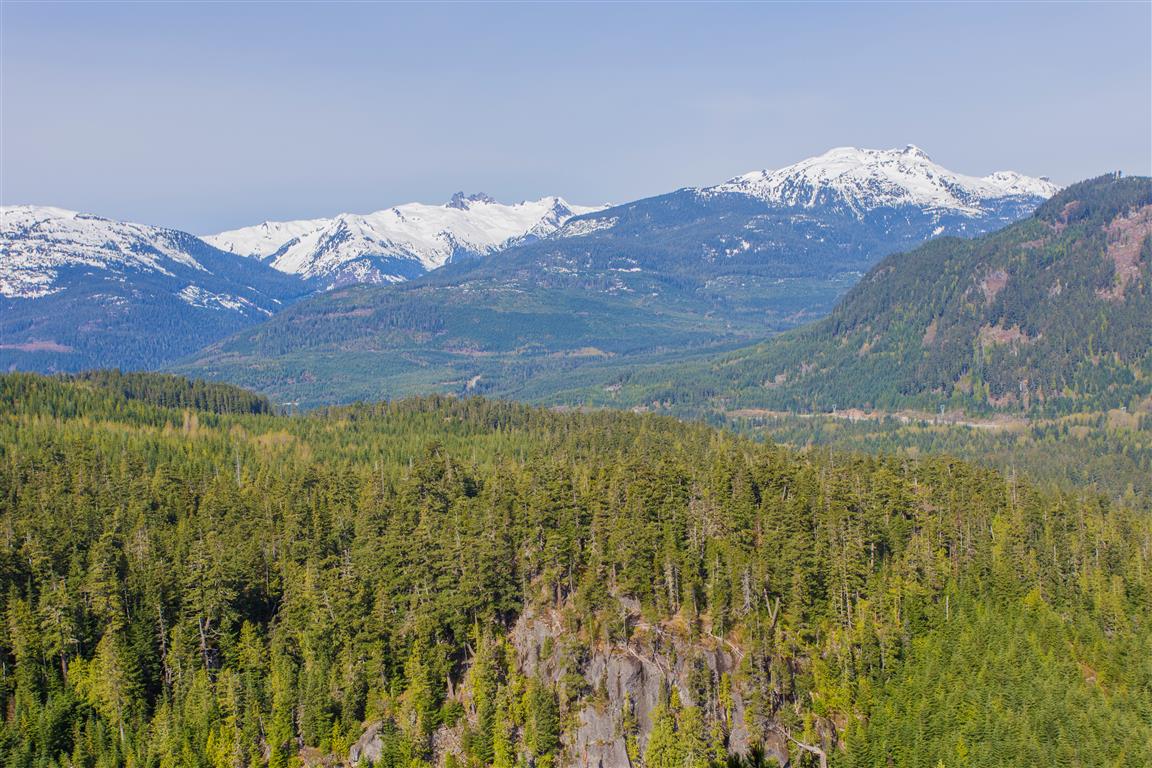
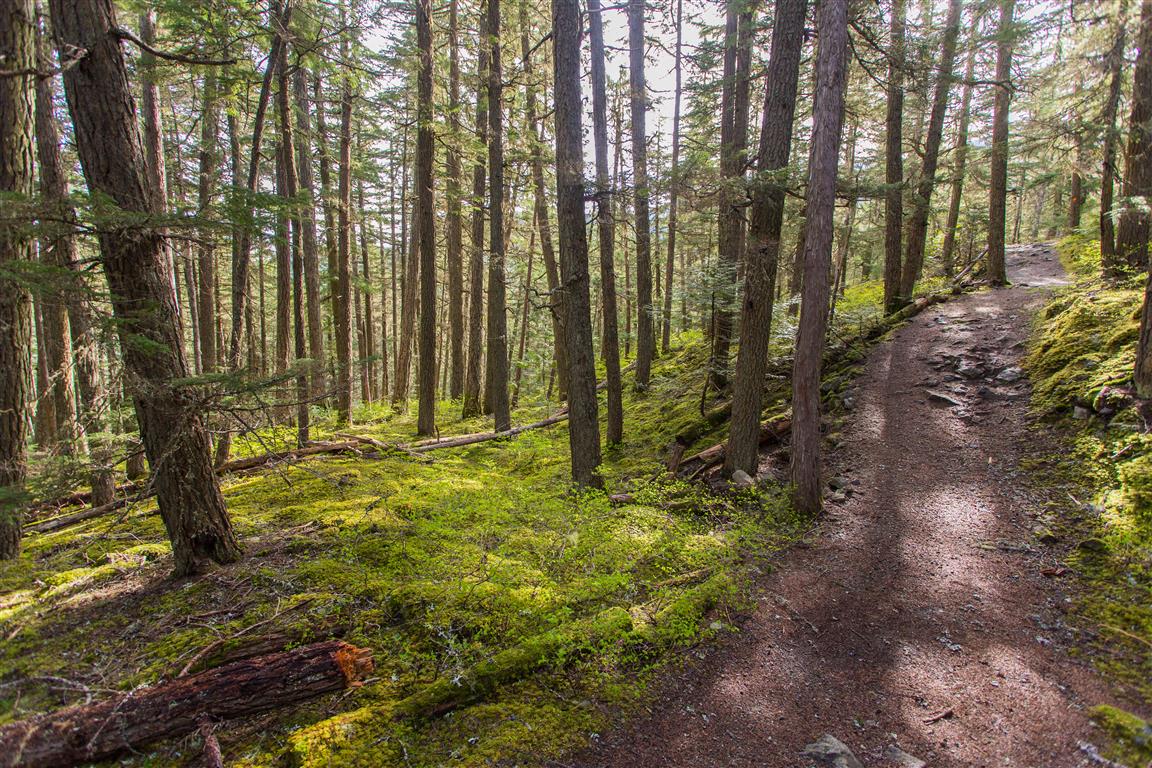
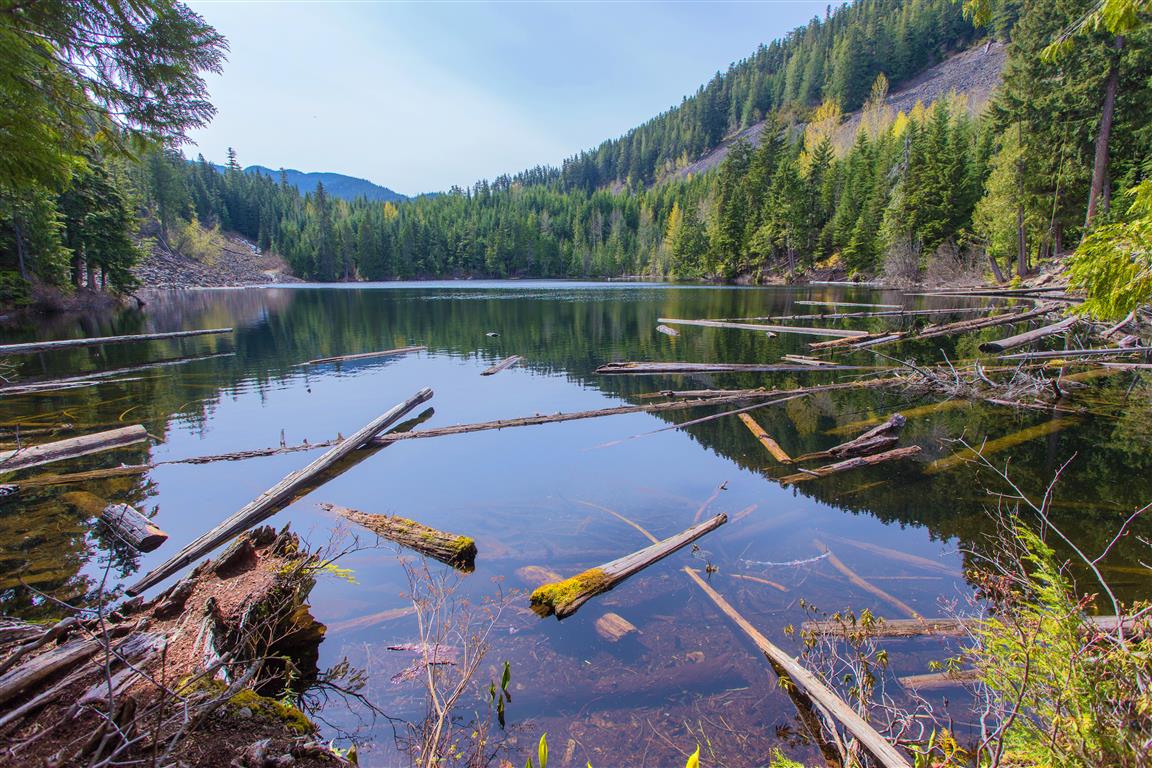
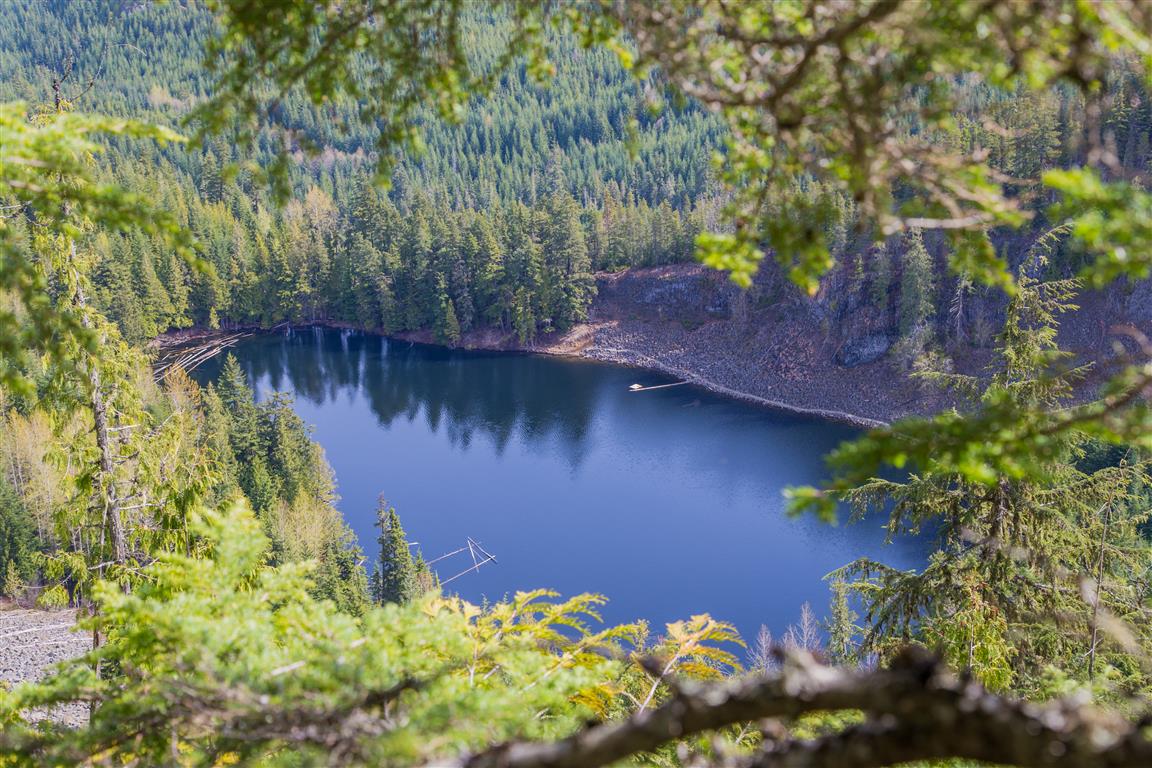
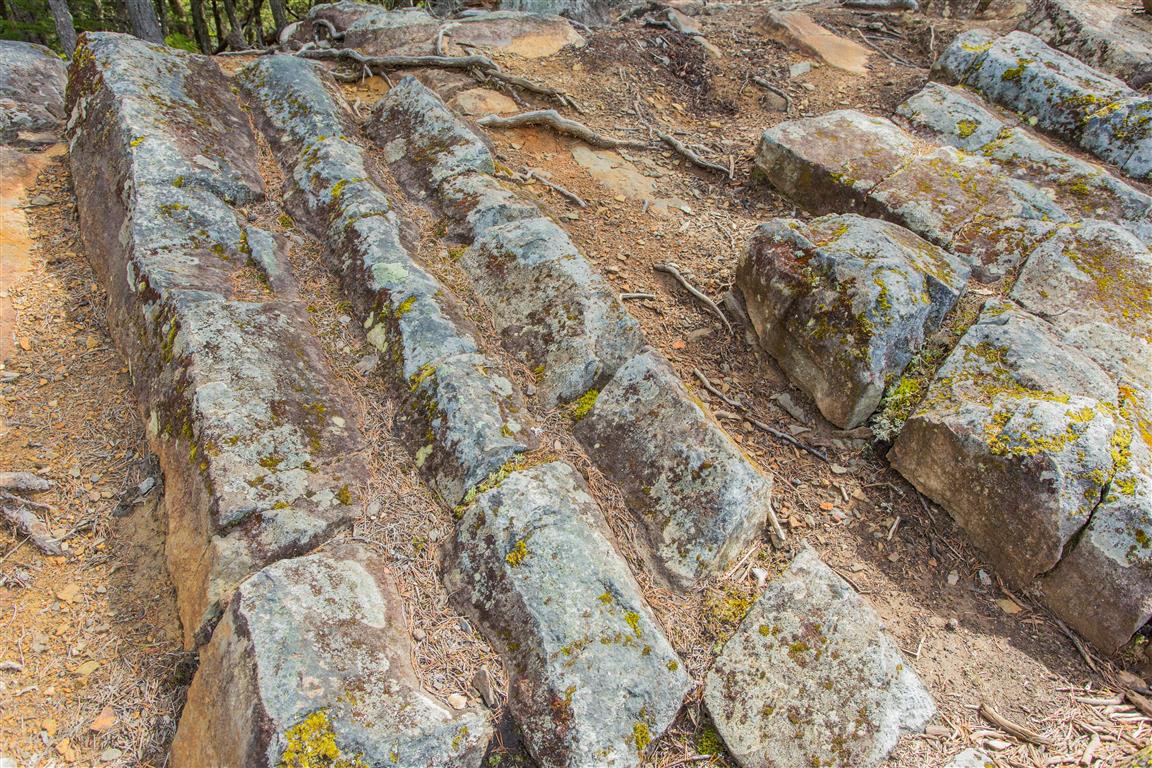
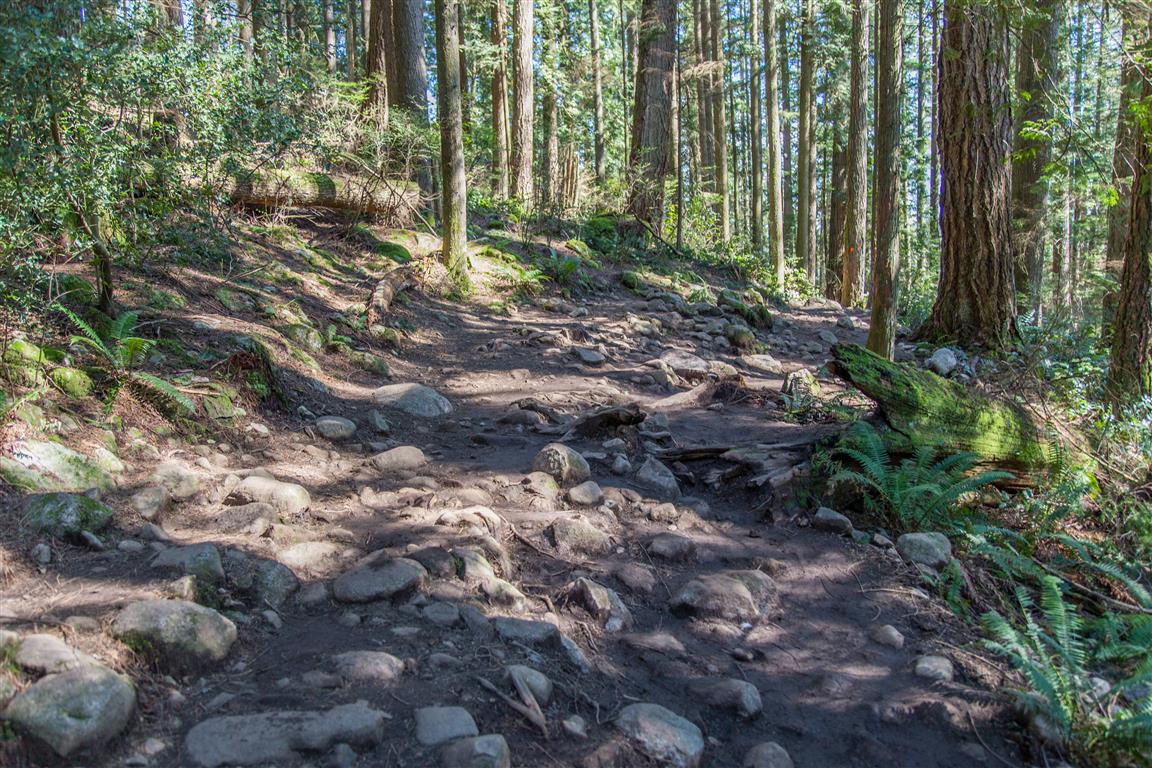
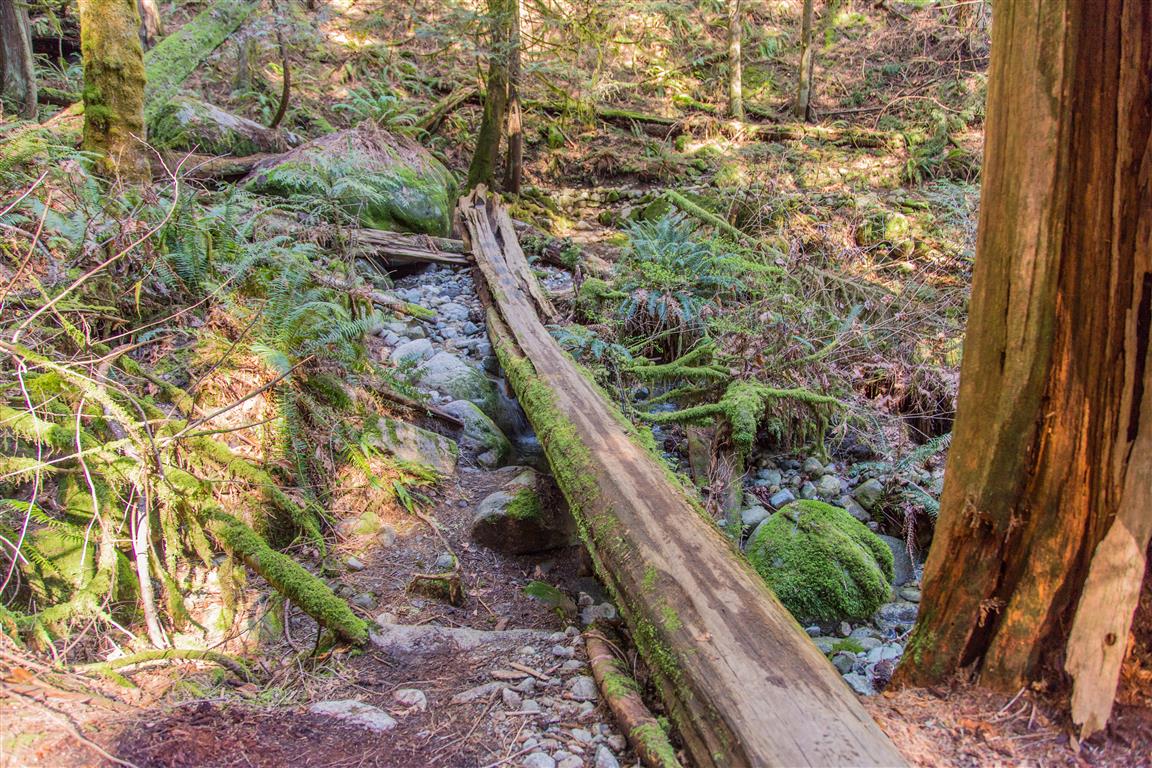
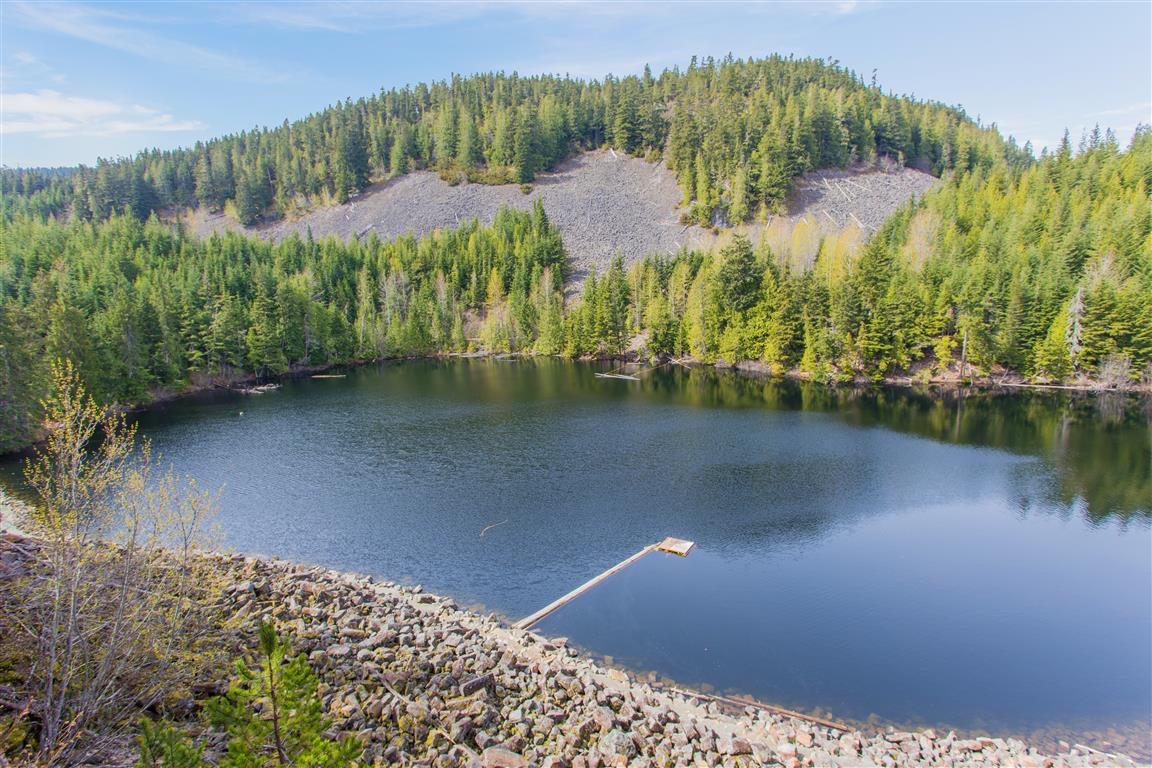
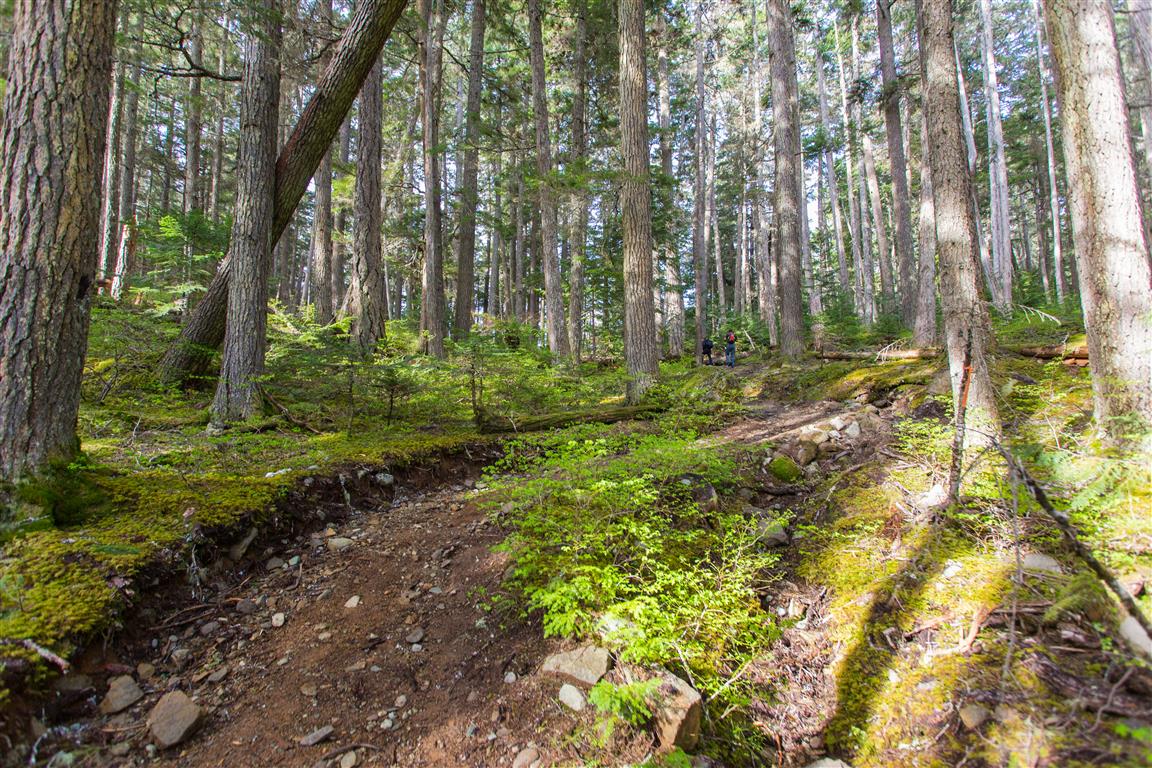
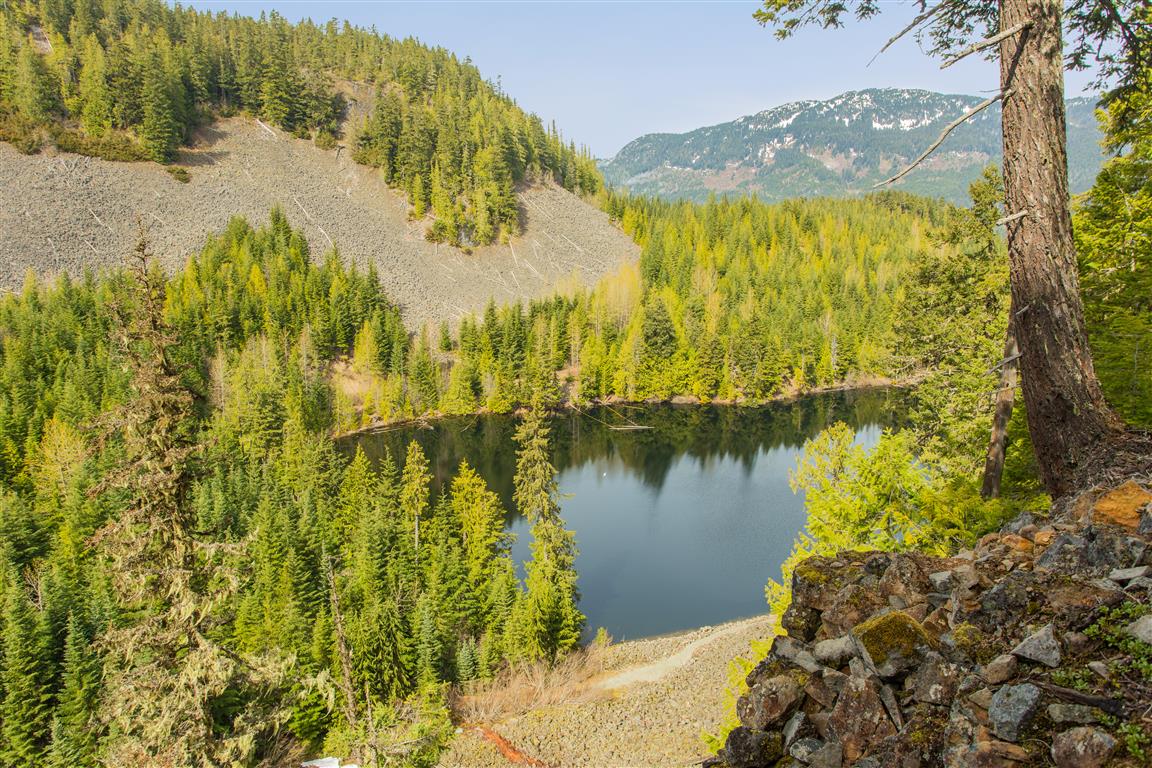
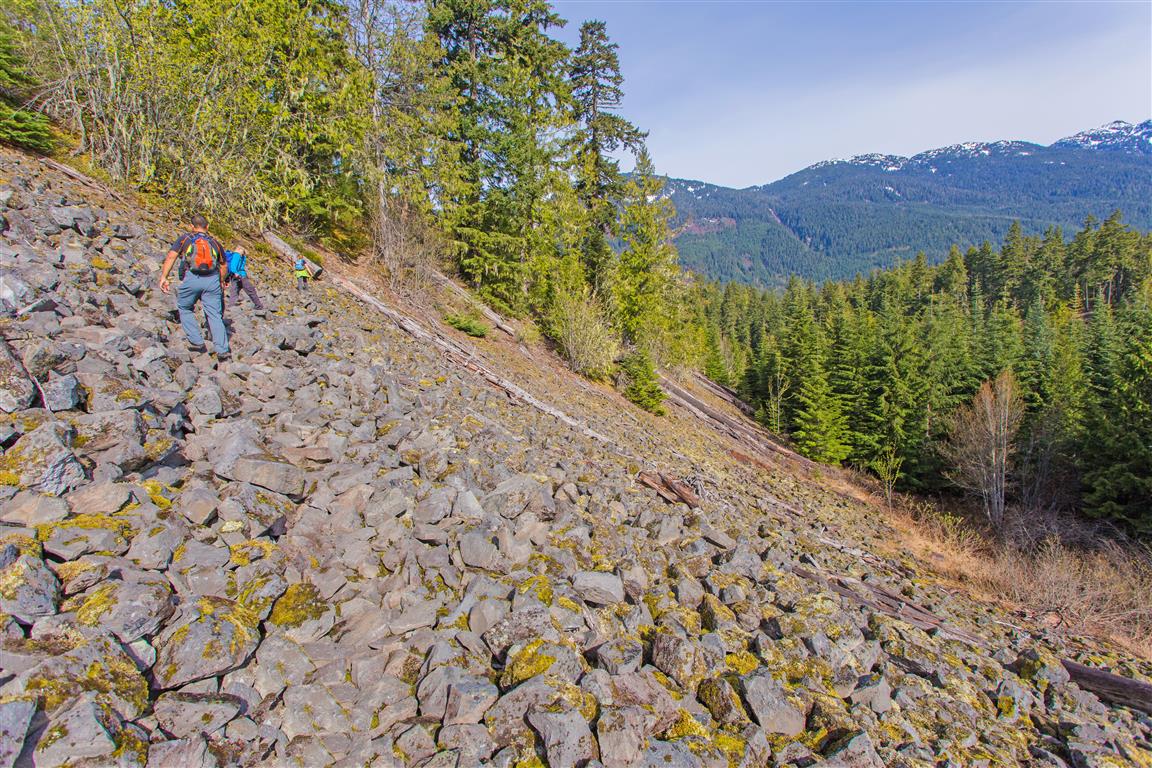
Before heading out to this place, I never knew Whistler had its own crater lake! It’s pretty cool to explore these new trails and learn new stuff! The Crater Rim Trail is in Whistler Interpretive Forest, and the trailhead is on the opposite side of the highway from Function Junction. The lake is named Logger’s Lake. The trail takes you through a boulder field and up to the crater rim and along the ridge. Eventually the trail makes its way down towards the lake. There are a number of viewpoints along the way.

Interesting Facts

  • Logger’s Lake really does sit inside a volcanic crater. The volcanic cone pushed up through glacial ice around 10,000 years ago, and as the lava cooled, it formed the columns of basalt you can still see in the rock outcroppings on the hillsides above the lake
  • Logger’s Lake is considered one of the best spots in the Whistler area for swimming, often cited as the warmest lake around thanks to its relatively shallow, sheltered setting
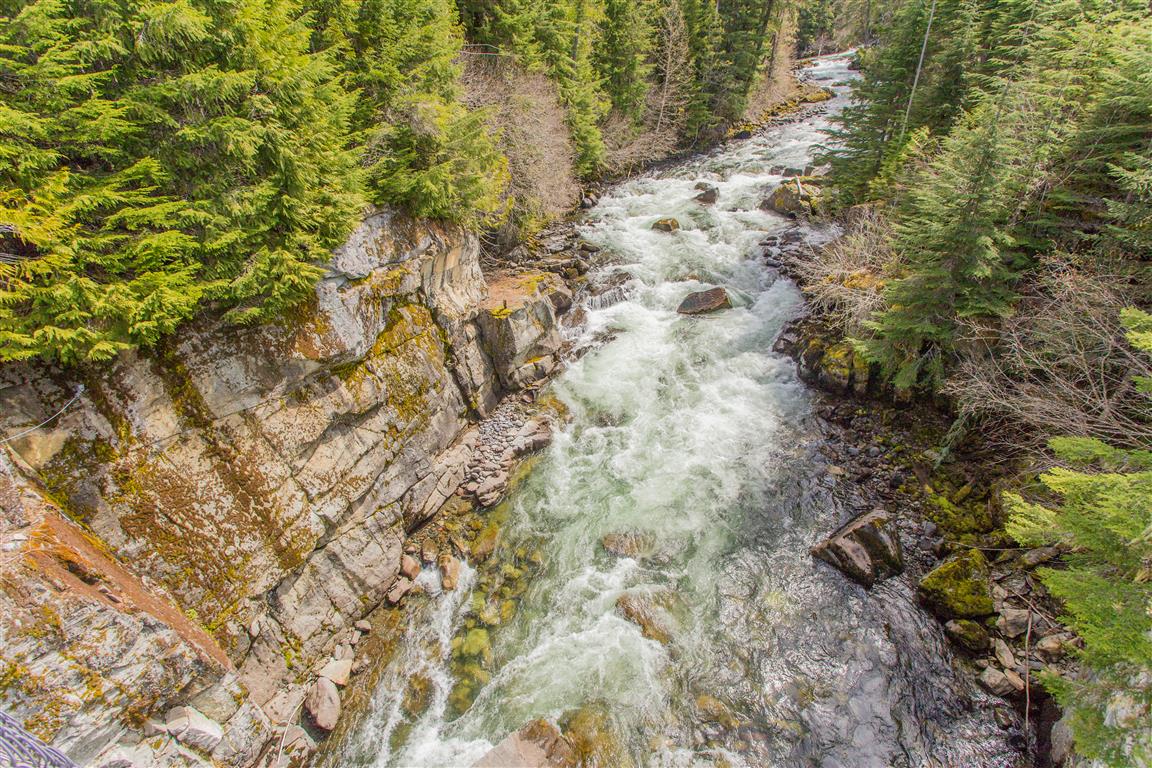
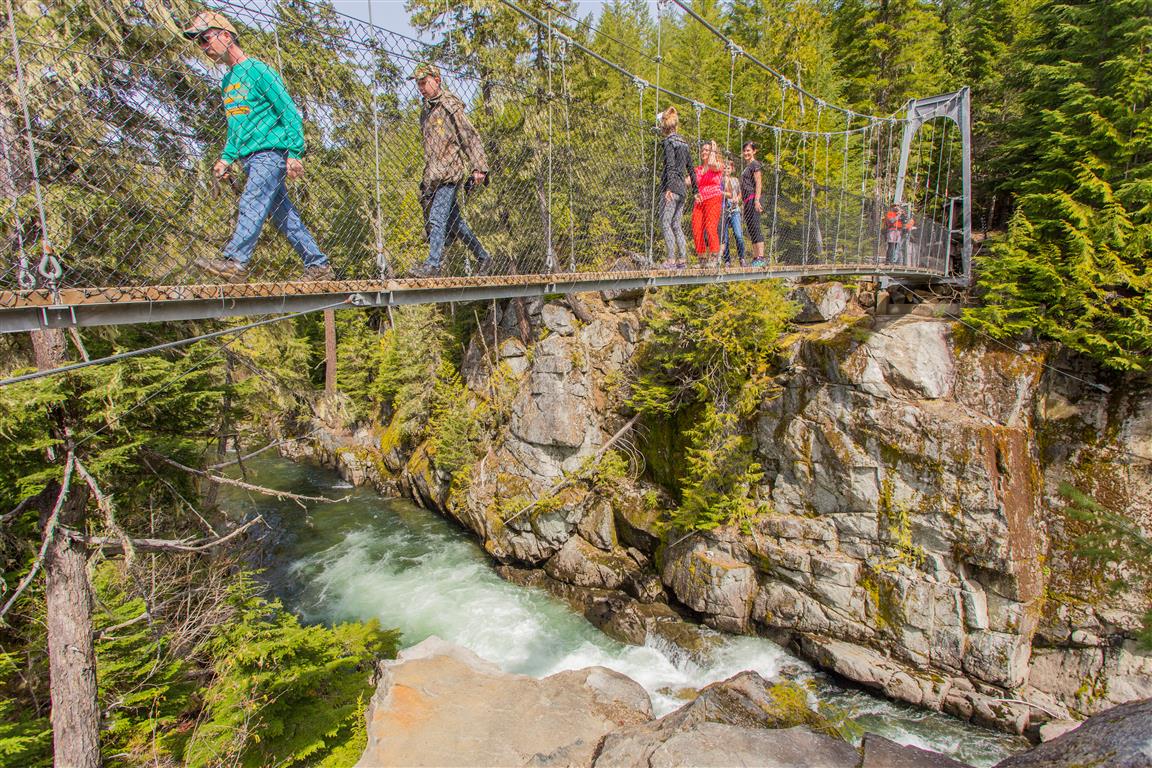
  • The suspension bridge on this route crosses the Cheakamus River, a glacially fed river that eventually flows into the Squamish River on its way to Howe Sound
  • This trail sits within the Coastal Western Hemlock (CWH) biogeoclimatic zone at its lower elevations, transitioning toward the Mountain Hemlock (MH) zone near the higher points along the crater rim

Trail Stats

  • Distance: 11.2 km
  • Time: 4 hours
  • Low point: 611 m
  • High point: 925 m
  • Elevation gain: 314 m
  • Cumulative elevation gain: 438 m
  • Trailhead: 50° 5′ 11.3″ N, 123° 2′ 9.8″ W (Google Map)

The Route

The actual GPS track from this hike, drawn on the map below. Green marks the start/end point. Use the layer control in the top right to switch to a satellite view.

Photos
Logger's Lake
Logger’s Lake
Trail pic
Trail pic
Logger's Lake
Logger’s Lake
Boulder field
Boulder field
View
View
Trail pic
Trail pic
Logger's Lake area trails
Logger’s Lake area trails
Logger's Lake
Logger’s Lake
First view of Logger's Lake
First view of Logger’s Lake
Columnar basalt
Columnar basalt
Cheakamus River
Cheakamus River
Cheakamus River Suspension Bridge
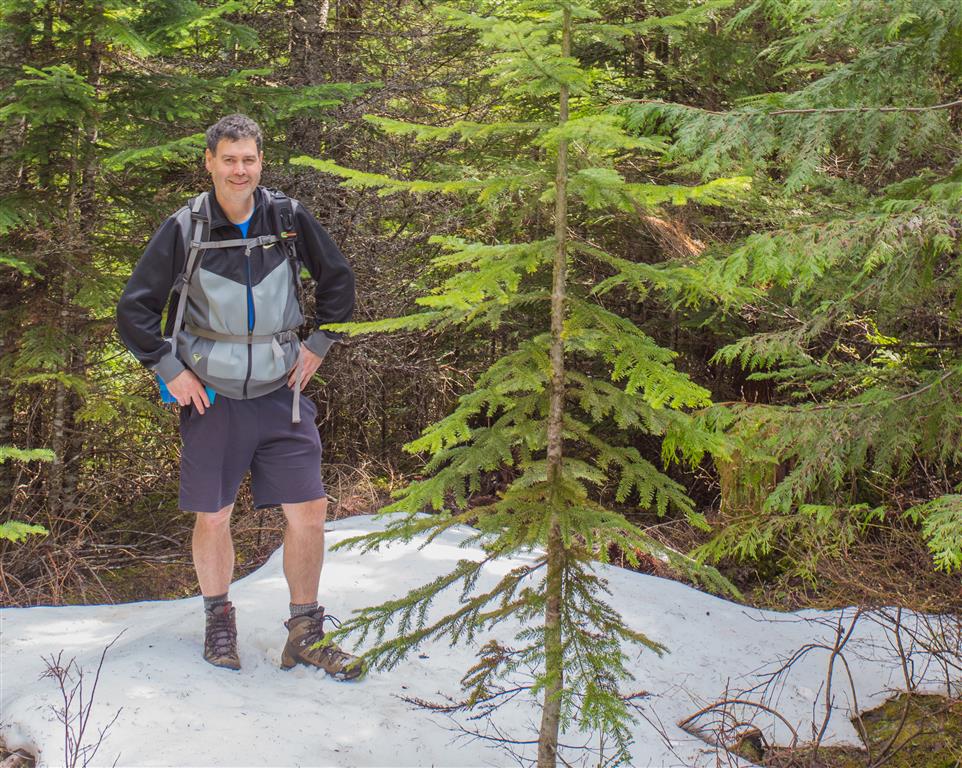
Still some snow around
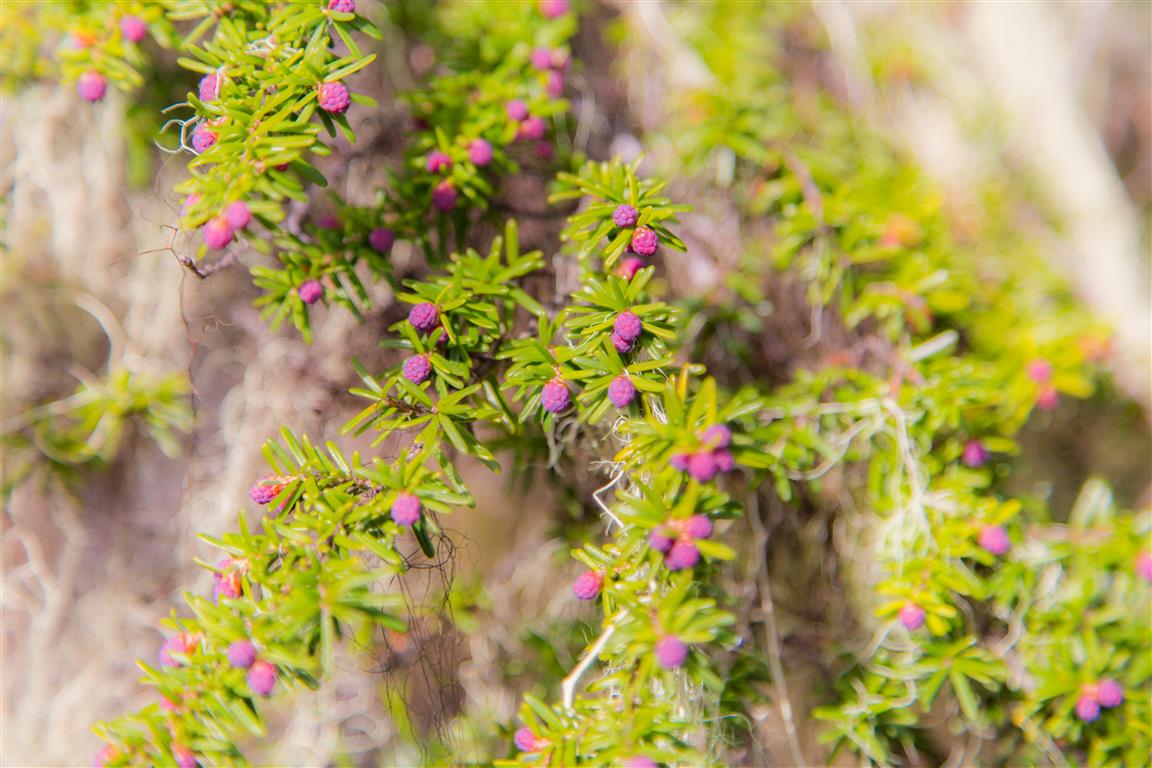
Flowering pine
Flowering pine
Conditions on this trail can change over time — trailheads move, access rules shift, and businesses close. This post reflects what I found when I did the hike.

Before You Hike

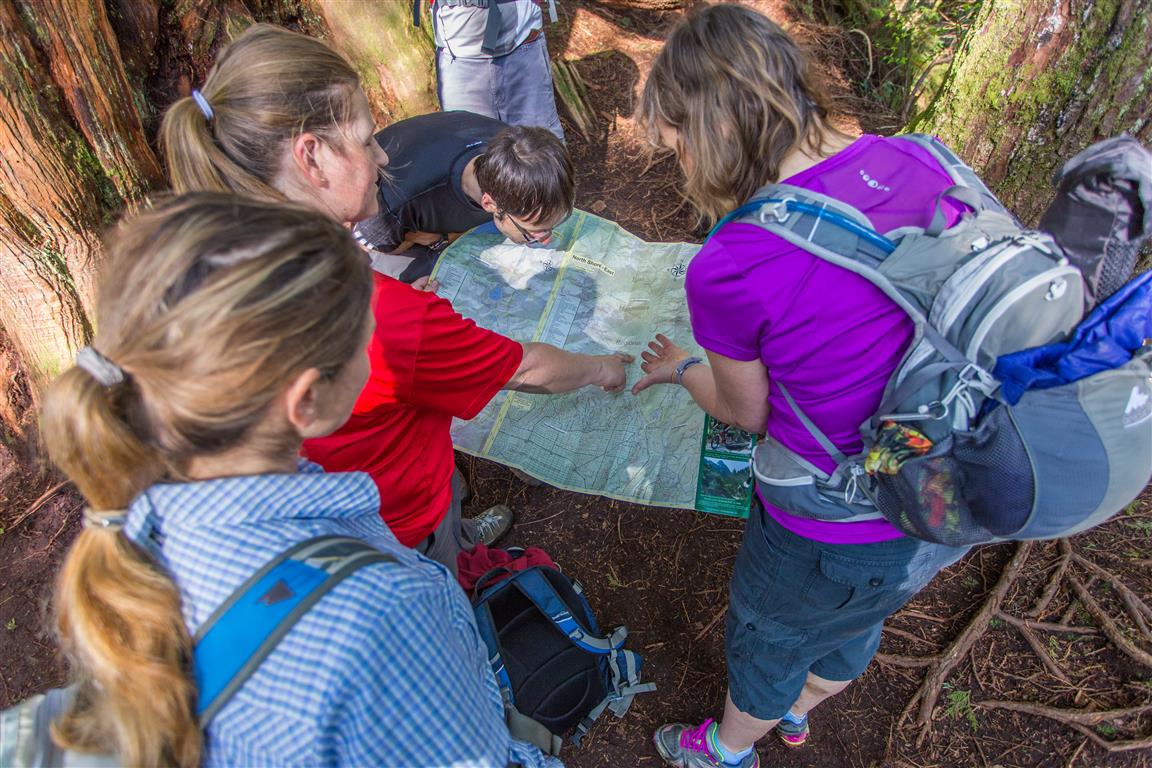
Before heading out on your hike, make sure you are well prepared. This means having the TEN ESSENTIALS. It is also important to leave a trip plan (route details and estimated return time) with someone you trust.

Bring your smartphone, fully charged, and put it in airplane mode while hiking. I always bring backup battery packs for extra peace of mind. It is highly recommended that you bring a GPS device. I use my smartphone with a GPS app (Backcountry Navigator). The GPS will work in airplane mode. Learn how to use it before your hike.

For anyone new to hiking, there is a rule that hikers follow called “Leave No Trace” or LNT. The concept is generally to pack out what you pack in and respect nature, so all future visitors can enjoy what you have enjoyed. To learn more about LNT, please check out this blog by a certified LNT Trainer.

Alder Flats

Alder Flats at Golden Ears Provincial Park is known as a resting stop prior to ascending Golden Ears peak. The views just above Alder Flats are amazing. This hike ends at a clearing about 100 m over the Alder Flats campsite. The clearing allows for amazing views of Golden Ears. This is one of many great hikes in Golden Ears Provincial Park. With the addition of the new bridge over Gold Creek, it is possible to do this hike in a loop, which is what we did today. We left cars at both the East and West Canyon trailheads. We started up the Lower Falls Trail (which parallels the East Canyon Trail); we then headed through a rugged trail, which is sparsely marked, but then made it up to East Canyon Trail. Shortly thereafter, we crossed the new bridge and started making some elevation gain. About an hour later, we were at Alder Flats. The viewpoint above Alder Flats is a short hike a little further up.

Interesting Facts

  • That new bridge over Gold Creek was over 20 years in the making. It was championed by the Ridge Meadows Outdoor Club and cost about $80,000, finally getting built after longtime park advocate John Hume and local MLAs secured the funding in 2013
  • There was actually an older logging bridge at this exact crossing, built before the Second World War. It deteriorated and collapsed sometime in the 1960s, after which hikers had to reach Alder Flats via the West Canyon Trail only, making the my loop impossible until the new bridge went in. The new bridge reuses the original concrete pillar from that earlier structure
  • Golden Ears Provincial Park was established in 1927, originally as part of Garibaldi Provincial Park, and is named after the twin peaks of Mount Blanshard near the park’s western boundary
  • This trail passes through both the Coastal Western Hemlock (CWH) zone at lower elevations and begins transitioning toward the Mountain Hemlock (MH) zone near its higher points above Alder Flats

Trail Stats

  • Distance: 13.4 km
  • Time: 5 hours (including rests)
  • Low point: 151 m
  • High point: 585 m
  • Elevation gain: 543 m
  • Cumulative elevation gain: 875 m
  • East Canyon Trailhead: 49° 20′ 0″ N, 122° 27′ 26.5″ W (Google Map)
  • West Canyon Trailhead: 49° 19′ 38.5″ N, 122° 27′ 46″ W (Google Map)

The Route

The actual GPS track from this hike, drawn on the map below. Green marks the start point and red marks the end point, since this was a one-way loop between the two trailheads. Use the layer control in the top right to switch to a satellite view.

Photos

Golden Ears Peak from viewpoint over Alder Flats:

Golden Ears Peak

Viewpoint over Alder Flats:

Viewpoint over Alder Flats

Creek at Alder Flats:

Creek at Alder Flats

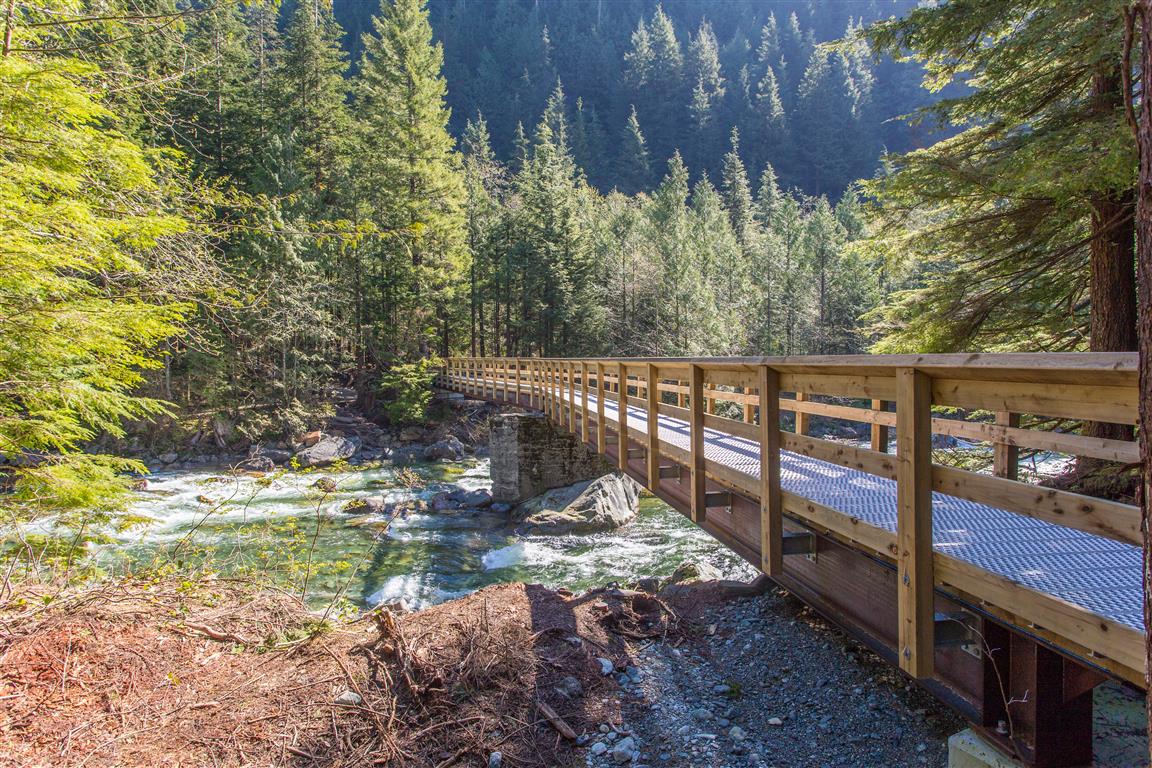
Gold Creek bridge:

Gold Creek bridge

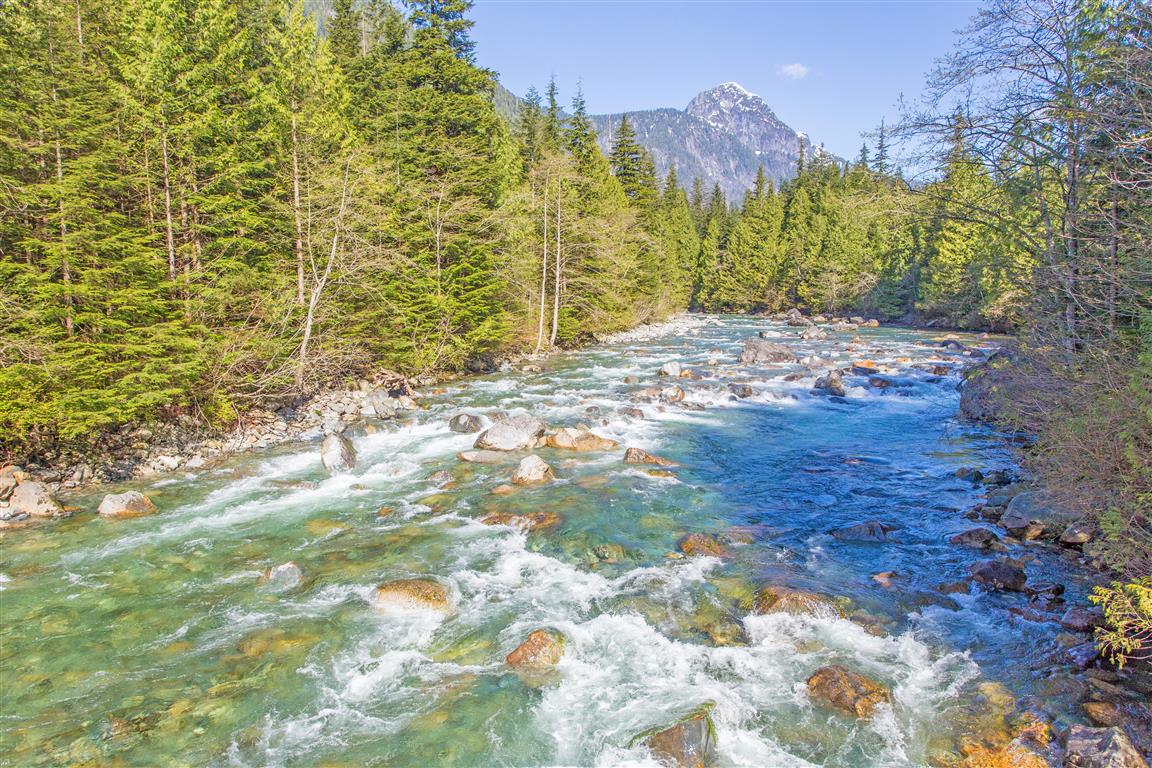
Gold Creek from the bridge:

Gold Creek from the bridge

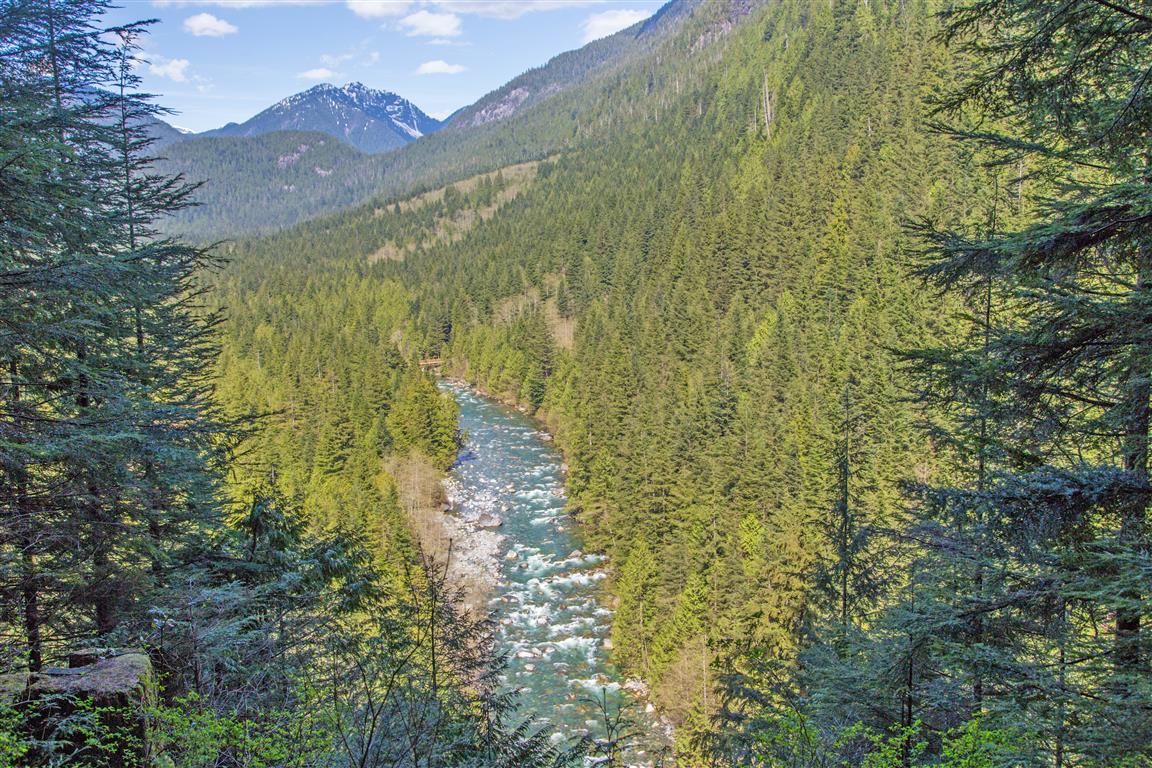
Gold Creek viewpoint on West Canyon Trail:

Gold Creek viewpoint on West Canyon Trail

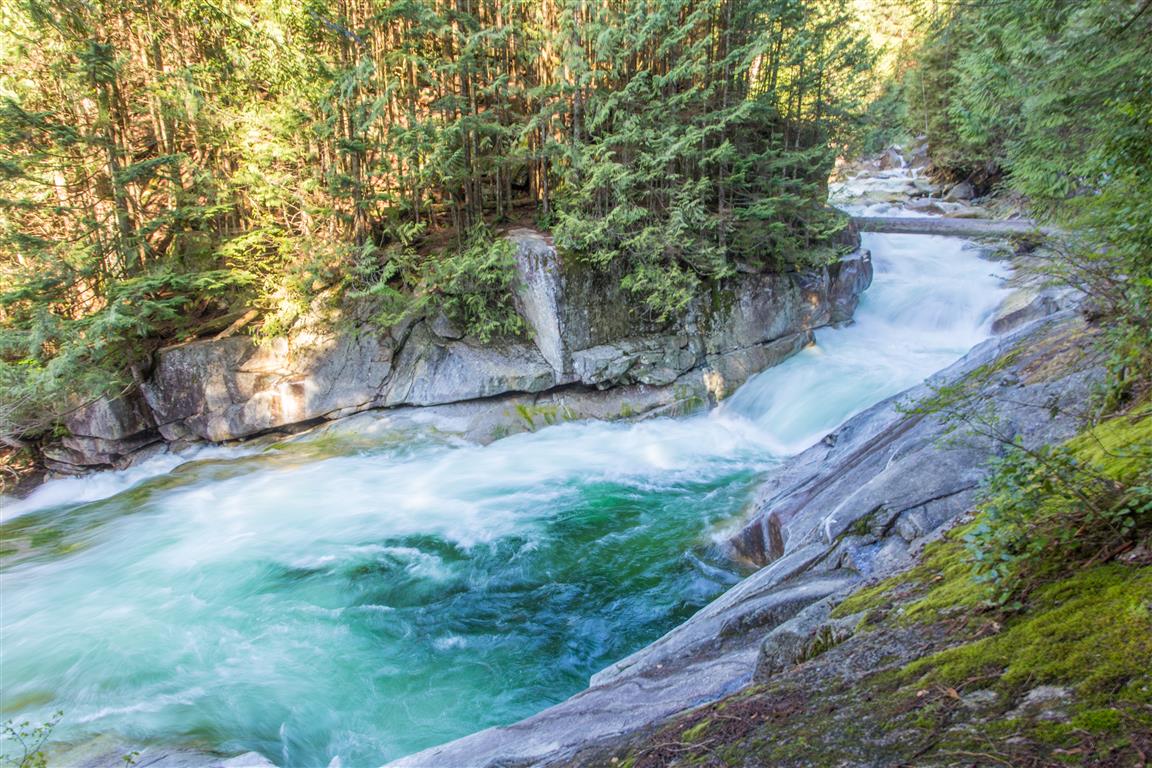
Gold Creek:

Gold Creek

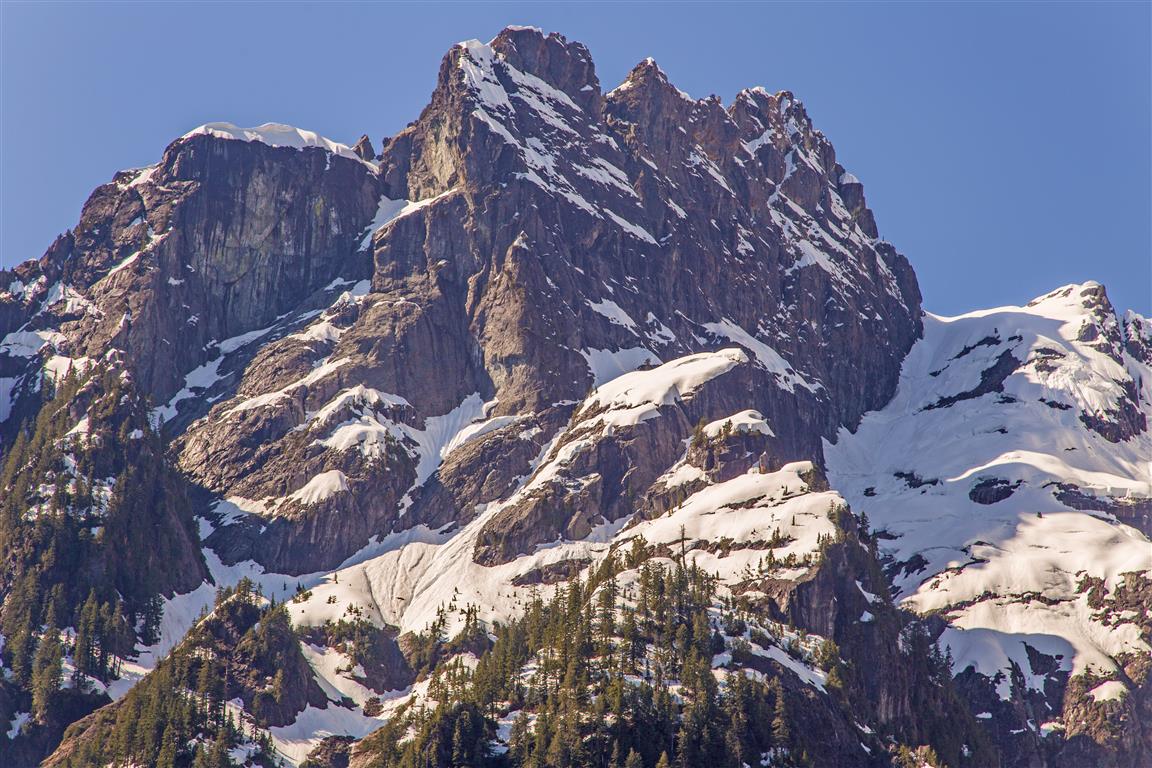
Golden Ears up close:

Golden Ears up close

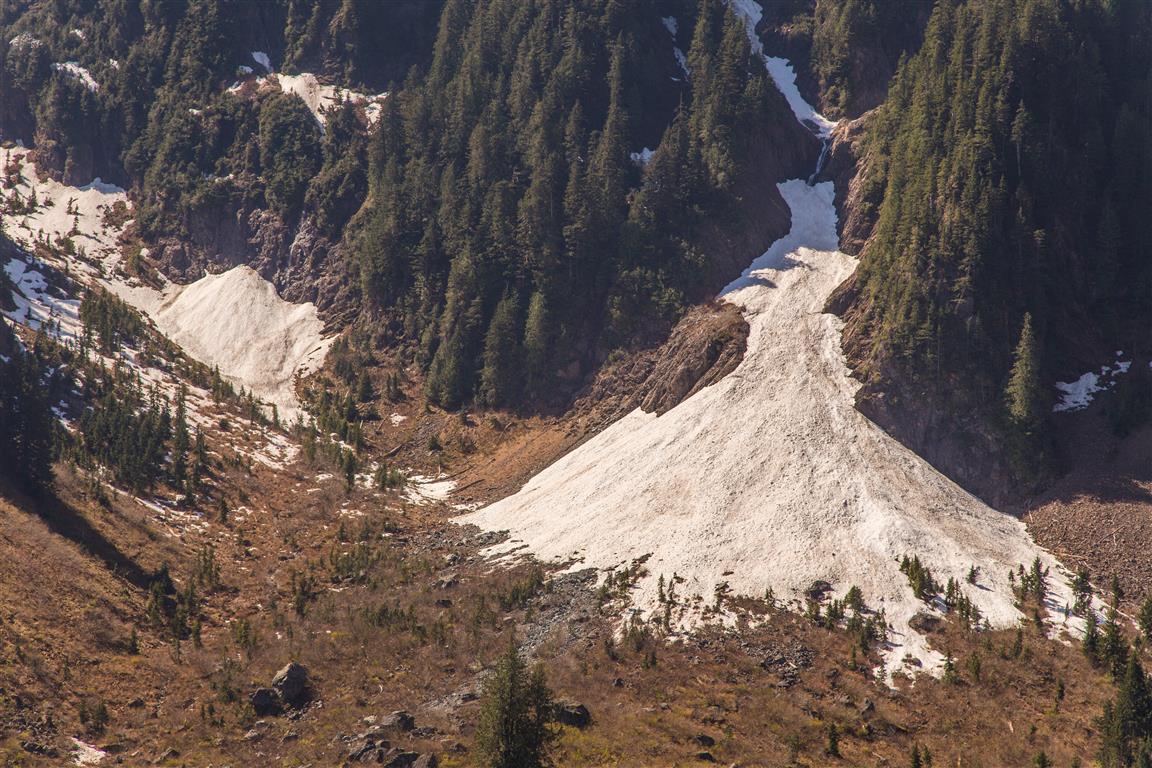
Snowfields:

Snowfields

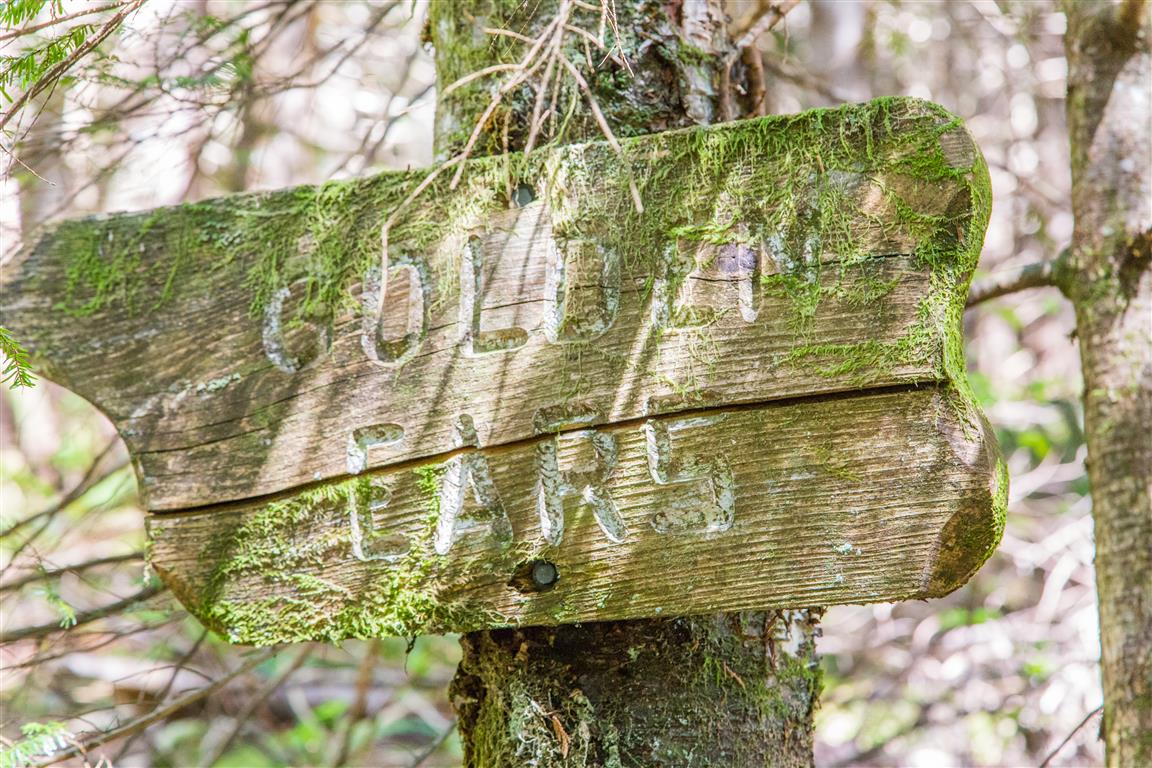
An old sign:

An old sign

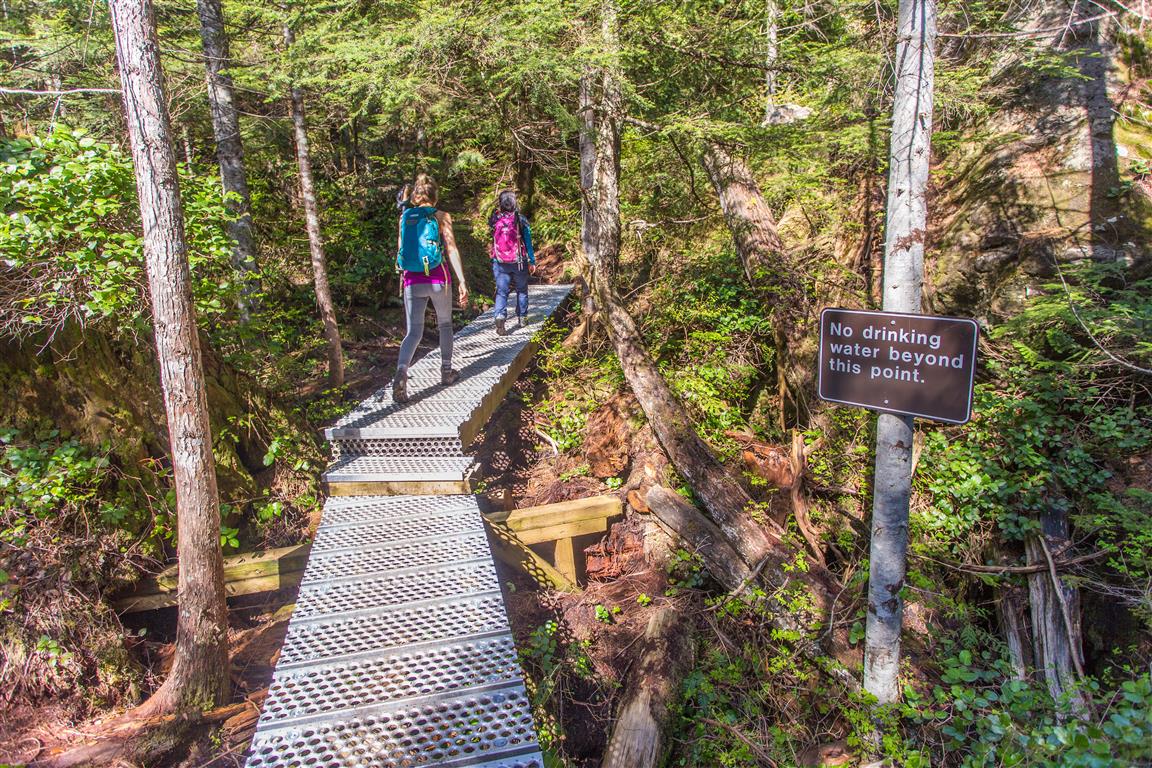
There are many small bridges:

Small bridge
Conditions on this trail can change over time — trailheads move, access rules shift, and businesses close. This post reflects what I found when I did the hike.

Before You Hike

Before heading out on your hike, make sure you are well prepared. This means having the TEN ESSENTIALS. It is also important to leave a trip plan (route details and estimated return time) with someone you trust.

Bring your smartphone, fully charged, and put it in airplane mode while hiking. I always bring backup battery packs for extra peace of mind. It is highly recommended that you bring a GPS device. I use my smartphone with a GPS app (Backcountry Navigator). The GPS will work in airplane mode. Learn how to use it before your hike.

For anyone new to hiking, there is a rule that hikers follow called “Leave No Trace” or LNT. The concept is generally to pack out what you pack in and respect nature, so all future visitors can enjoy what you have enjoyed. To learn more about LNT, please check out this blog by a certified LNT Trainer.

Admiralty Point

The trail to Admiralty Point is accessed from the Belcarra Picnic area in Belcarra Regional Park. Admiralty Point Trail is in an adjoining park, named Admiralty Point Park. This park became a National Park in 2014. Let me explain…

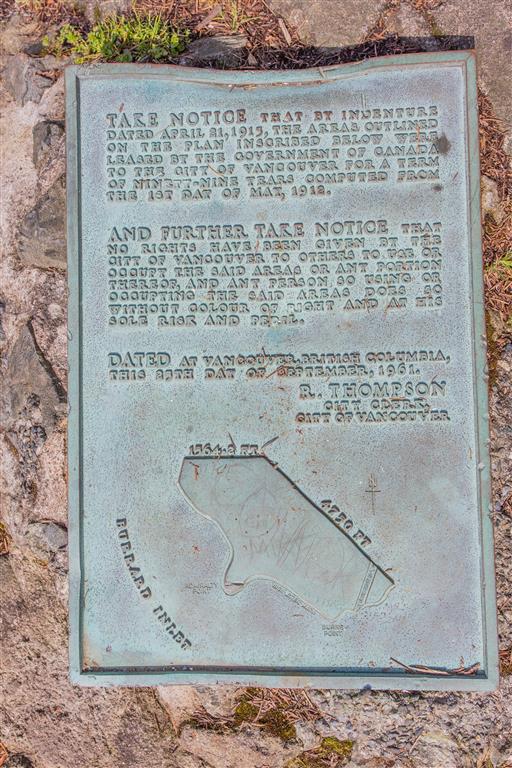
The federal government originally signed a 99-year lease with the City of Vancouver back in 1912 to keep the lands for park purposes. The lands were then handed over to the Greater Vancouver Regional District — now Metro Vancouver — but the lease ran out in 2011.

The federal government chose not to renew the lease and instead brought the land into Parks Canada’s own inventory, protecting it permanently as federal parkland — voila! Protected by Parks Canada! The park remains administered by Metro Vancouver.

Annual funding from the federal government goes toward general maintenance of the park for items such as trail maintenance, fire prevention, and garbage collection. The lands also play a part in Port Moody’s history. Col. R.C. Moody, for whom the city of Port Moody is named, established the Admiralty Point Military Reserve there in 1860.

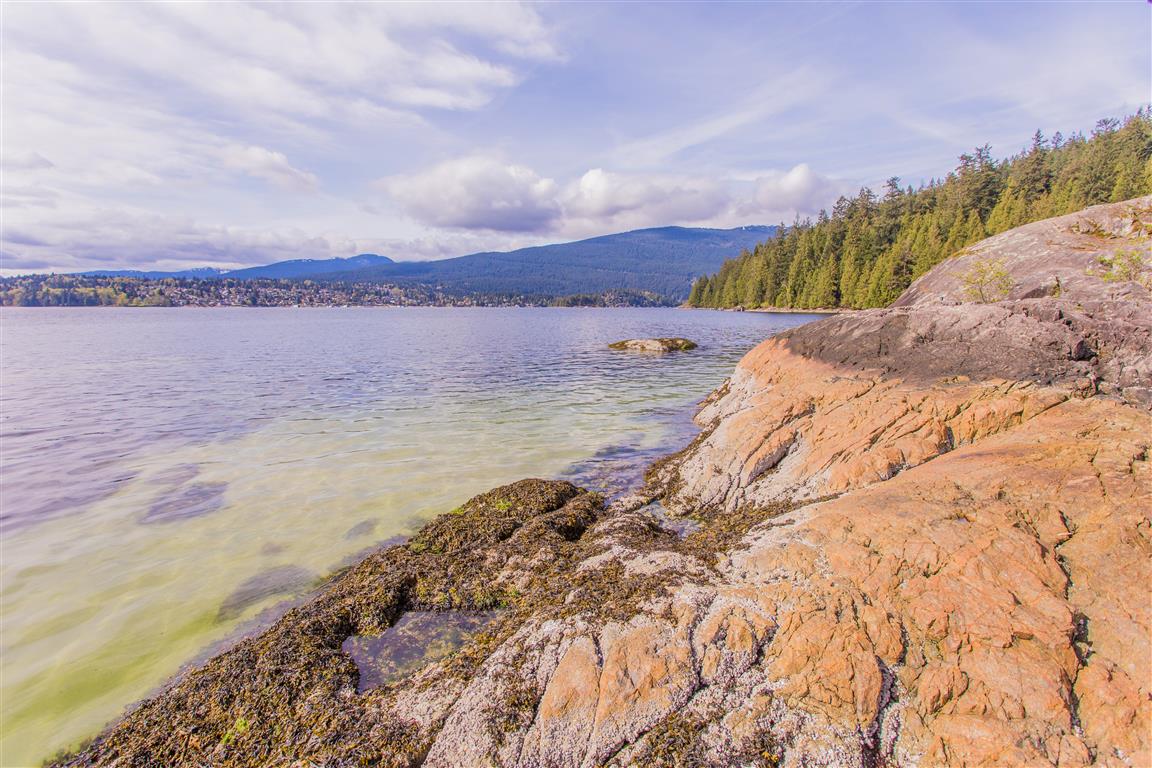
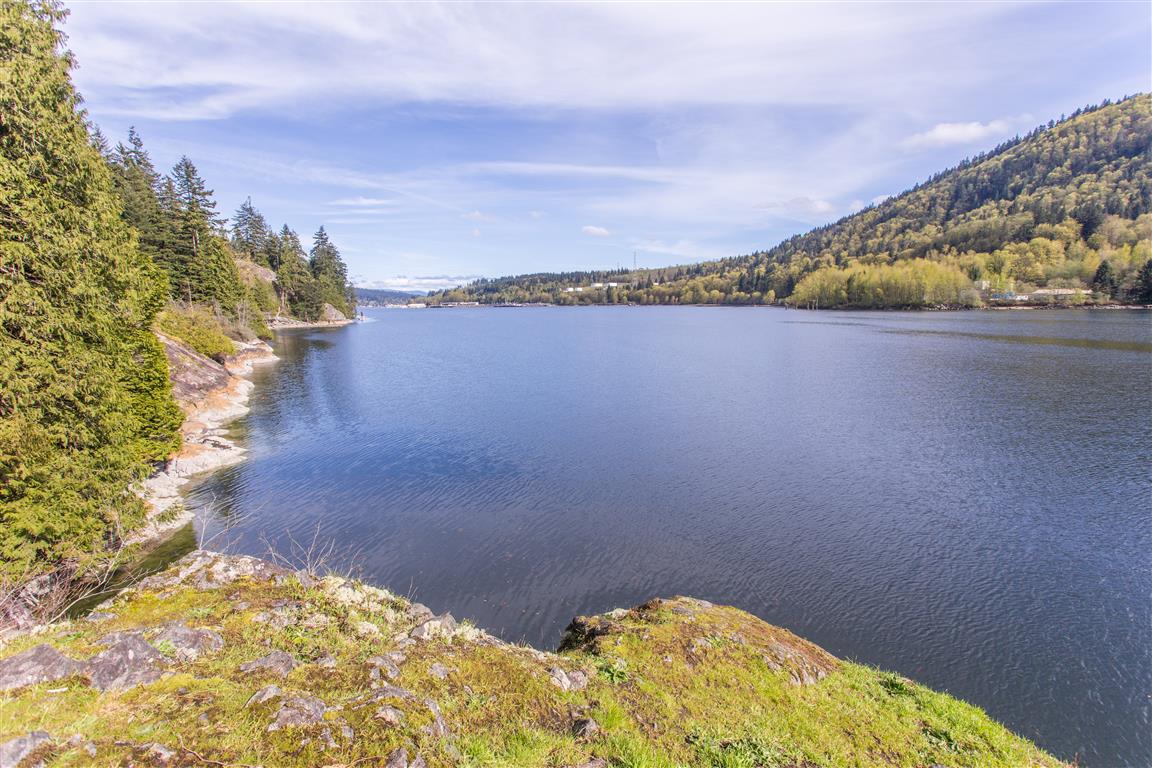
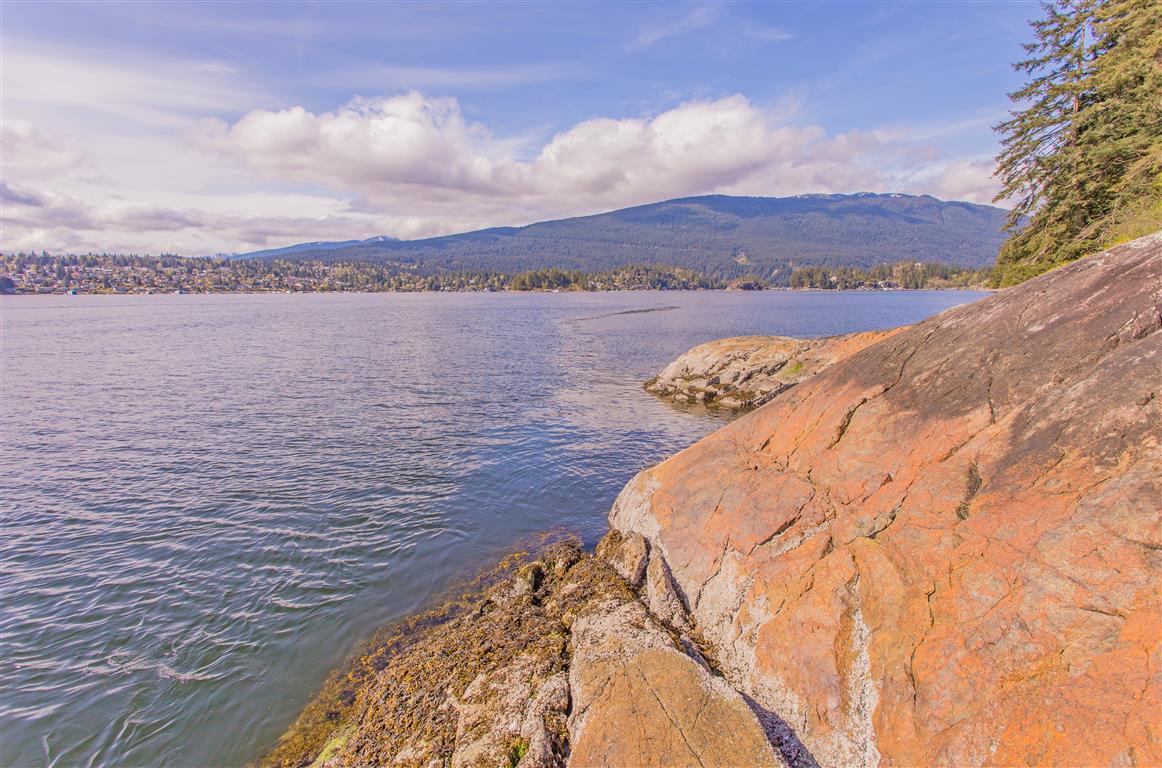
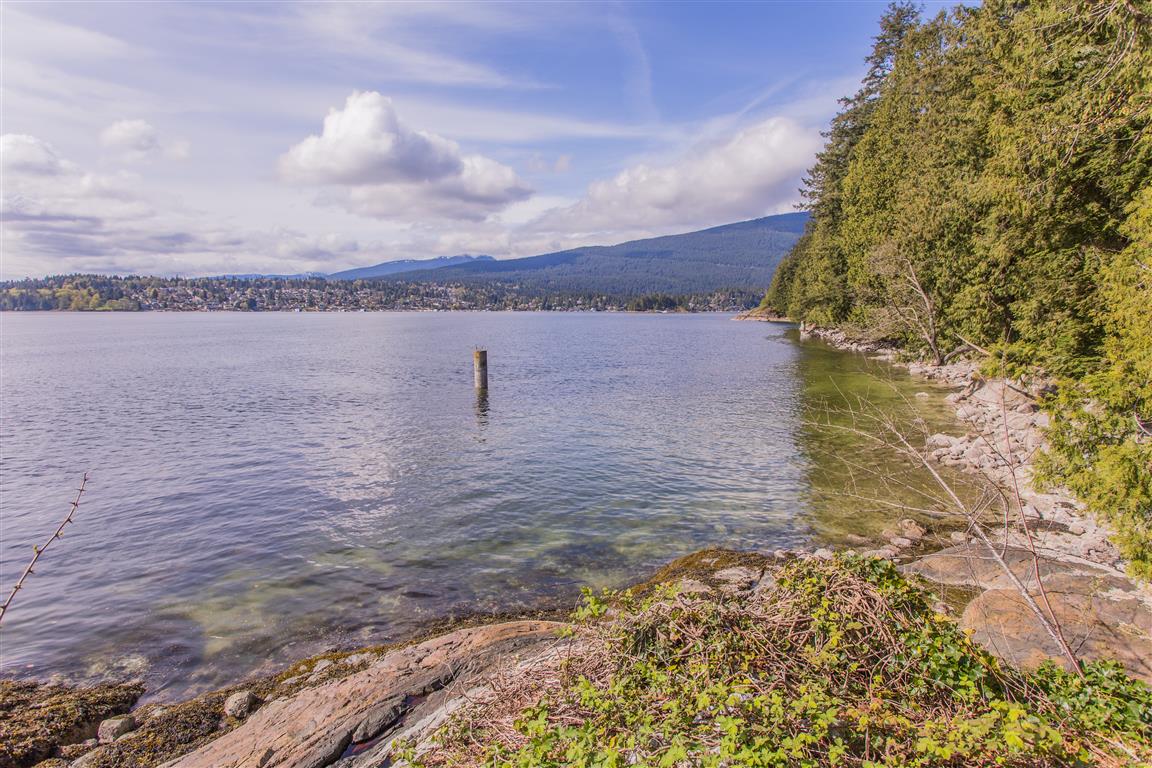
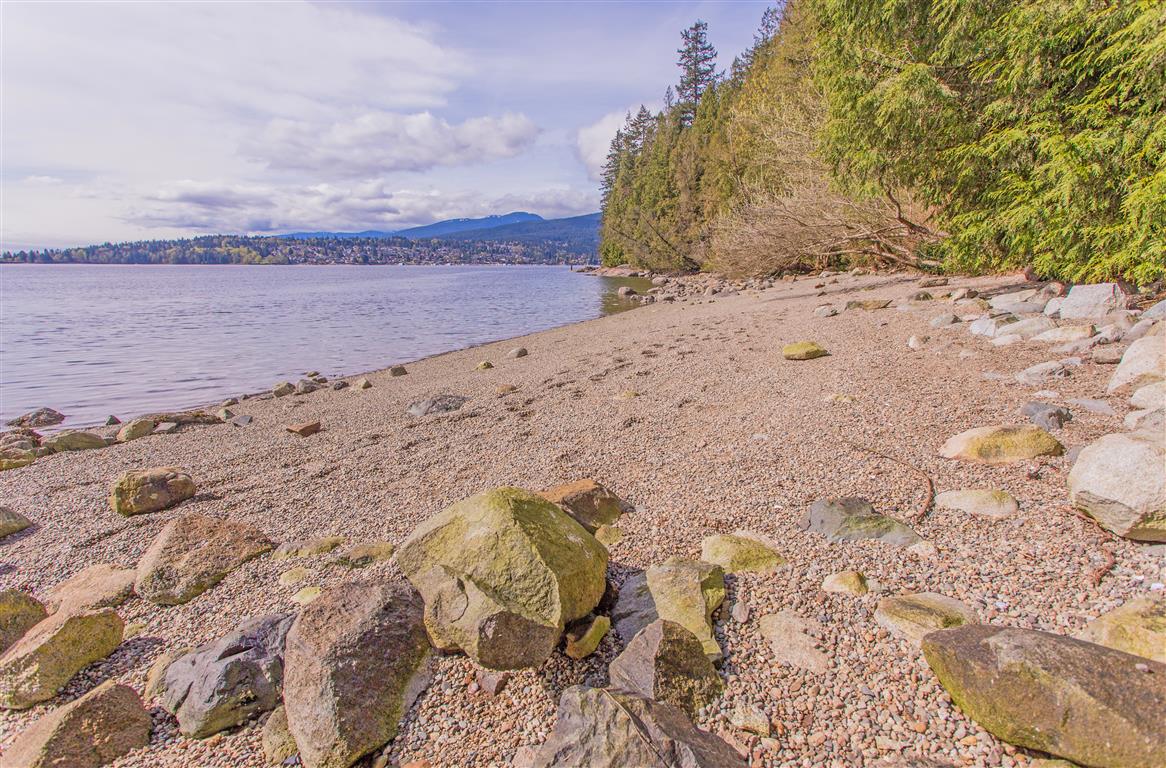
The trail winds around the shoreline, offering many spectacular views along the way.

More Interesting Facts

  • Col. Moody saw the strategic value in this exact spot, since it overlooks the junction of Burrard Inlet, Port Moody Arm, and Indian Arm all at once, making it an ideal position for a cannon to guard the approach to the colonial capital of New Westminster
  • The name “Admiralty Point” itself wasn’t formally chosen until 1940, when it was suggested by Major J.S. Matthews of the Vancouver City Archives. Locally, the area had simply been known as the “Admiralty reserve” since the 1800s naval survey days
  • Nearby Belcarra takes its name from Belcarra (Ballycarra) in County Mayo, Ireland. The area’s first European settler, lawyer William Norman Bole, received the land as payment for legal defence work and named it after his home village. Belcarra was officially twinned with its Irish namesake in 2007

Trail Stats

The stats below are to the end (Burns Point) and back:

Tip for mobile users: long-press the “Google Map and navigation” link for the option to open in the maps app.

The Route

The actual GPS track from this walk, drawn on the map below. Green marks the start/end point. Use the layer control in the top right to switch to a satellite view.

Photos
Admiralty Point view
View from Burns Point
View from Cod Rock
View from Cod Rock
Shoreline view
Shoreline view
Maple Beach
Maple Beach
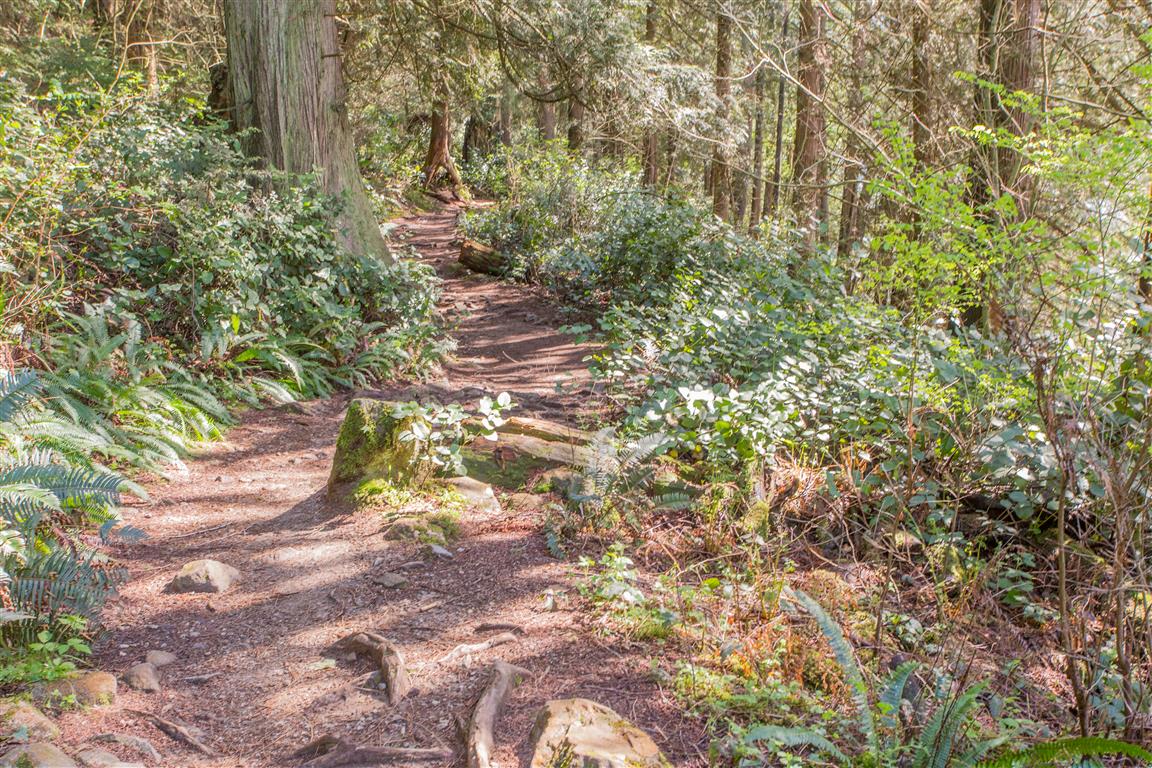
Trail picture
Trail picture
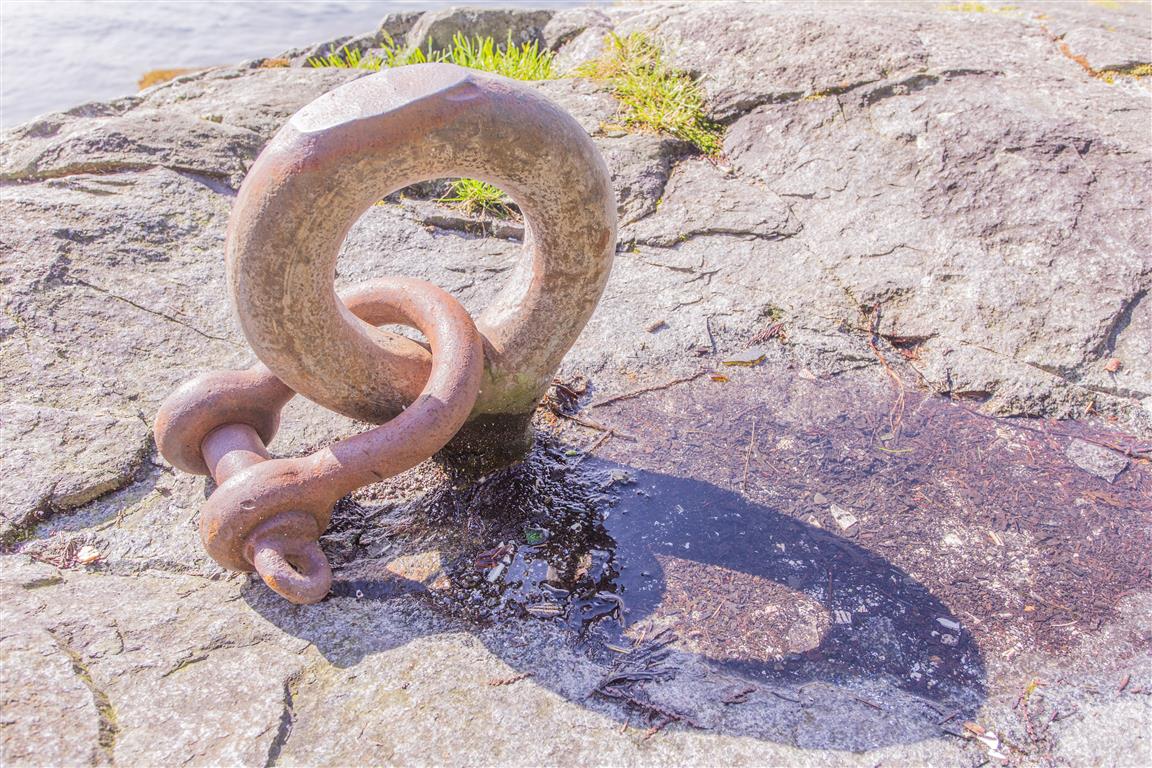
Anchor in rock
Anchor in rock
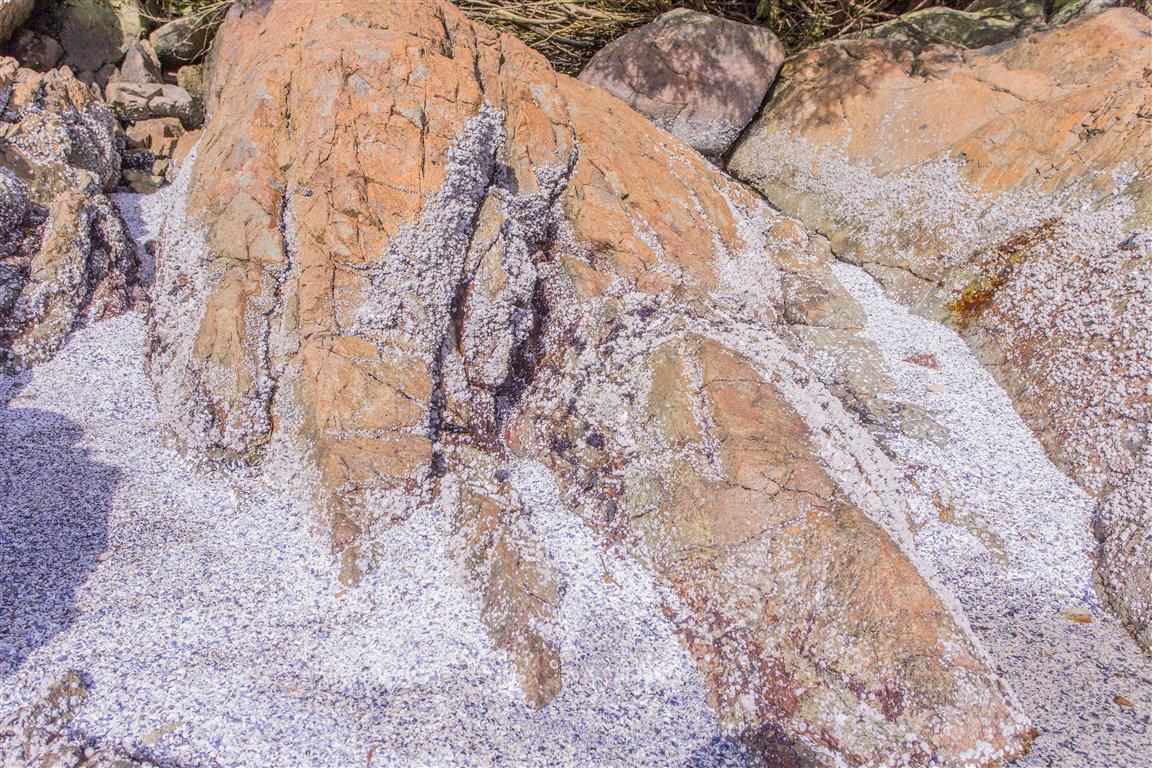
Shells at Admiralty Point
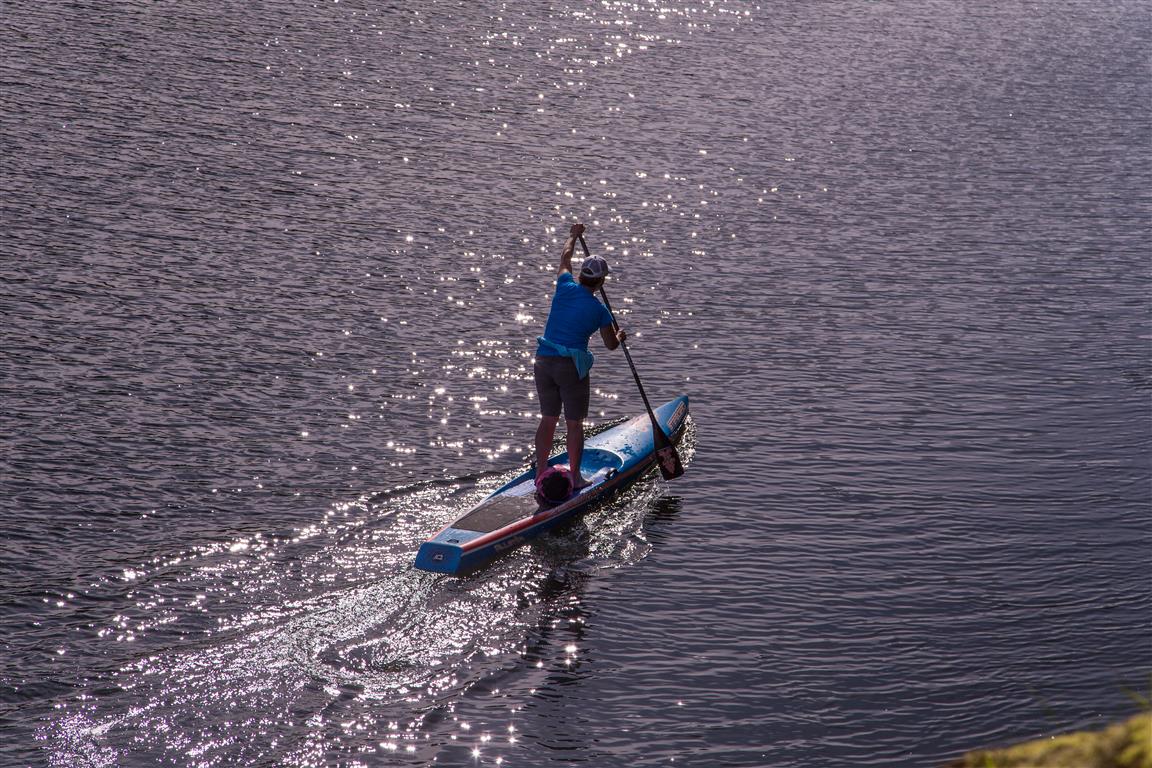
Paddleboarder
Paddleboarder
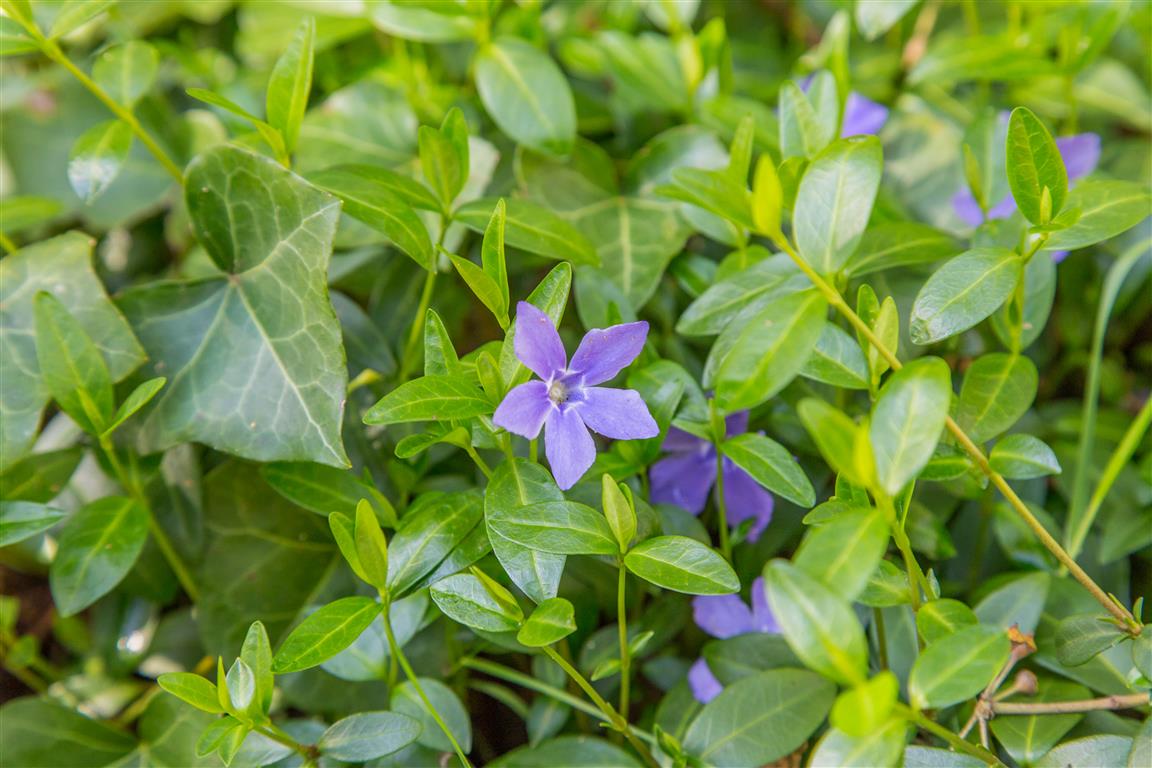
Periwinkle
Periwinkle
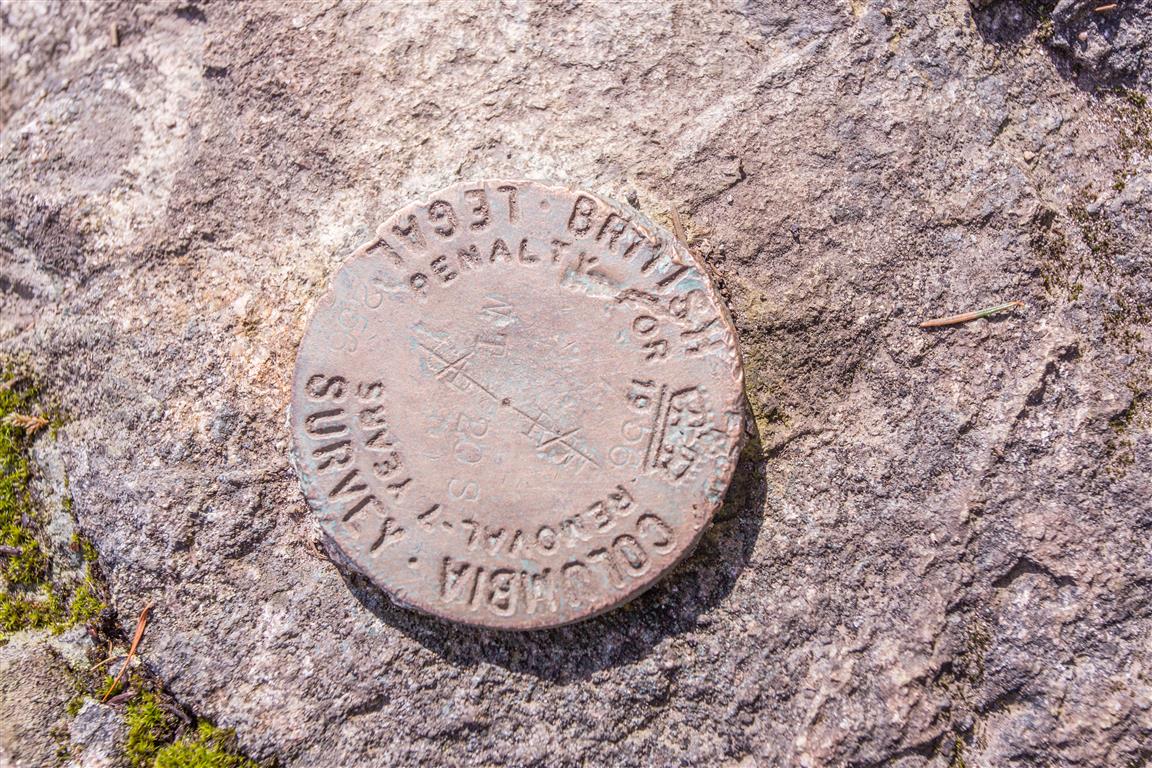
Survey monument at Burns Point
Plaque at Admiralty Point
Conditions on this trail can change over time — trailheads move, access rules shift, and businesses close. This post reflects what I found when I did the walk.

Big Cedar Trail and Kennedy Falls

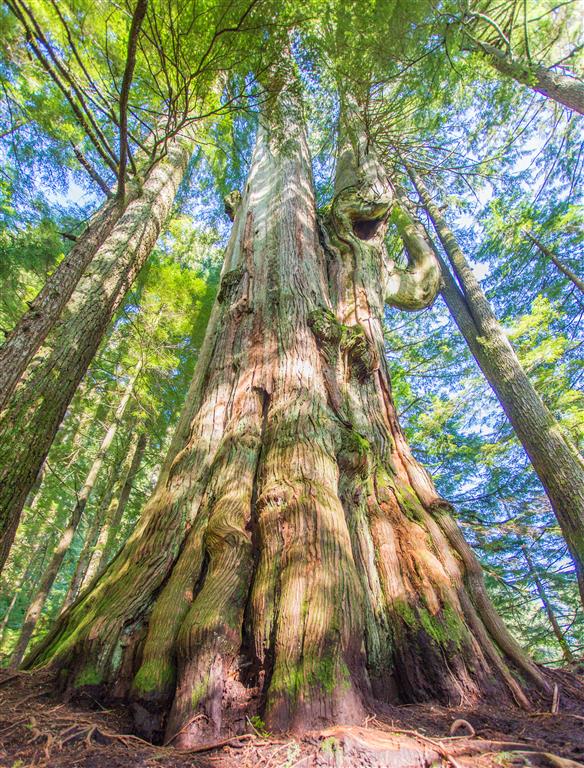
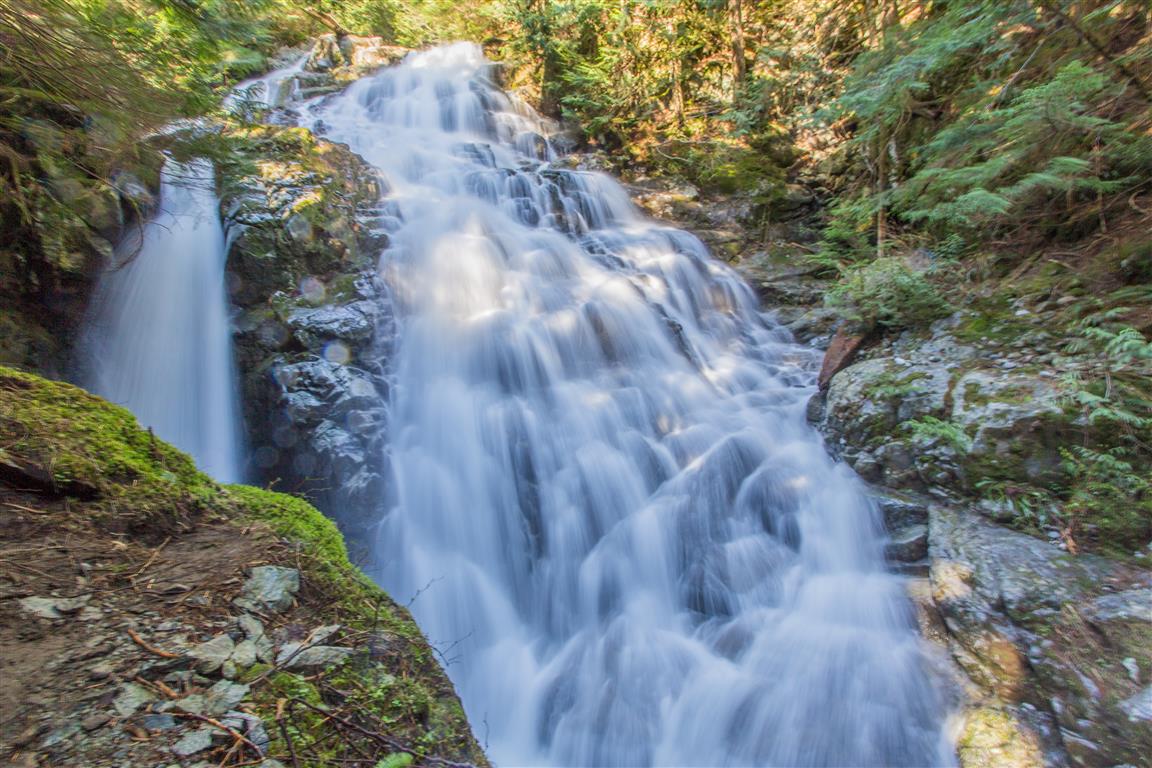
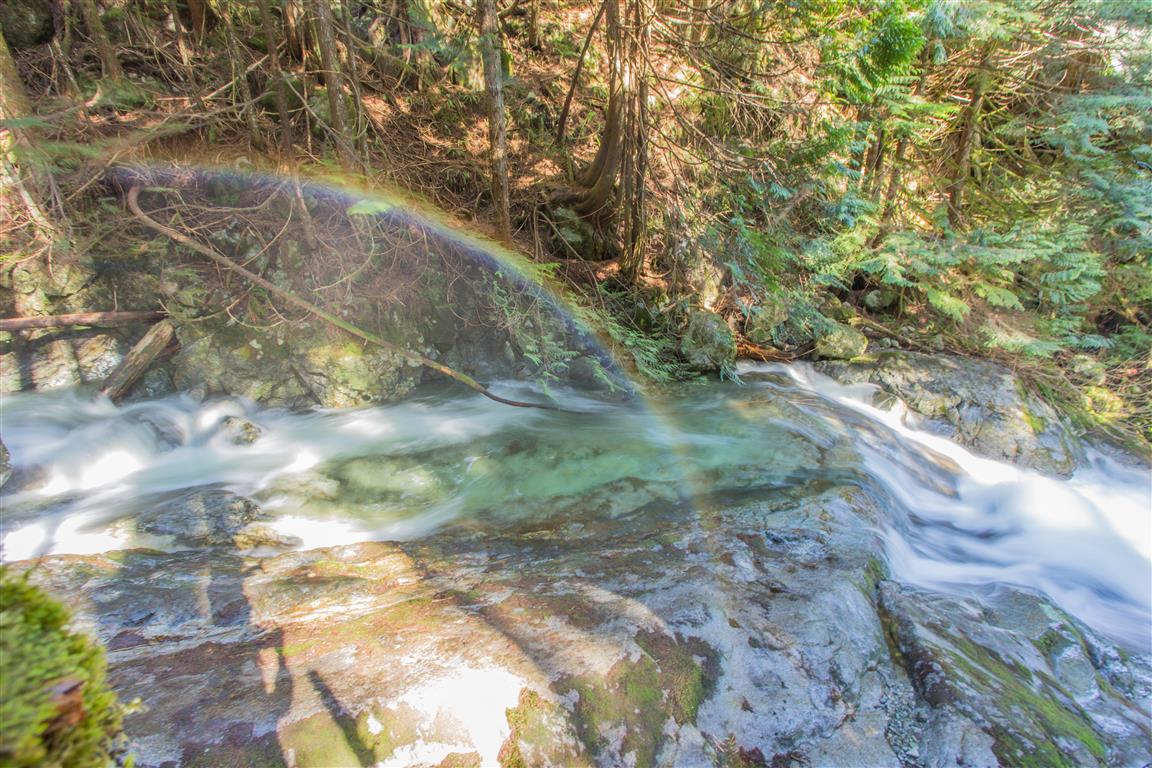
This is a great trail with two points of interest. First is the big cedar tree, which has been estimated at over 600 years old; the second is Kennedy Falls. Don’t let the length and elevation gain of 170 m fool you for this hike. There are many ups and downs on this trail, making the cumulative elevation gain 750 m. The length of the trail is 5 km, so the return total is 10 km. The trail traverses the west slope of Lynn Valley, and you will find the big cedar tree 3.3 km from the start; also of note, the big cedar tree is less than 100 m from Lynn Creek. The cedar tree is massive, and the only reason I think it was spared from the saw in the early 1900s, when the whole area was logged, is that there was no saw large enough! The end of the trail marks Kennedy Falls, which is spectacular and fills the air with wind, mist, and rainbows. There is a new parking lot at the trailhead on Mountain Highway, which fills up fast, so get there early. This is a very popular mountain biking area.

Update: as of late 2025, the Big Cedar Tree’s long-term survival has been reported to be at risk due to significant erosion occurring around its base. If you’re visiting, please stay off the exposed root areas and avoid climbing on or around the tree to help protect it for as long as possible.

Interesting Facts

  • Lynn Valley’s first lumber mill began operation in 1863, and most of the valley’s old-growth “cathedral forest” was systematically clear-cut through to the 1920s. The Big Cedar is one of only a handful of old-growth trees on the North Shore to have survived that era
  • Beyond where the historic loggers’ cutting reached near Kennedy Creek, local tree-hunters have since found remnant patches of old-growth forest that were never logged at all, making this area one of the largest publicly accessible tracts of old growth left near Vancouver
  • This trail sits within the Coastal Western Hemlock (CWH) biogeoclimatic zone, typical of the North Shore mountains at this elevation range

Trail Stats

  • Distance: 10 km (return)
  • Time: 5 hours (many breaks)
  • Low point: 300 m
  • High point: 470 m
  • Elevation gain: 170 m
  • Cumulative elevation gain: 750 m
  • Trailhead: 49° 21′ 31″ N, 123° 2′ 7.5″ W (Google Map)

The Route

The actual GPS track from this hike (one-way to Kennedy Falls; the return follows the same path), drawn on the map below. Green marks the trailhead, red marks the turnaround at the falls. Use the layer control in the top right to switch to a satellite view.

Photos
My complete photo set can be seen on Flickr.

Here is the Big Cedar Tree:

Big Cedar Tree

Kennedy Falls:

Kennedy Falls

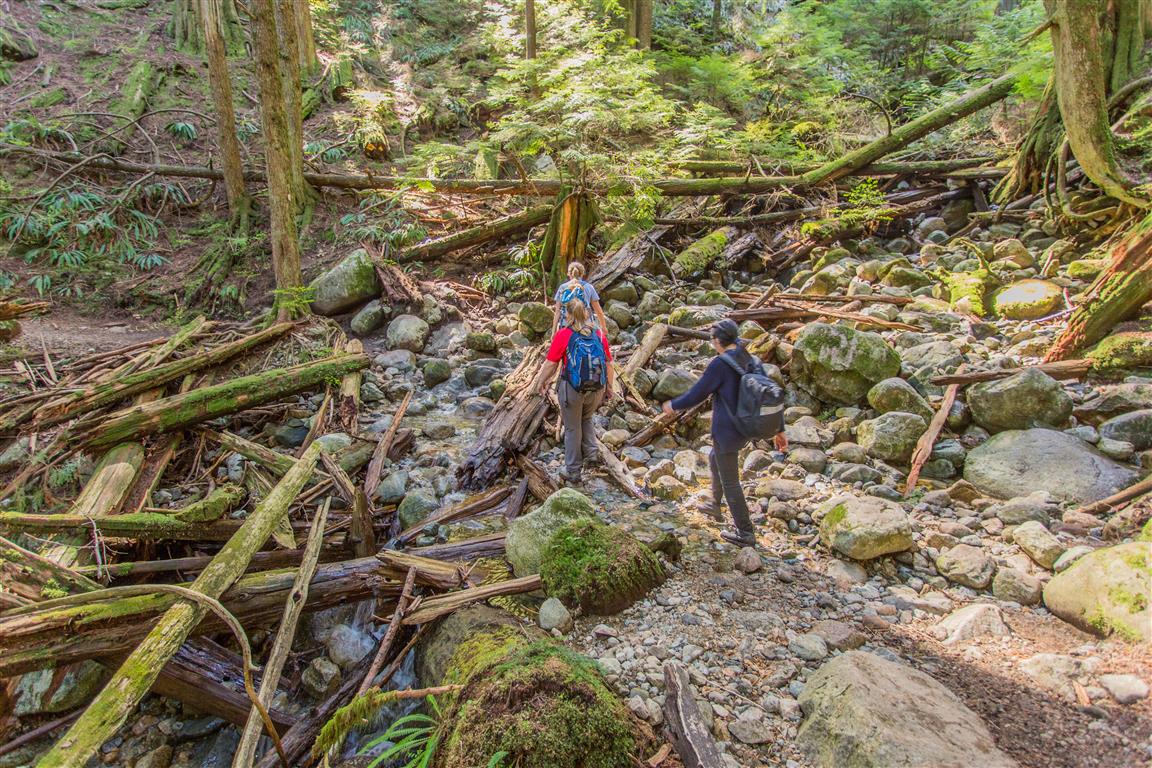
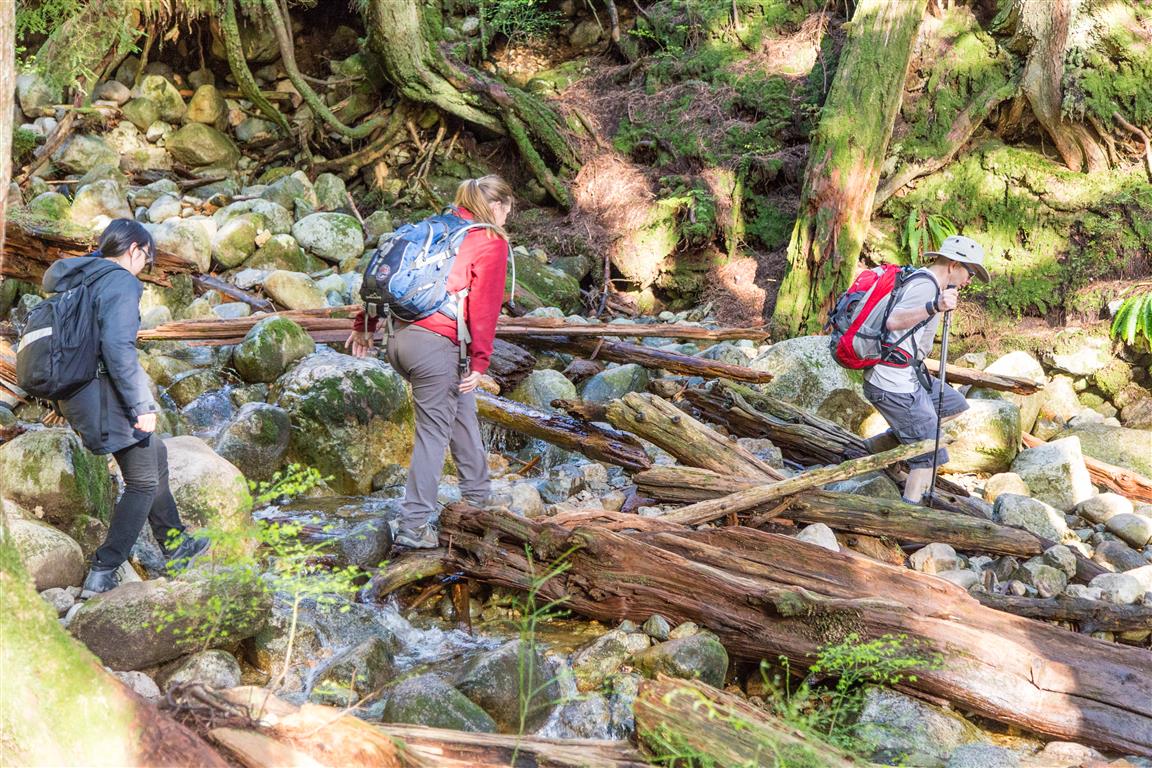
Crossing creeks:

Crossing a creek
Crossing a creek

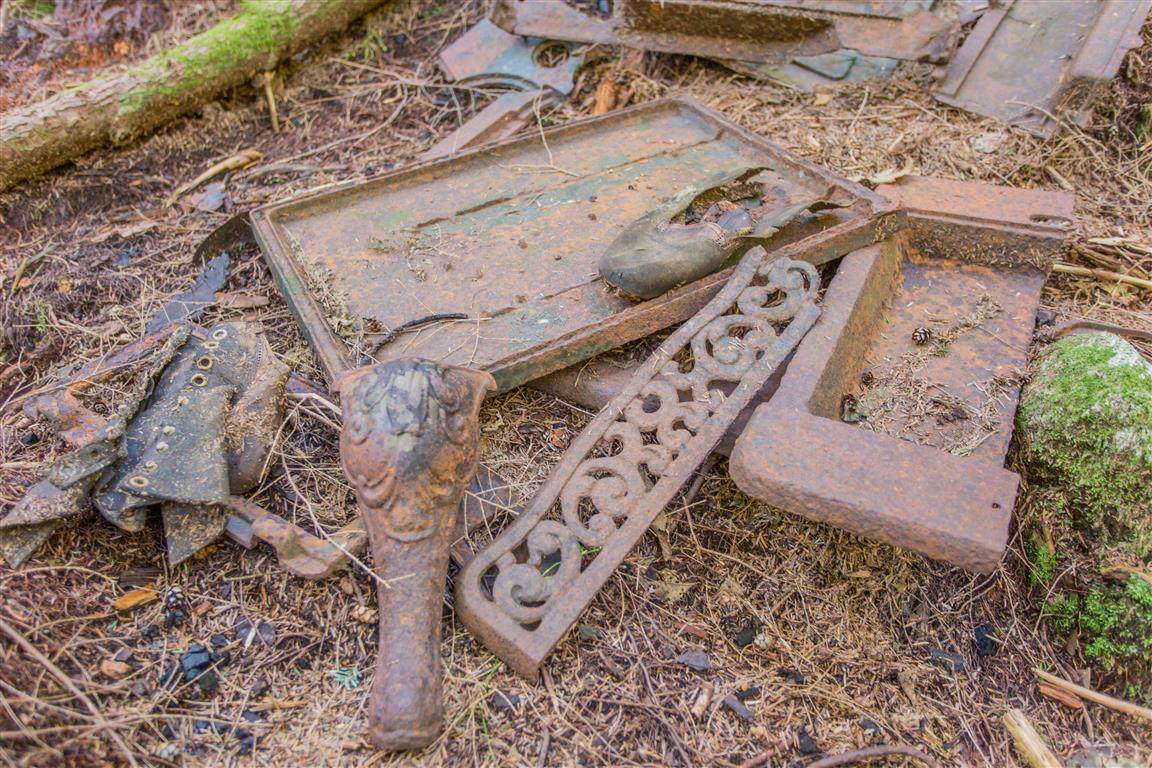
Relics of the forestry era:

Forestry relics

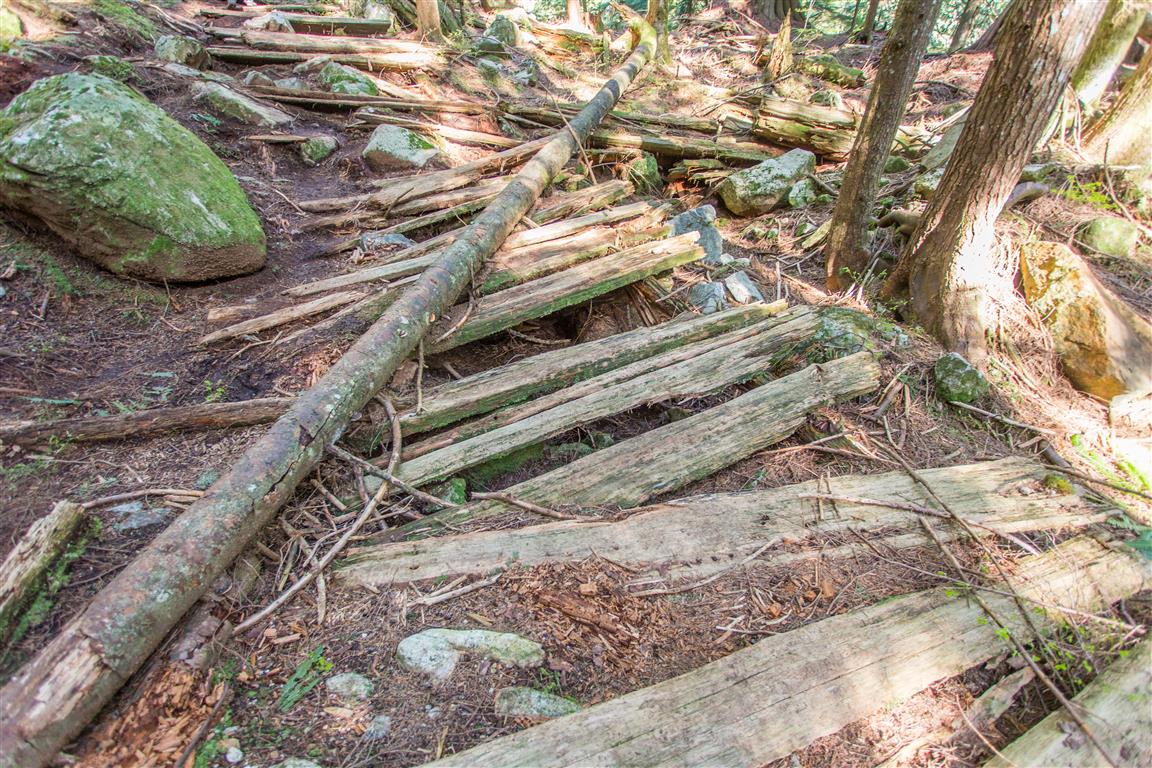
Old wooden boardwalk planks:

Old wooden boardwalk planks

Rainbow:

Rainbow

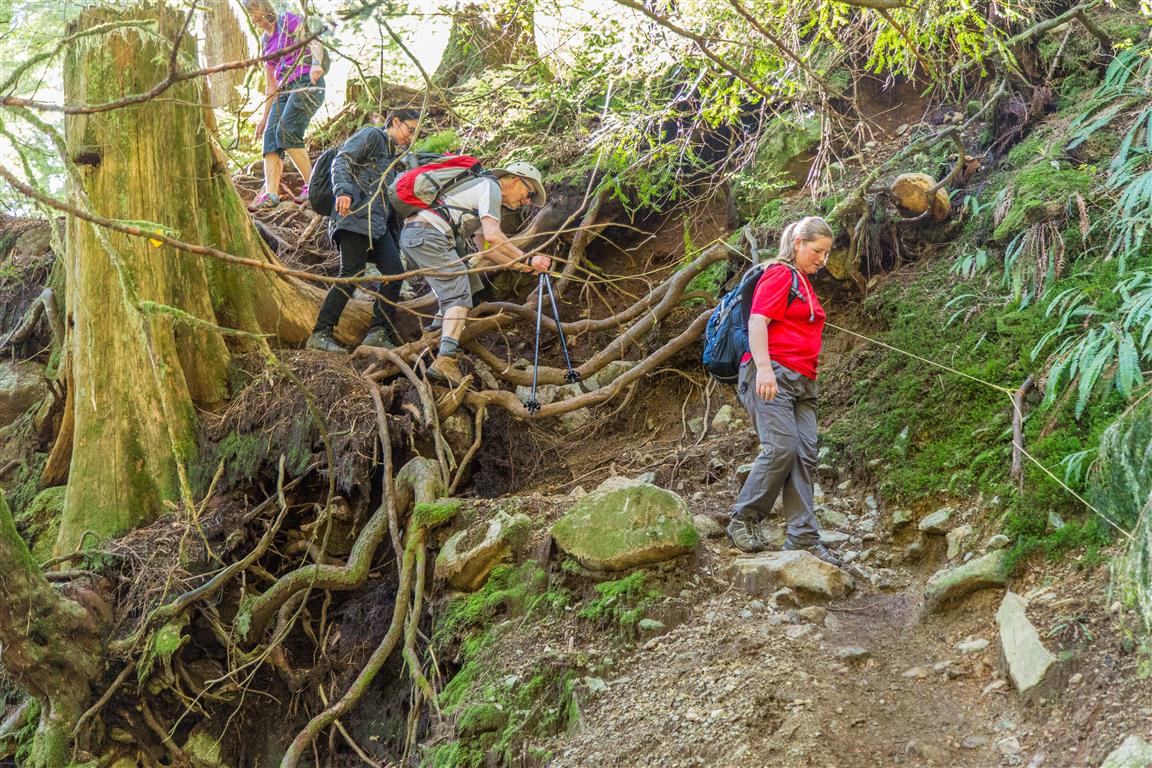
Roots for steps:

Roots for steps

There we are!

There we are!

Trail pics:

Trail
Trail
Trail
Conditions on this trail can change over time — trailheads move, access rules shift, and businesses close. This post reflects what I found when I did the hike.

Before You Hike

Before heading out on your hike, make sure you are well prepared. This means having the TEN ESSENTIALS. It is also important to leave a trip plan (route details and estimated return time) with someone you trust.

Bring your smartphone, fully charged, and put it in airplane mode while hiking. I always bring backup battery packs for extra peace of mind. It is highly recommended that you bring a GPS device. I use my smartphone with a GPS app (Backcountry Navigator). The GPS will work in airplane mode. Learn how to use it before your hike.

For anyone new to hiking, there is a rule that hikers follow called “Leave No Trace” or LNT. The concept is generally to pack out what you pack in and respect nature, so all future visitors can enjoy what you have enjoyed. To learn more about LNT, please check out this blog by a certified LNT Trainer.

Quarry Rock

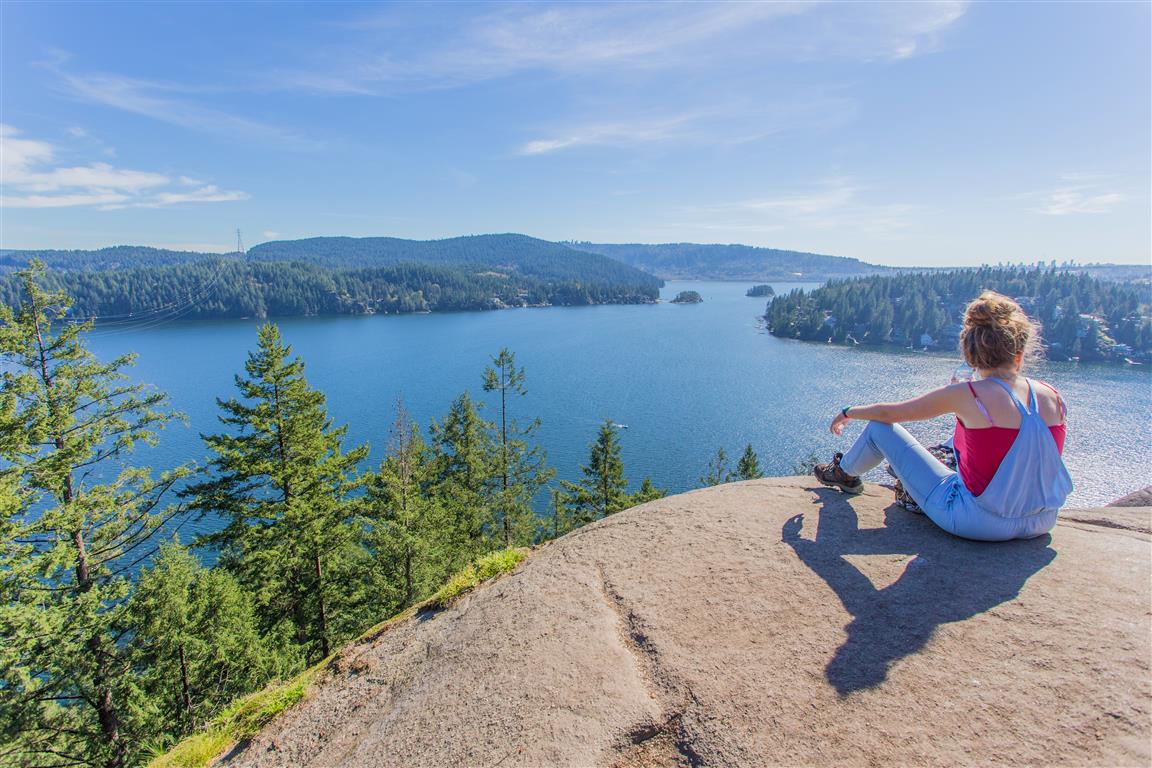
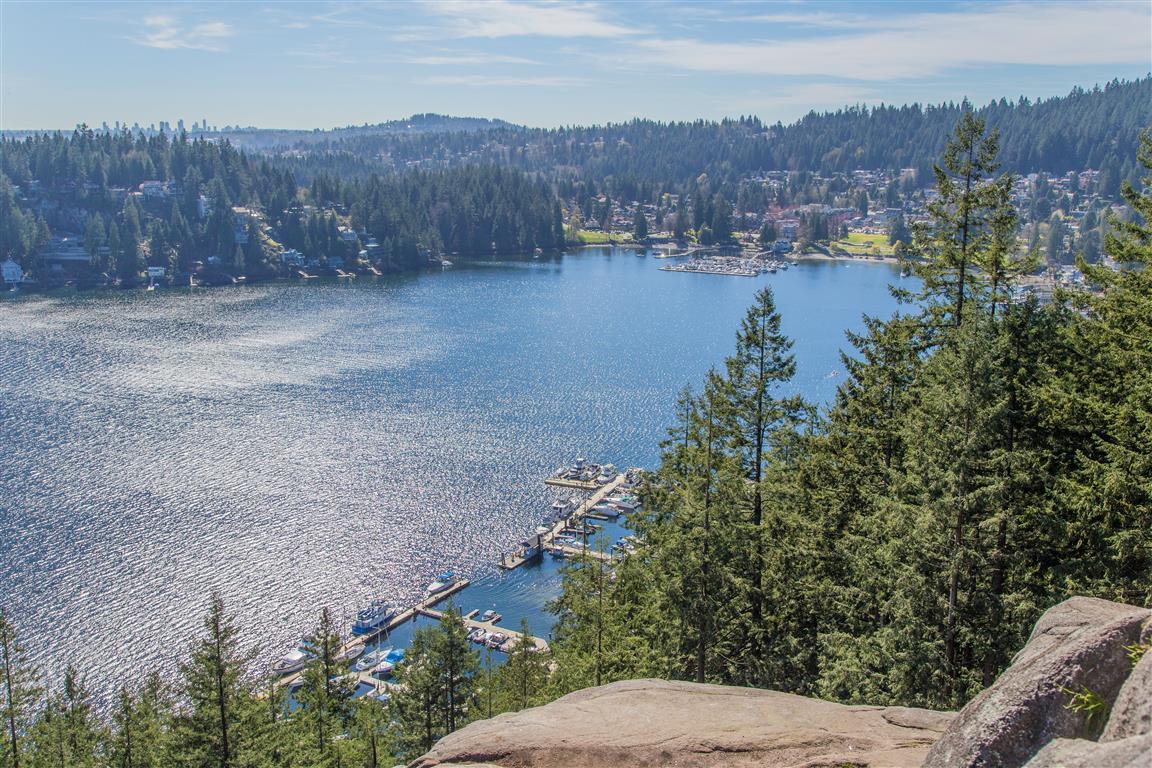
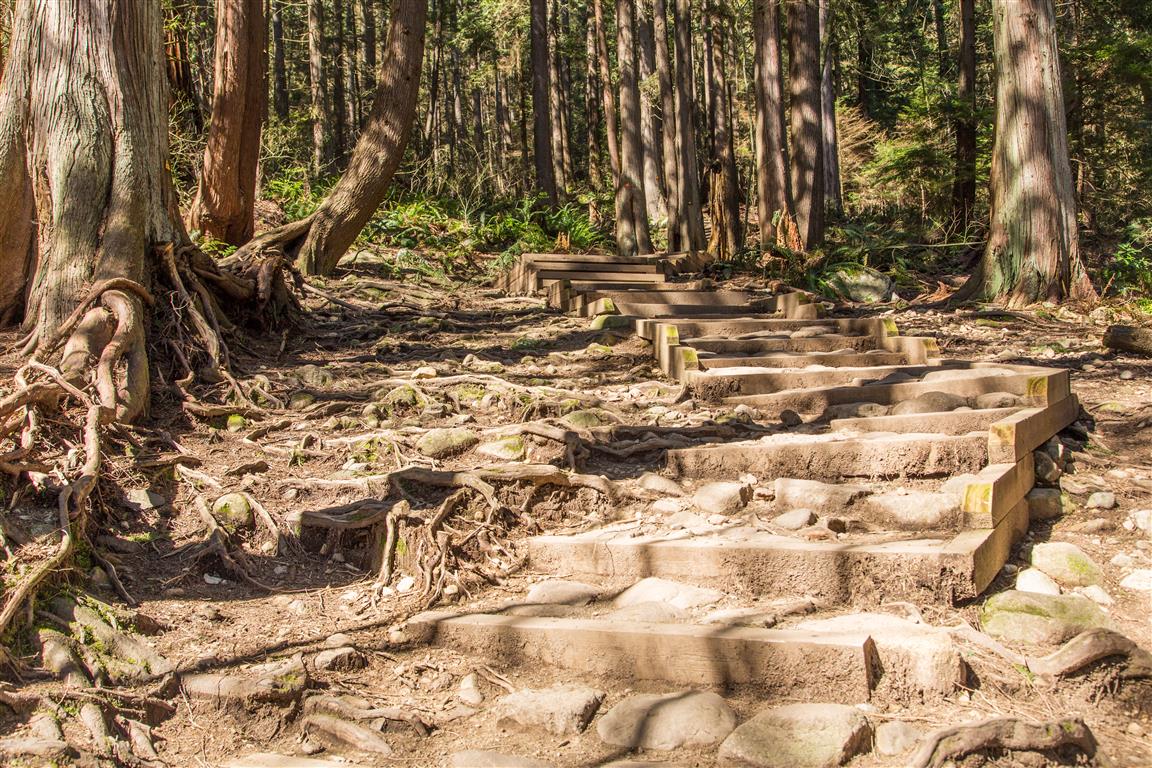
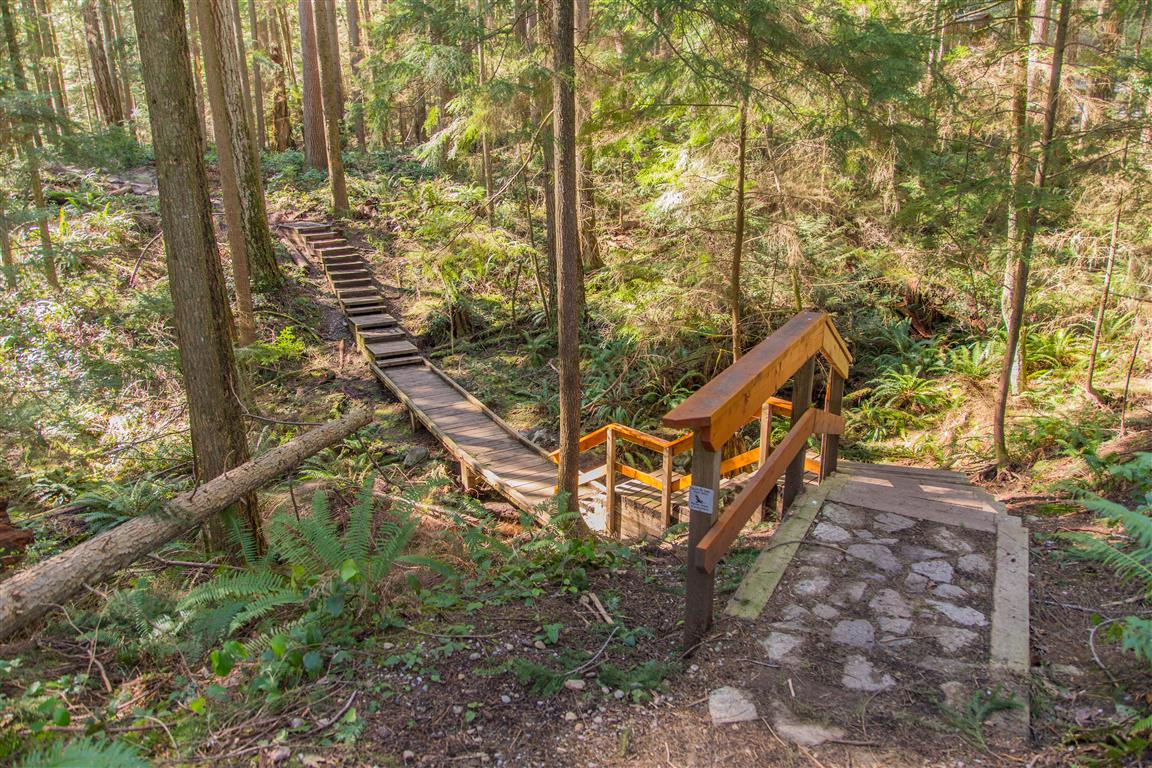
Quarry Rock hike is a very popular hike in North Vancouver. It is relatively easy for regular hikers, and you will see many people on the trail, including families and runners. The trail starts just off Panorama Drive in Deep Cove, North Vancouver, and it traverses through Cove Forest. There are many steps, boardwalks, and bridges, which make the trail family-friendly. On my route today, I took the regular trail to the viewpoint at Quarry Rock, but then on my return, I took a trail north to Indian River Drive, where it then turns west. Most people will follow the same path back, and that is just fine. The trail I took on my return is not very busy and less marked.

Overall, this is a great little hike, especially for families. The parking and crowds would be the only problems I see with this hike.

Interesting Facts

  • Quarry Rock is literally named for its history — Deep Cove became a popular summer resort in the 1910s, and logging and granite quarrying were both part of the local industry at the time. The granite outcrop you stand on at the viewpoint is a remnant of that quarrying activity
  • This trail follows a section of the historic Baden-Powell Trail, a 48 km route built in 1971 by Boy Scouts and Girl Guides, linking Deep Cove all the way to Horseshoe Bay
  • The granite platform at Quarry Rock is only big enough to comfortably fit about a dozen people at a time, which is part of why it can feel crowded on busy weekends. Locals who want it to themselves tend to go before 8 a.m., when it’s mostly just trail runners, dog walkers, and the occasional wildlife photographer hoping to catch eagles over the inlet

Trail Stats

Here are the stats for the loop (which I took) and the back-and-forth on the same trail route:

Same Trail ReturnLoop
Distance4 km5 km
Low point9 m9 m
High point130 m222 m
Elevation gain121 m213 m
Cumulative elevation gain325 m411 m

Parking: Google Map

Trailhead: 49° 19′ 48.4″ N, 122° 56′ 59.4″ W (Google Map)

The Route

The actual GPS track from this hike (the loop route), drawn on the map below. Green marks the start, red marks the end. Use the layer control in the top right to switch to a satellite view.

Photos
Here are some photos from the viewpoint:

View from Quarry Rock

Bridge and boardwalk:

Bridge and boardwalk

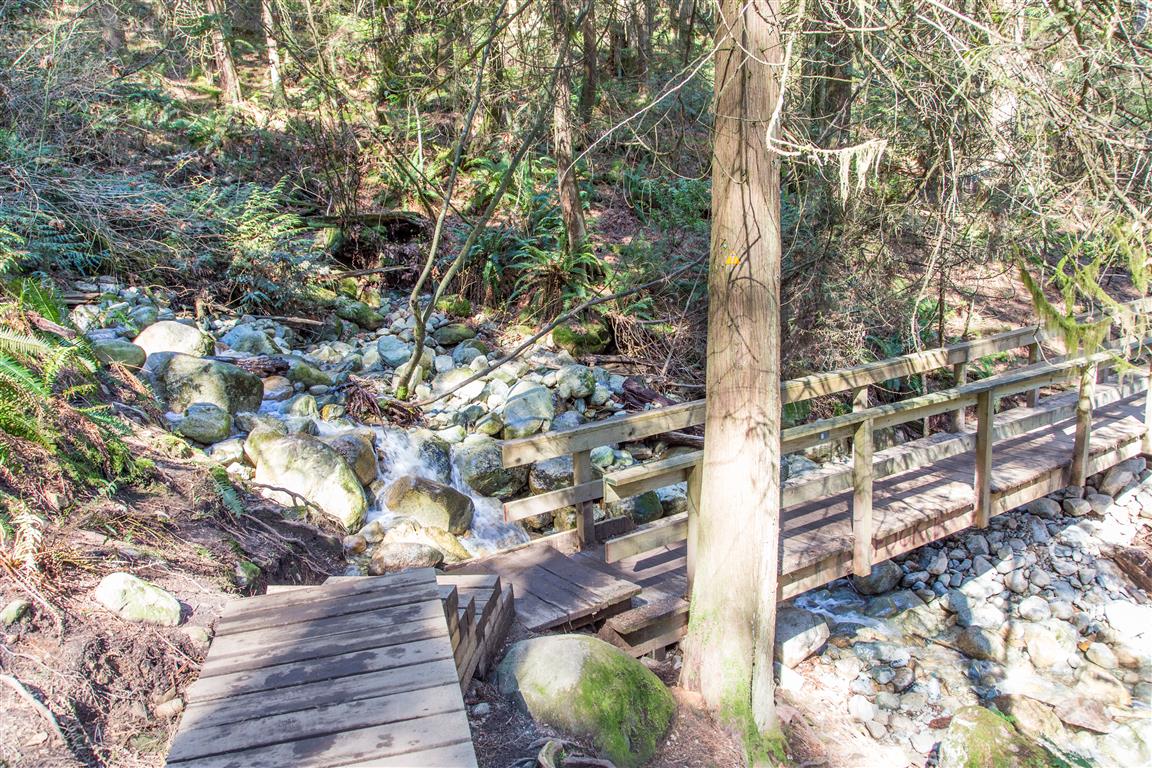
Bridge over creek:

Bridge over creek

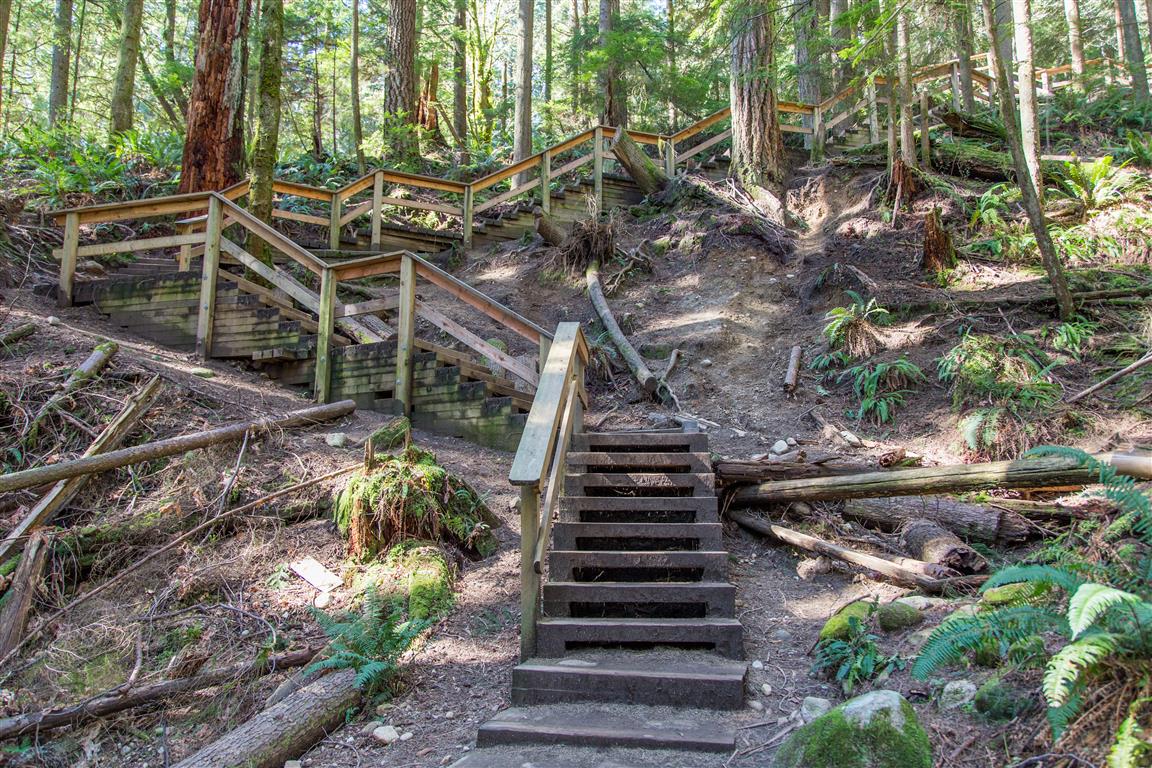
Stairs:

Stairs

Steps on trail:

Step on trail

Trail pics:

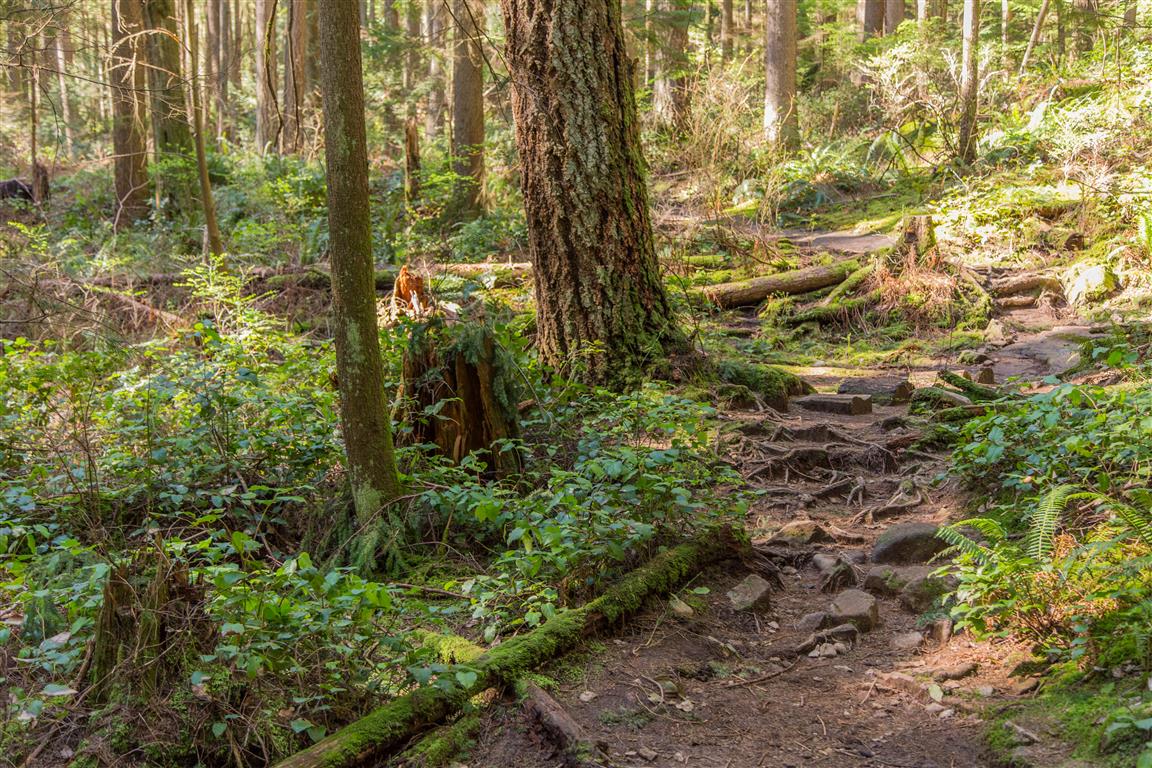
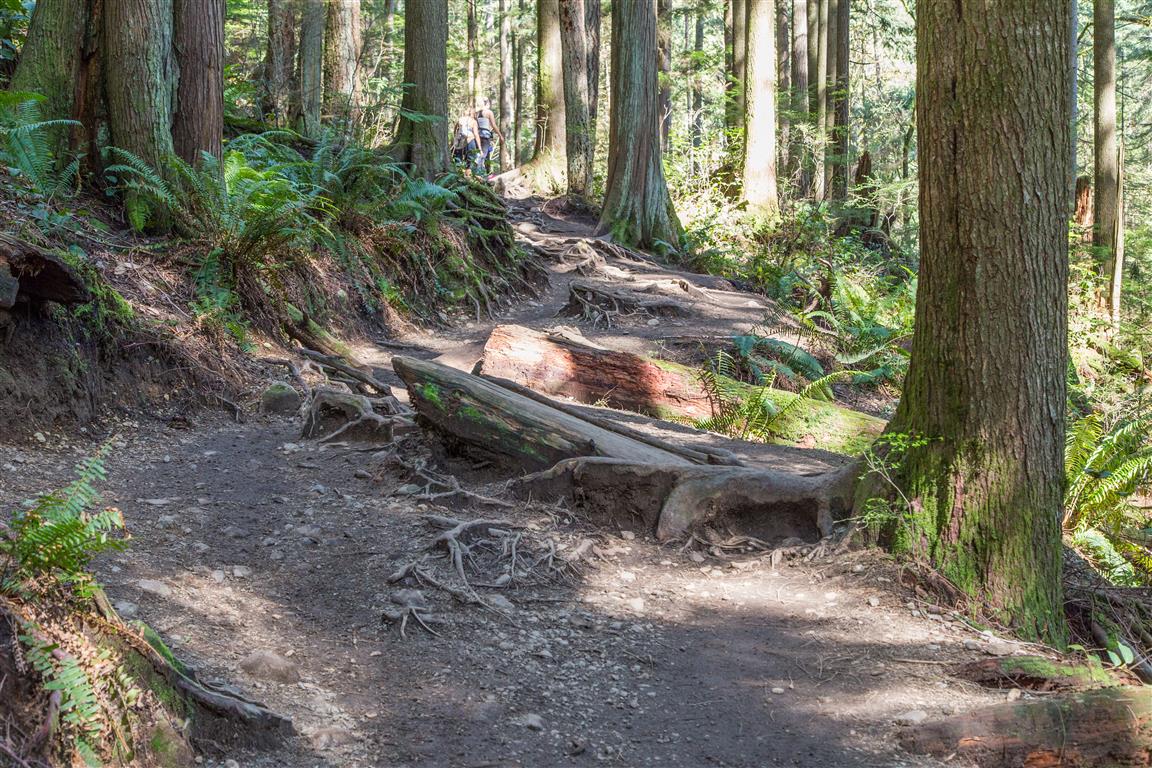
Trail
Trail
Trail
Trail
Tree to walk across
Conditions on this trail can change over time — trailheads move, access rules shift, and businesses close. This post reflects what I found when I did the hike.

Before You Hike

Before heading out on your hike, make sure you are well prepared. This means having the TEN ESSENTIALS. It is also important to leave a trip plan (route details and estimated return time) with someone you trust.

Bring your smartphone, fully charged, and put it in airplane mode while hiking. I always bring backup battery packs for extra peace of mind. It is highly recommended that you bring a GPS device. I use my smartphone with a GPS app (Backcountry Navigator). The GPS will work in airplane mode. Learn how to use it before your hike.

For anyone new to hiking, there is a rule that hikers follow called “Leave No Trace” or LNT. The concept is generally to pack out what you pack in and respect nature, so all future visitors can enjoy what you have enjoyed. To learn more about LNT, please check out this blog by a certified LNT Trainer.