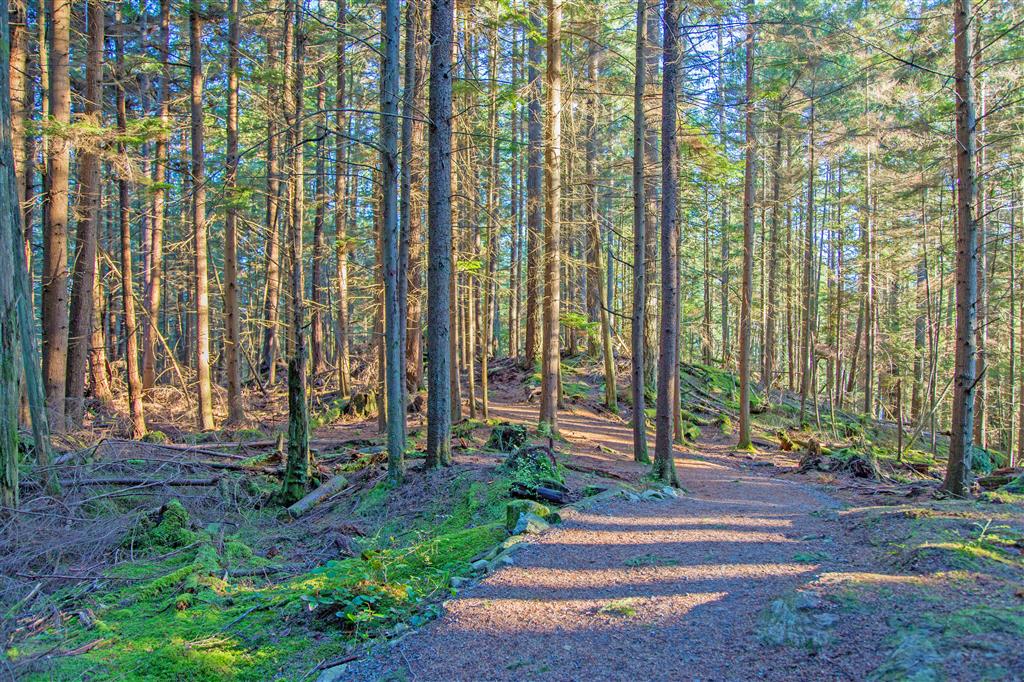
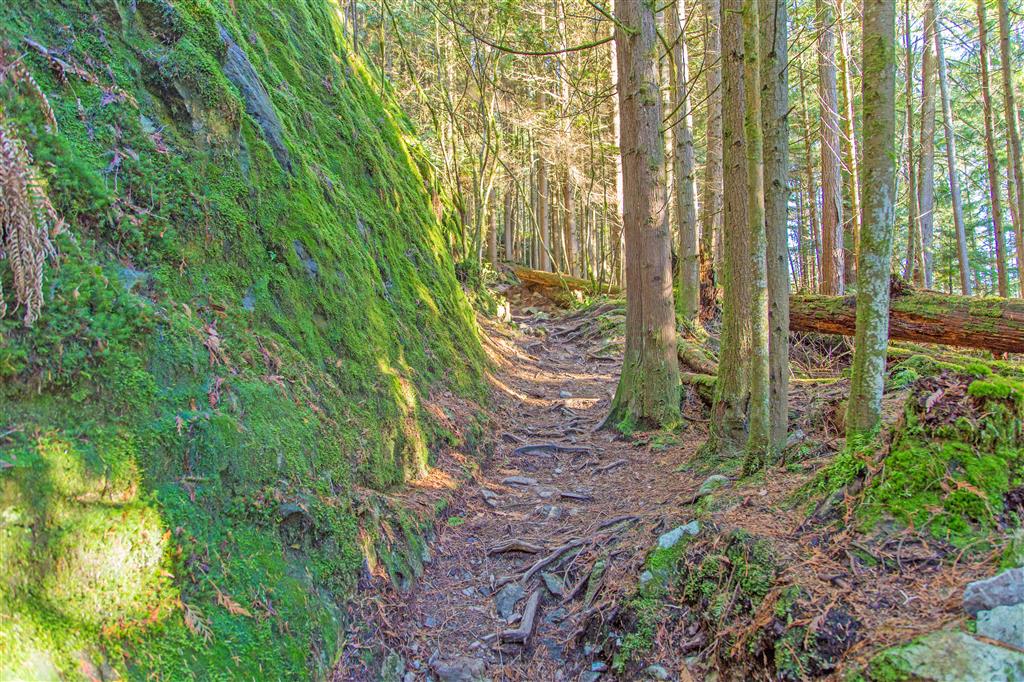
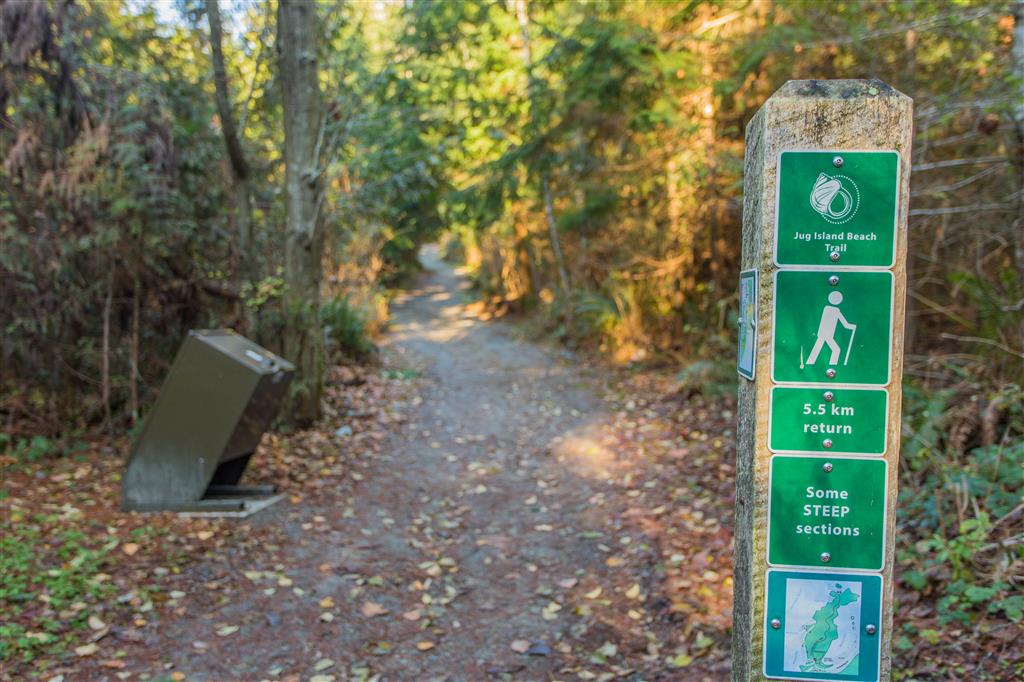
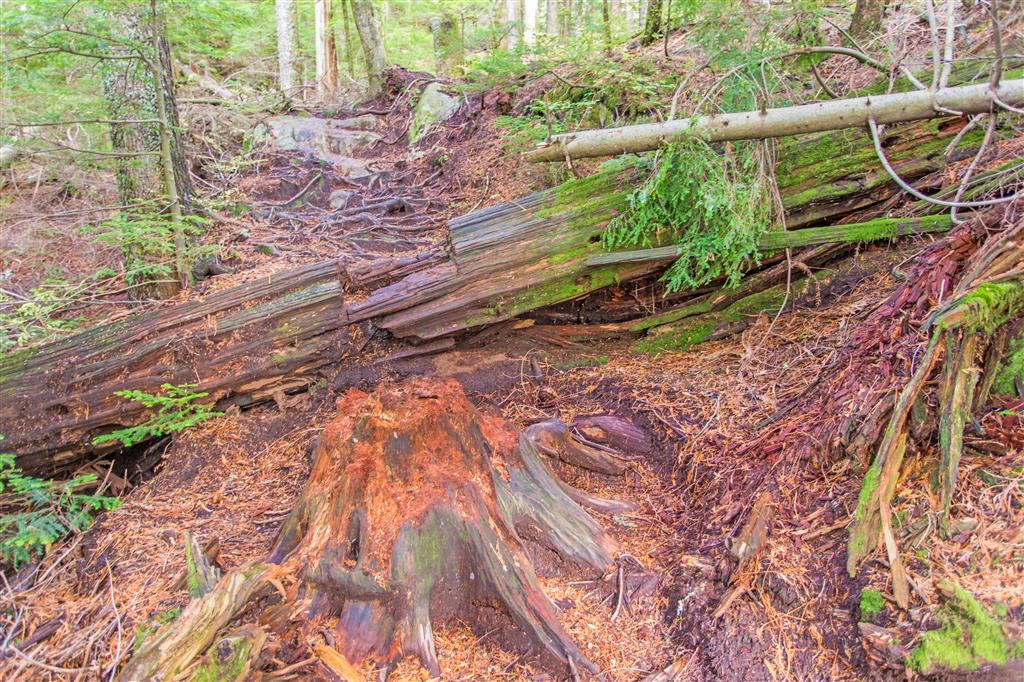
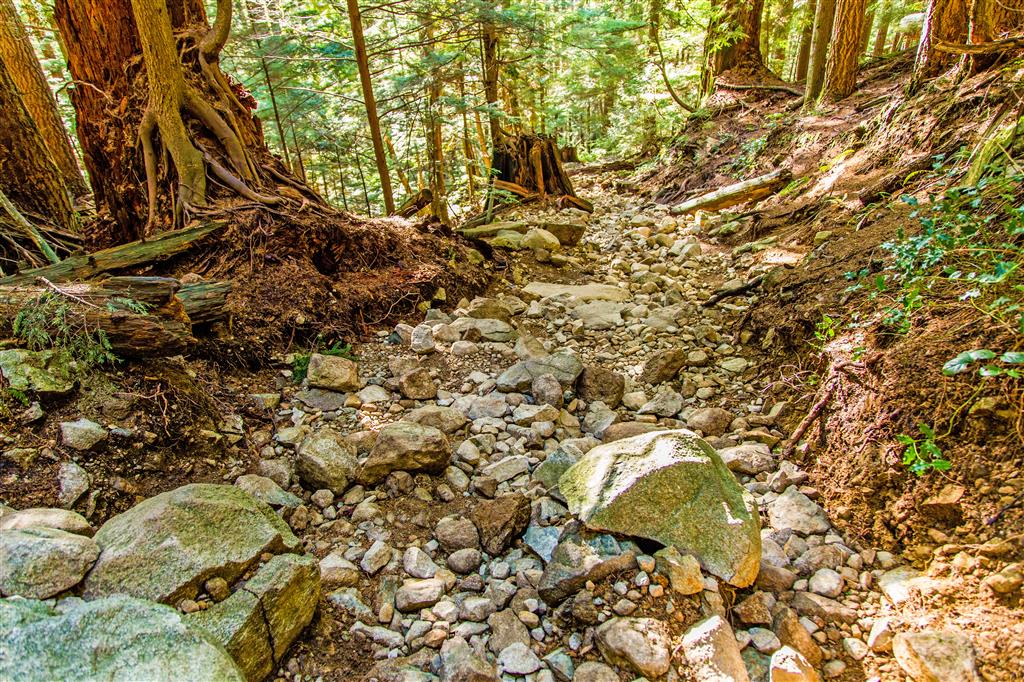
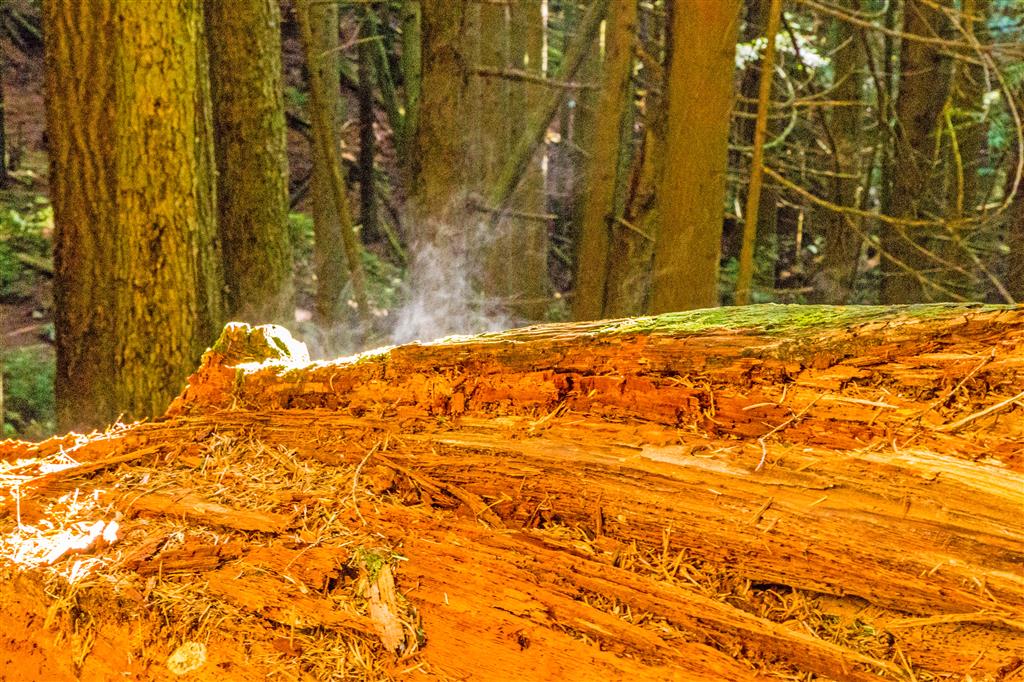
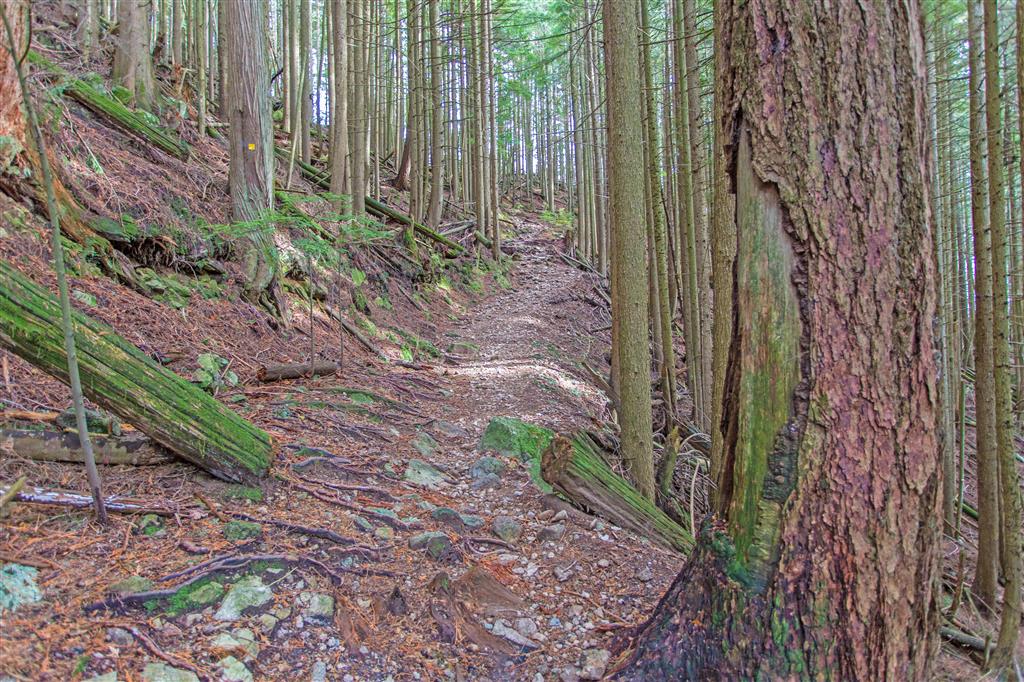
The Jug Island hike is a short forest hike on the Belcarra Peninsula that leads to a small beach on Indian Arm with a close-up view of Jug Island. It is a great little hike when you want something relatively quick without travelling far from the Tri-Cities.
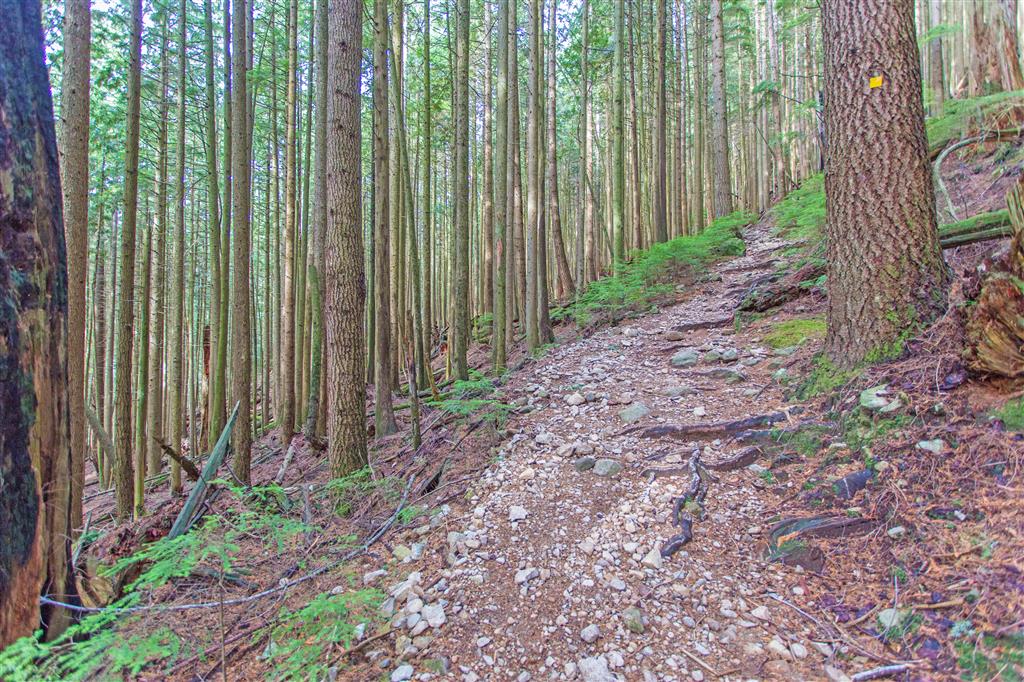
The trail starts near the Belcarra Picnic Area off Bedwell Bay Road. From the trailhead, the route heads into the forest and climbs gradually before crossing a small bluff. There are some views through the trees towards Bedwell Bay, although they are somewhat obstructed by the forest.
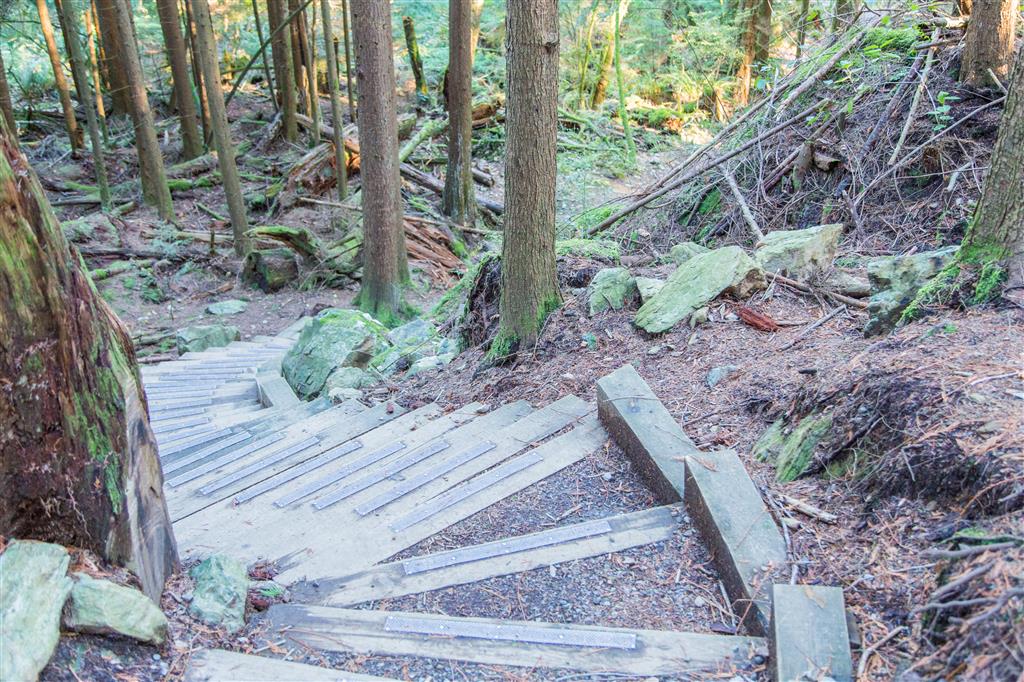
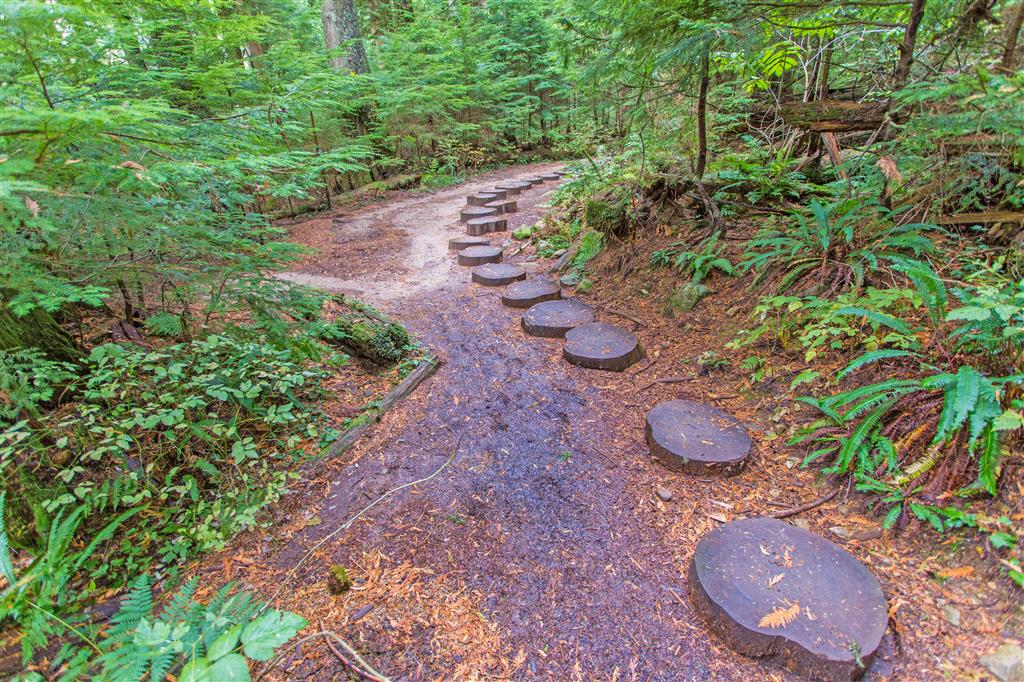
After reaching the high point of the route, the trail descends towards Indian Arm. There are a few steeper sections and stairs along the way, but overall the trail is well established and easy to follow under normal conditions. Route finding could be more difficult if there is significant snow cover.
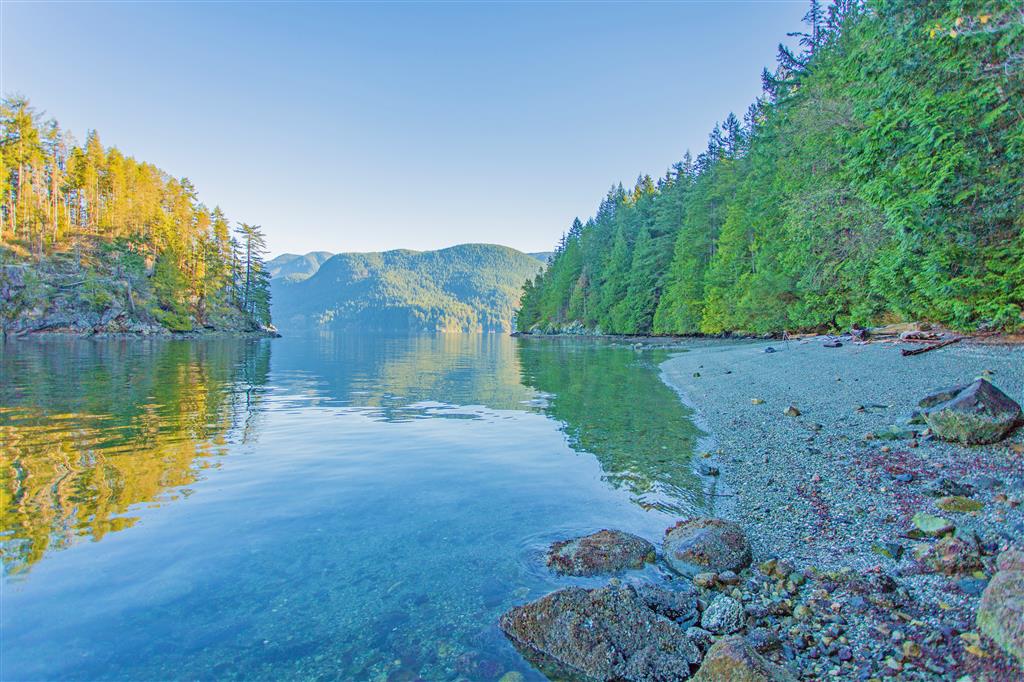
The highlight is Jug Island Beach at the end of the trail. The small beach looks directly across at Jug Island and also provides a nice view north up Indian Arm. After spending some time at the beach, return along the same route.
Interesting Facts
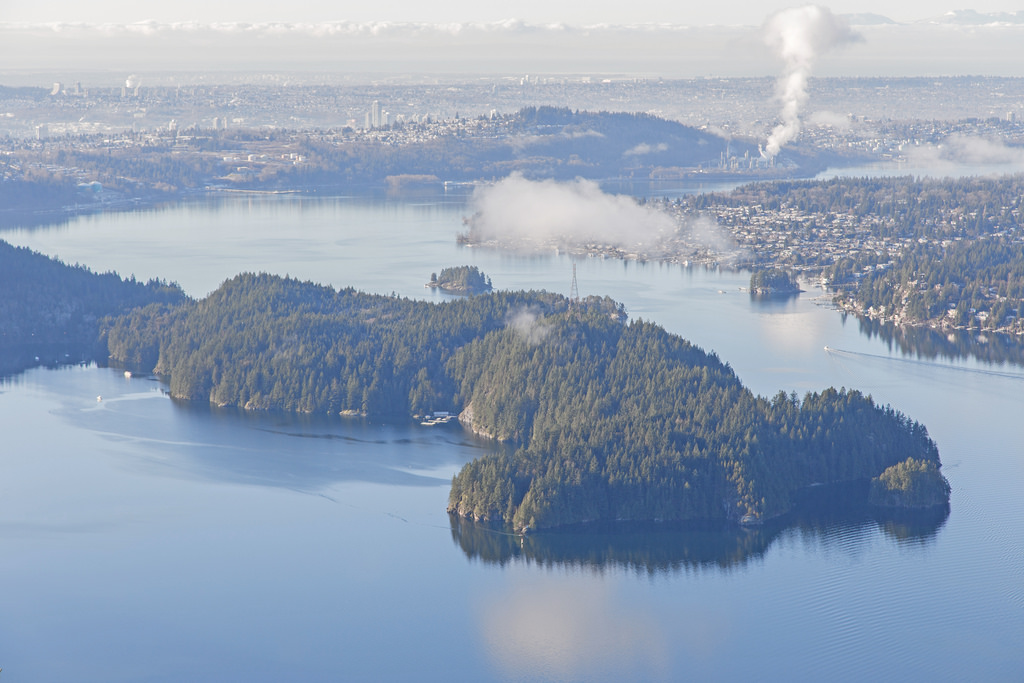
Jug Island is a small, forested island just offshore from the beach at the eastern side of the Belcarra Peninsula.
Indian Arm is a glacially carved fjord extending north from Burrard Inlet. Glaciers carved the steep-sided valley to depths below present sea level before the ocean flooded the valley following the last ice age.
The trail passes through the Coastal Western Hemlock (CWH) biogeoclimatic zone, the dominant forest zone at lower elevations along much of coastal British Columbia. Western hemlock, western red cedar, Douglas-fir, sword fern, mosses, and other moisture-loving plants are common in forests around Belcarra.
Jug Island Beach is a small tidal pocket beach, so the amount of exposed shoreline can vary considerably depending on the tide.
Trail Stats
Distance: 5 km (return)
Time: 1 hour (with no breaks)
Low point: 0 m
High point: 88 m
Elevation gain: 88 m
Cumulative elevation gain: 300 m
Trailhead: 49° 18′ 48.3″ N, 122° 55′ 22.7″ W (Google Map)
The Route
The actual GPS track from this hike is drawn on the map below. Green marks the start/end point. Use the layer control in the top right to switch to a satellite view.
Photos
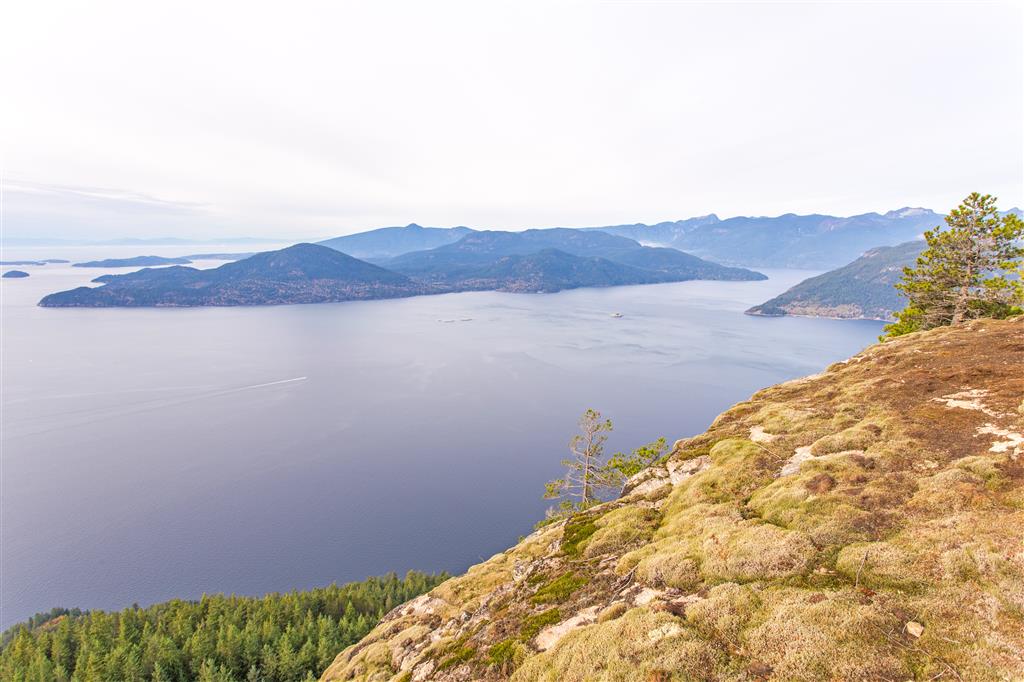
The Belcarra Peninsula and Jug Island as seen from the Diez Vistas Trail
Jug Island Beach
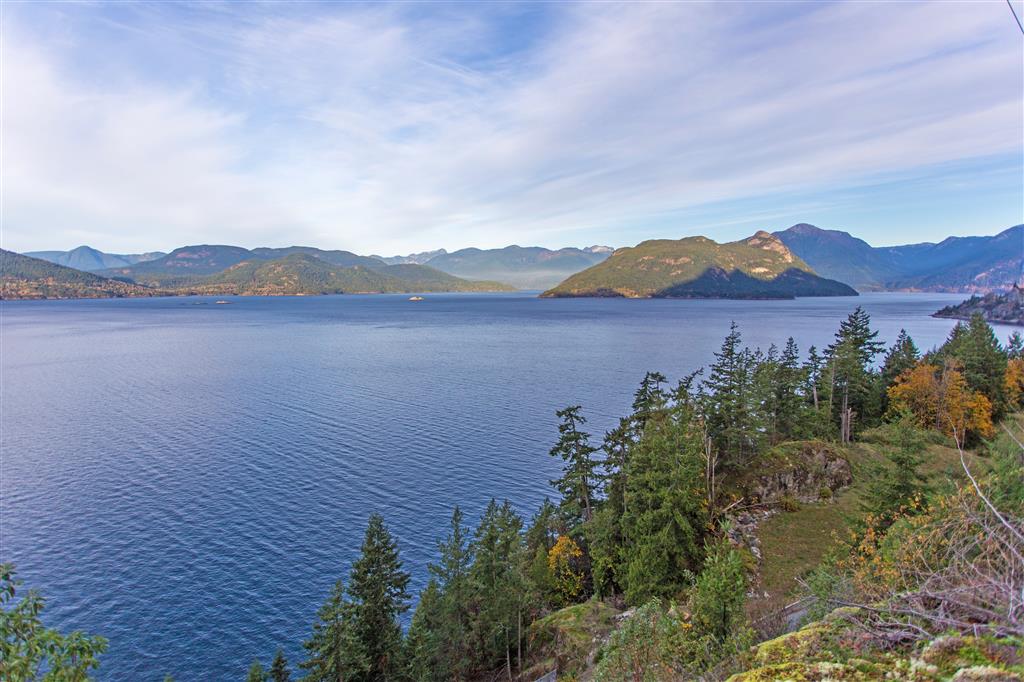
View north up Indian Arm
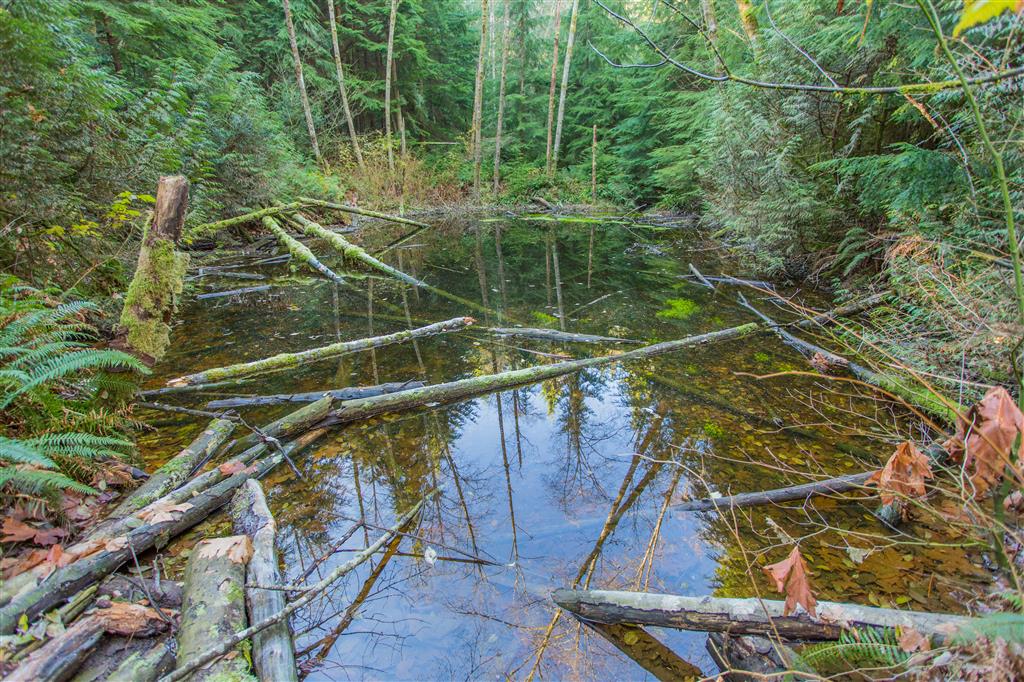
Small pond along the trail
Stairs along the trail
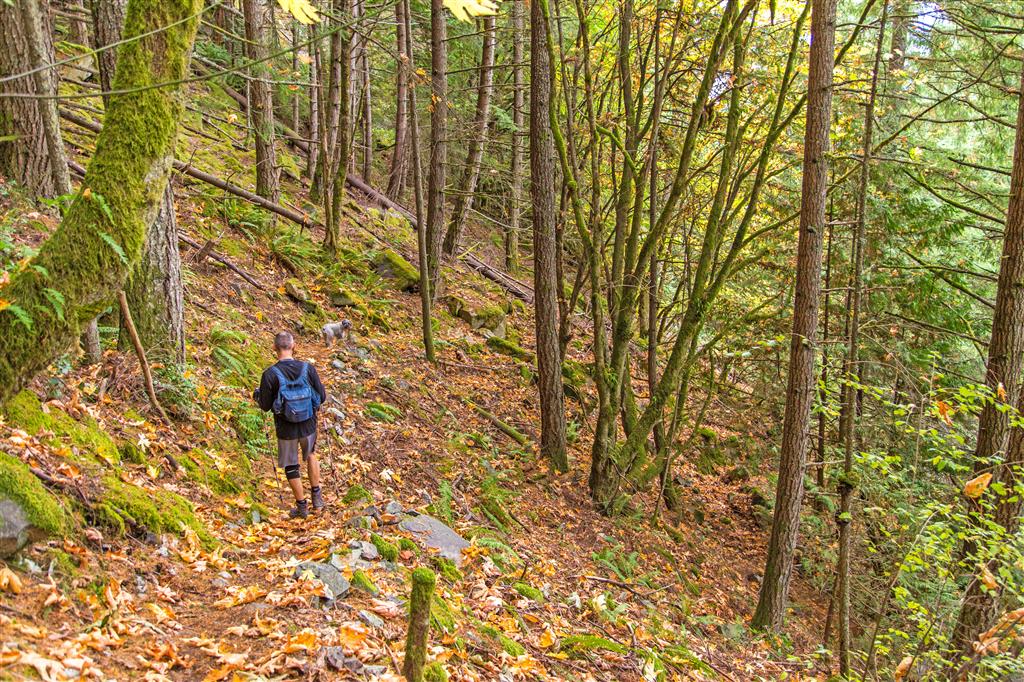
Trail through the forest
Another section of trail
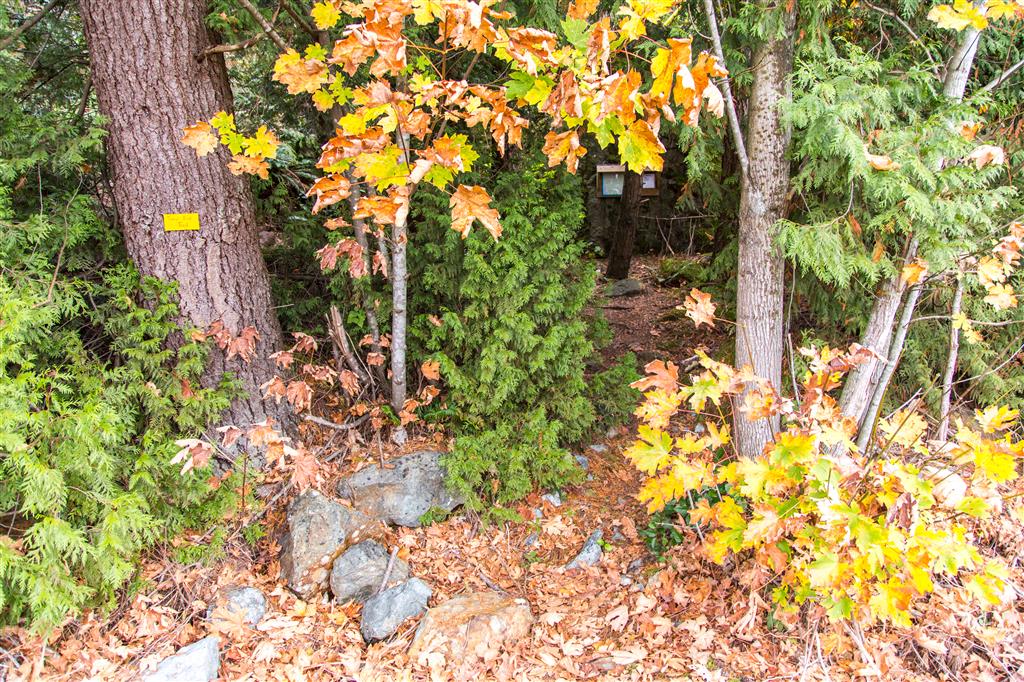
Trailhead sign
The route description and trail conditions in this post reflect what I encountered when I completed the hike. Trail conditions, access, signage, and routes can change over time. Before heading out, check current conditions and do your own research.
This is my second post about hiking in Lynn Headwaters Regional Park. The first was a hike to Norvan Falls. Lynn Peak is a very different hike. Instead of following the valley, this route climbs steadily through the forest and is much more of a workout.
The route begins at the Lynn Headwaters park entrance at the north end of Lynn Valley Road. After crossing Lynn Creek, the route follows the lower trails before branching onto the Lynn Peak Route and beginning the long climb.
I found the trail well marked, although there are some fairly rocky sections. Overall, the trail was very manageable. Compared with the nearby Grouse Grind, I found this hike easier and much less crowded. There are also occasional flatter sections along the climb where you can catch your breath.
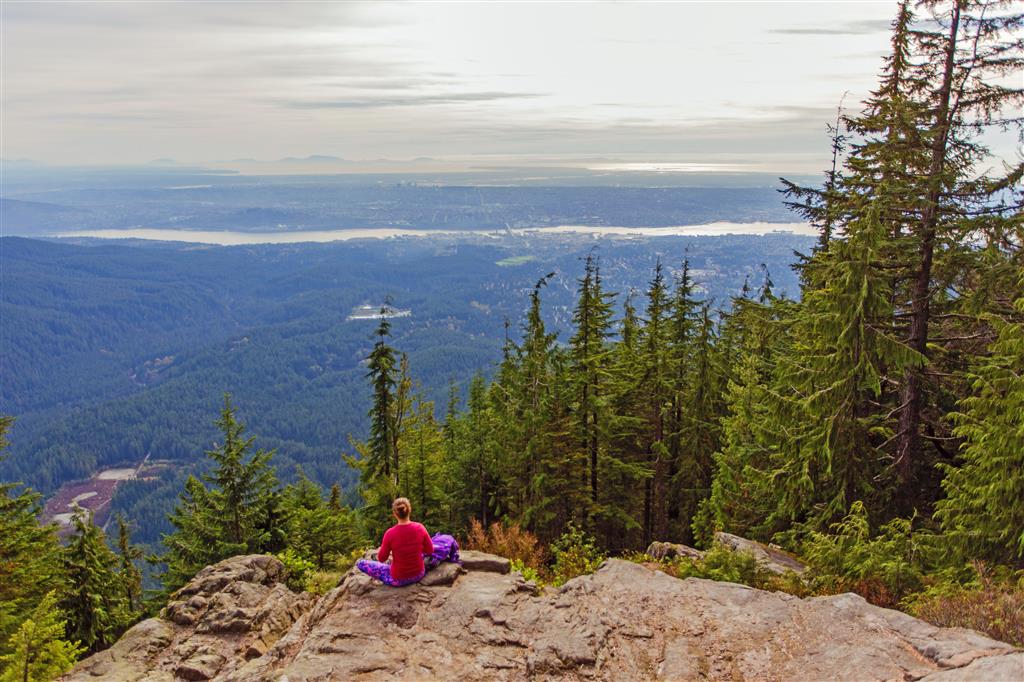
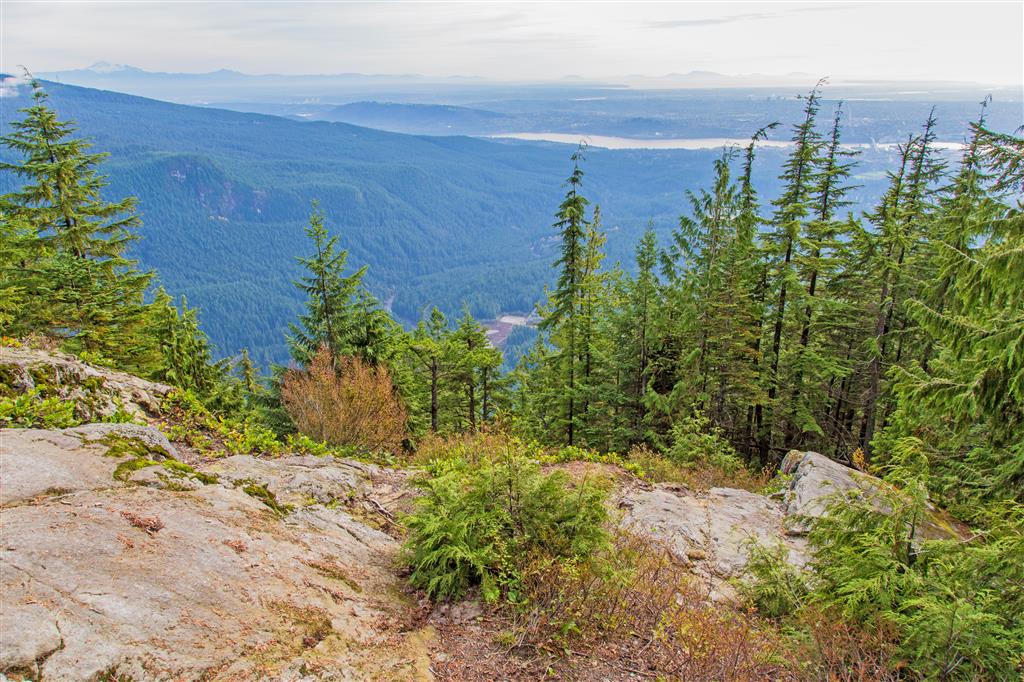
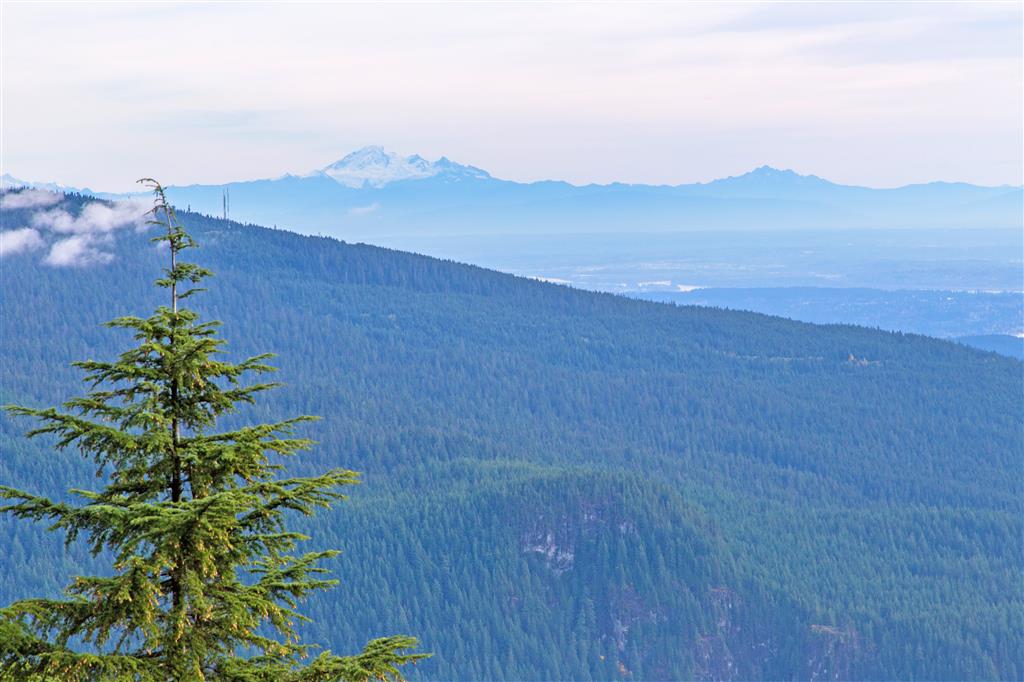
The main destination on this hike is a large rocky viewpoint near the upper end of the marked route. From here there are excellent views looking south across the Lower Mainland and east towards Mount Seymour. It was overcast when I did the hike, but I could still see Mount Baker in the distance.
Interesting Facts
Metro Vancouver classifies the Lynn Peak Route as a challenging route because of its steep, steady climb and rough, uneven terrain. The current park map lists it as approximately 8.8 km return from the park entrance.
The rocky viewpoint reached on this hike is below the actual summit of Lynn Peak. My GPS track reached approximately 927 m, while the true summit of Lynn Peak is approximately 992 m. The true summit is farther north along the ridge and is heavily forested, so the lower viewpoint is the more popular destination.
The hike is primarily within the Coastal Western Hemlock biogeoclimatic zone. As the trail climbs towards 900 m, the forest becomes cooler and wetter and approaches the transition towards the higher-elevation Mountain Hemlock zone.
Lynn Headwaters was one of the North Shore areas affected by a major western hemlock looper outbreak between 2018 and 2021. The native moth caused substantial defoliation and mortality of western hemlock trees throughout parts of the park.
Trail Stats
Distance: 9.1 km (return)
Time: 3 hours moving time
Low point: 192 m
High point: 942 m
Elevation gain: 750 m
Trailhead: Lynn Headwaters Regional Park entrance, north end of Lynn Valley Road (Google Map)
The Route
The actual GPS track from this hike is drawn on the map below. Green marks the start/end point. Use the layer control in the top right to switch to a satellite view.
Photos
Great view from the upper viewpoint
Another view from the bluff
Mount Baker visible in the distance
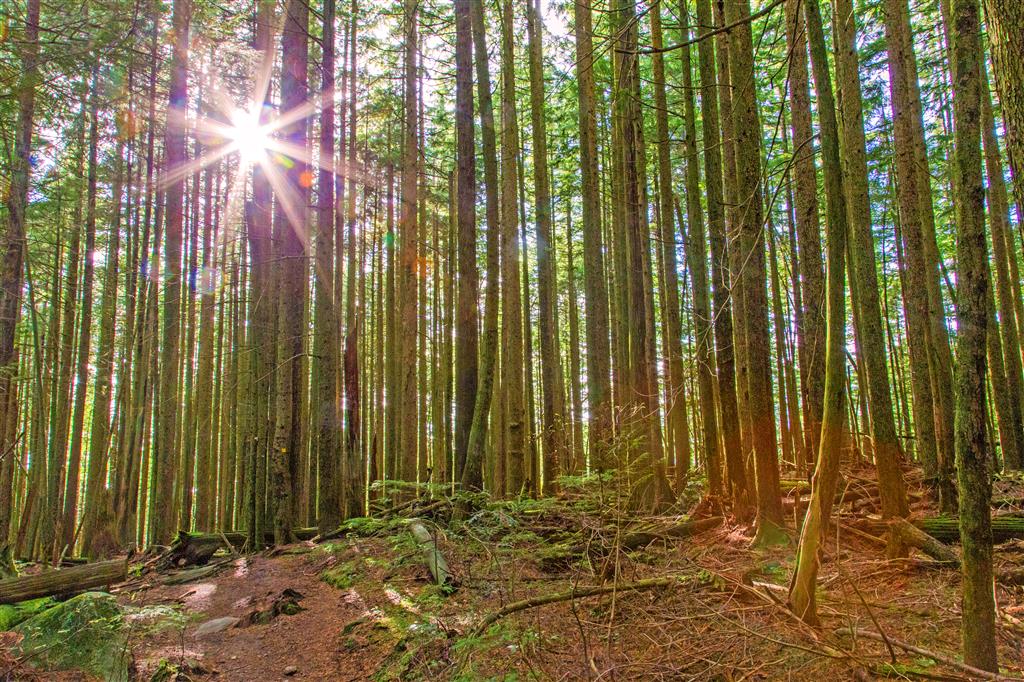
Sunlight breaking through the trees
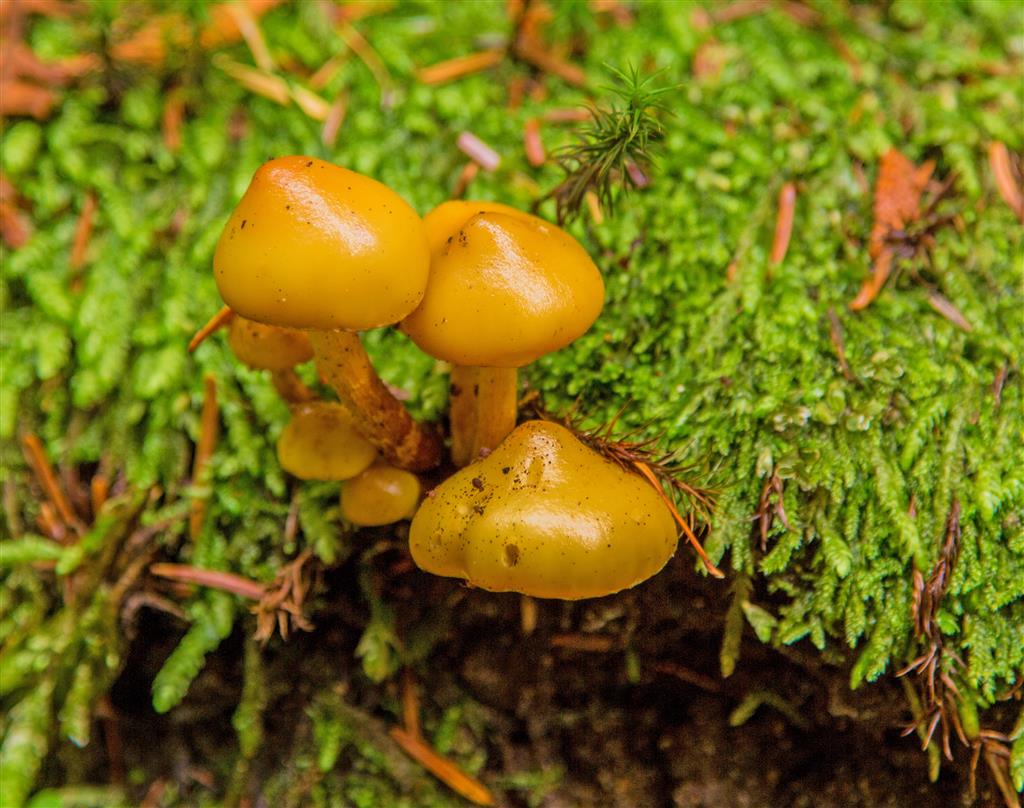
Mushrooms beside the trail
Notch cut through a fallen tree
One of the rockier sections
Steam rising from a fallen tree
Trail through the forest
Another section of trail
Wooden stepping blocks through a sometimes swampy section
The route description and trail conditions in this post reflect what I encountered when I completed the hike. Trail conditions, access, signage, and routes can change over time. Before heading out, check current conditions and do your own research.
Before You Hike
Before heading out on your hike, make sure you are well prepared. This means having the TEN ESSENTIALS. It is also important to leave a trip plan (route details and estimated return time) with someone you trust.
Bring your smartphone, fully charged, and put it in airplane mode while hiking. I always bring backup battery packs for extra peace of mind. It is highly recommended that you bring a GPS device. I use my smartphone with a GPS app (Backcountry Navigator). The GPS will work in airplane mode. Learn how to use it before your hike.
For anyone new to hiking, there is a rule that hikers follow called “Leave No Trace” or LNT. The concept is generally to pack out what you pack in and respect nature, so all future visitors can enjoy what you have enjoyed. To learn more about LNT, please check out this blog by a certified LNT Trainer.
Update: When I did this hike, I started just north of Lions Bay, but you can no longer park in that parking lot (beside the highway) for more than 30 minutes. Based on my research, this starting point in a residential neighbourhood appears to be a more practical option. Please park considerately and follow any posted signs.
Trail Details (from the Highway Trailhead)
The trail statistics below are from my route, which started at the highway trailhead. They are not measured from the new starting point in the residential neighbourhood, so the distance, time and elevation gain from there may differ.
Distance: 7.3 km (return)
Time: 3 to 5 hours
Low point: 64 m
High point: 708 m
Elevation gain: 644 m
Cumulative elevation gain: 850 m
Highway trailhead: 49° 29′ 5.3″ N, 123° 14′ 52.1″ W (Google Map)
Getting to the Original Trailhead
This hike starts just north of Lions Bay, about 15 minutes north of Horseshoe Bay. For this hike, it is best to have someone drop you off in the parking lot on the ocean side of the highway (see the map). This is a 30 minute max parking lot. If coming from Vancouver, you cannot directly access this parking lot. However, after another 1.7 km there is a gravel pull-out alongside the highway, where you can safely turn around. (If you miss this pull-out, there is a proper turn-around location 2 km further.) Once you’re back at the parking lot, you must make your way across the highway (be careful) and look for the big yellow highway sign that reads “Rockfall Hazard Area – No Stopping”. This sign is right by the trailhead.
The Trail
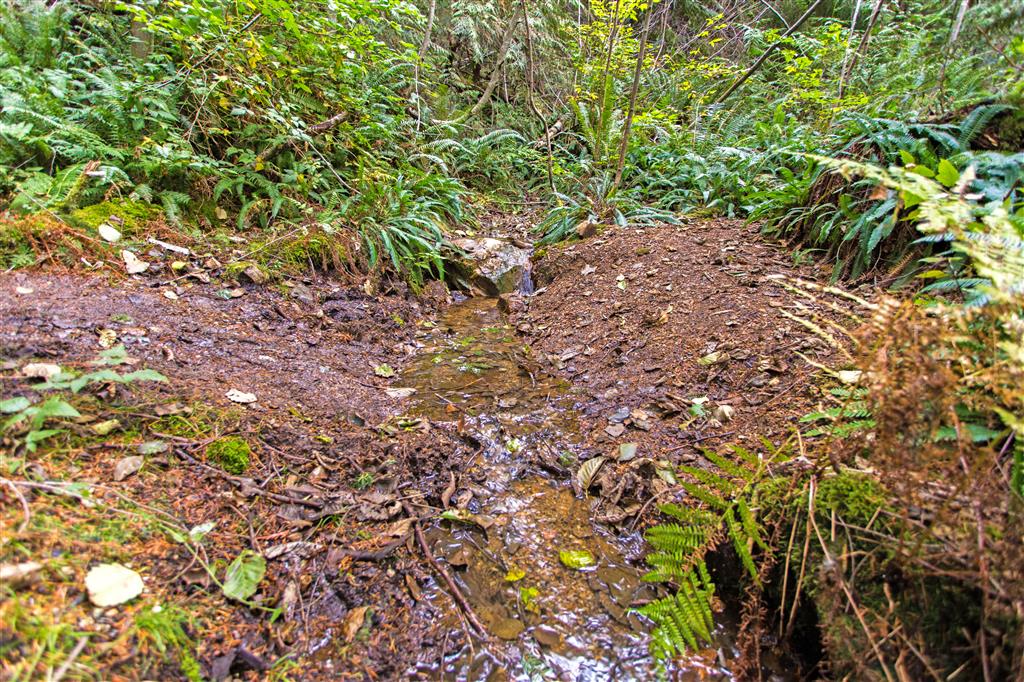
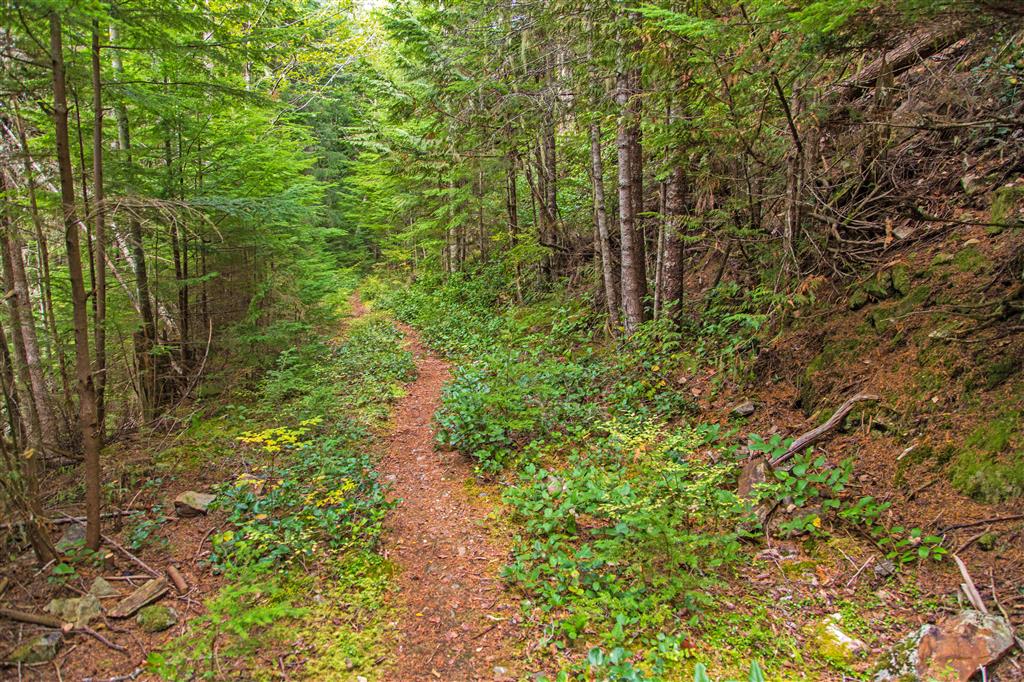
The hike starts uphill immediately and continues so until about the 600 m elevation mark. At this point you travel on an old logging road until you reach the end. On the way up, there are 3 viewpoints, but none are nearly as good as what you’ll see at the end. The trail is in good shape and is not technical. There are a couple of ropes, but they aren’t really needed. There is one small creek (at 640 m) and a few monster trees. The view from the bluff is quite spectacular. You can see Howe Sound, Bowen Island, Gambier Island and Anvil Island, among others.
Photos
The view from the top bluff
A short video from the bluff:
View from the first viewpoint (100 m elevation)
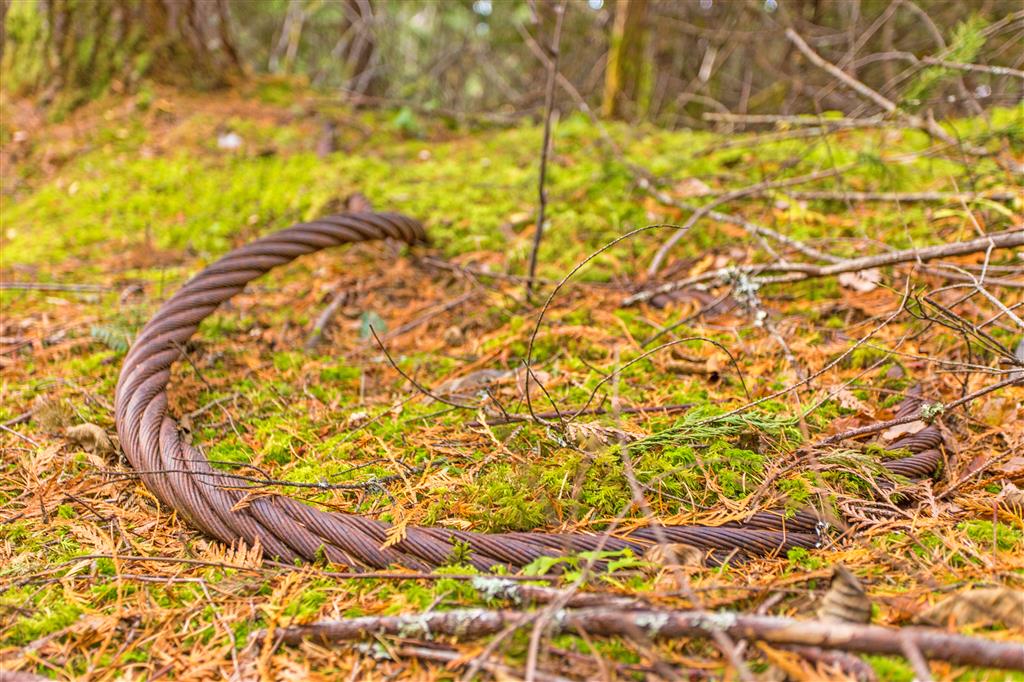
Steel wire left over from the old logging days
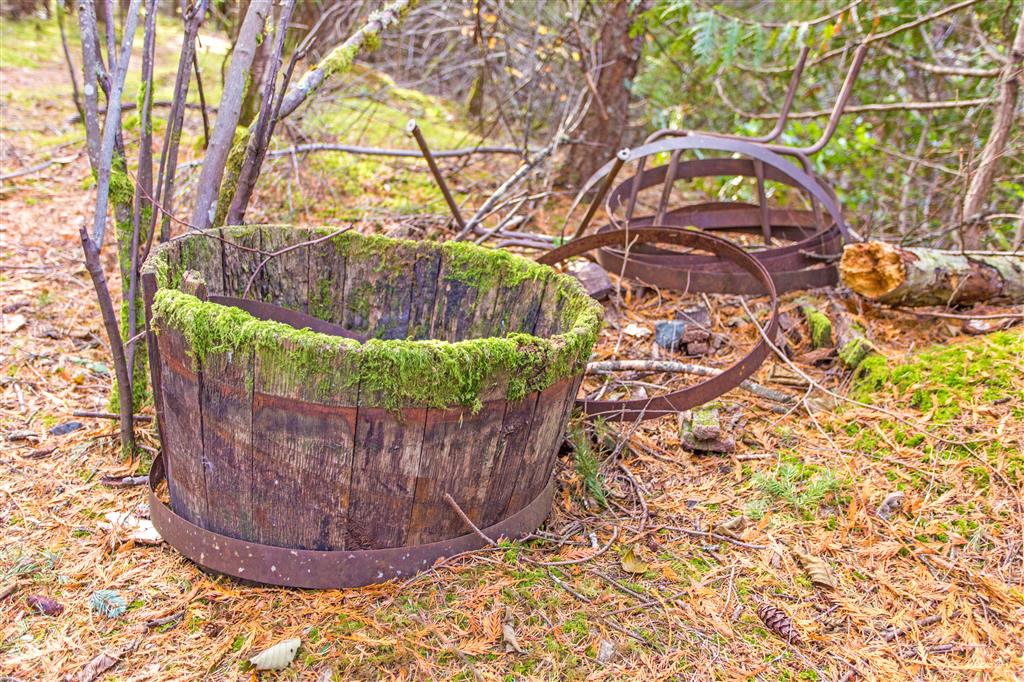
Old wooden barrel
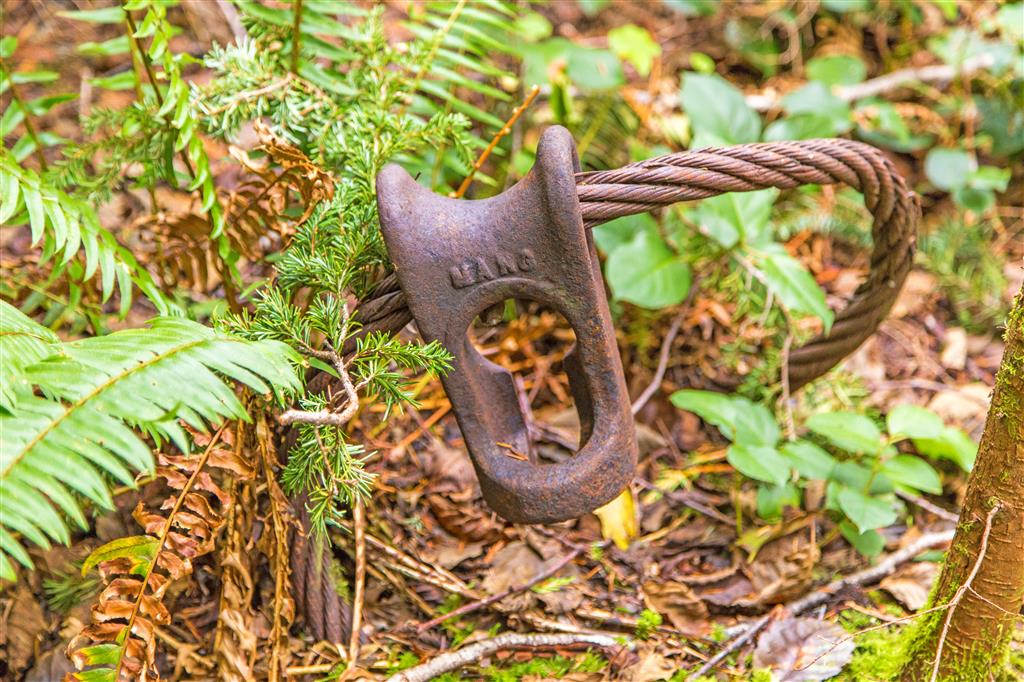
Another relic left over from the logging days
The only stream on the trail
The old logging road
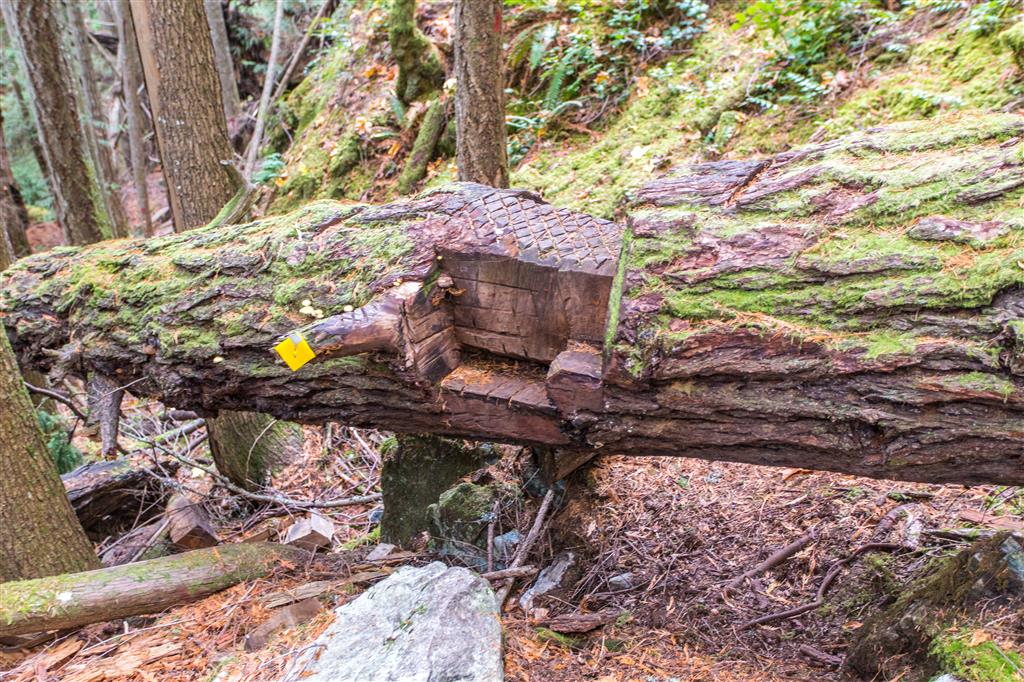
A nice notch step cut in a tree
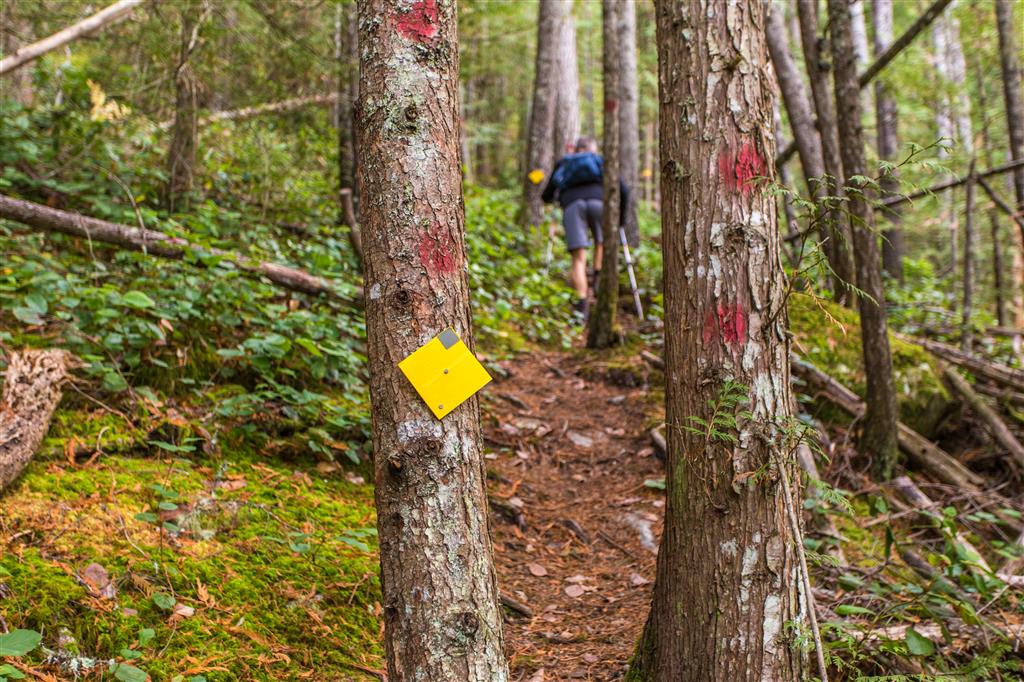
The trail was well marked
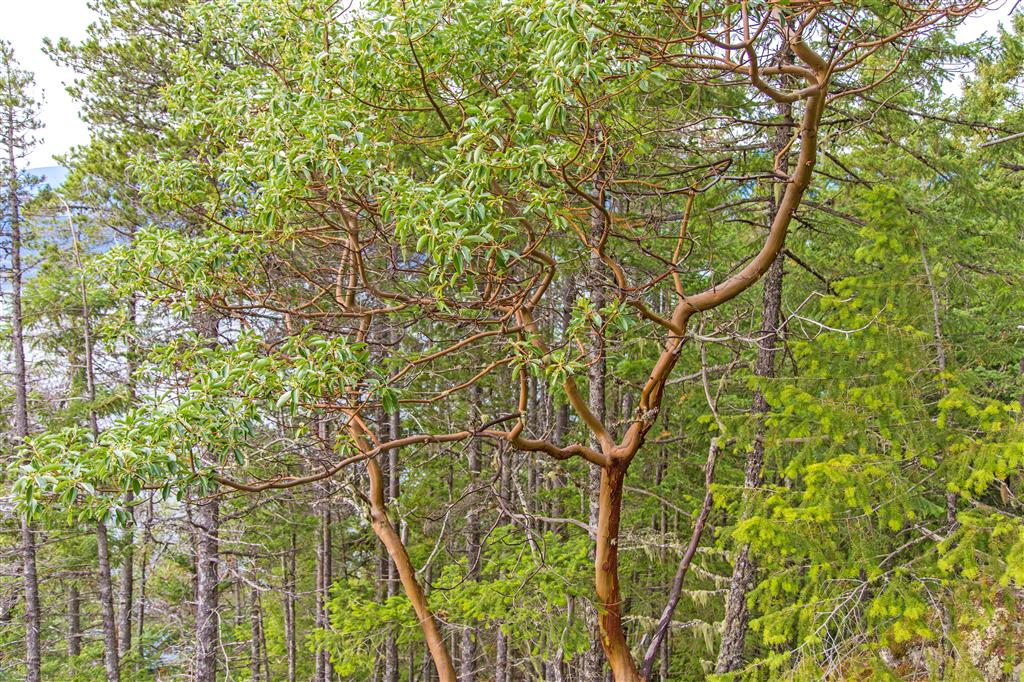
Some Arbutus trees on the route
On the trail
The trailhead
Before You Hike
Before heading out on your hike, make sure you are well prepared. This means having the TEN ESSENTIALS. It is also important to leave a trip plan (route details and estimated return time) with someone you trust.
Bring your smartphone, fully charged, and put it in airplane mode while hiking. I always bring backup battery packs for extra peace of mind. It is highly recommended that you bring a GPS device. I use my smartphone with a GPS app (Backcountry Navigator). The GPS will work in airplane mode. Learn how to use it before your hike.
For anyone new to hiking, there is a rule that hikers follow called “Leave No Trace” or LNT. The concept is generally to pack out what you pack in and respect nature, so all future visitors can enjoy what you have enjoyed. To learn more about LNT, please check out this blog by a certified LNT Trainer.
Today was a gorgeous early autumn day for a hike. Elfin Lakes is in Garibaldi Provincial Park, just north of Squamish, and is one of those hikes where the scenery seems to get better the farther you go.
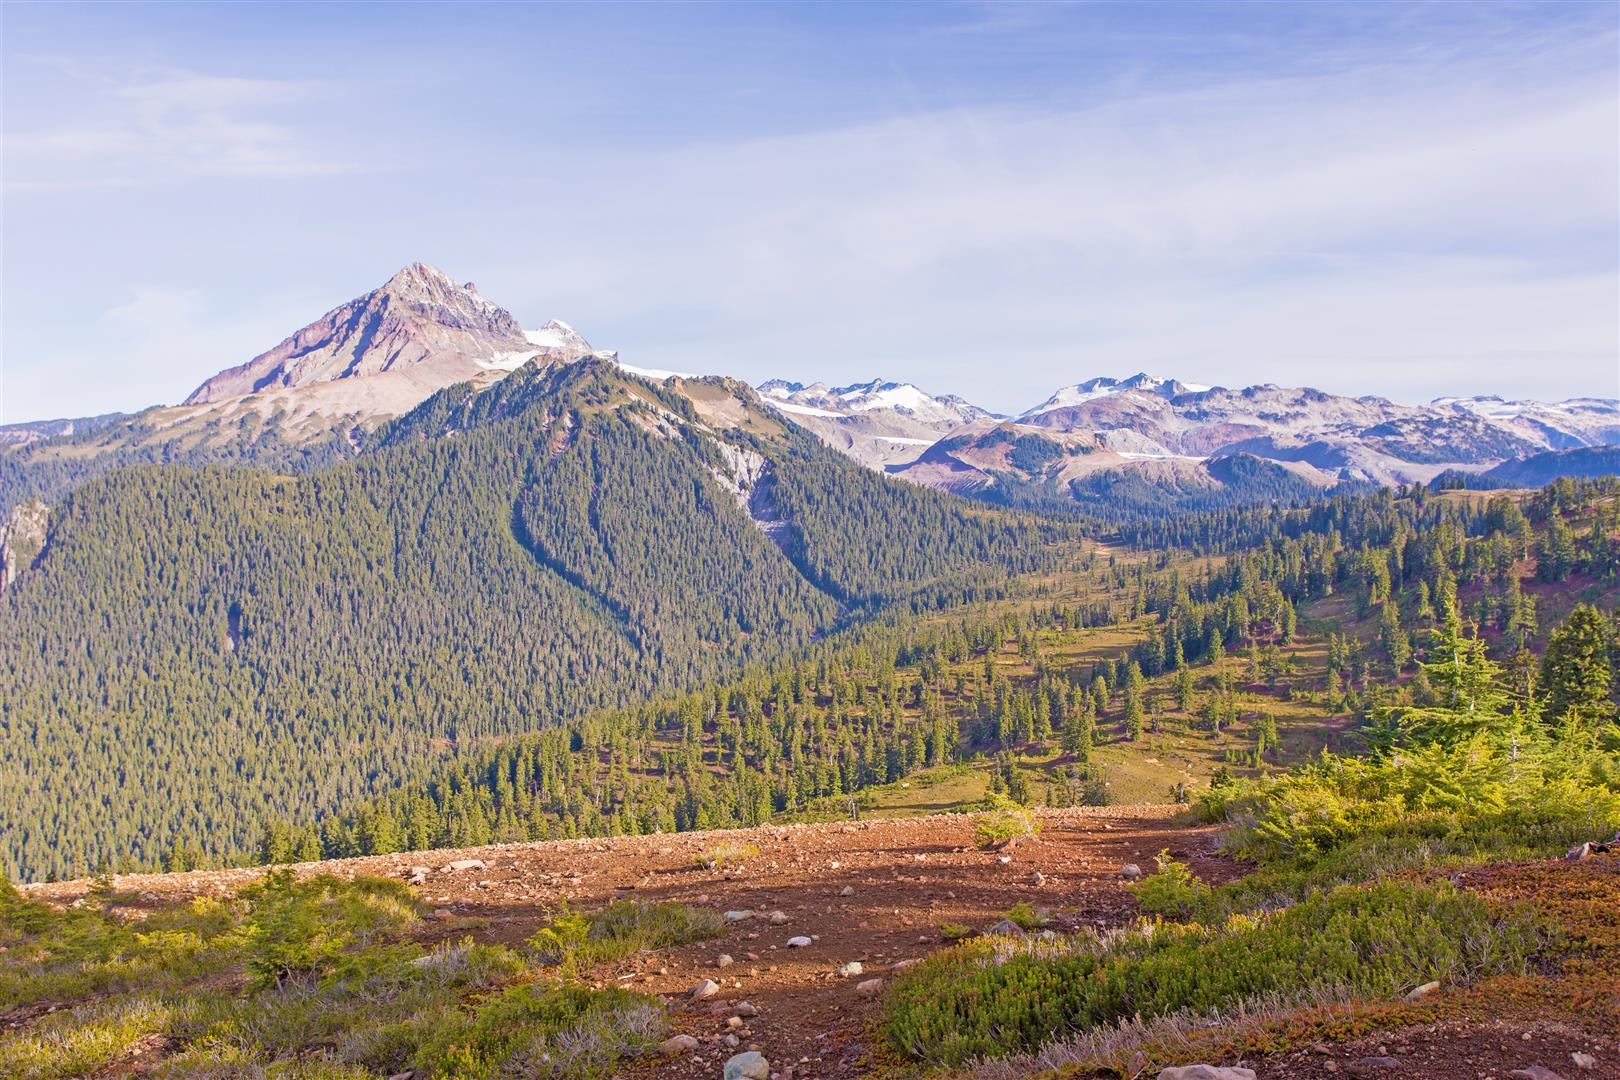
When we did the hike, the first several kilometres followed a broad old road and climbed steadily towards Red Heather Meadows. There was a short section where the trail became rougher and muddier before returning to a wide, well-established trail. As we gained elevation, the forest began to open up and the mountain views became spectacular, including Mount Garibaldi and the surrounding peaks.
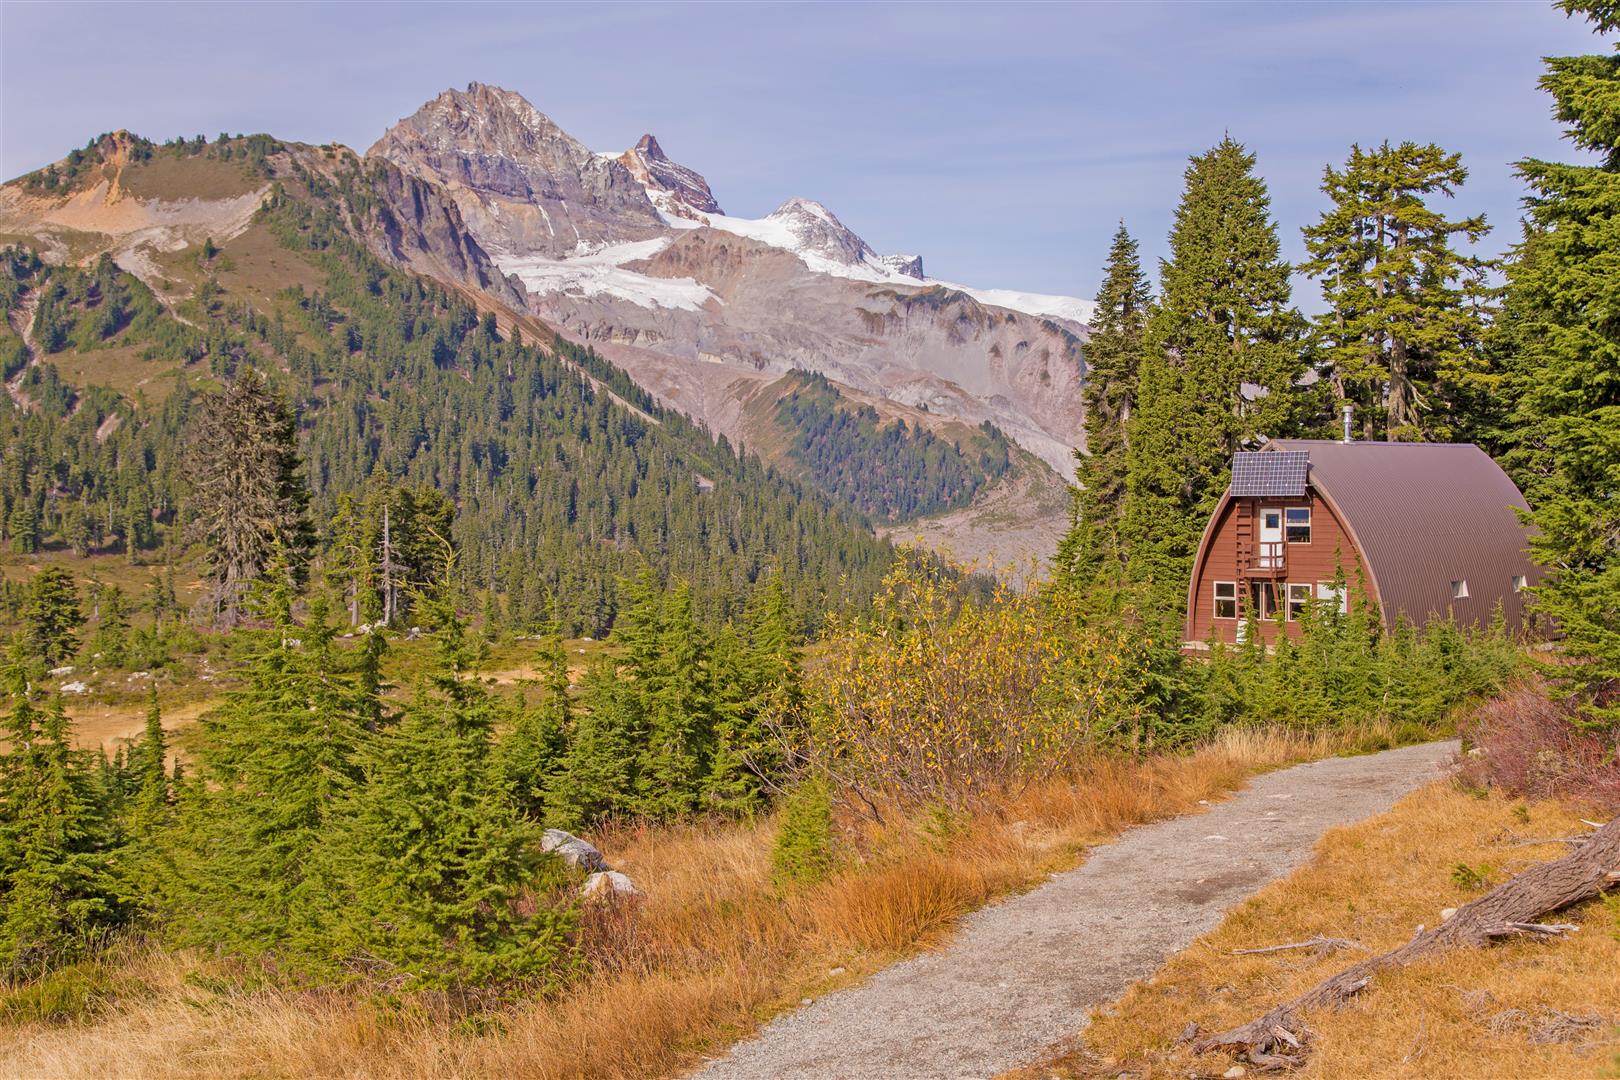
We reached Elfin Lakes in about 2 hours 20 minutes. At the time of our hike, the area had an overnight shelter, ranger facilities, a small day-use building, tent pads, picnic tables, and the two lakes. One of the lakes was used for swimming, while the other served as a water source.
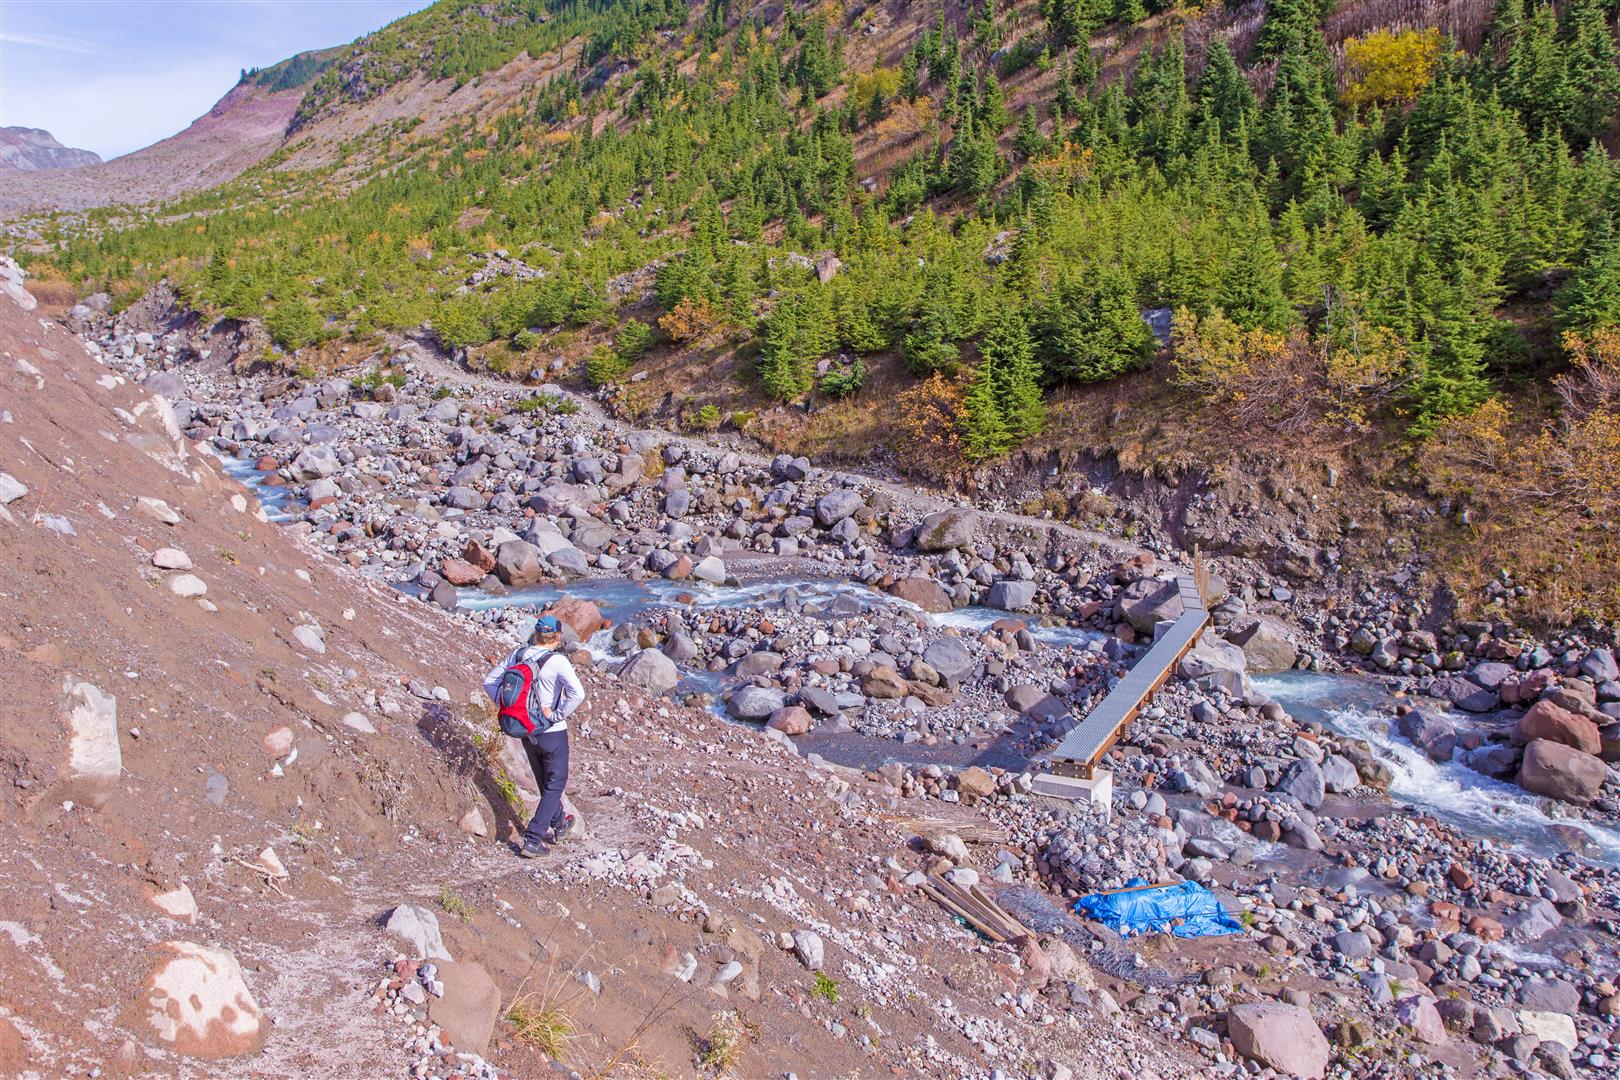
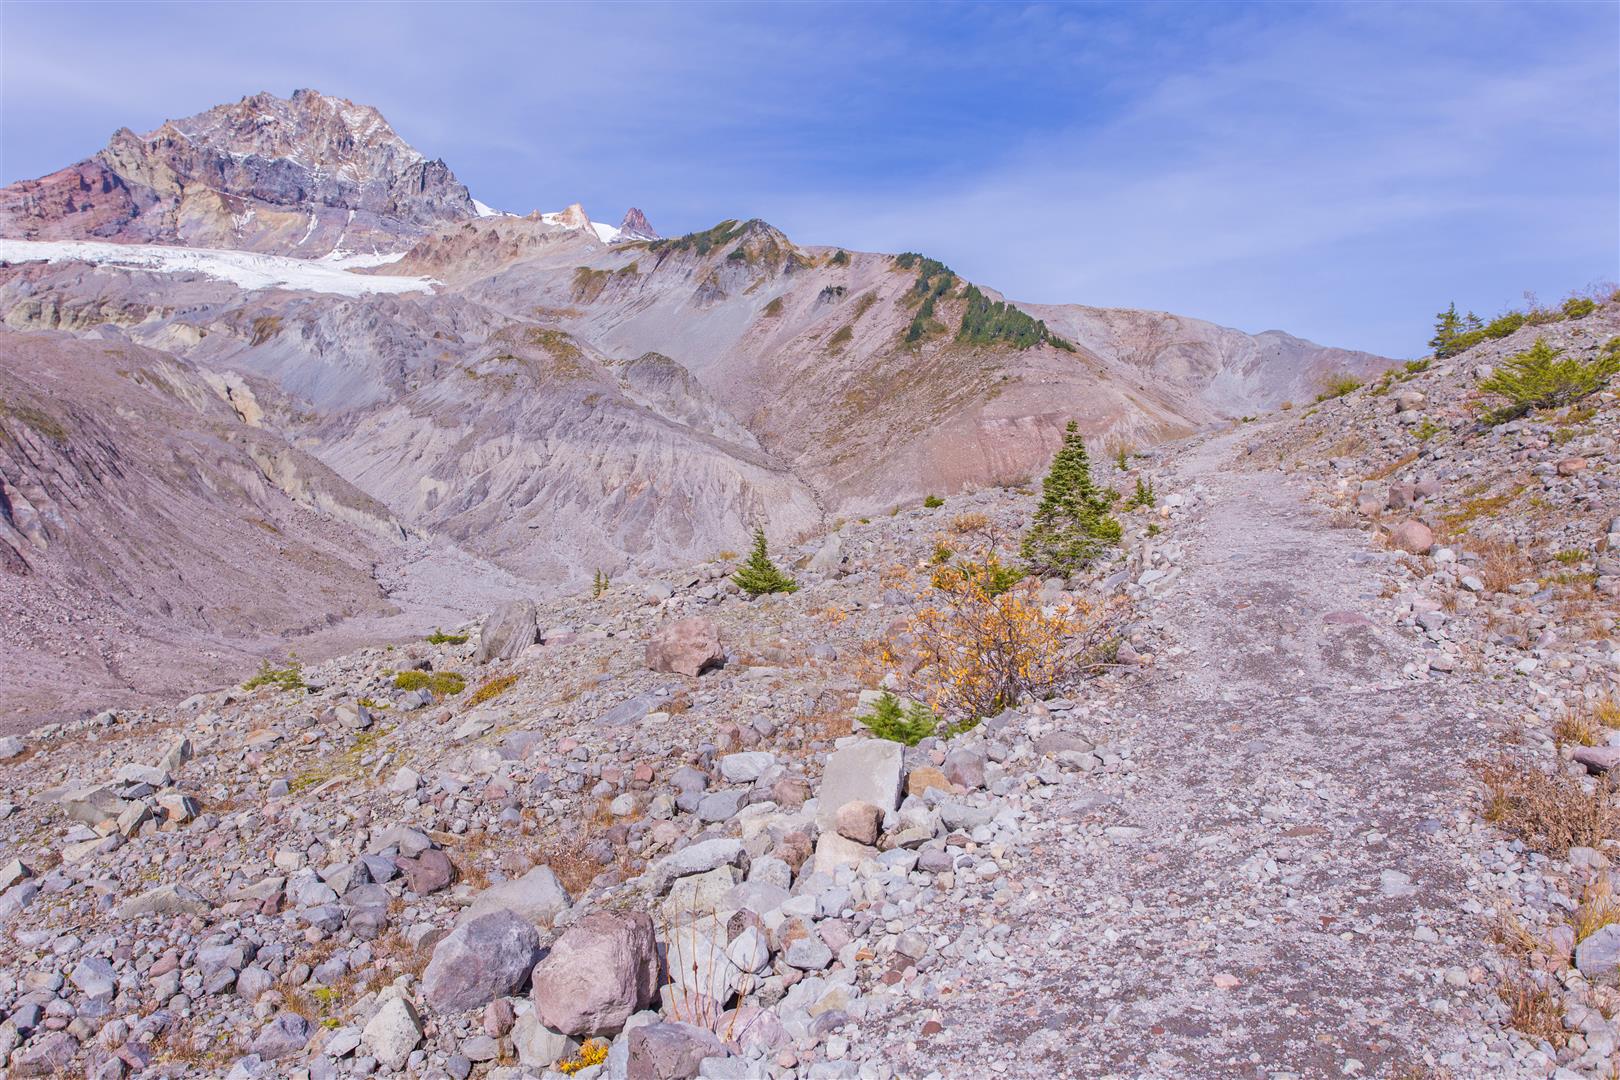
We had not made any plans to explore beyond Elfin Lakes, but once we arrived we decided to continue towards Opal Cone, approximately 6.5 km farther along the trail. After crossing the bridge over Ring Creek, the landscape changed dramatically. Much of the route was across a rugged, rocky valley with very little shade, and it was quite warm with the sun beating down.
We eventually had to turn around about 1.5 km and 300 m of elevation short of Opal Cone because of the early autumn sunset. So close! It would have to wait for another trip.
Interesting Facts
Elfin Lakes is in the Diamond Head area of Garibaldi Provincial Park. The surrounding landscape includes Mount Garibaldi, Atwell Peak, Opal Cone, the Garibaldi Neve, Columnar Peak, and the Mamquam Icefield.
This hike is primarily within the Mountain Hemlock (MH) biogeoclimatic zone, the subalpine forest zone found along coastal British Columbia. Mountain hemlock, amabilis fir, and yellow cedar are common, while the higher and more exposed areas have open parkland, heather, and subalpine meadows.
Opal Cone is an extinct volcanic cone with a visible crater at the top. It is part of the volcanic landscape surrounding Mount Garibaldi.
Mount Garibaldi rises to 2,678 m and is a potentially active volcano. It is part of the Garibaldi Volcanic Belt, the northern extension of the Cascade volcanic system that also includes Mount Baker and Mount St. Helens.
Elfin Lakes were once referred to as Crystal Lakes. The name Elfin Lakes was officially adopted in 1978, although the name had been used locally decades earlier.
Trail Stats
Elfin Lakes
Distance: 22 km (return)
Time: 5 hours
Low point: 979 m
High point: 1,592 m
Elevation gain: 613 m
Cumulative elevation gain: 750 m
Trailhead: 49° 45′ 0.6″ N, 123° 03′ 12.64″ W (Google Map)
Our Extended Hike Towards Opal Cone
Distance: 29.4 km (return)
Time: 8 hours
Low point: 979 m
High point: 1,592 m
Elevation gain: 613 m
Cumulative elevation gain: 1,500 m
The Route
The GPS track below is from the hike to Elfin Lakes and back. It does not include our additional exploration towards Opal Cone. Green marks the start/end point. Use the layer control in the top right to switch to a satellite view.
Photos
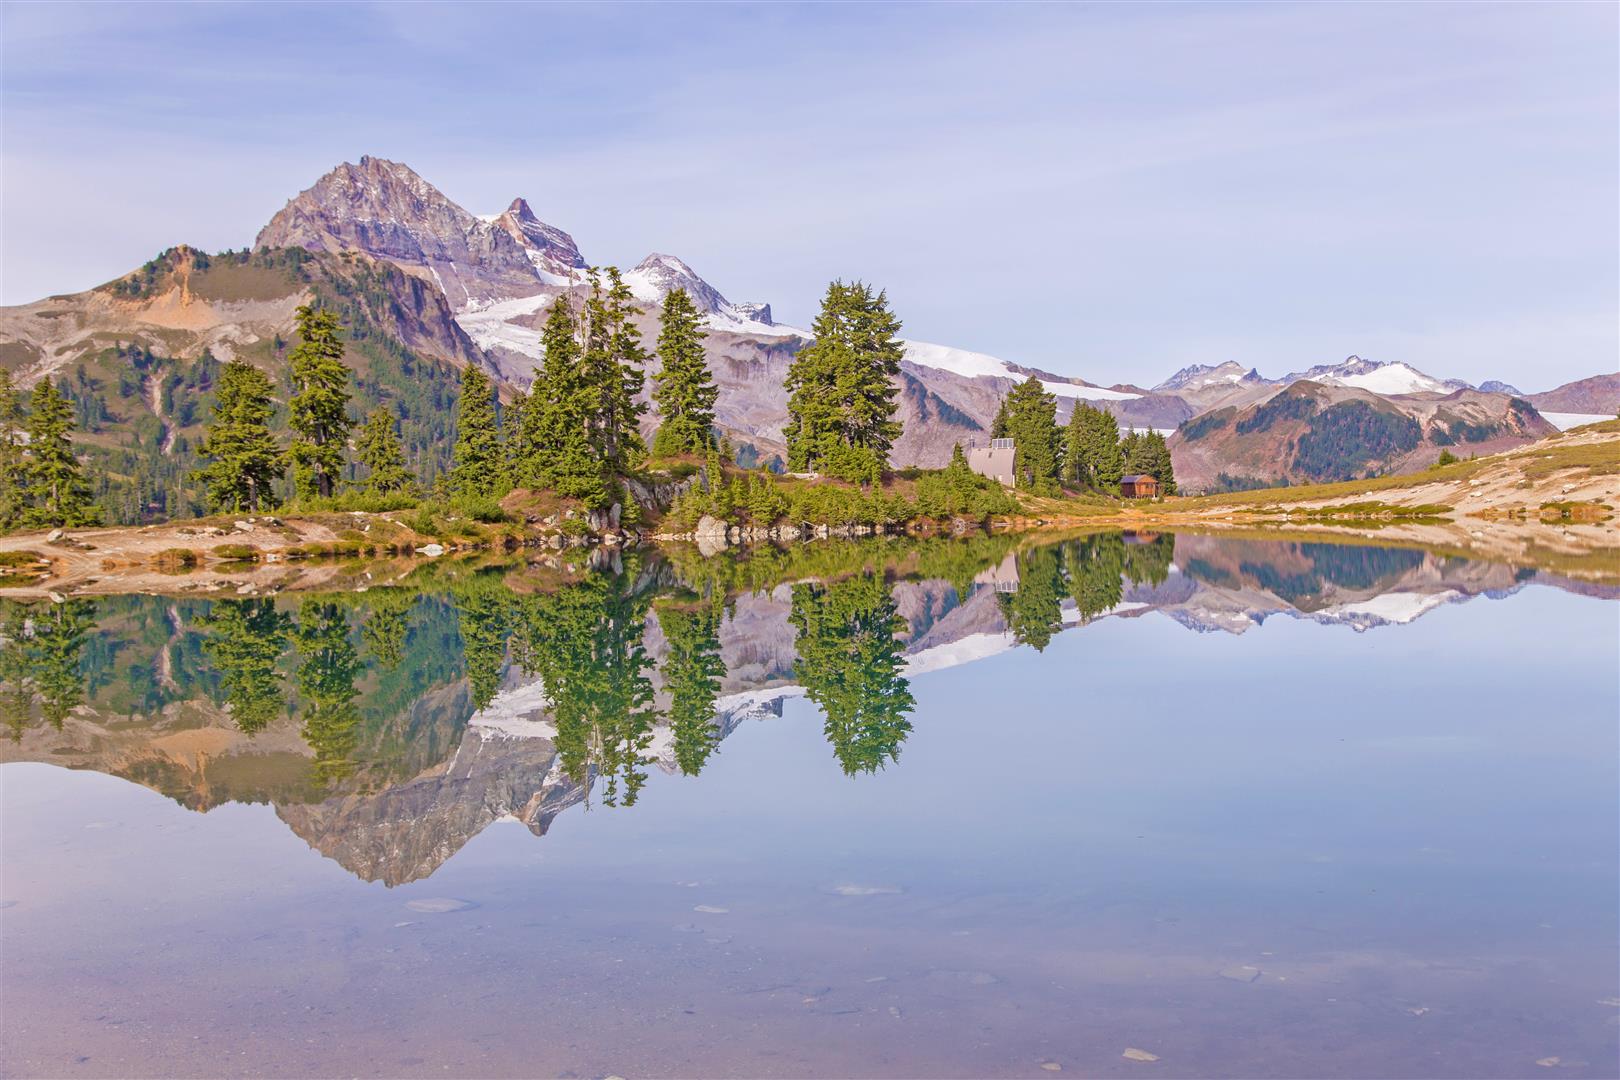
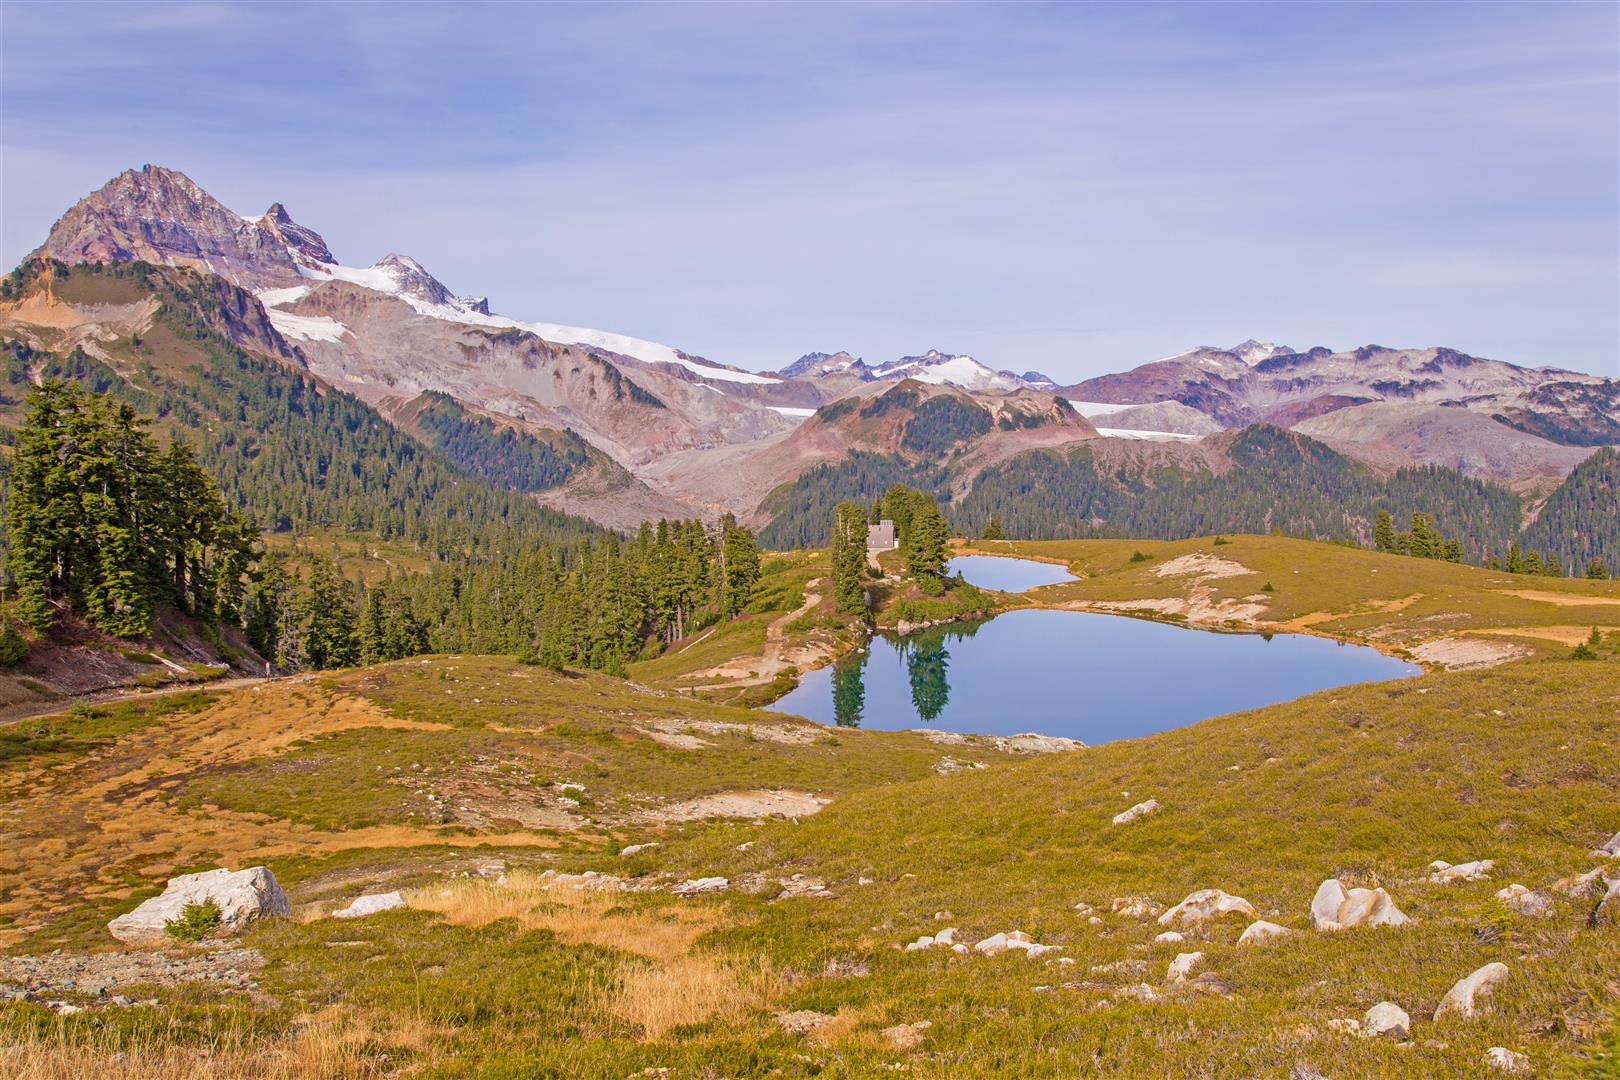
Elfin Lakes
Elfin Lakes
Elfin Lakes shelter
View from near the high point on the trail
Bridge over Ring Creek
Trail towards Opal Cone
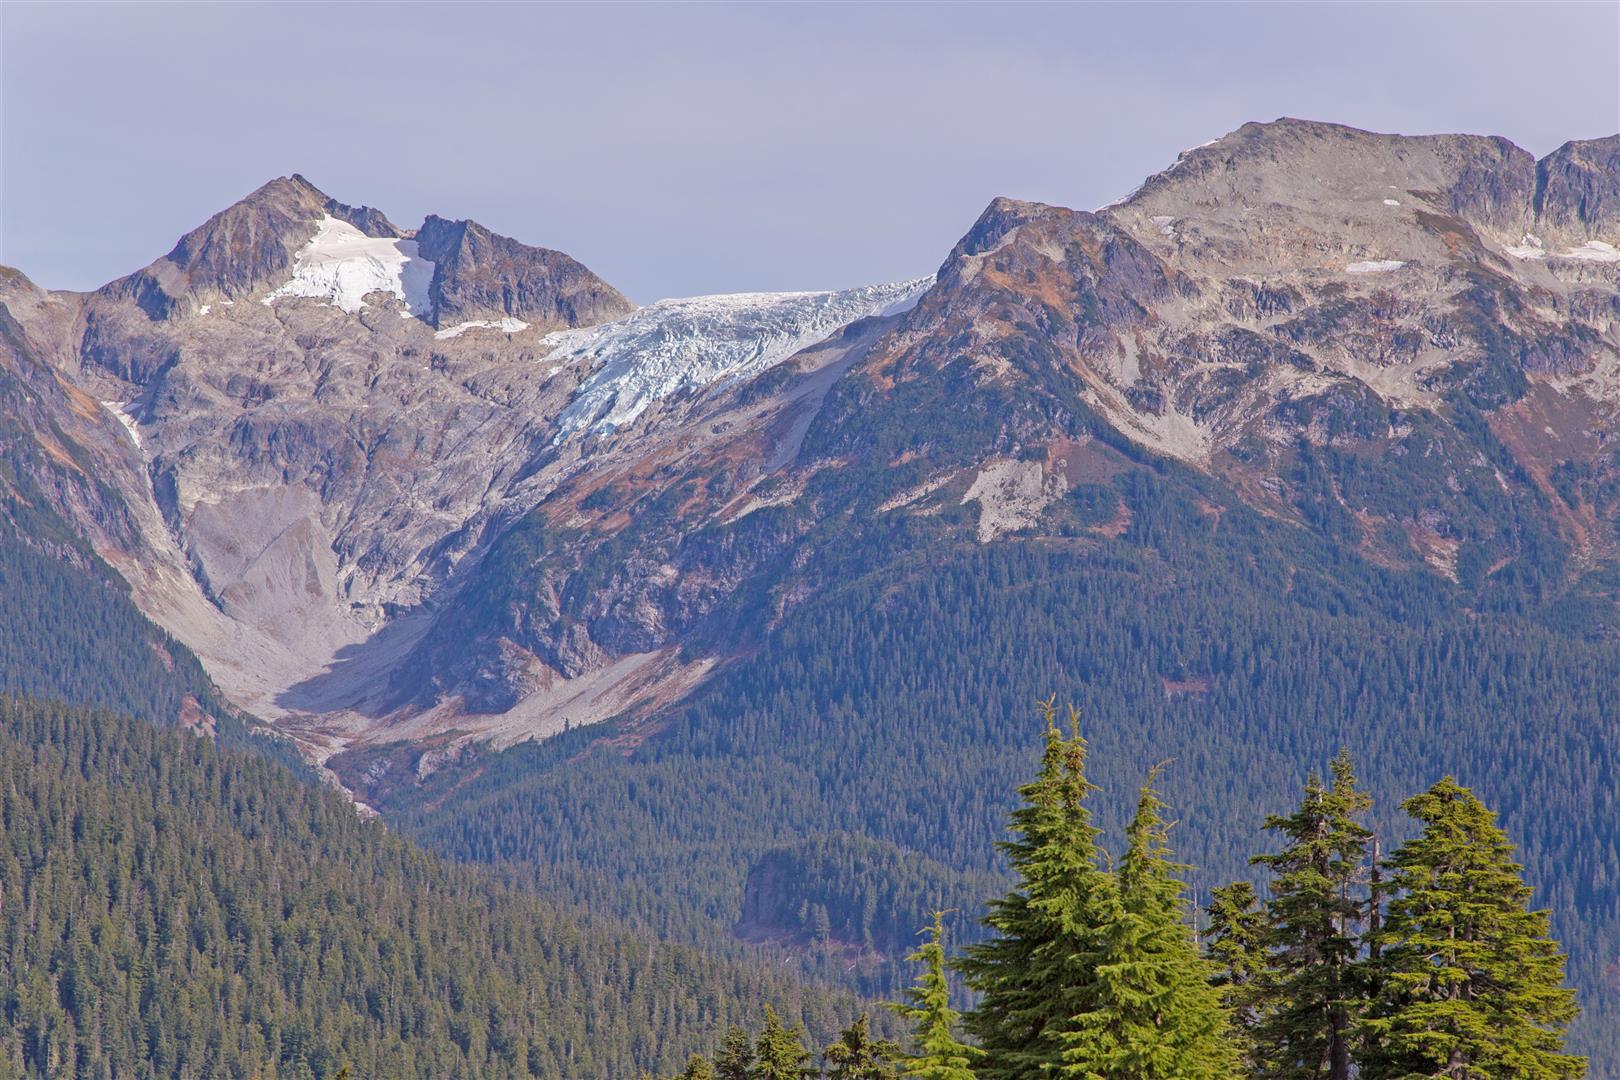
Small glacier in the distance
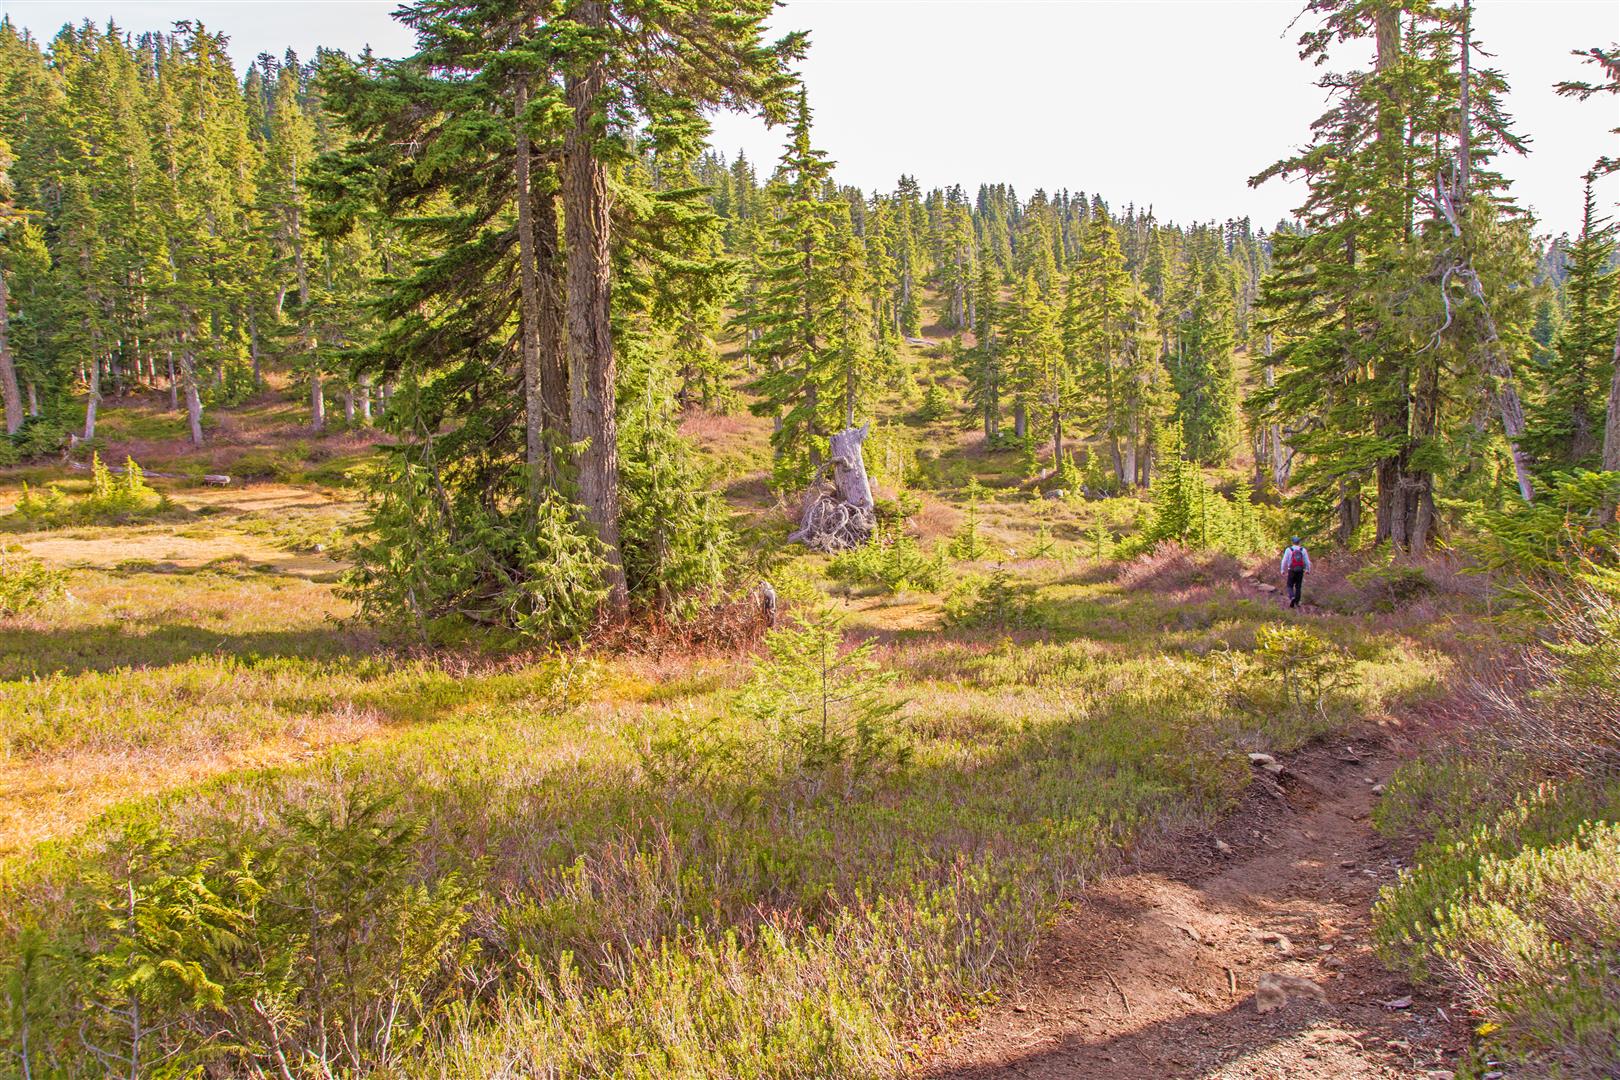
Trail near Elfin Lakes
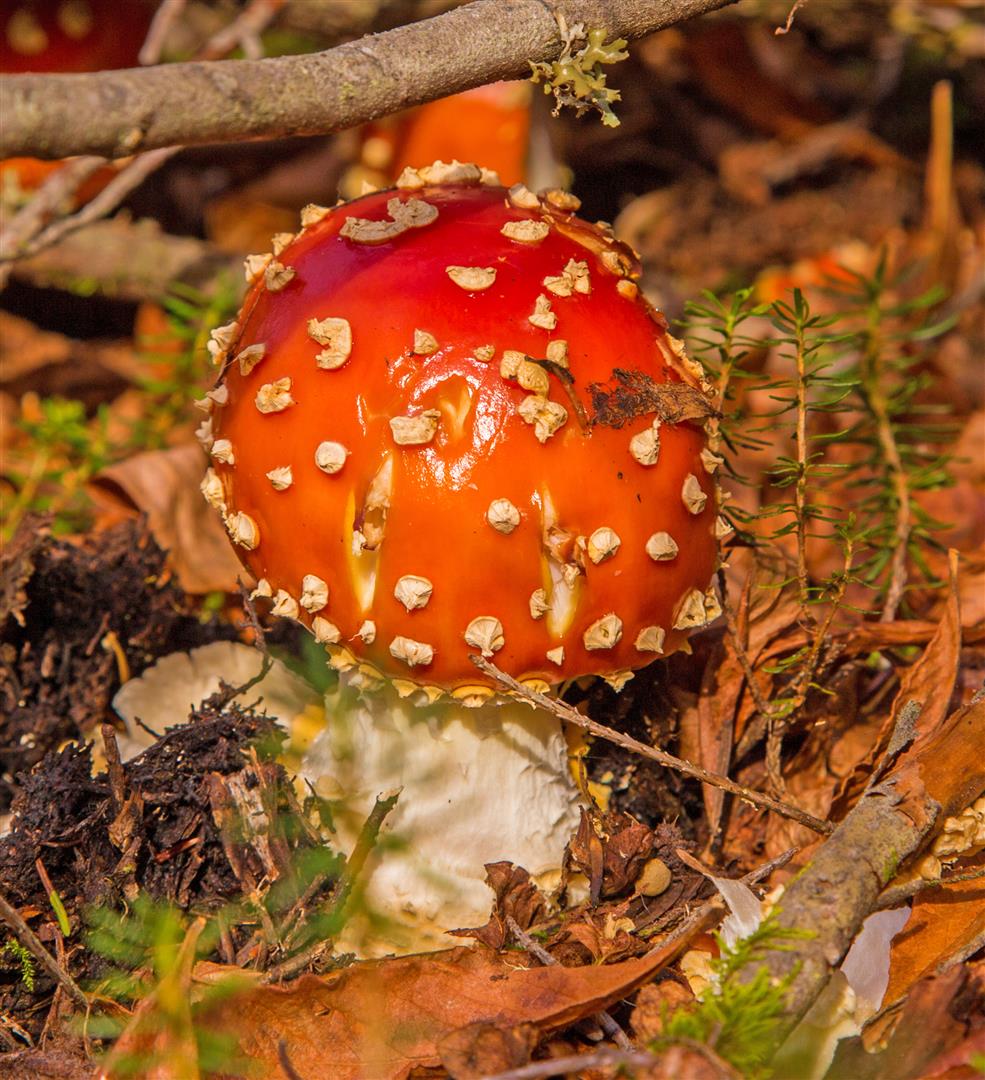
Amanita mushroom
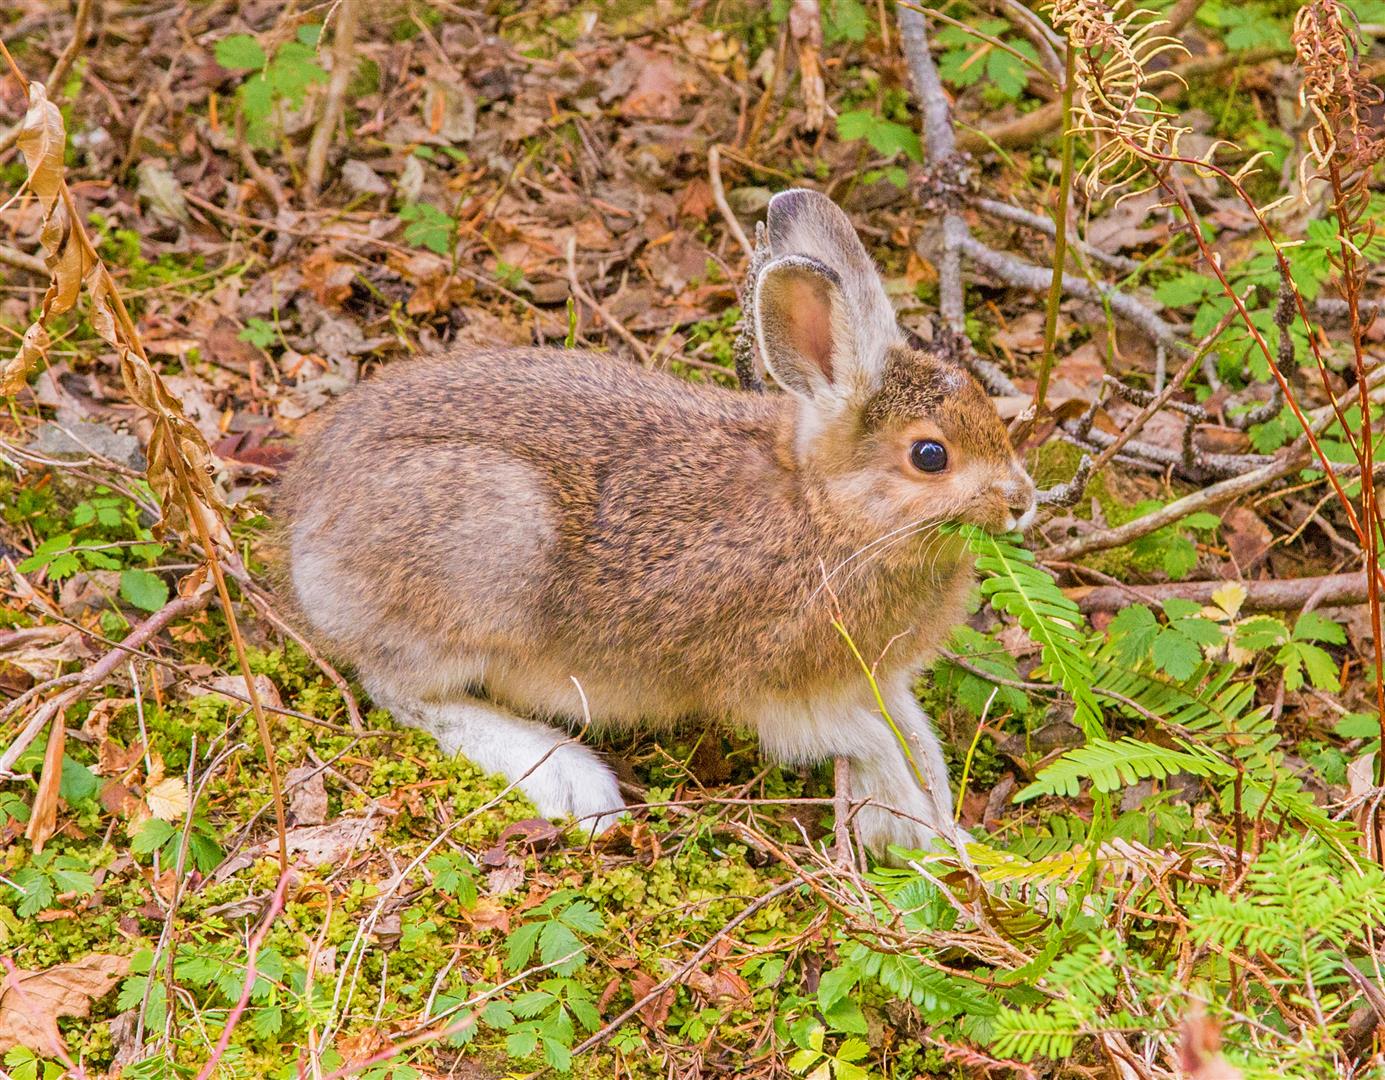
A rabbit we saw along the trail
View along the lower part of the trail
The route description and trail conditions in this post reflect what I encountered when I completed the hike. Trail conditions, access, signage, and routes can change over time. Before heading out, check current conditions and do your own research.
Before You Hike
Before heading out on your hike, make sure you are well prepared. This means having the TEN ESSENTIALS. It is also important to leave a trip plan (route details and estimated return time) with someone you trust.
Bring your smartphone, fully charged, and put it in airplane mode while hiking. I always bring backup battery packs for extra peace of mind. It is highly recommended that you bring a GPS device. I use my smartphone with a GPS app (Backcountry Navigator). The GPS will work in airplane mode. Learn how to use it before your hike.
For anyone new to hiking, there is a rule that hikers follow called “Leave No Trace” or LNT. The concept is generally to pack out what you pack in and respect nature, so all future visitors can enjoy what you have enjoyed. To learn more about LNT, please check out this blog by a certified LNT Trainer.
Ptarmigan Ridge is another great hike in the North Cascades, in Mount Baker-Snoqualmie National Forest in Washington. The trail starts at Artist Point, a spectacular high-elevation trailhead with several other hikes nearby, including Table Mountain and Chain Lakes. Another bonus is that the road to Artist Point is paved all the way to the trailhead.
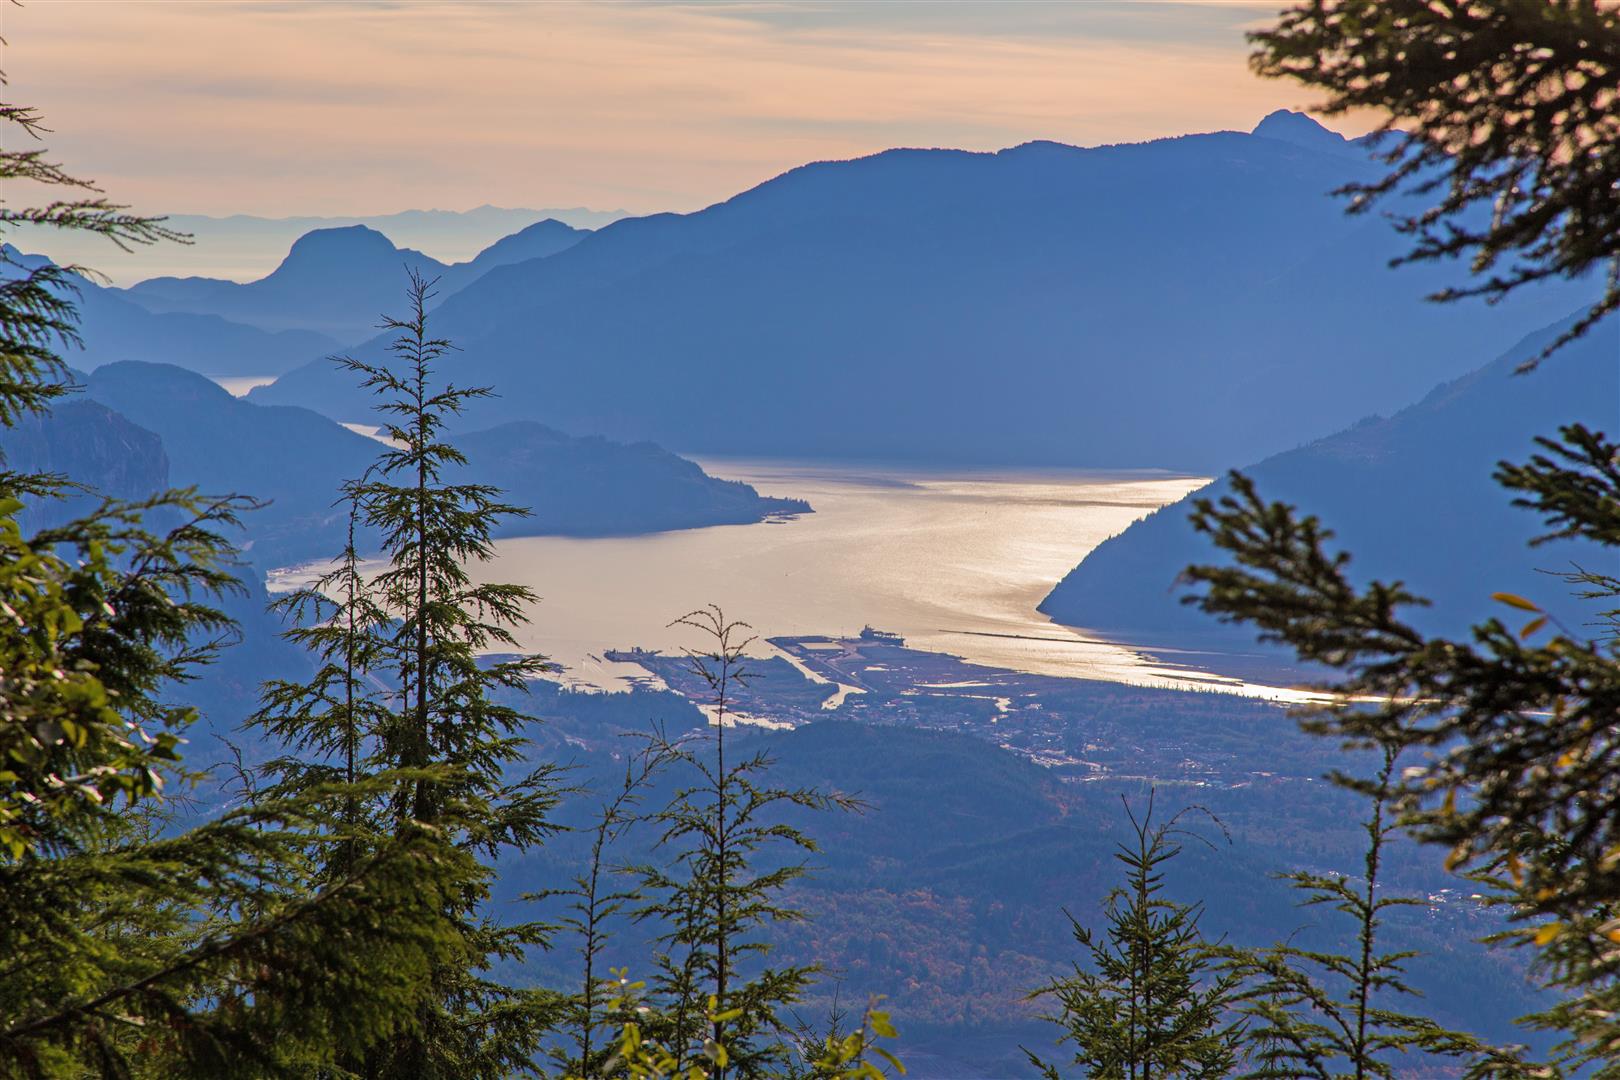
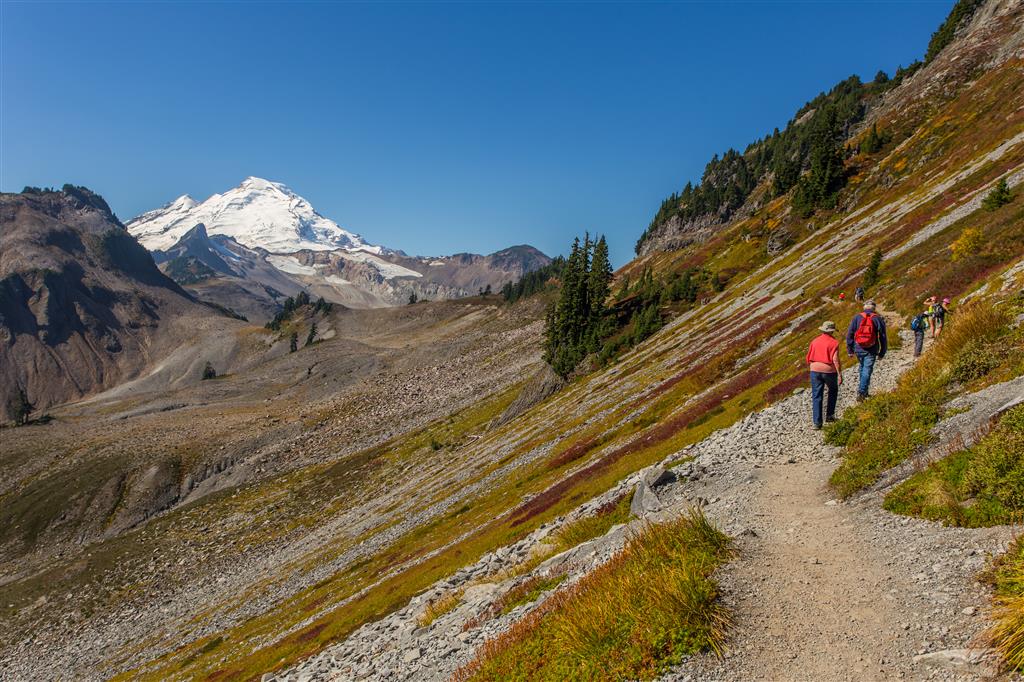
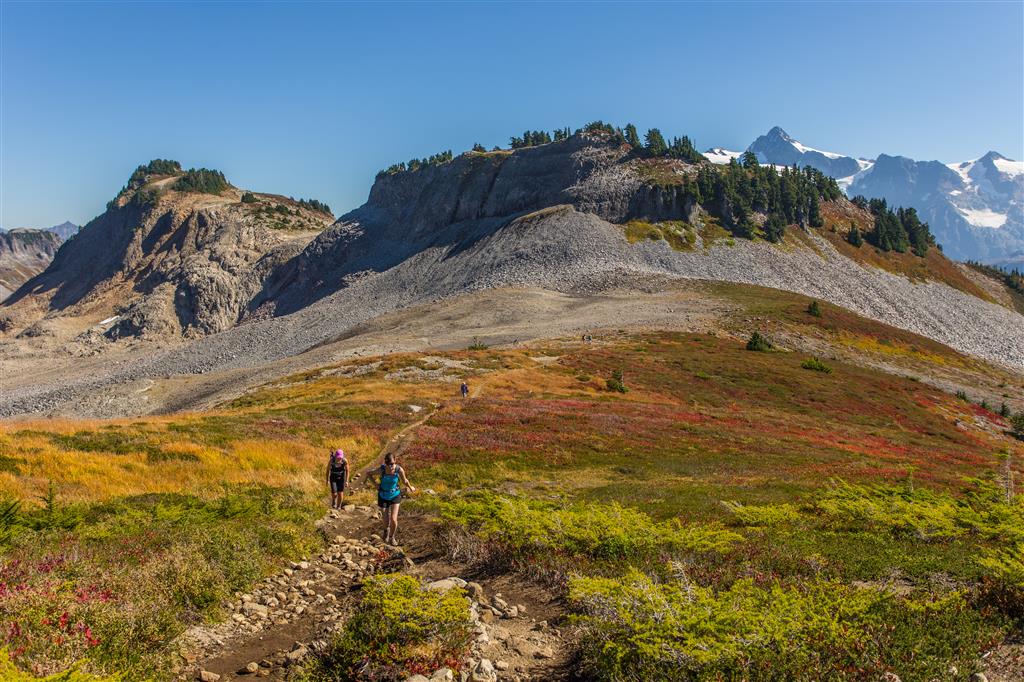
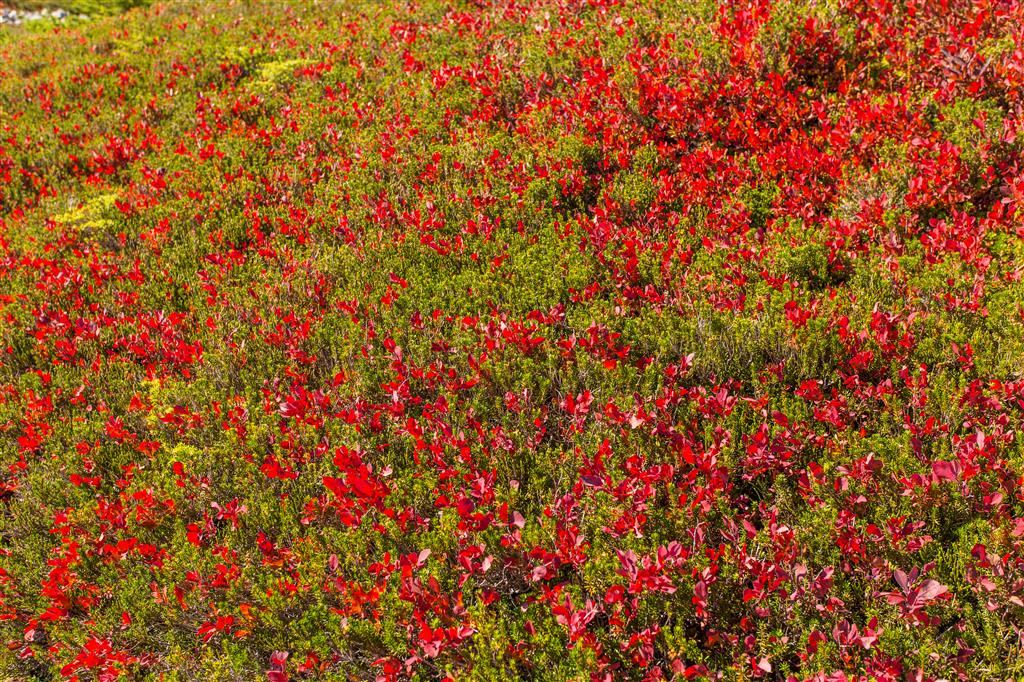
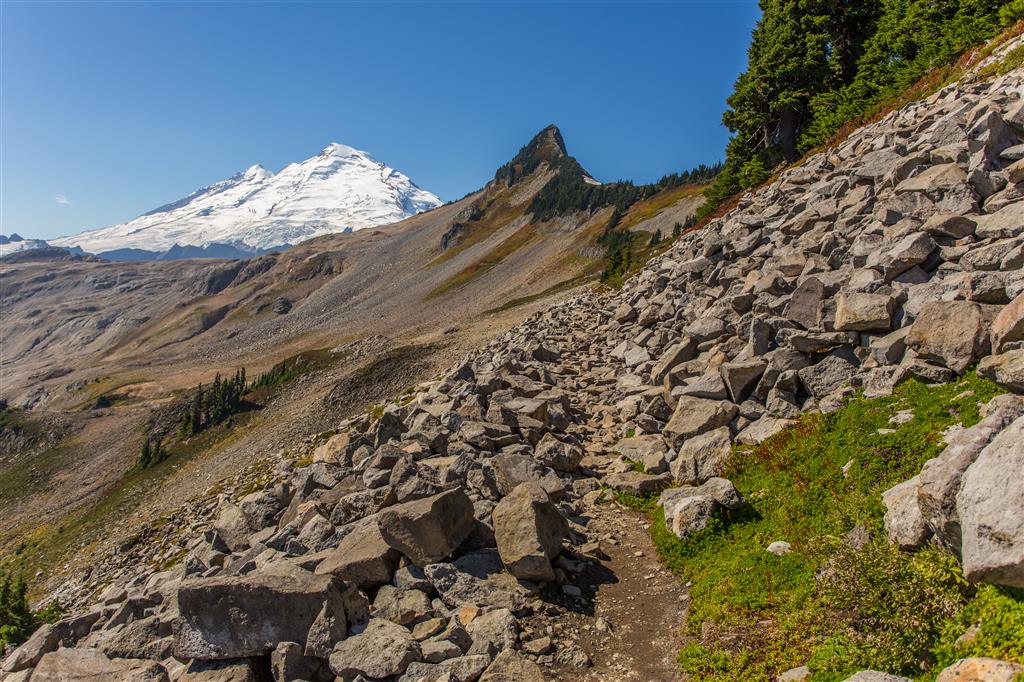
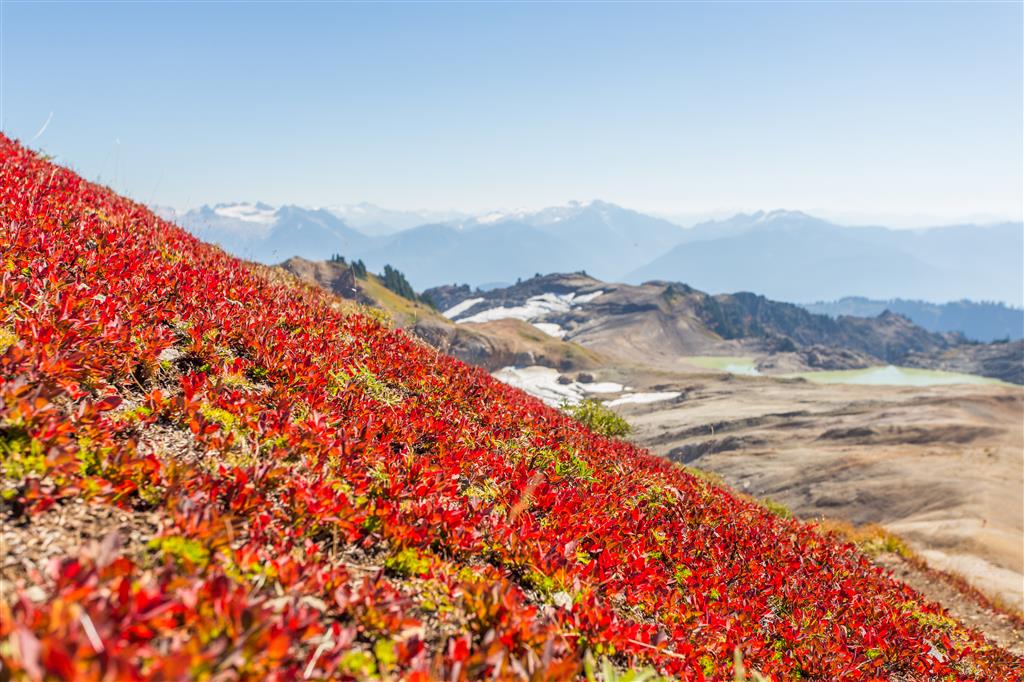
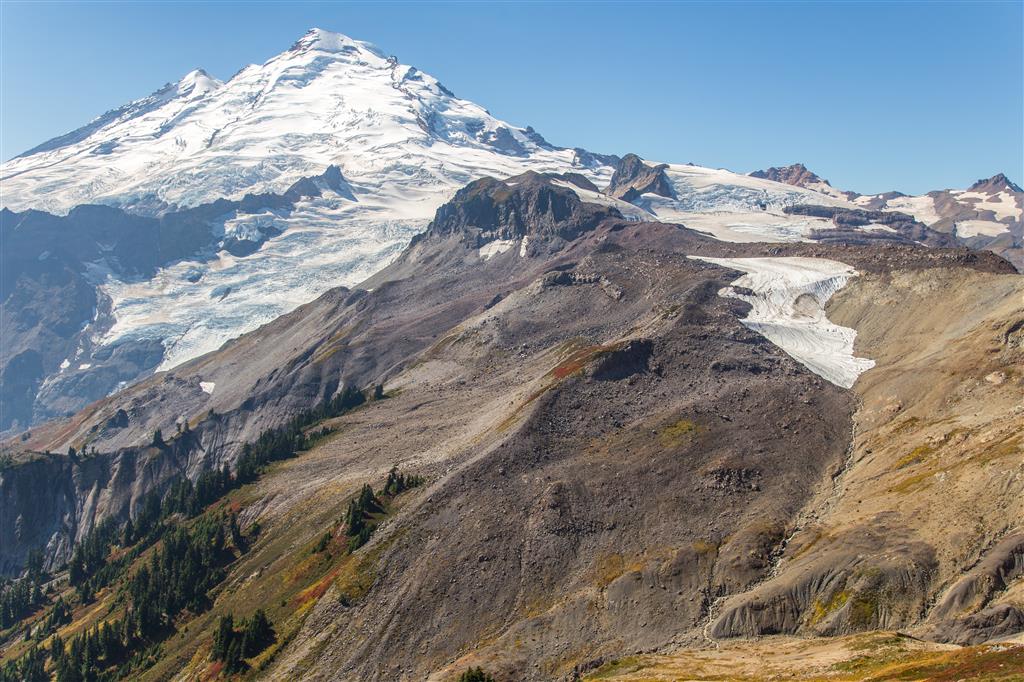
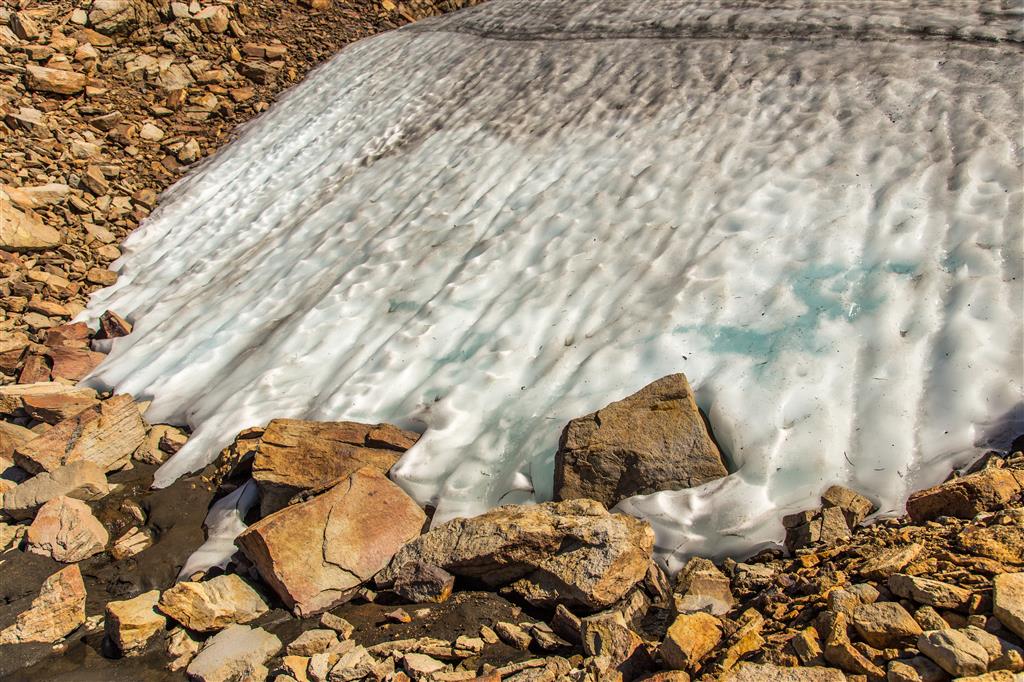
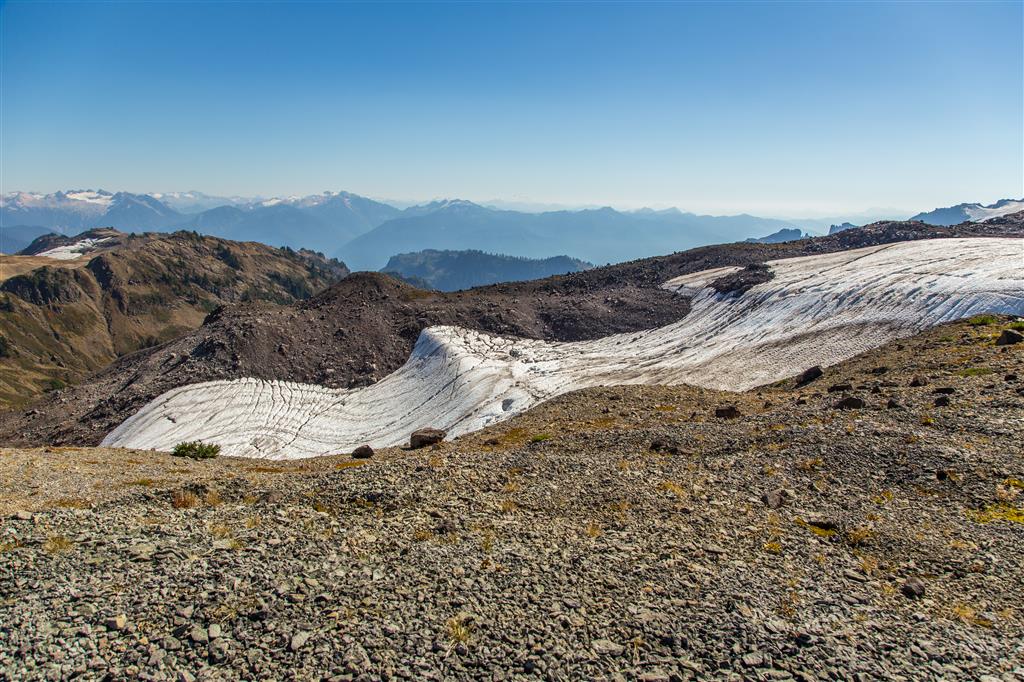
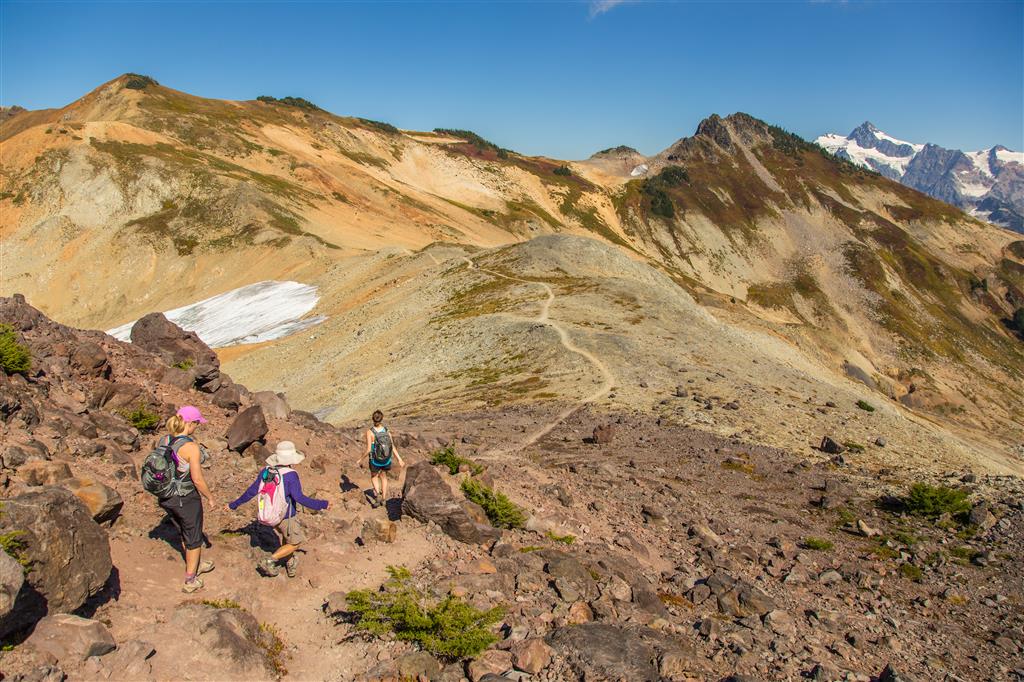
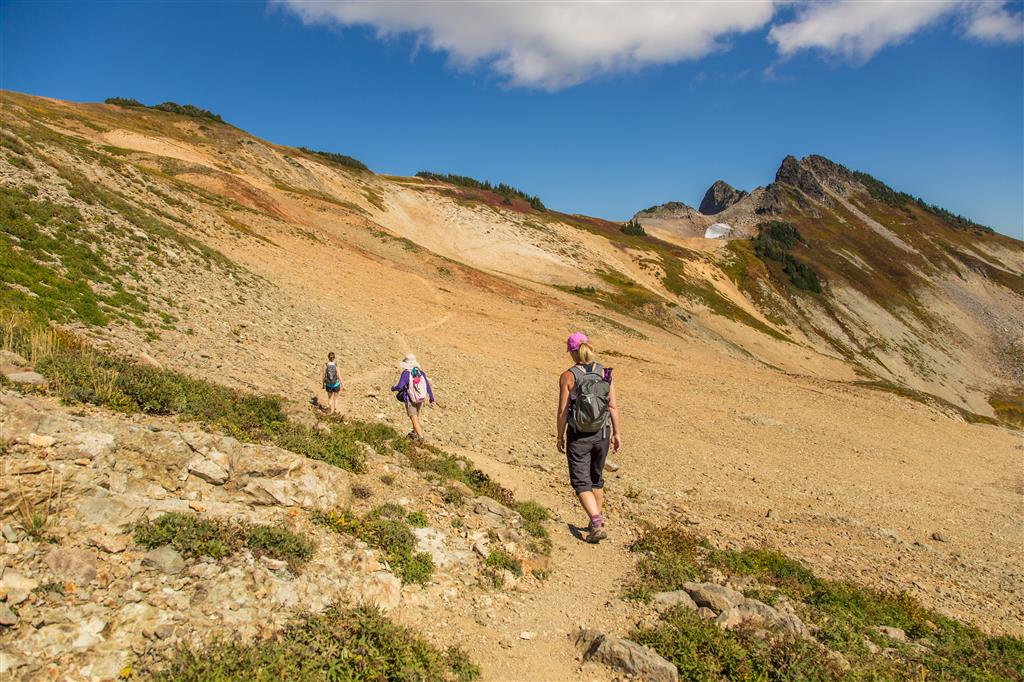
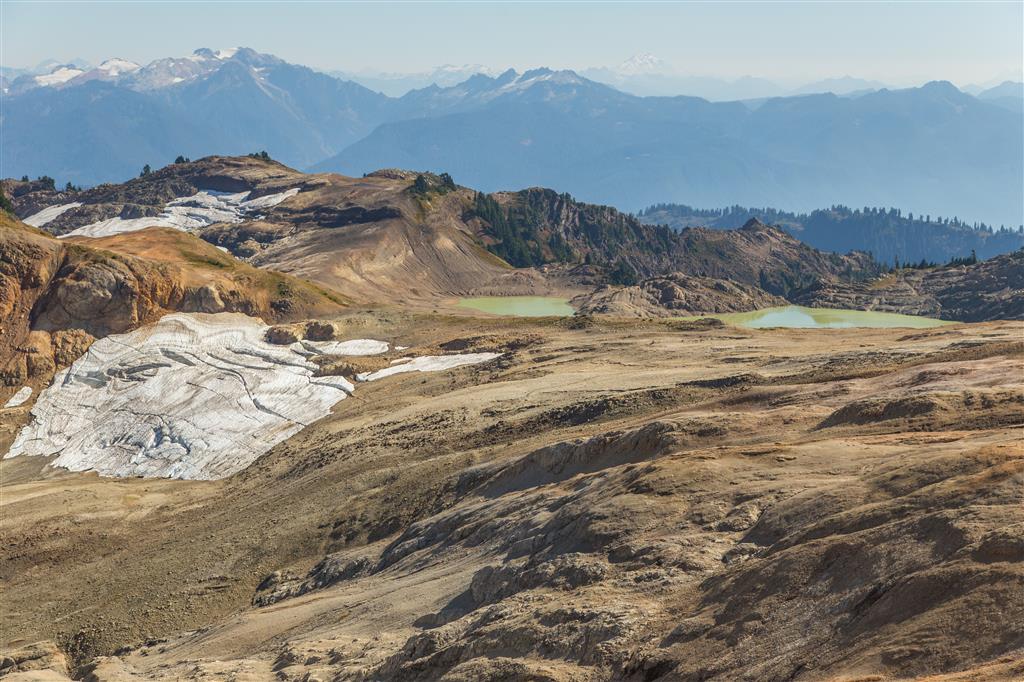
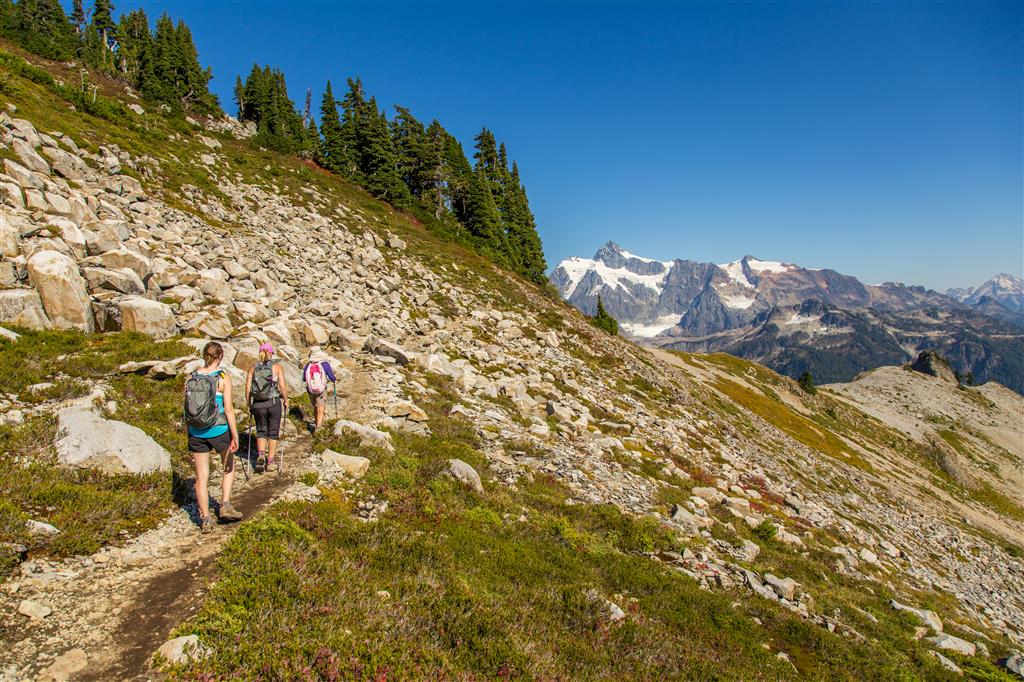
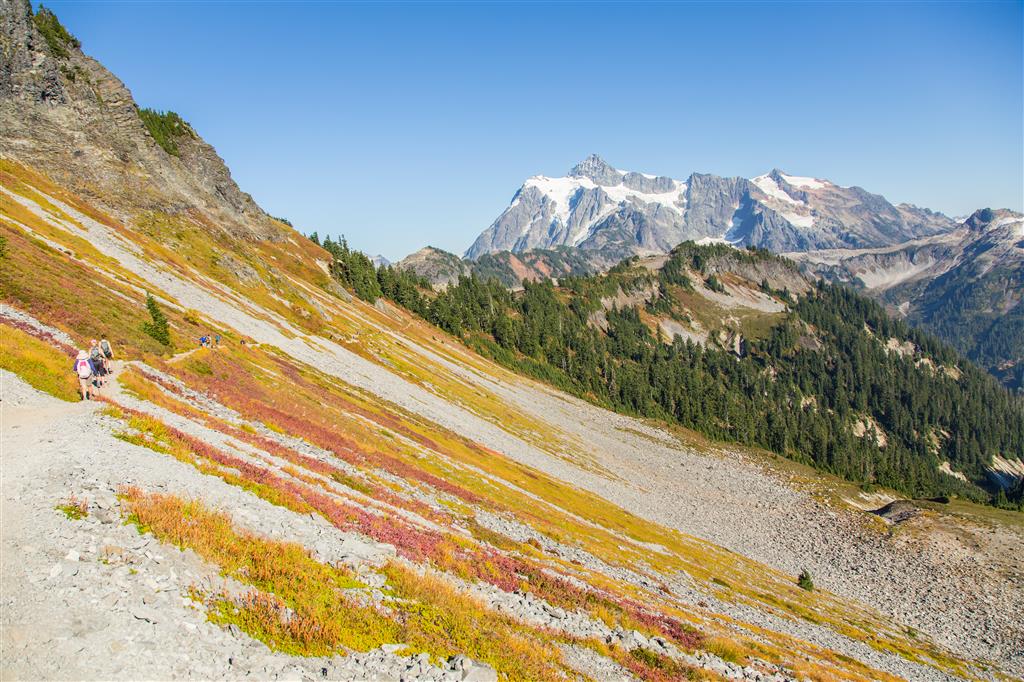
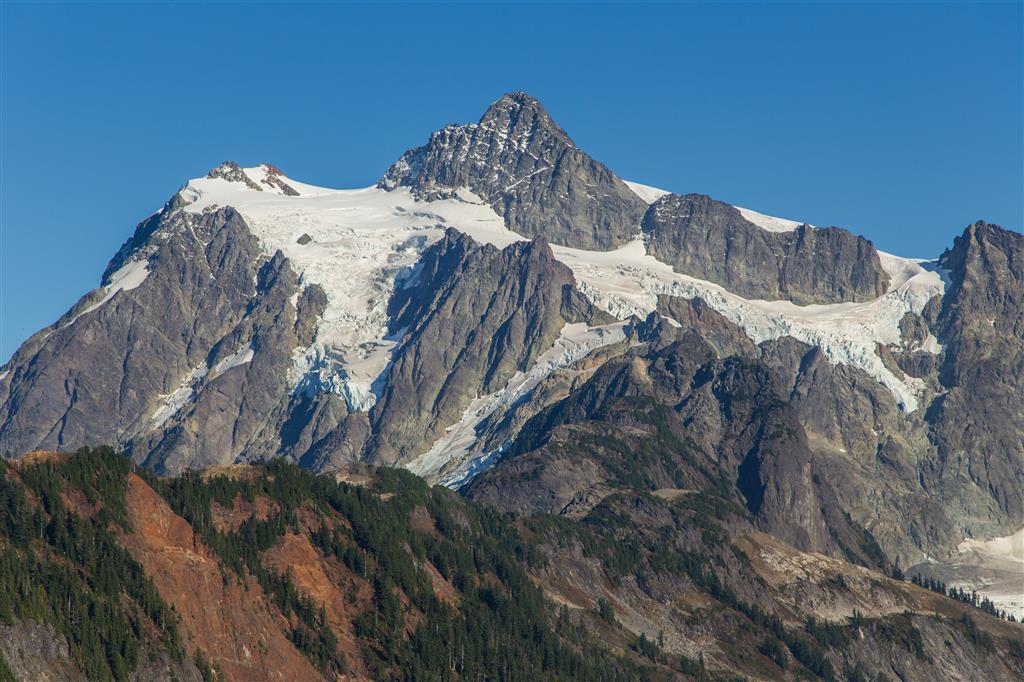
The hike is almost entirely in the open, so shade is definitely at a premium. The route follows a well-established trail across alpine meadows, rocky terrain, and scree slopes along Ptarmigan Ridge. The views are almost continuous and include Mount Baker, Mount Shuksan, glaciers, snowfields, alpine lakes, and rugged North Cascades peaks.
We did this hike on an amazing mid-September day, with temperatures in the upper 20s, no clouds, almost no wind, and no bugs. We also saw five mountain goats along the way.
The Ptarmigan Ridge Trail continues for quite a distance, so this is one of those hikes where you can choose your own turnaround point. We eventually decided we had gone far enough and headed back towards Artist Point. There is plenty more terrain beyond where we stopped, making this an area I would definitely like to explore further.
Interesting Facts
Artist Point sits at approximately 1,570 m elevation, so this hike starts high in the mountains before you even take your first step. That is one reason such extensive alpine scenery can be reached with relatively moderate elevation gain.
British Columbia’s Biogeoclimatic Ecosystem Classification system does not formally extend into Washington. However, ecologically, the high-elevation terrain around Artist Point and Ptarmigan Ridge most closely resembles the Mountain Hemlock (MH) biogeoclimatic zone found just across the border in British Columbia. Much of the route is subalpine parkland and open alpine terrain, with mountain hemlock, heather, huckleberry, meadows, rock, and long-lasting snowfields.
Mount Baker rises to 3,286 m and is the highest mountain in the North Cascades. It is an active stratovolcano and the northernmost volcano in the contiguous United States.
Mount Baker is one of the most heavily glaciated mountains in the contiguous United States. Only Mount Rainier has a greater area of glacial ice among the Cascade volcanoes.
The trail enters the Mount Baker Wilderness. Beyond the more heavily travelled section near Artist Point, the landscape becomes increasingly rugged and remote.
Border Crossing
For Canadians driving across the border for this hike, make sure you have the appropriate travel document. For most B.C. hikers, this means a valid Canadian passport or NEXUS card. If using a dedicated NEXUS lane, everyone in the vehicle must be a NEXUS member.
Food rules at the U.S. border can change and depend on the particular food and its country of origin. Declare all food and agricultural products you are carrying. Keeping food in its original packaging and keeping receipts can help establish its origin. Before travelling, check the current U.S. agricultural border rules for travellers from Canada.
Parking and Access
Artist Point is at the end of the paved Mount Baker Highway (State Route 542). The final section of highway is seasonal and normally opens after the winter snow has been cleared, typically around early summer, and closes again after significant snowfall in the fall. Always check current road conditions before leaving home.
Artist Point is a day-use fee area. A Northwest Forest Pass, an eligible interagency recreation pass, or payment of the current day-use fee is required. Current pass, parking, and access information is available from the U.S. Forest Service.
Trailhead: 48° 50′ 47.6″ N, 121° 41′ 36.6″ W (Google Map)
The Route
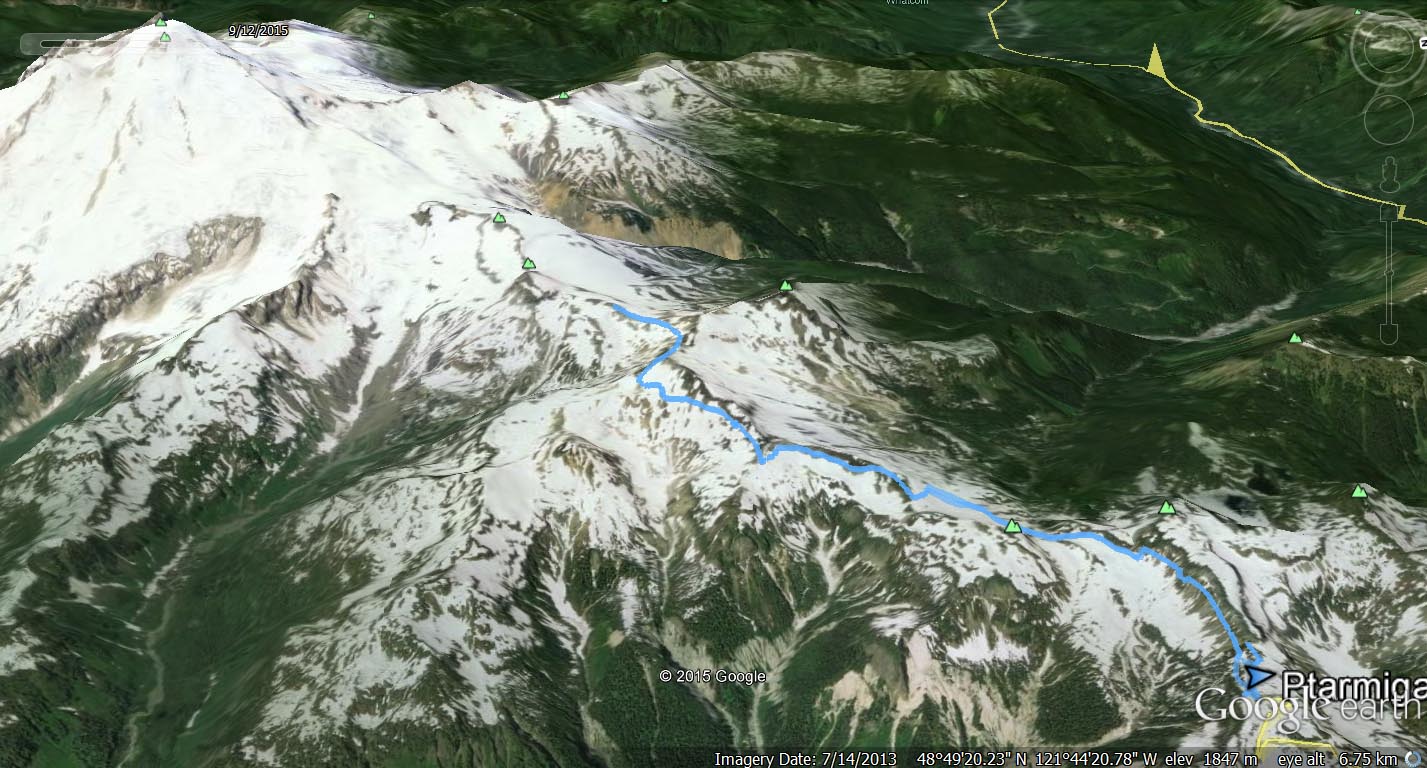
The GPS track below records the outbound portion of this hike along Ptarmigan Ridge. We returned along the same route. Green marks the trailhead at Artist Point, and red marks our turnaround point. Use the layer control in the top right to switch to a satellite view.
The route description and trail conditions in this post reflect what I encountered when I completed the hike. Trail conditions, access, signage, road conditions, and routes can change over time. Before heading out, check current conditions and do your own research.
Before You Hike
Before heading out on your hike, make sure you are well prepared. This means having the TEN ESSENTIALS. It is also important to leave a trip plan (route details and estimated return time) with someone you trust.
Bring your smartphone, fully charged, and put it in airplane mode while hiking. I always bring backup battery packs for extra peace of mind. It is highly recommended that you bring a GPS device. I use my smartphone with a GPS app (Backcountry Navigator). The GPS will work in airplane mode. Learn how to use it before your hike.
For anyone new to hiking, there is a rule that hikers follow called “Leave No Trace” or LNT. The concept is generally to pack out what you pack in and respect nature, so all future visitors can enjoy what you have enjoyed. To learn more about LNT, please check out this blog by a certified LNT Trainer.