Category Archives: North Shore

Dog Mountain and Suicide Bluff Trail


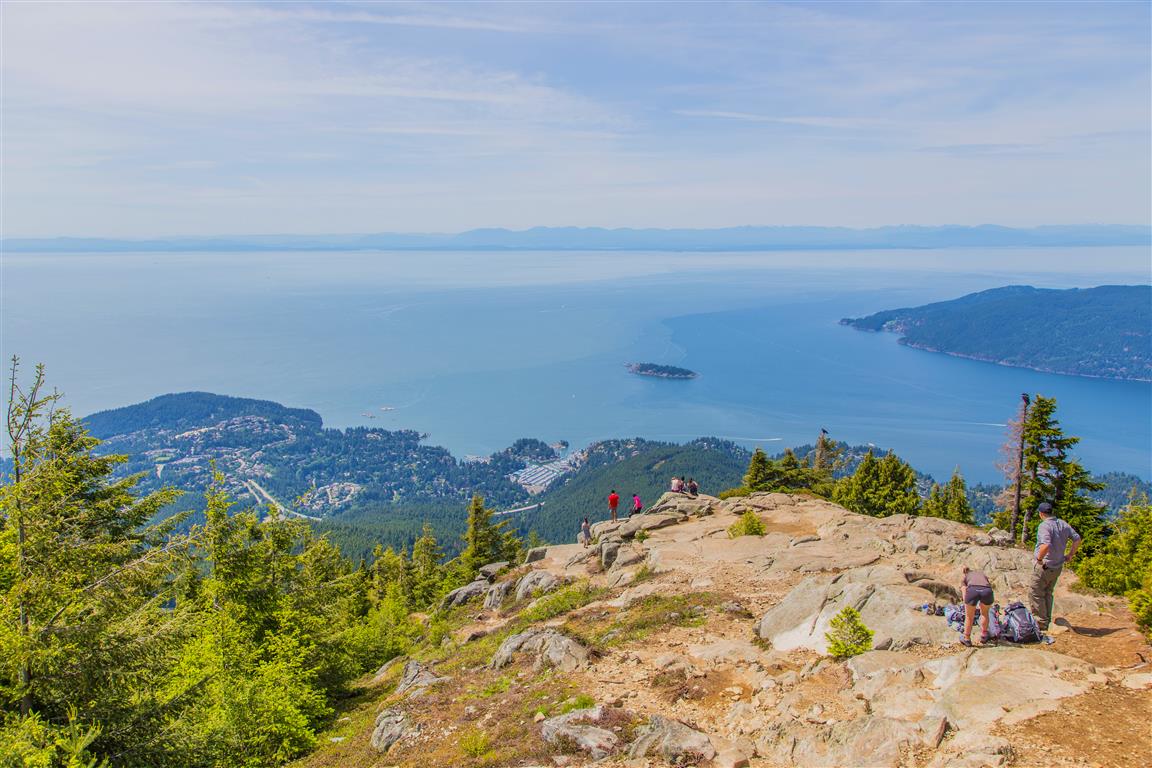
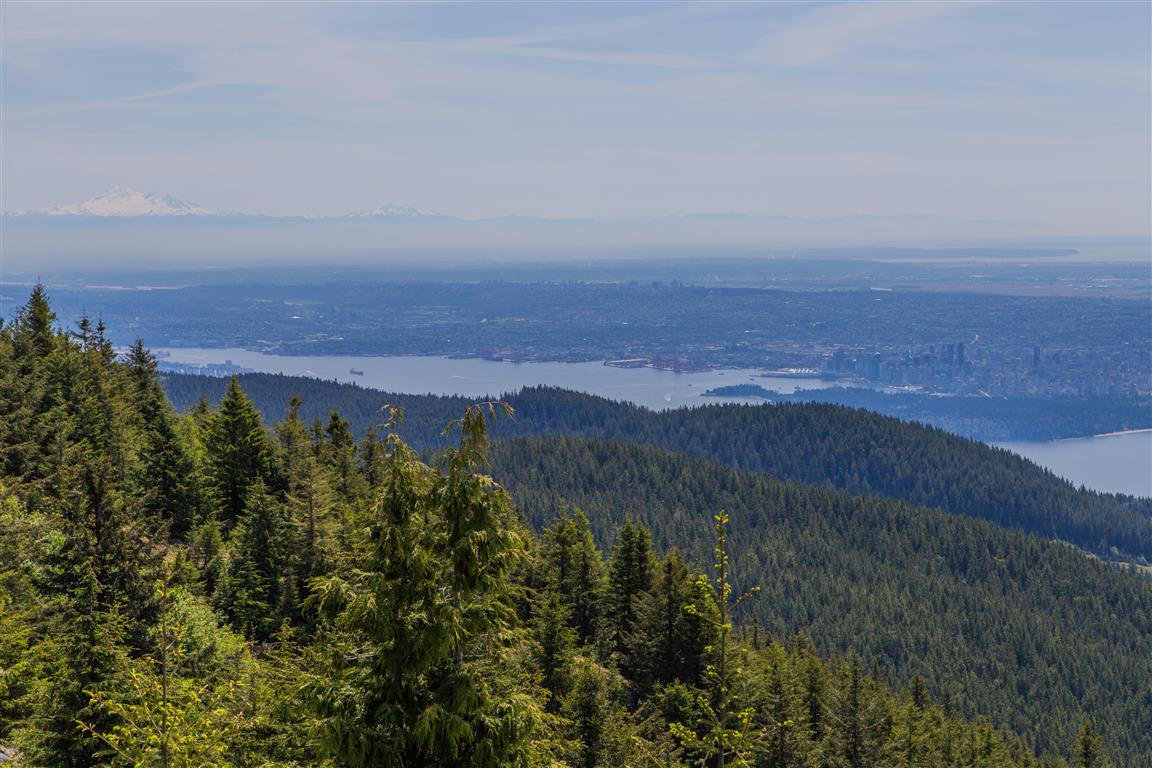
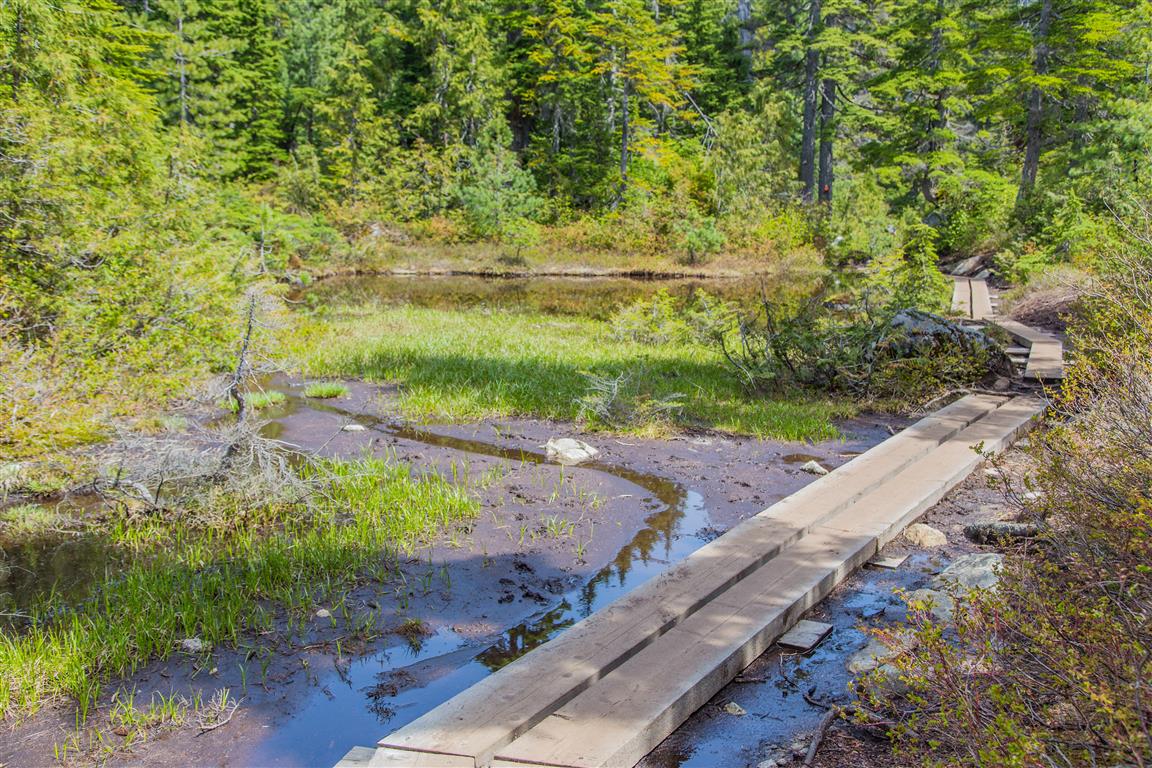
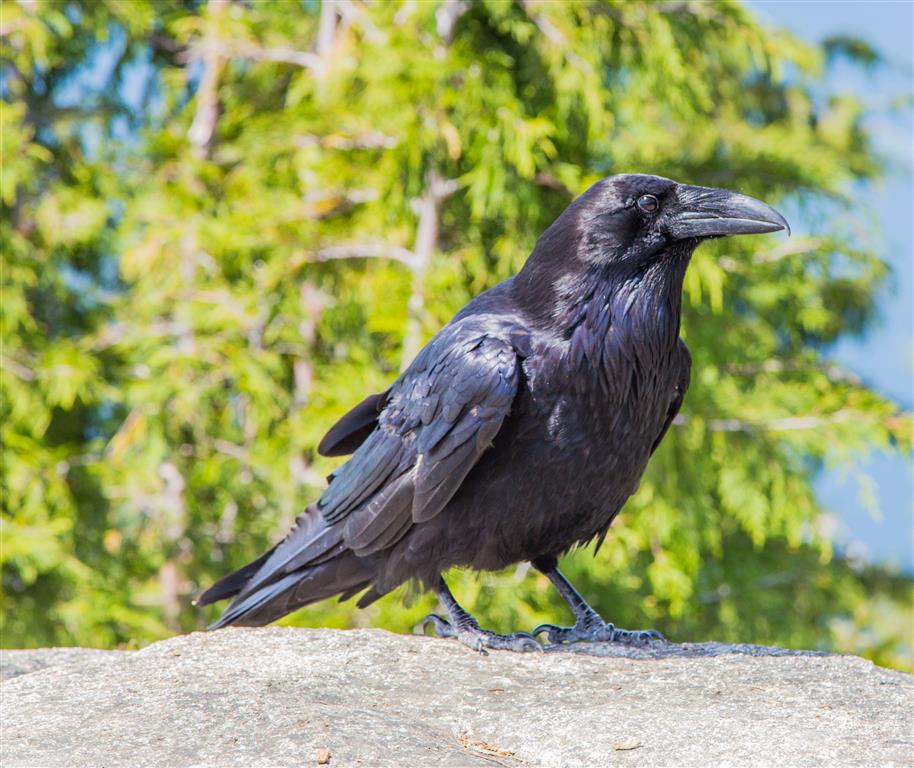
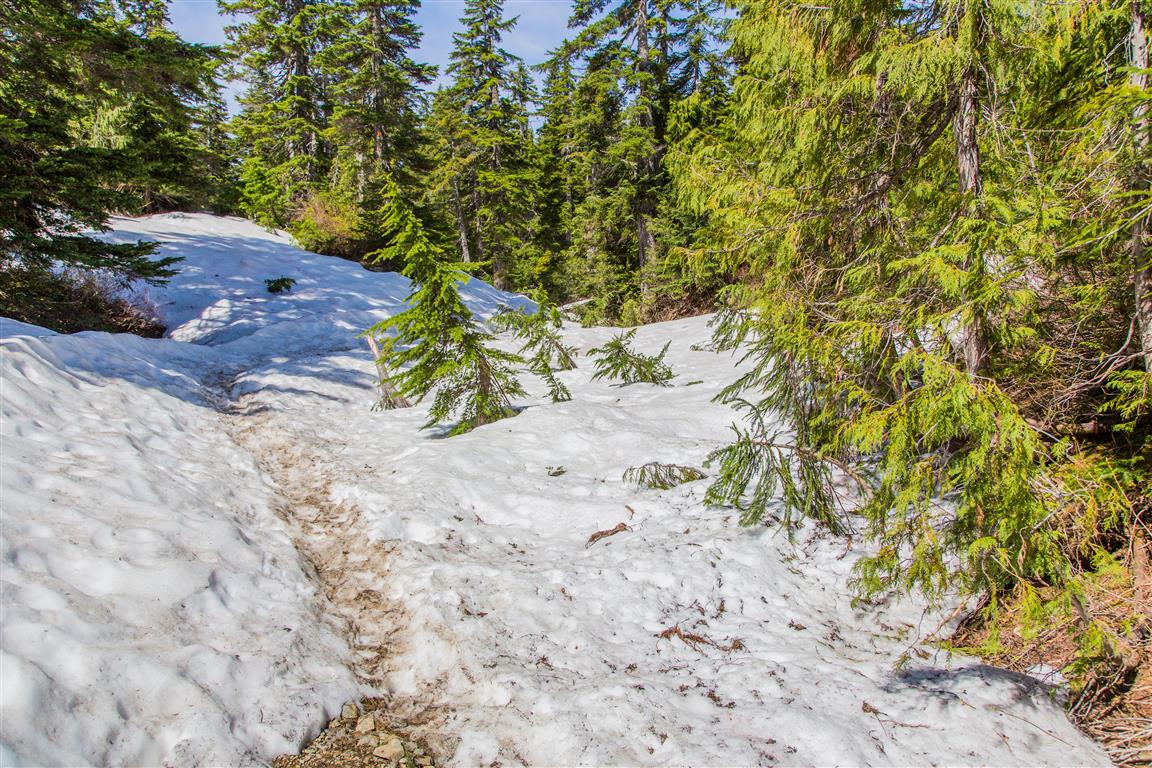
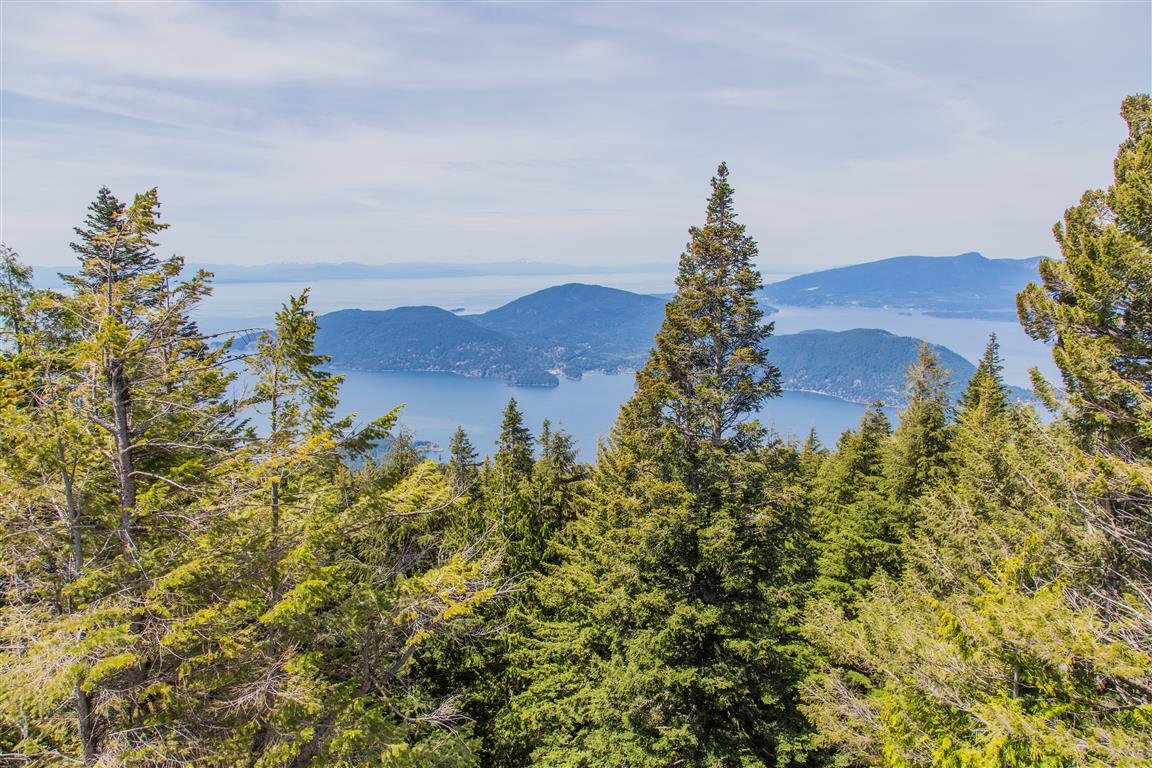
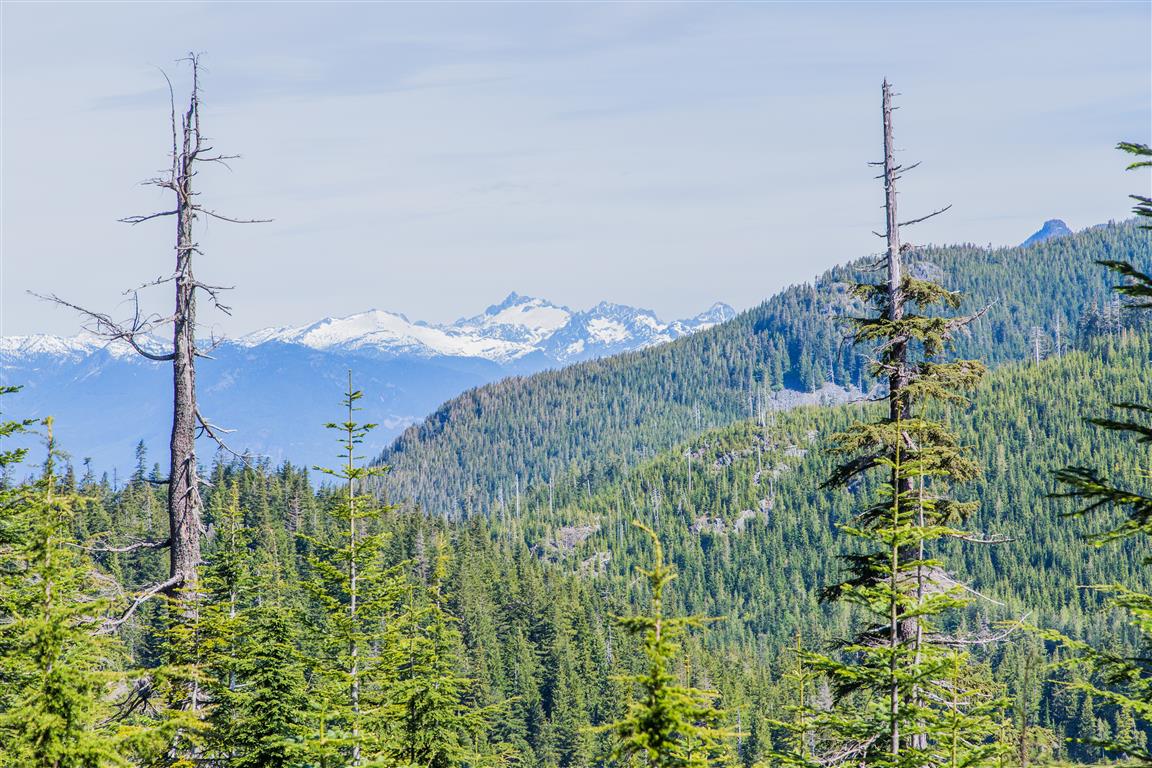
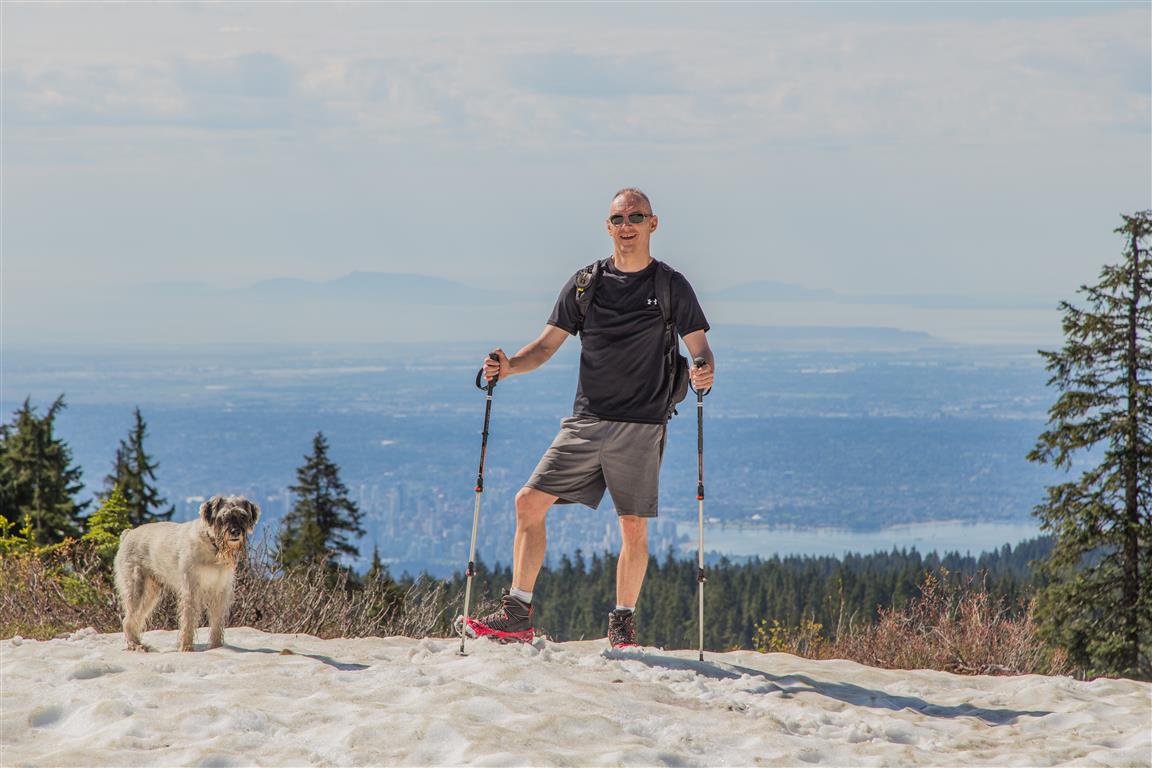
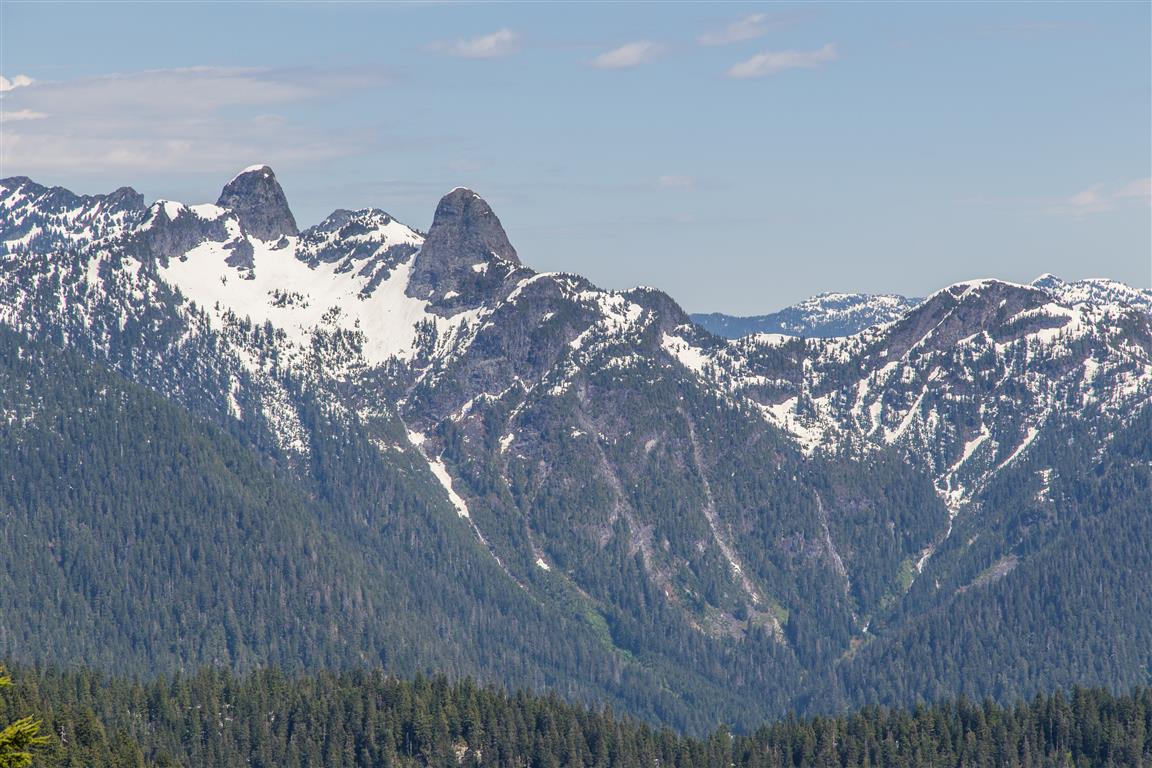
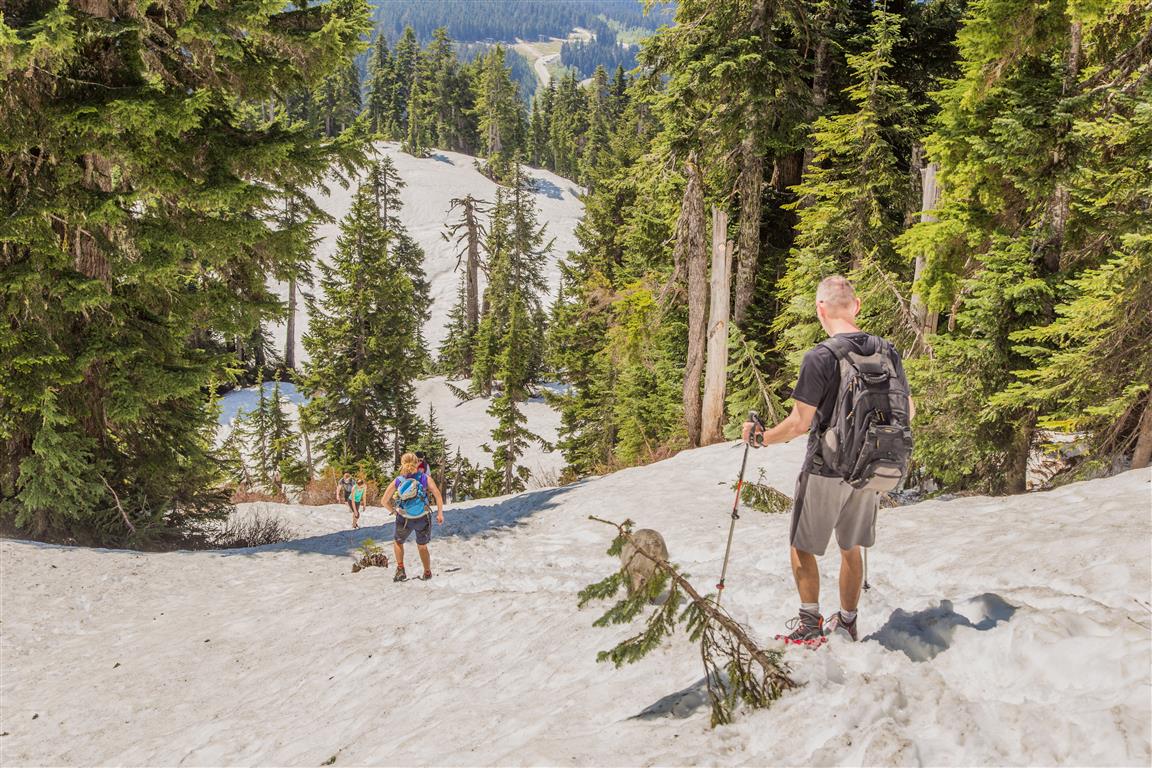
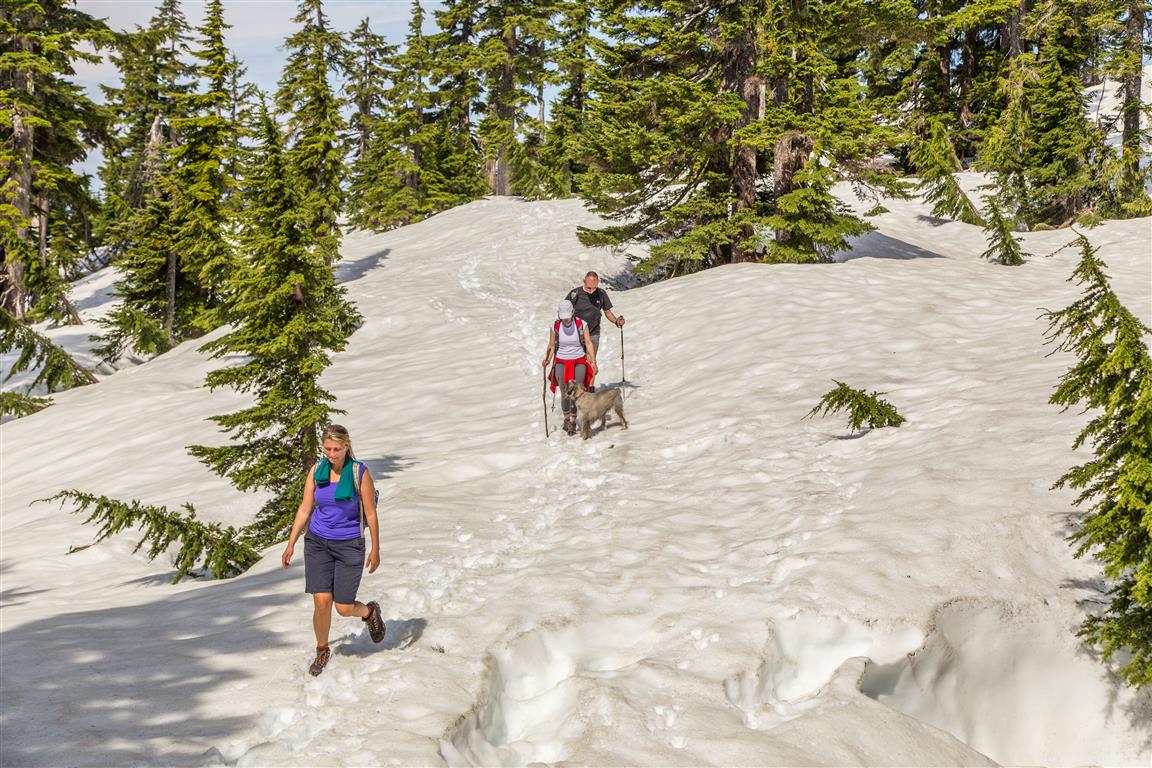
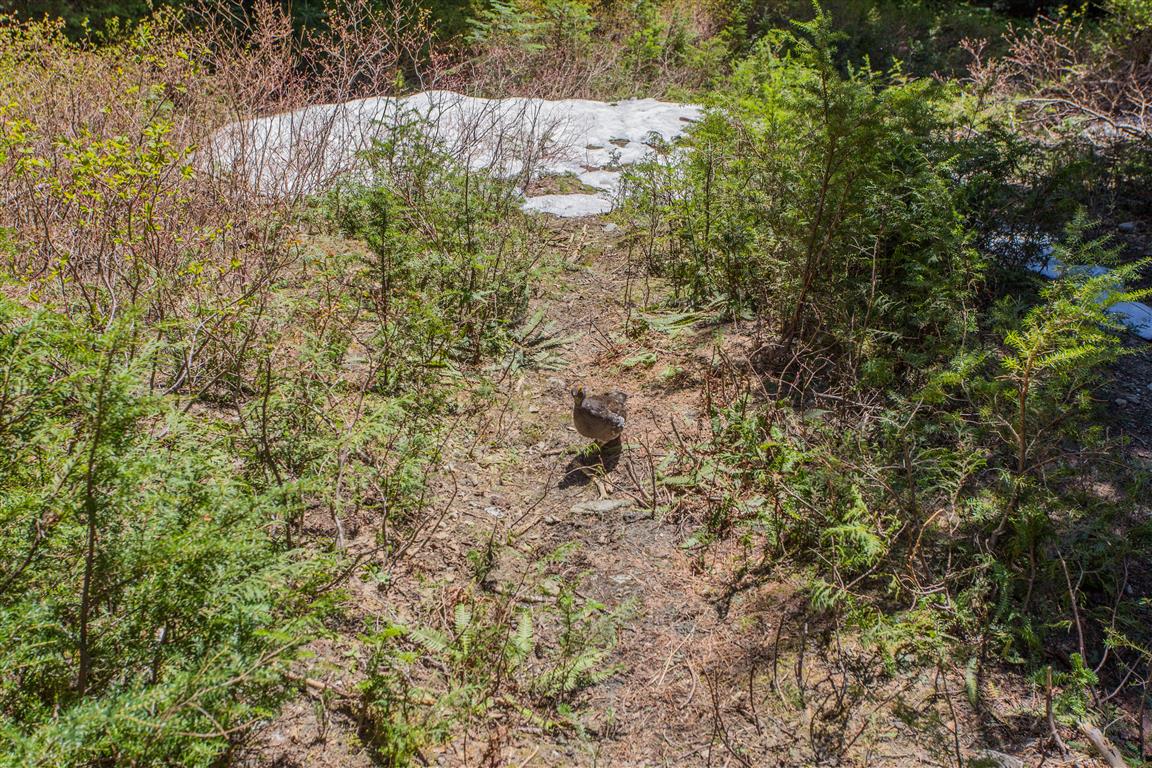
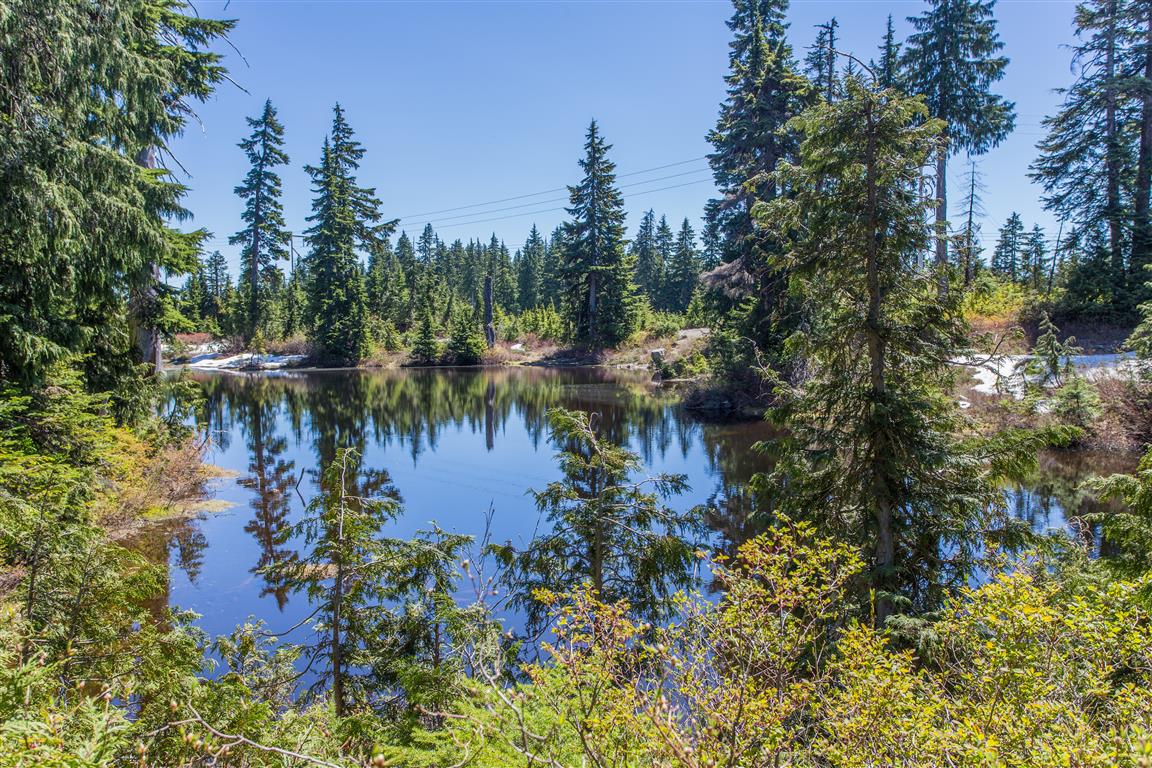
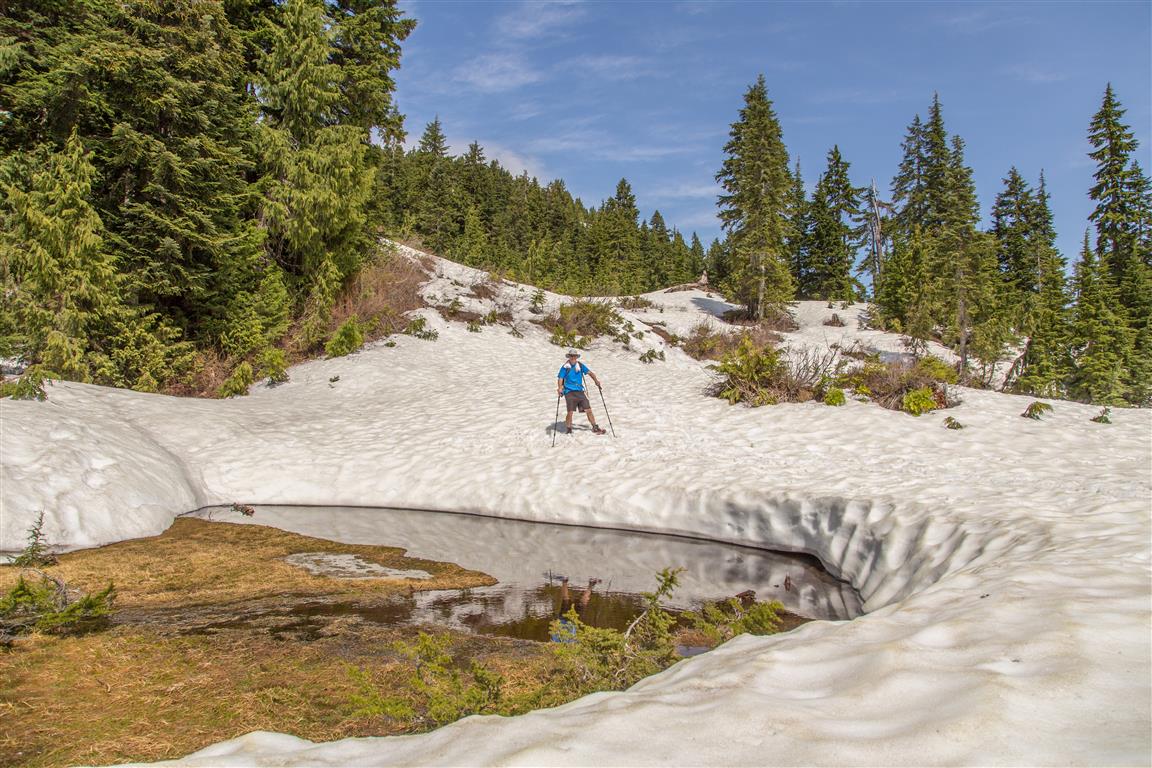
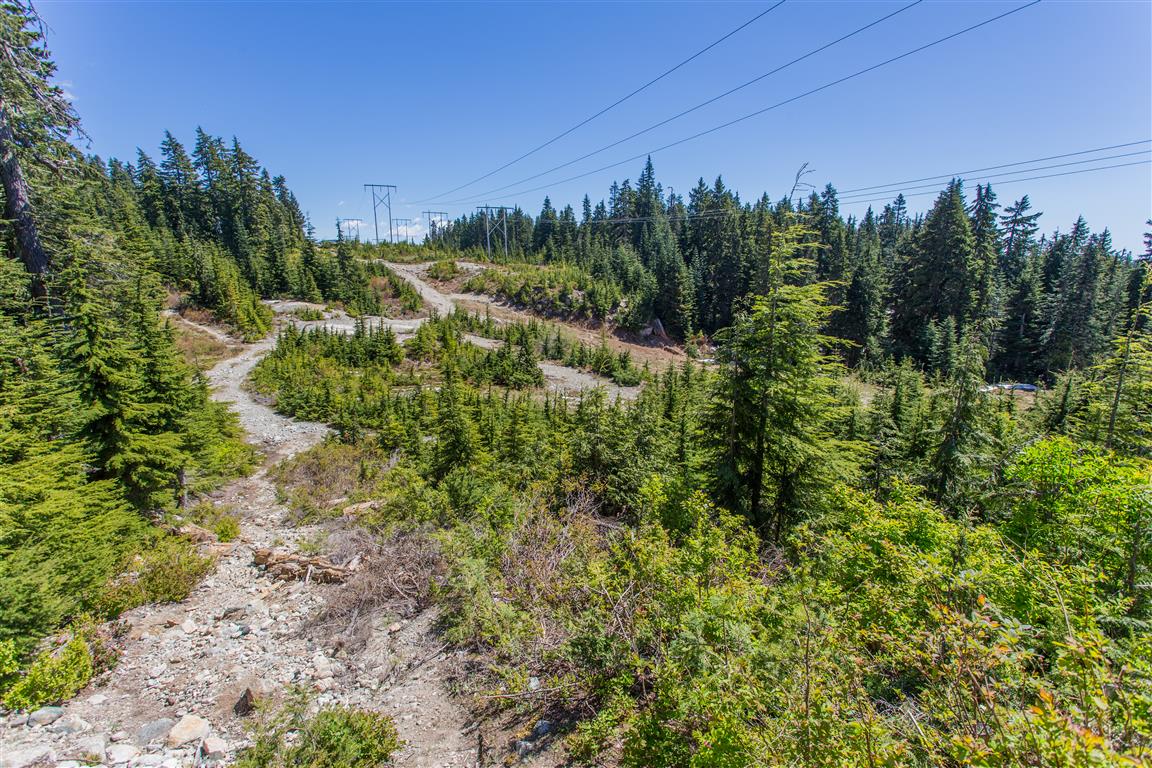
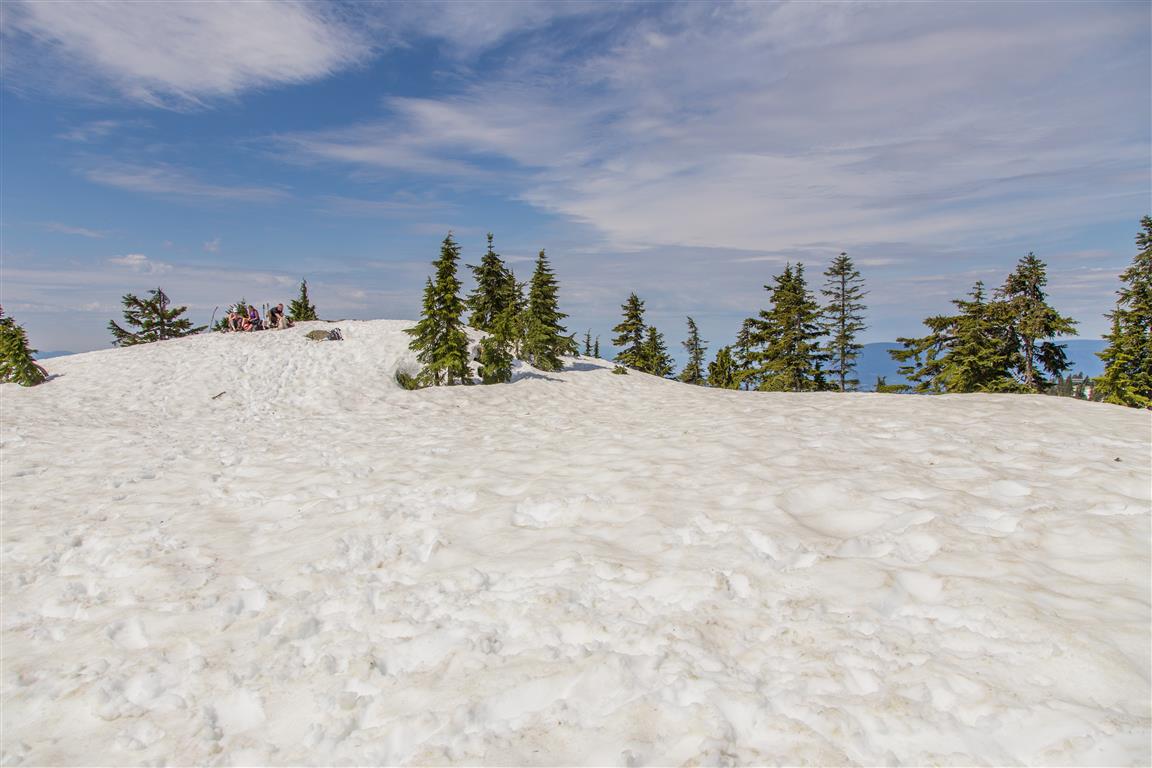
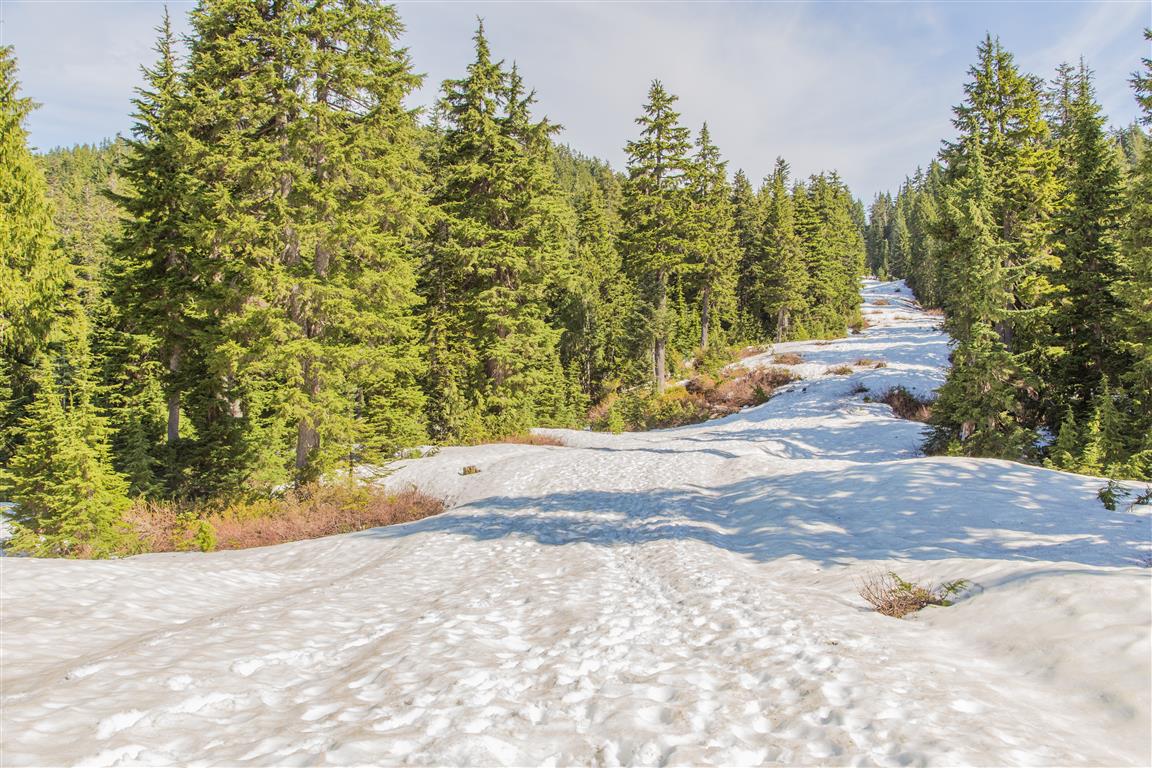
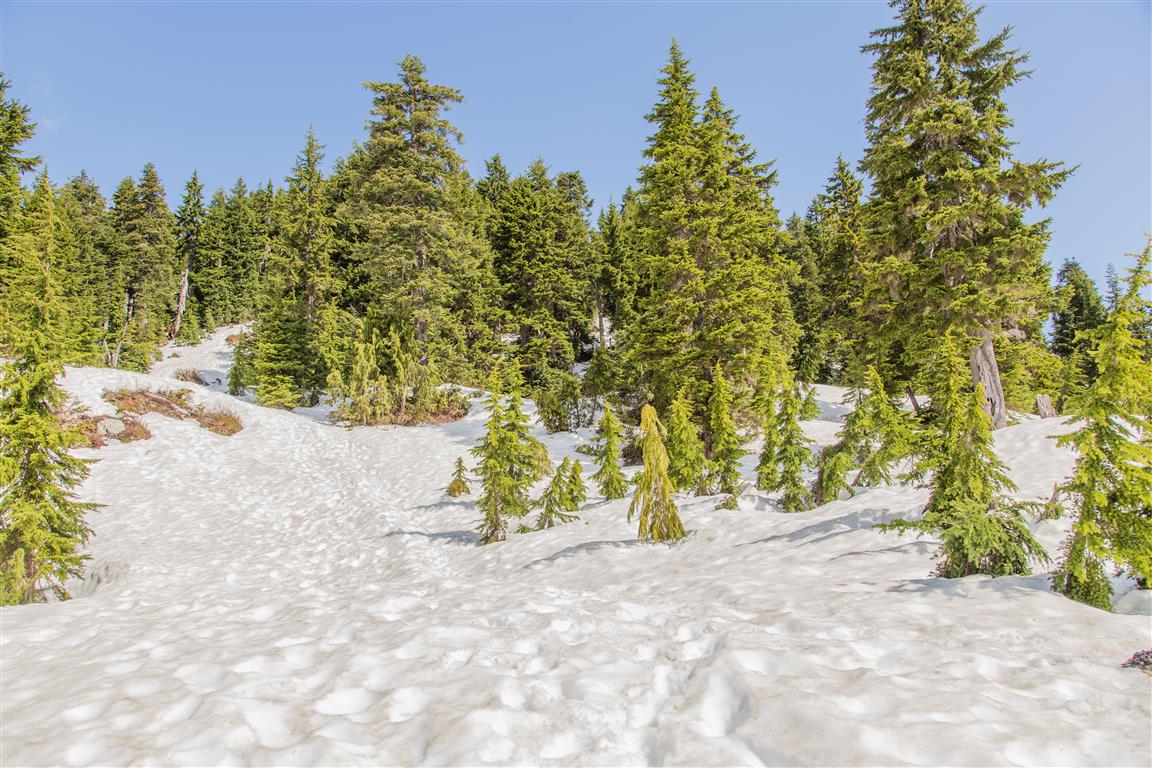
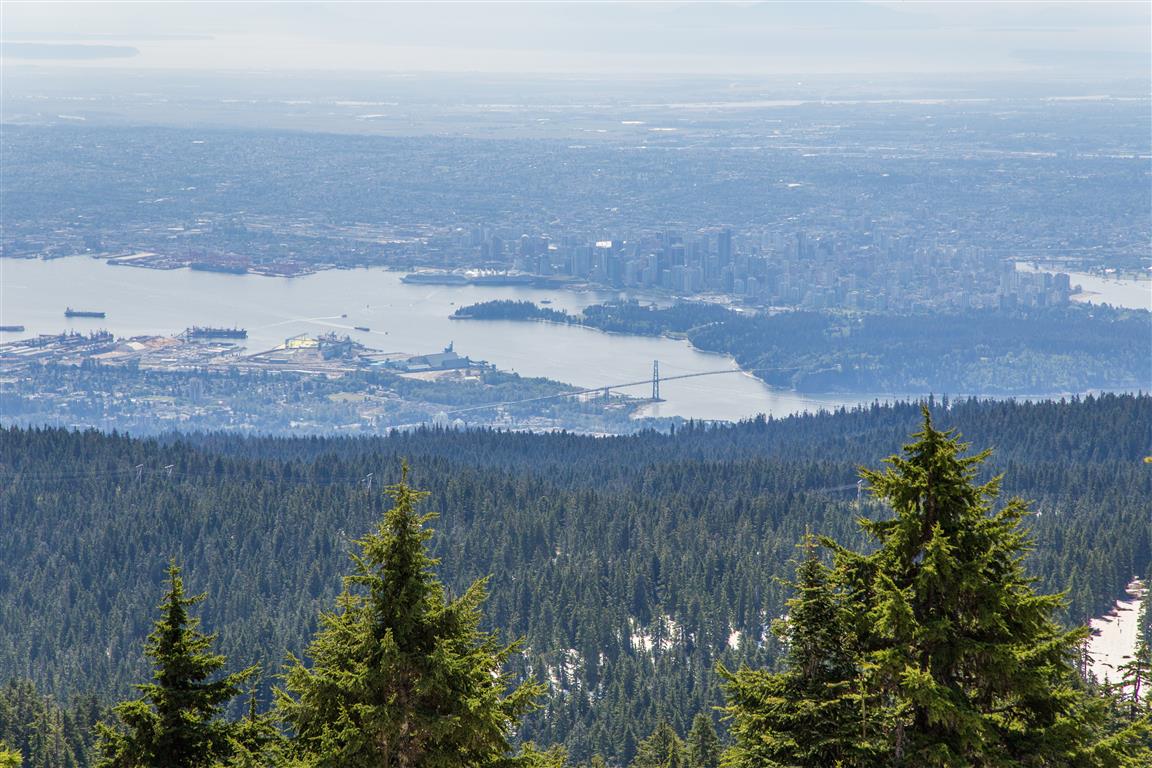
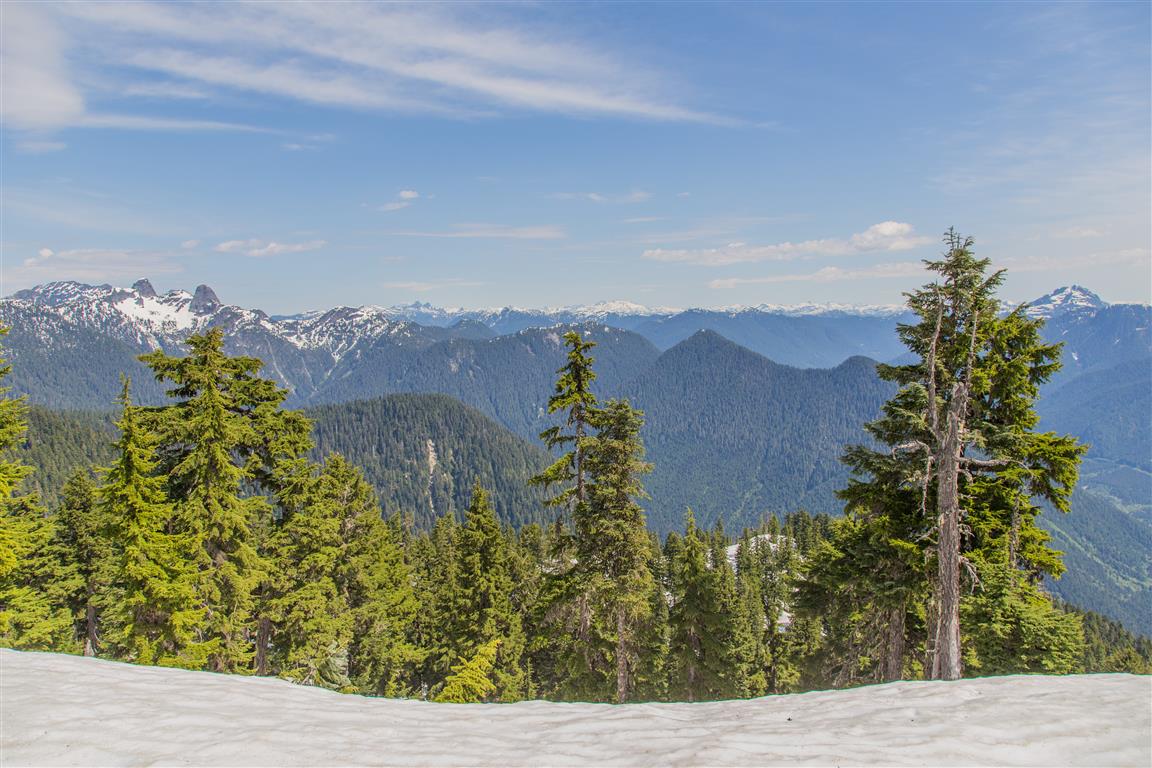
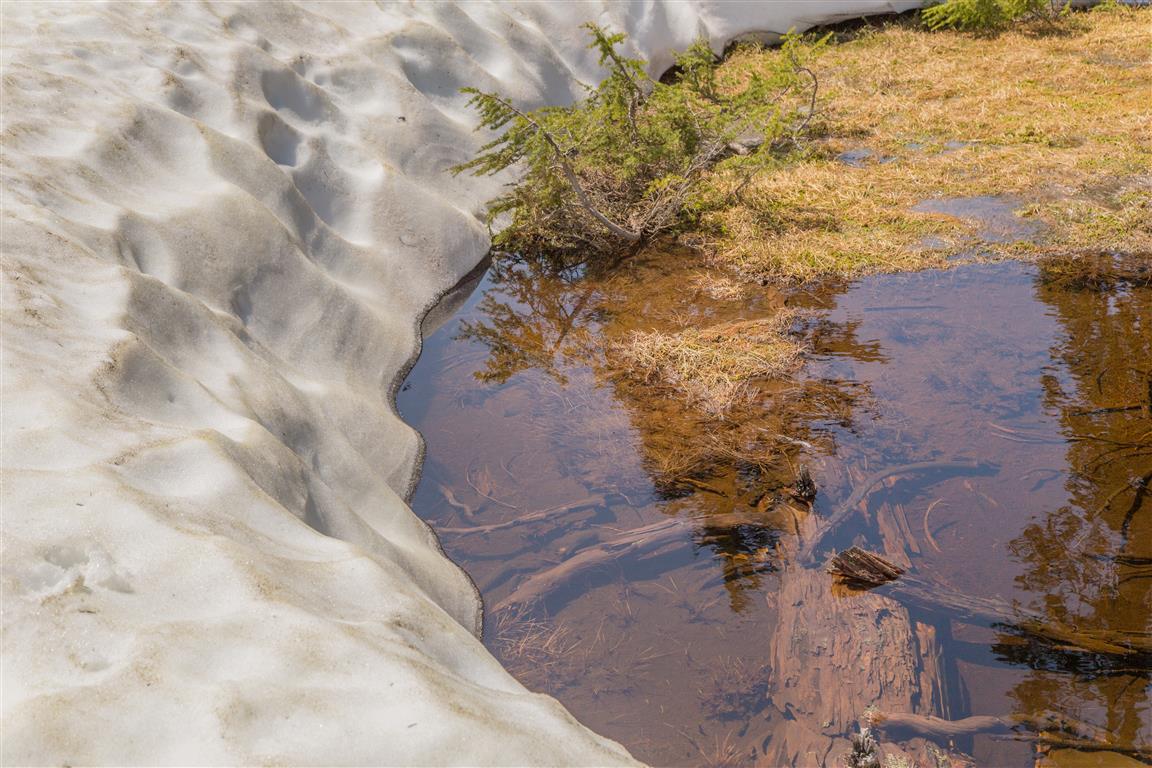
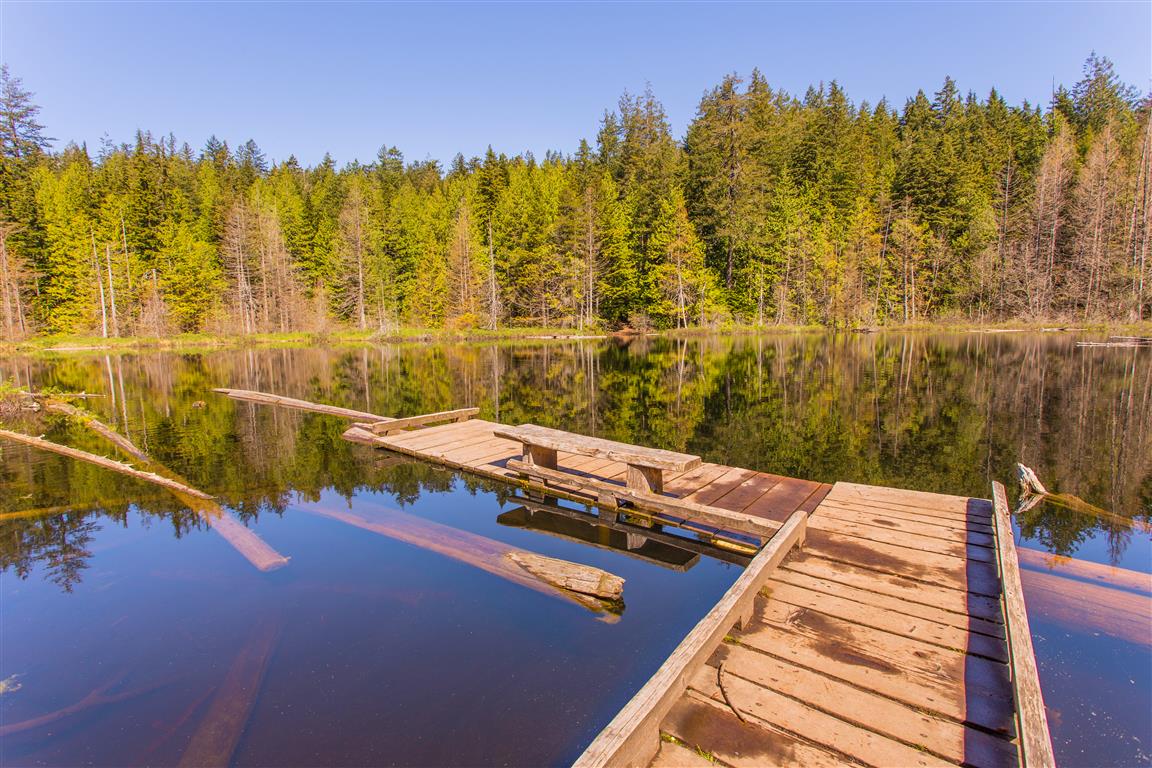
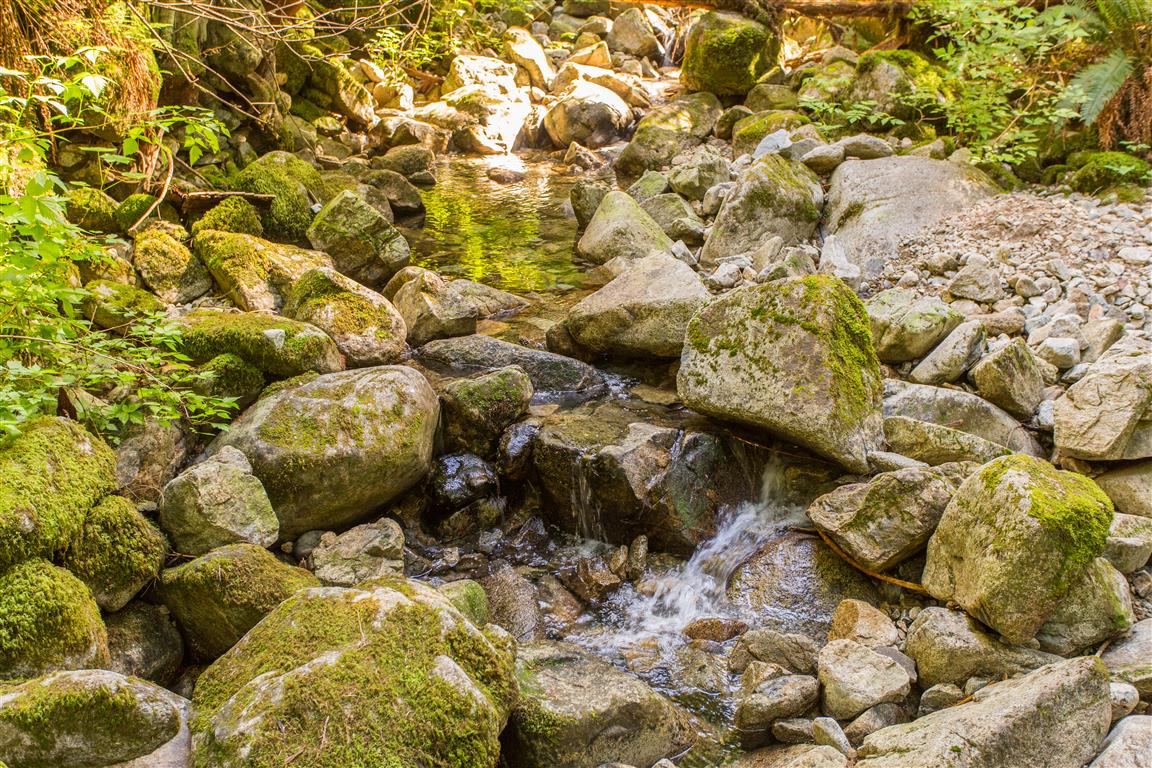
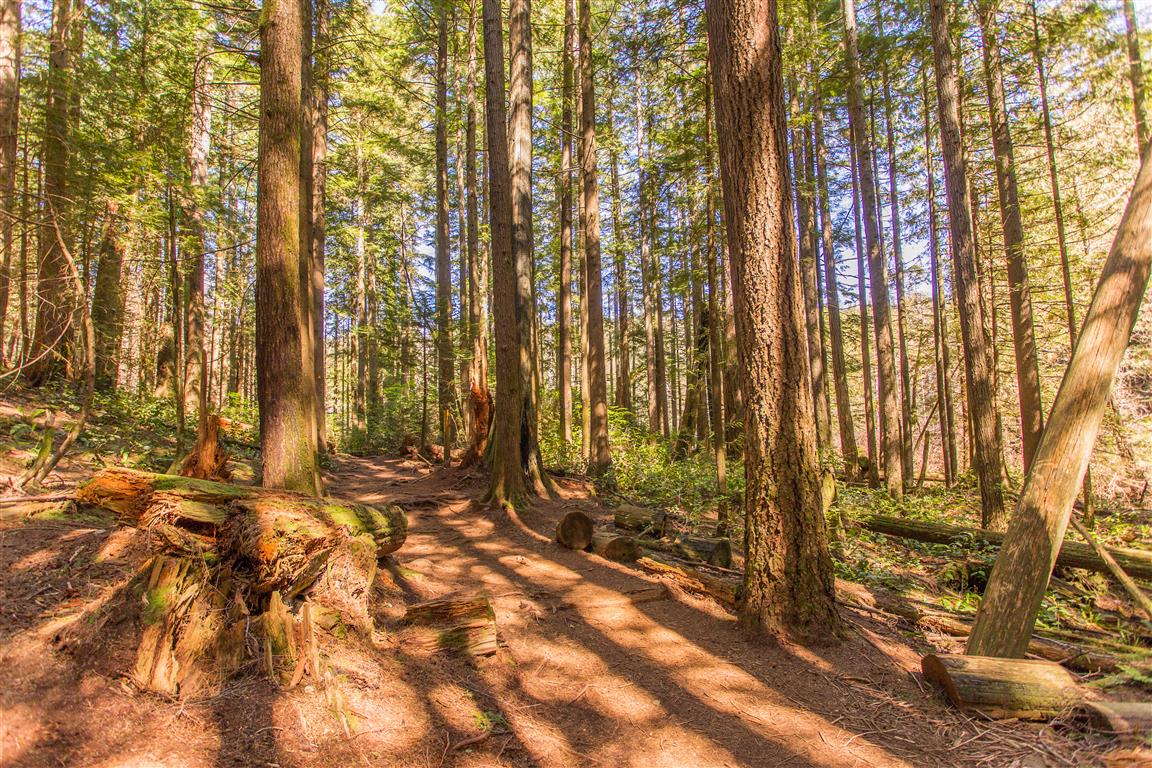
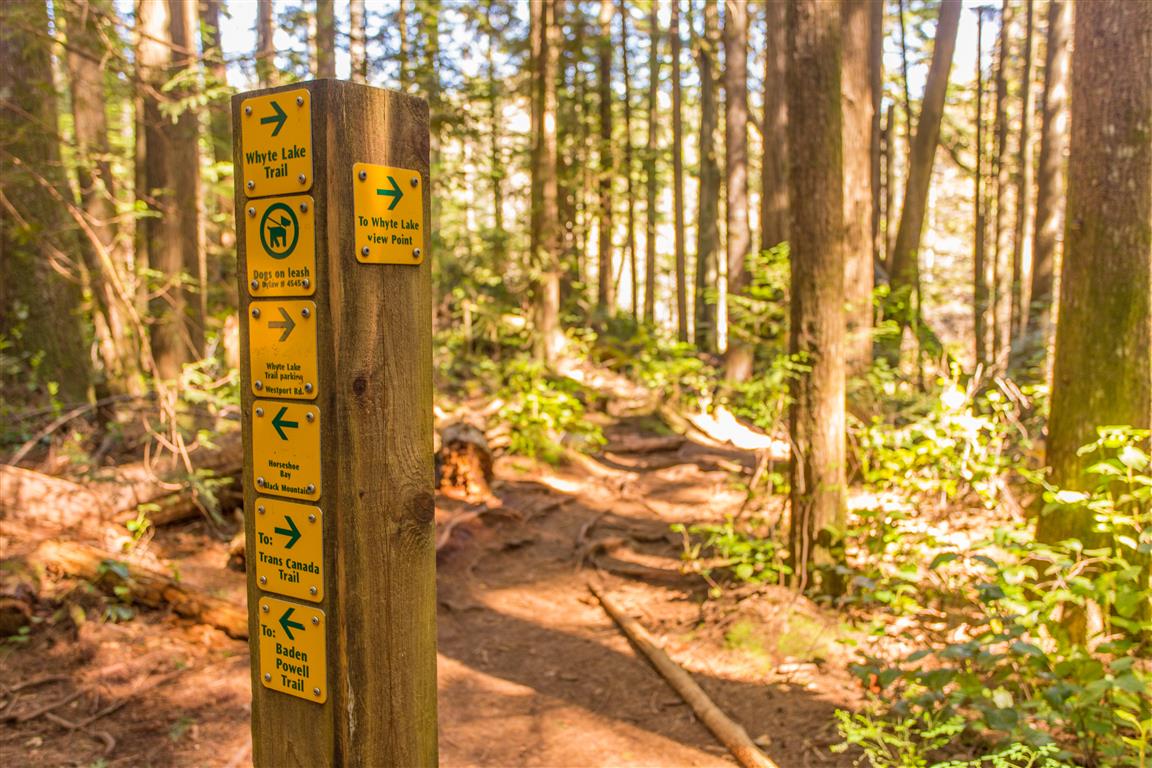
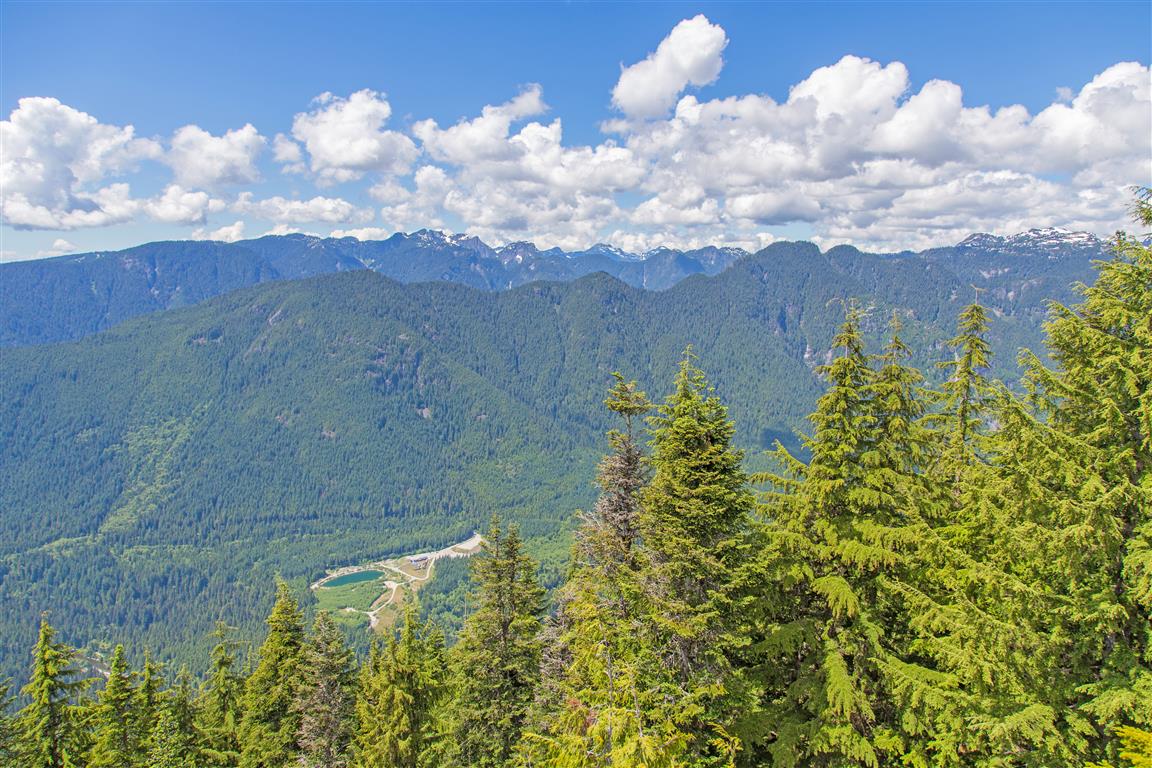
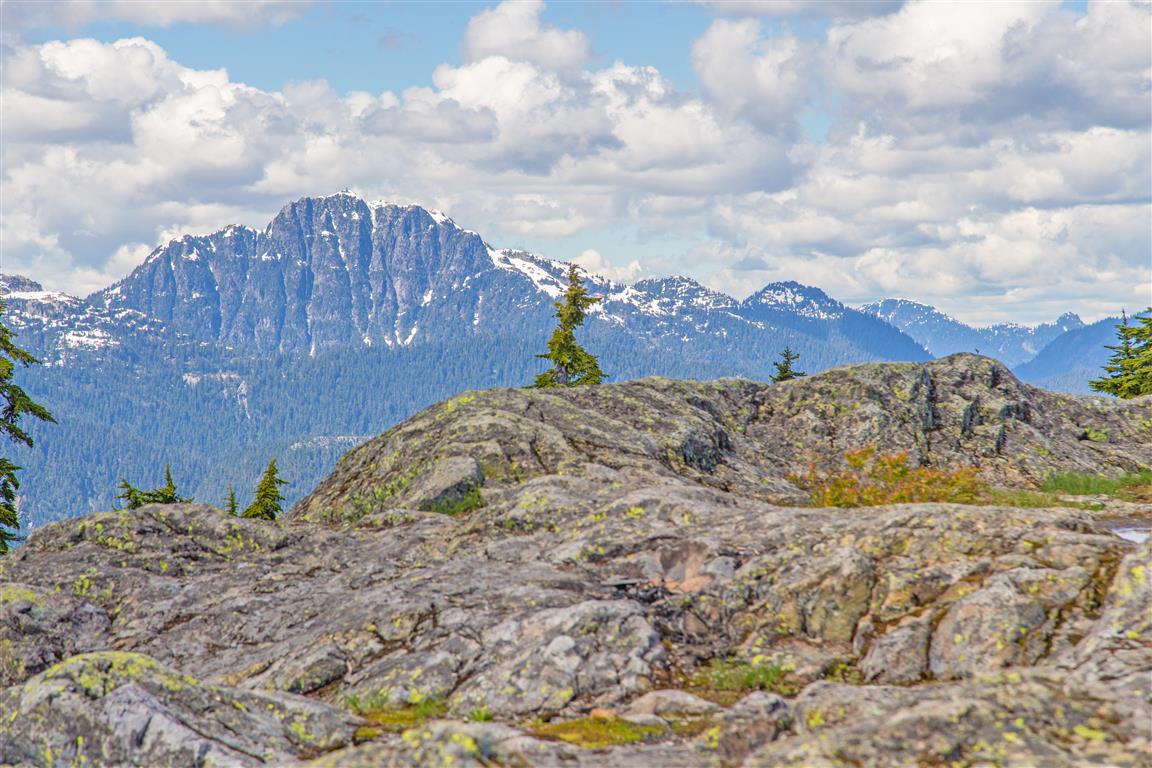
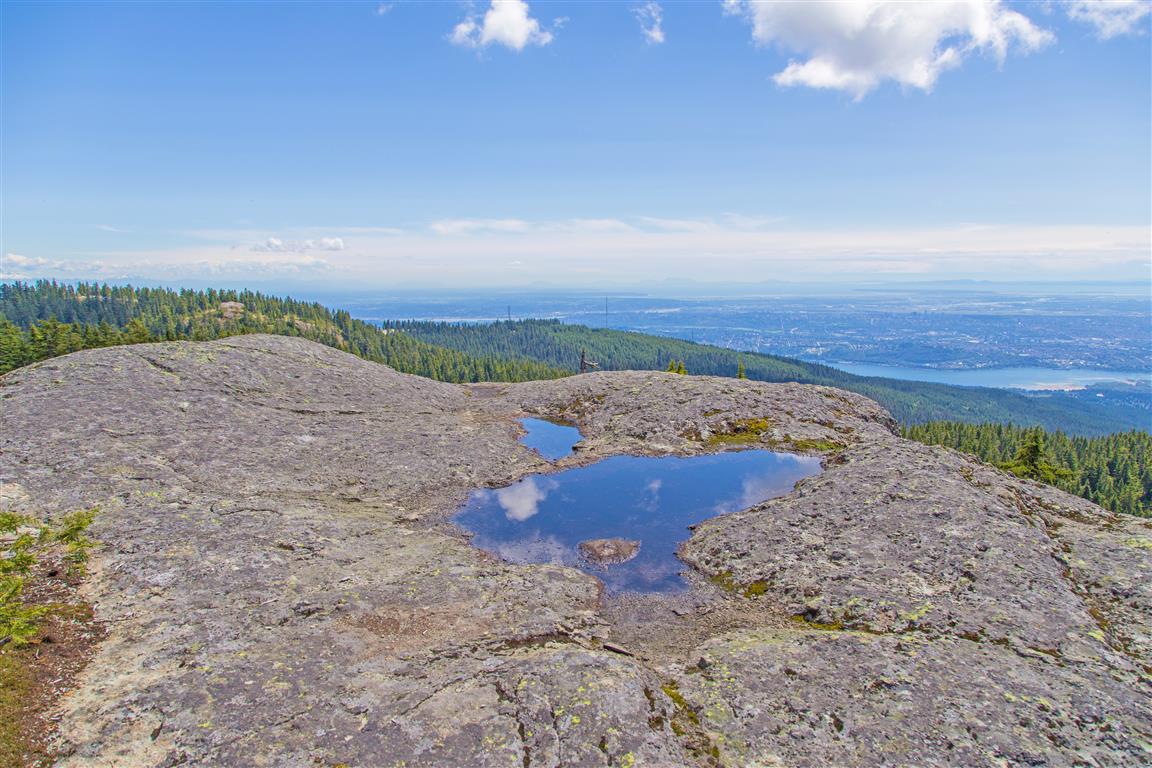
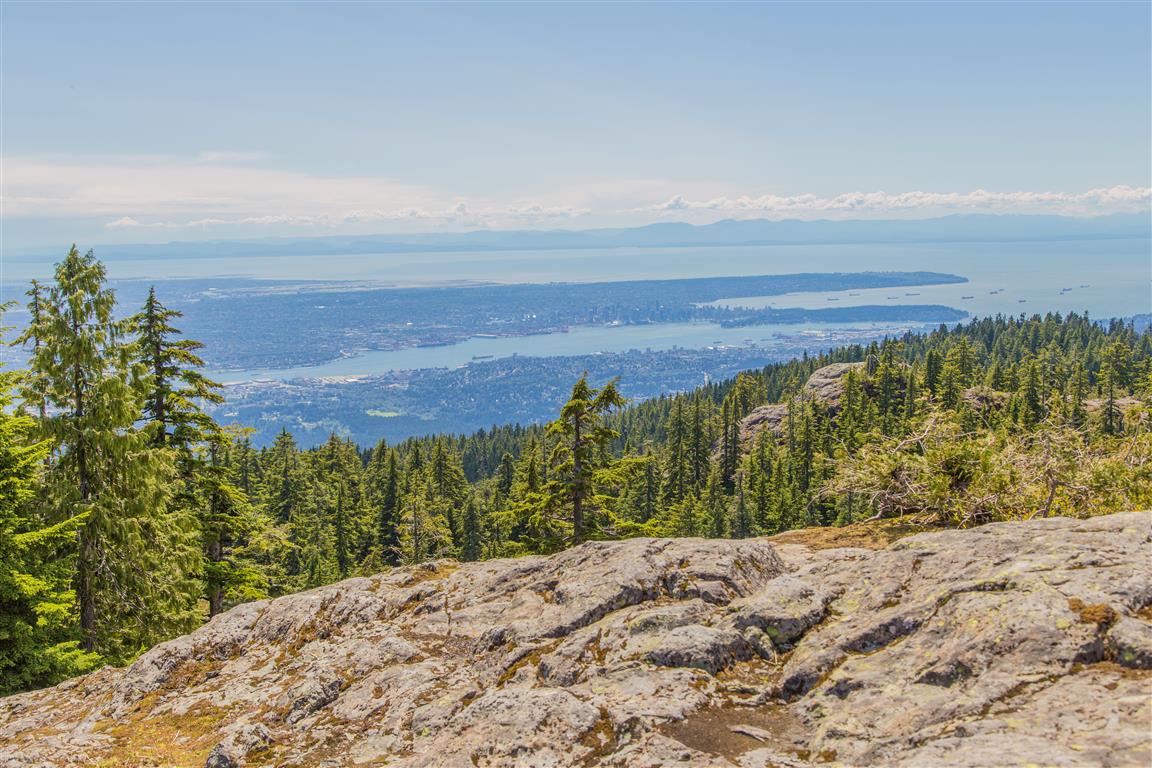
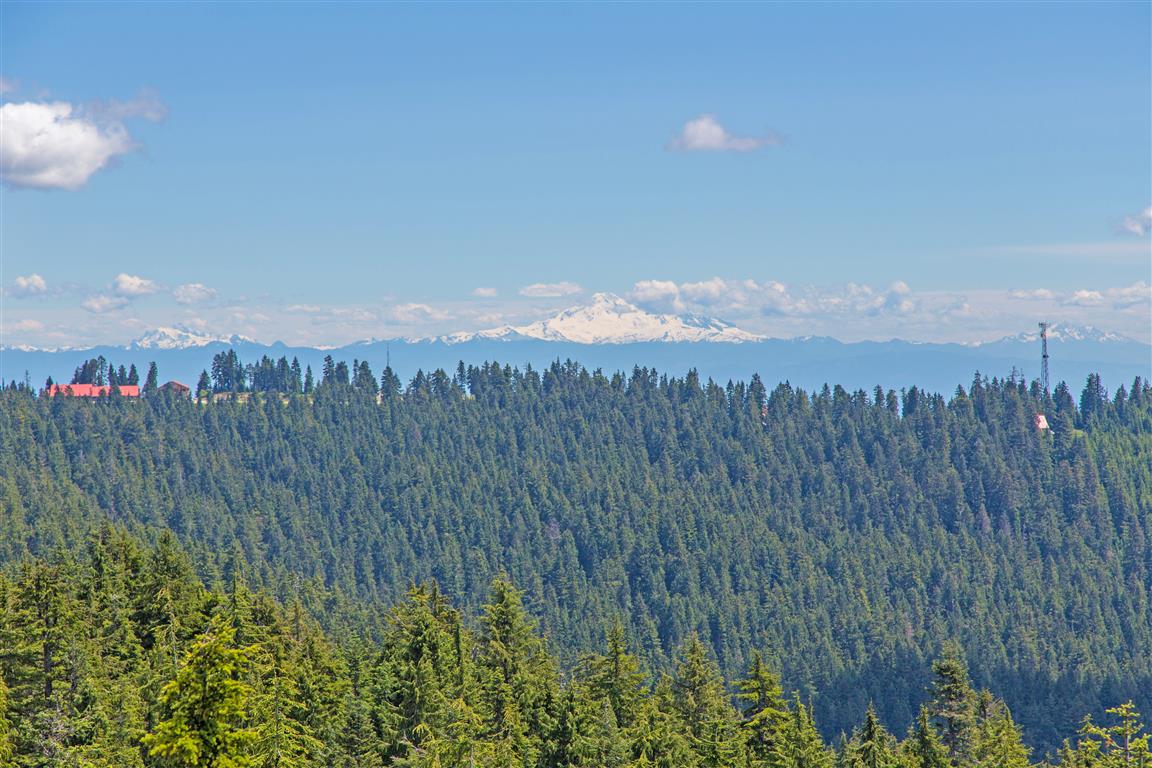
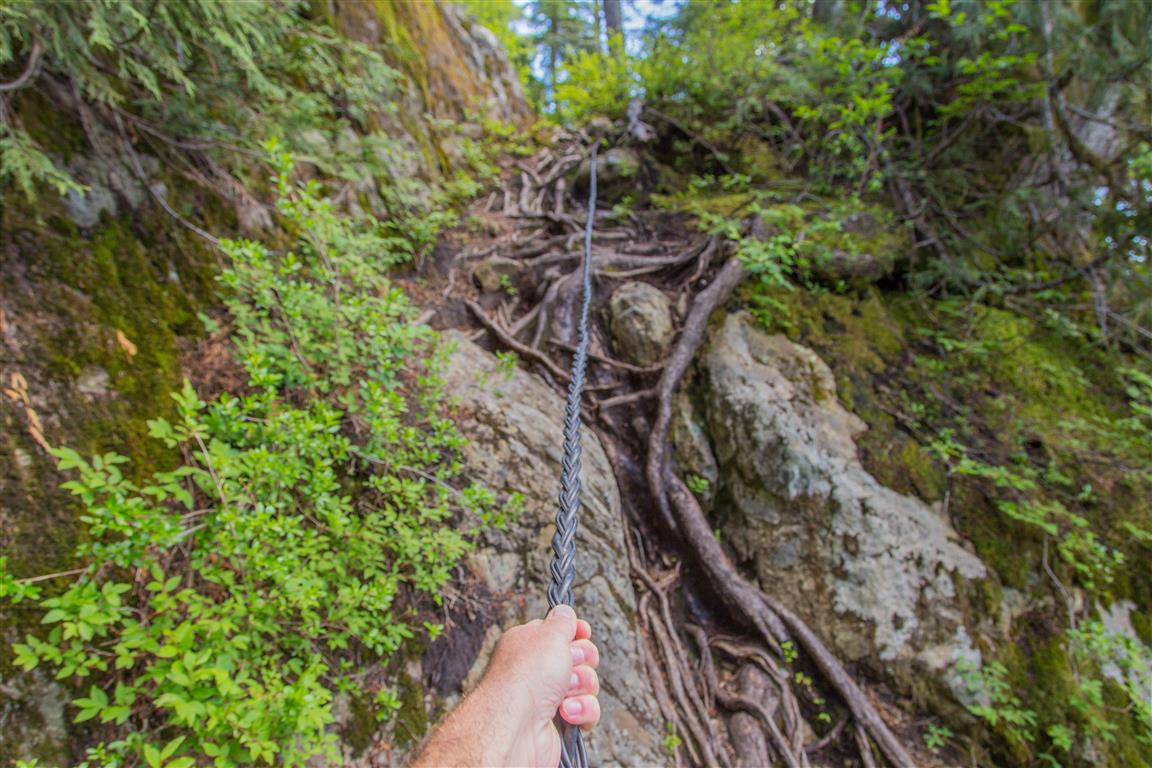
The Dog Mountain hike in Seymour Provincial Park is very popular due to its fairly easy trail, low elevation gain and amazing views. To make this hike more interesting, after the Dog Mountain viewpoint, I took the Suicide Bluff trail and made the hike a loop. Don’t be turned off the name ‘Suicide Bluff’ – It’s a great alternative to taking the same way back on the Dog Mountain trail and you are treated with more amazing views. On my hike today, I did not encounter a single soul on the Suicide Bluffs Trail – I’m sure very few people know about it and the trailheads are not obvious. But when you are on the trail, I found that it was well marked and easy to follow. Note that this trail may be difficult to navigate in the snow. There was only very minor snow on the trail today (18 June 2016).  There are two ropes on the trail for assistance up a couple of small steep sections – I found that the ropes were not essential, but they were helpful. If you find the dog trail exhausting, then do not do the Suicide Bluff trail.

Here are the stats for the Dog Mountain/Suicide Bluff Loop:

Distance: 6.6 km (return)
Time: 2.5 hours (fast pace, short breaks)
Low point: 1000 m
High point: 1160 m
Elevation gain: 160 m
Cumulative Elevation gain: 515 m
Trailhead: 49° 22’ 6.5” by  122° 56’ 57.6” (Google Map)

The route…

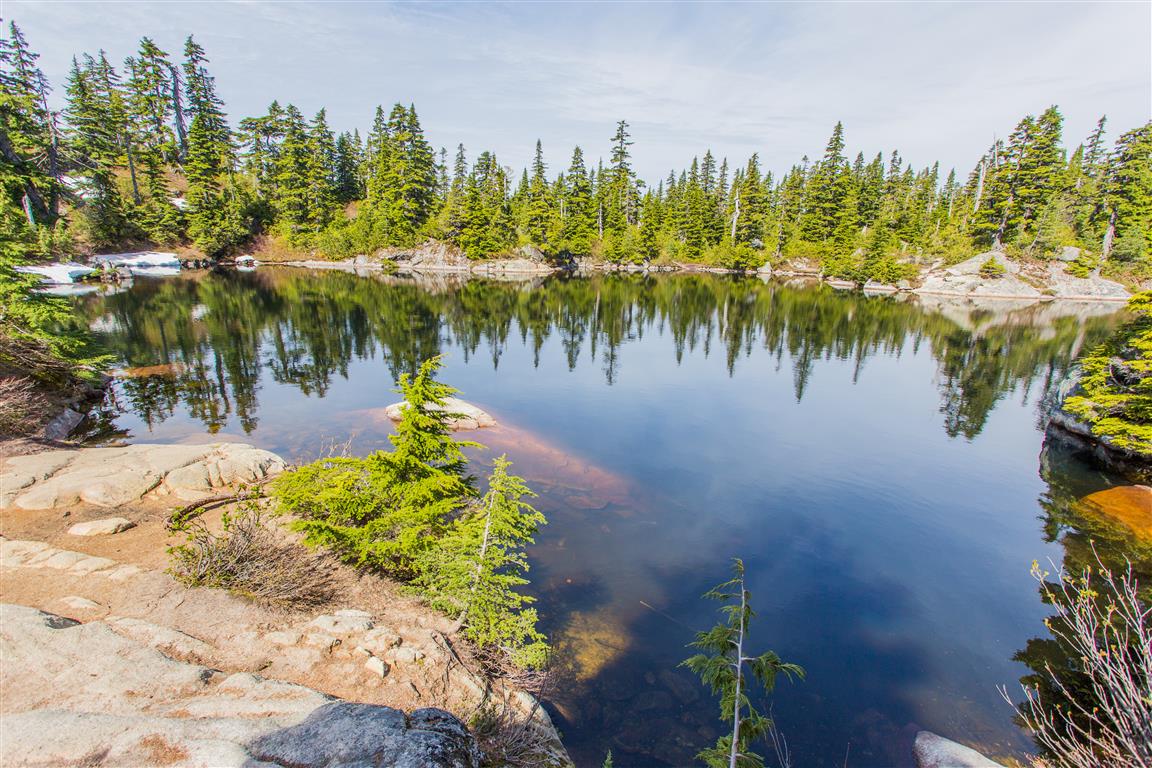
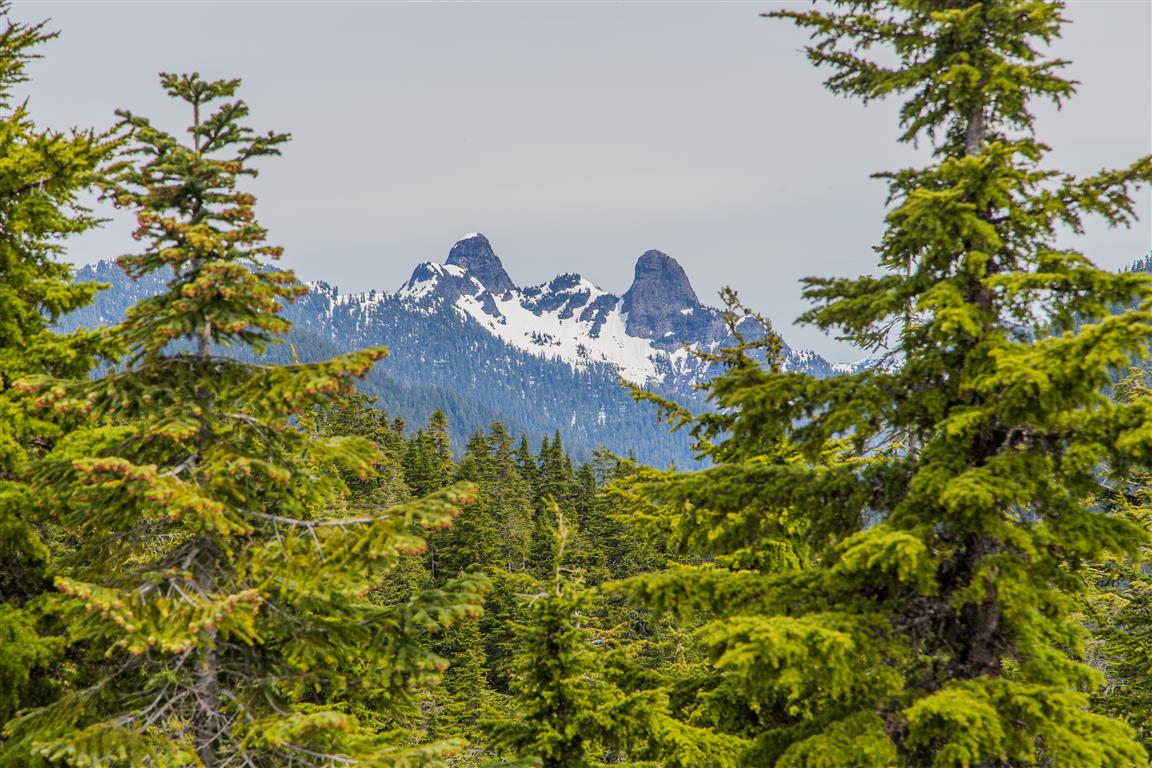
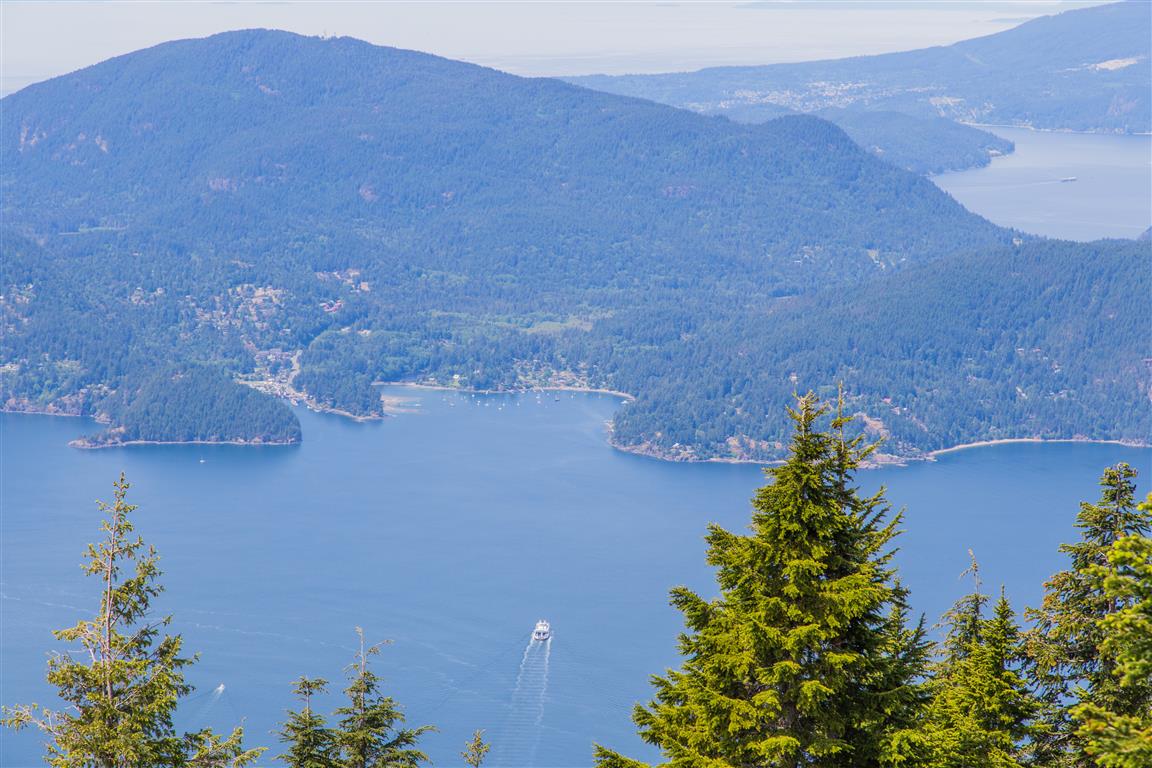
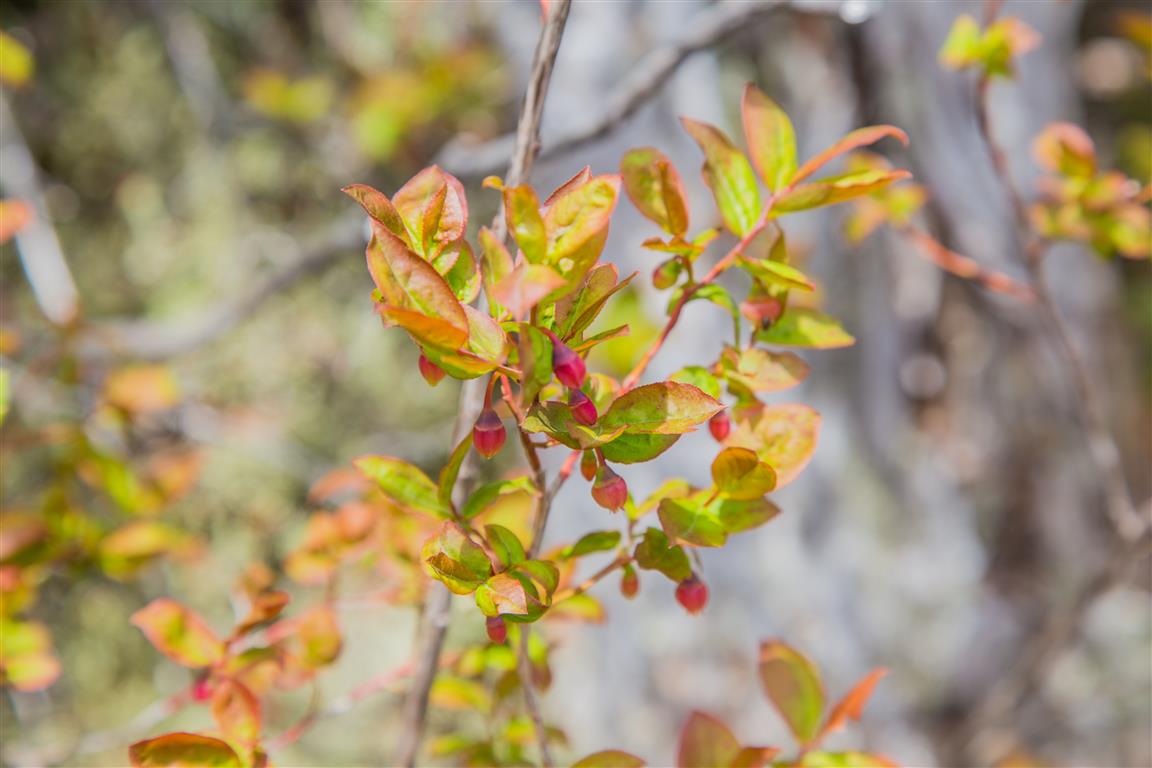
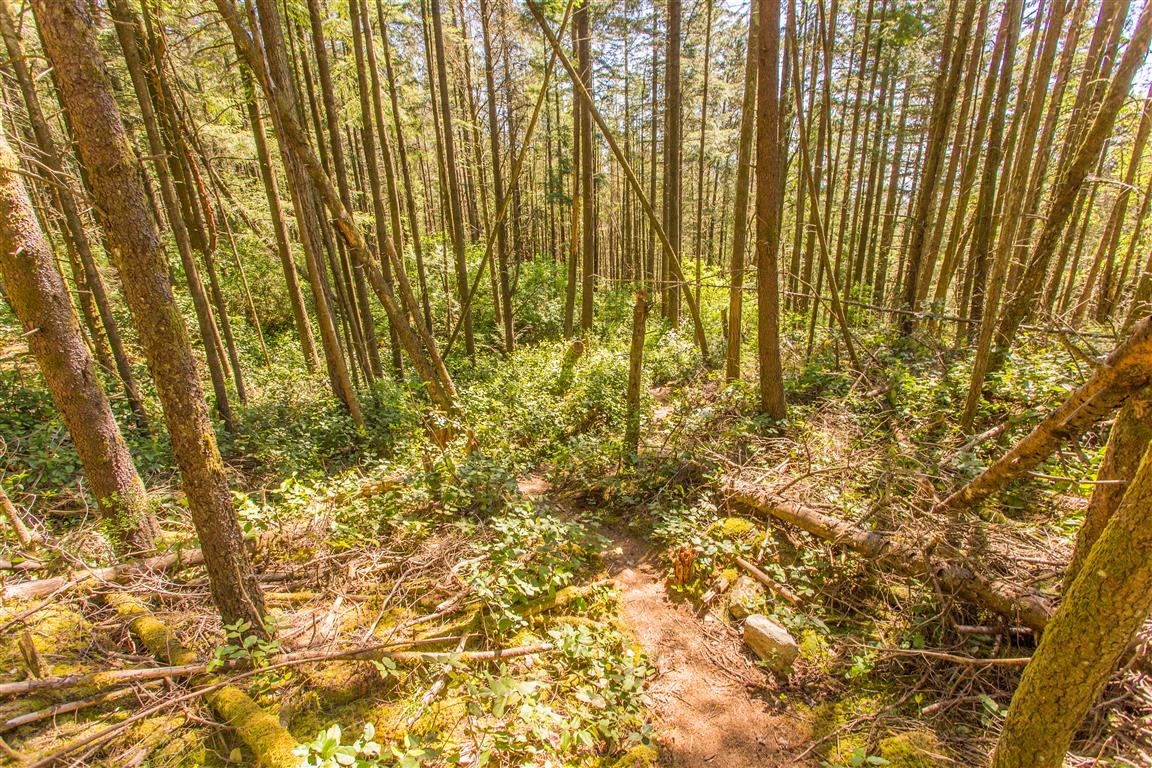
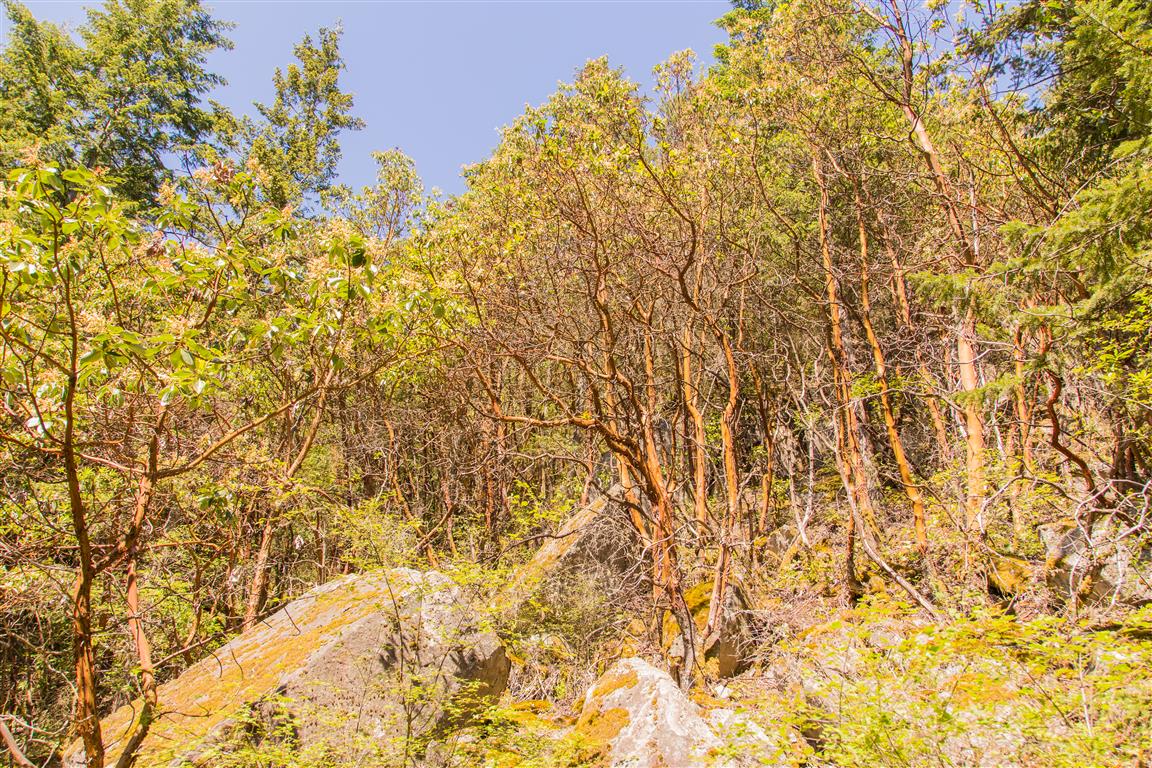
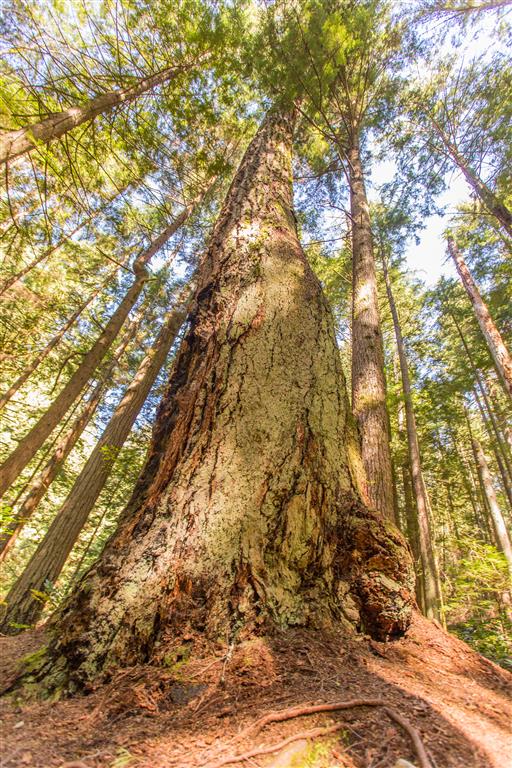
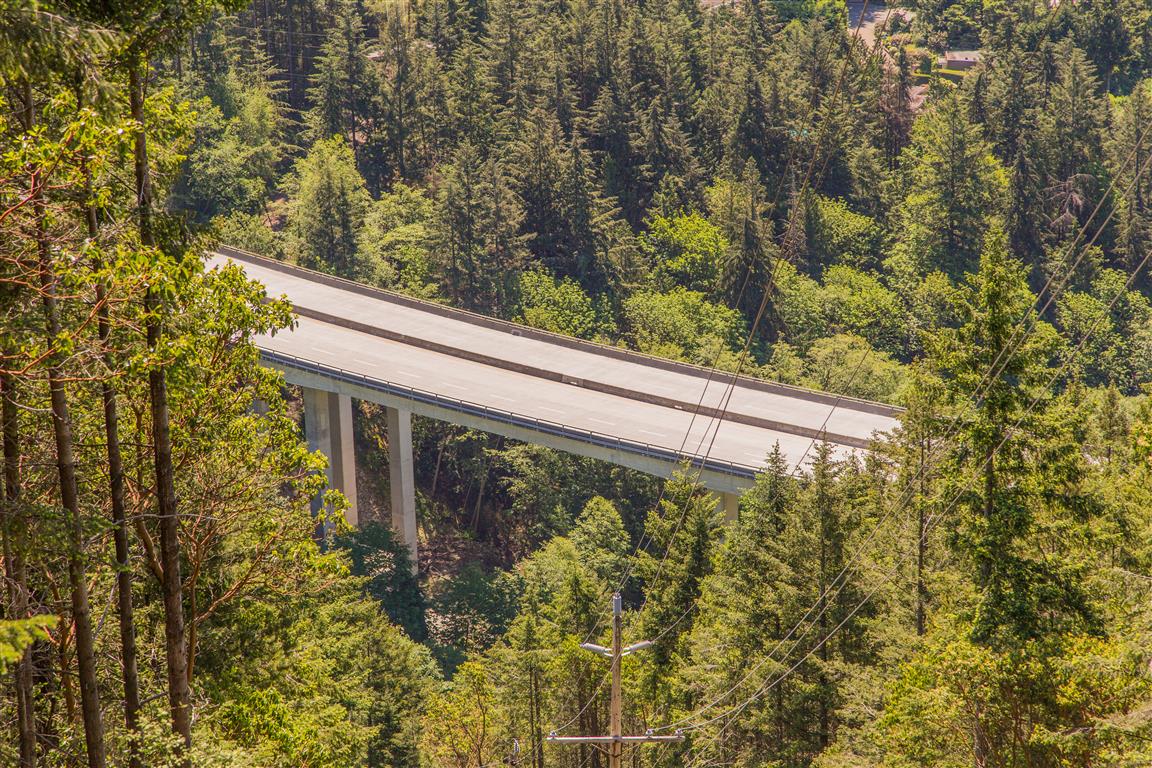
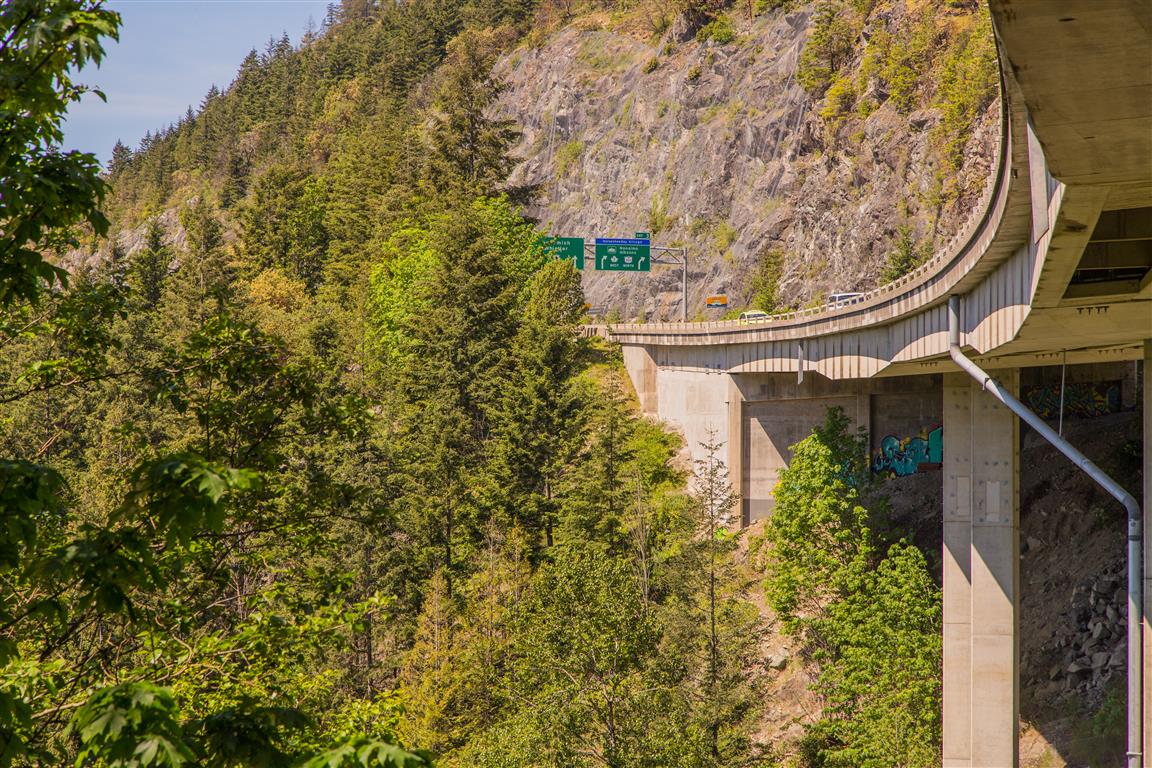
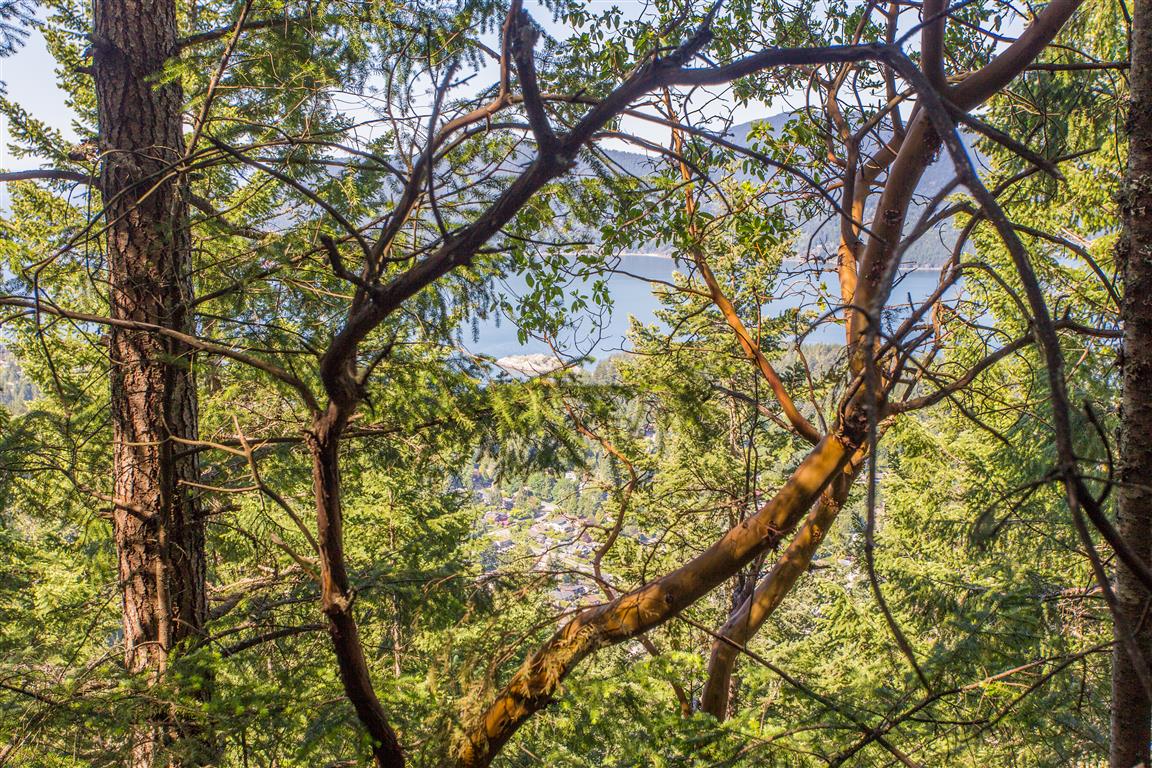
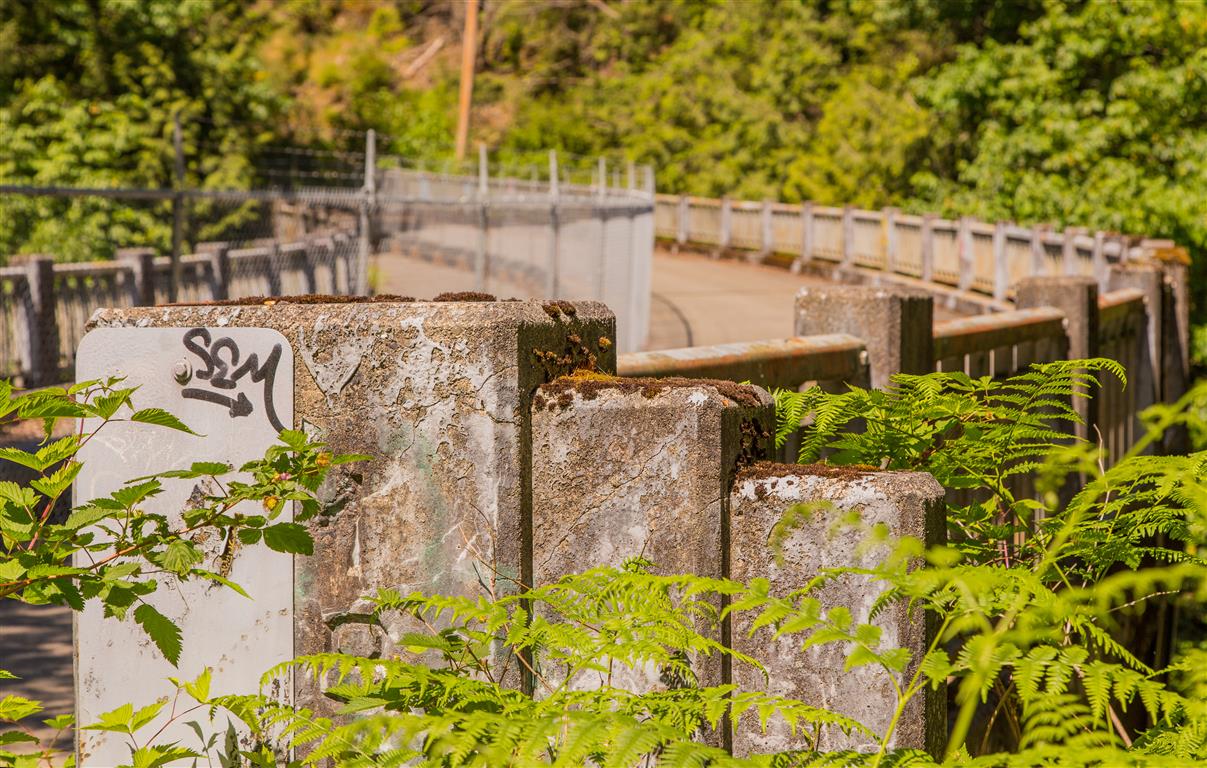
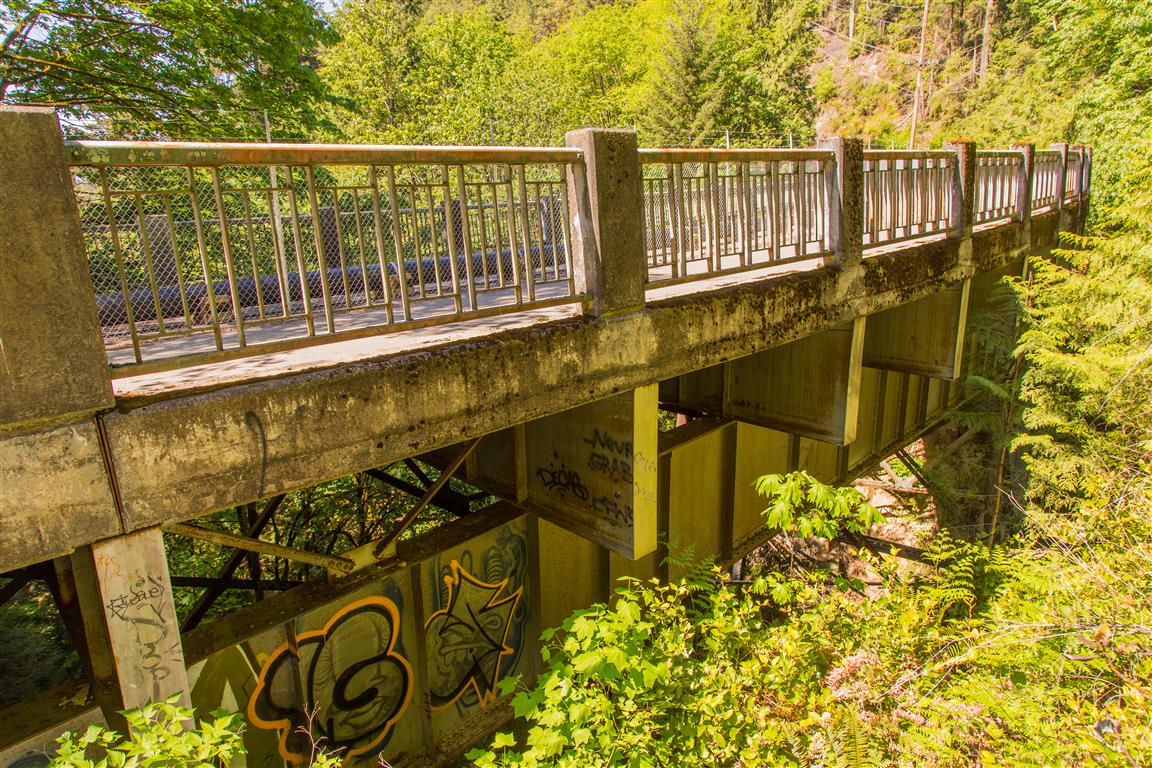
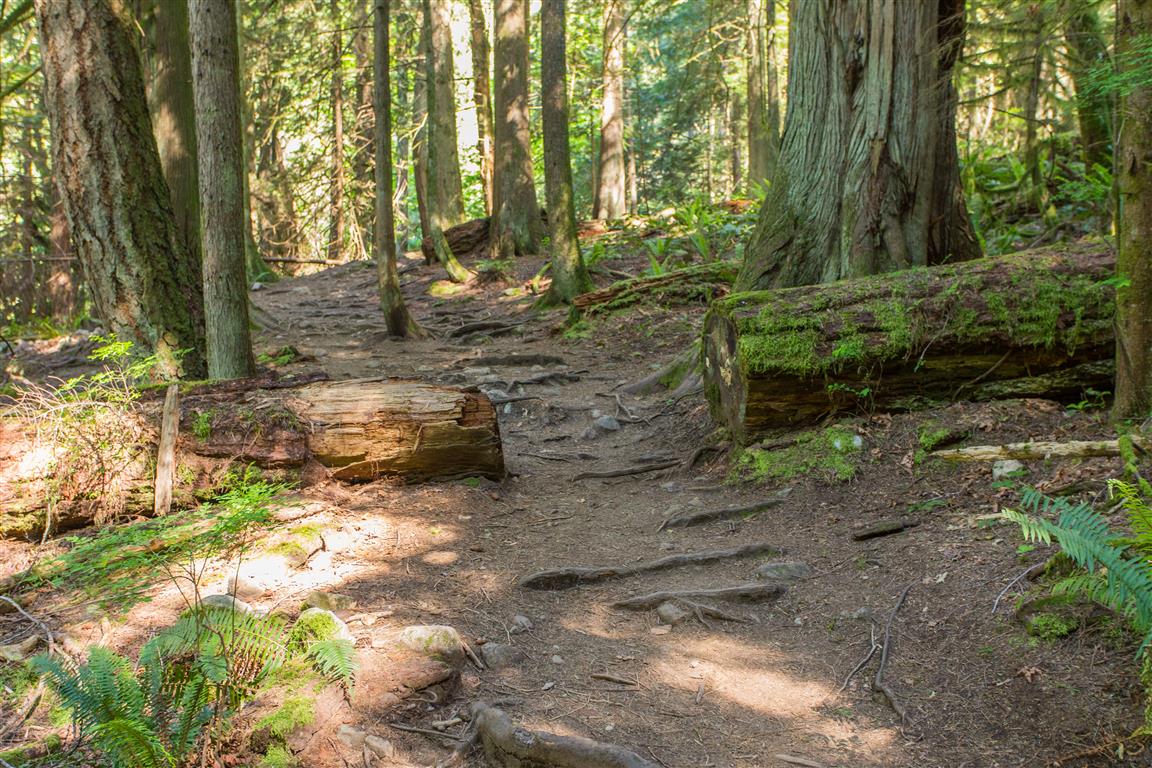
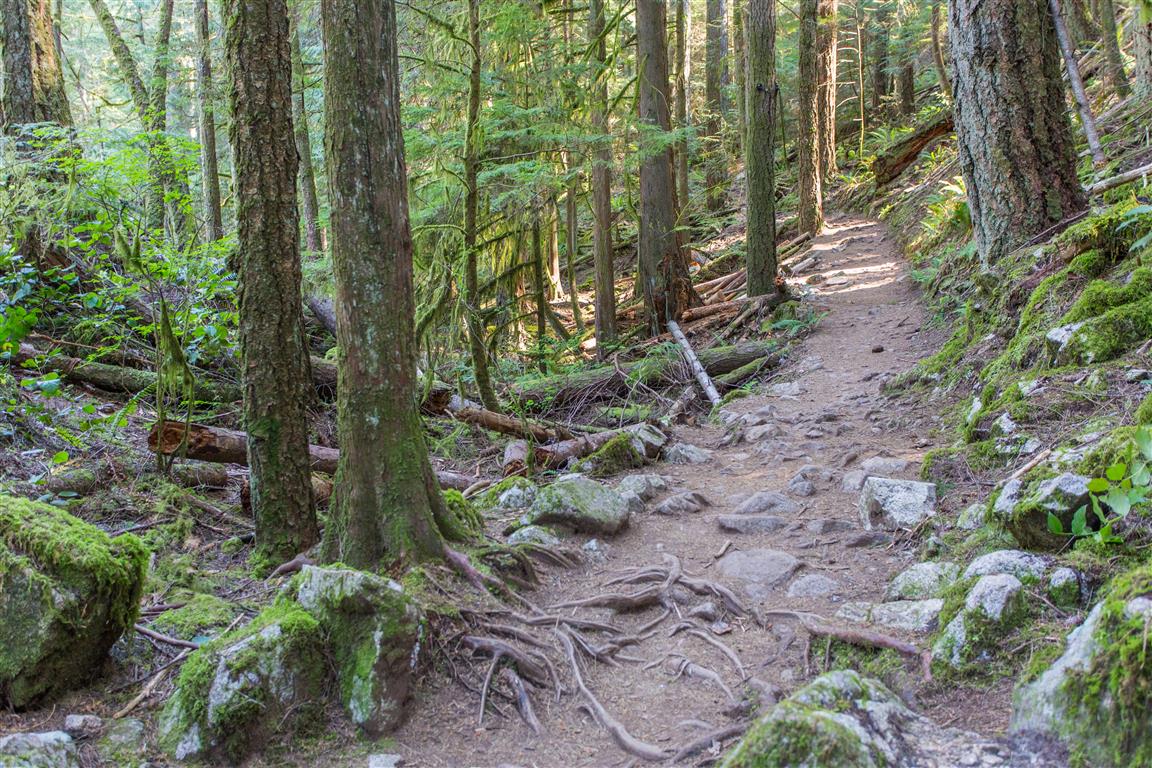
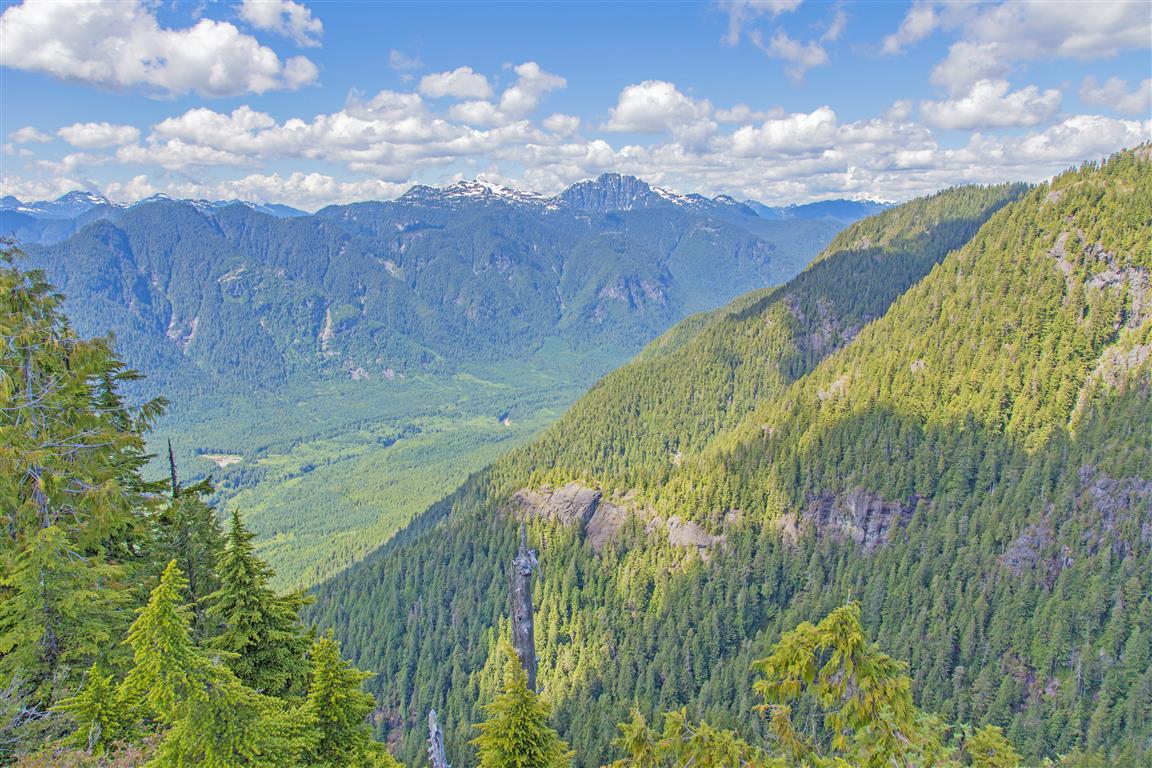
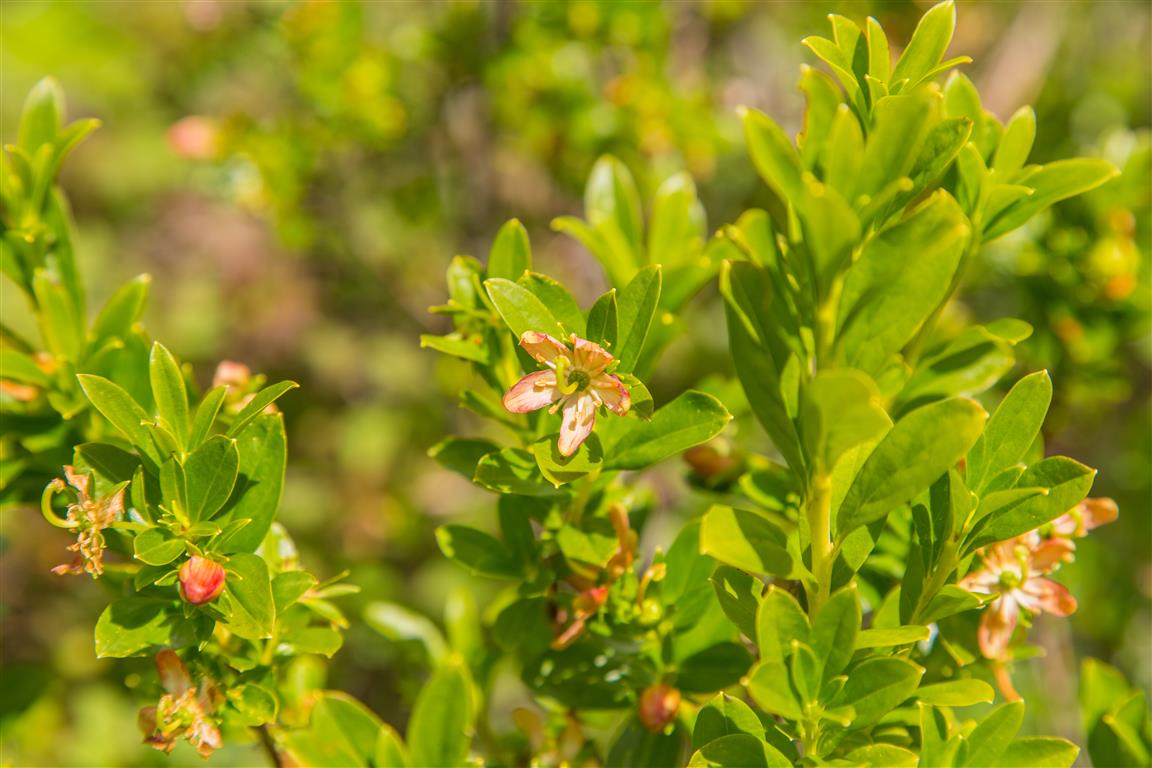
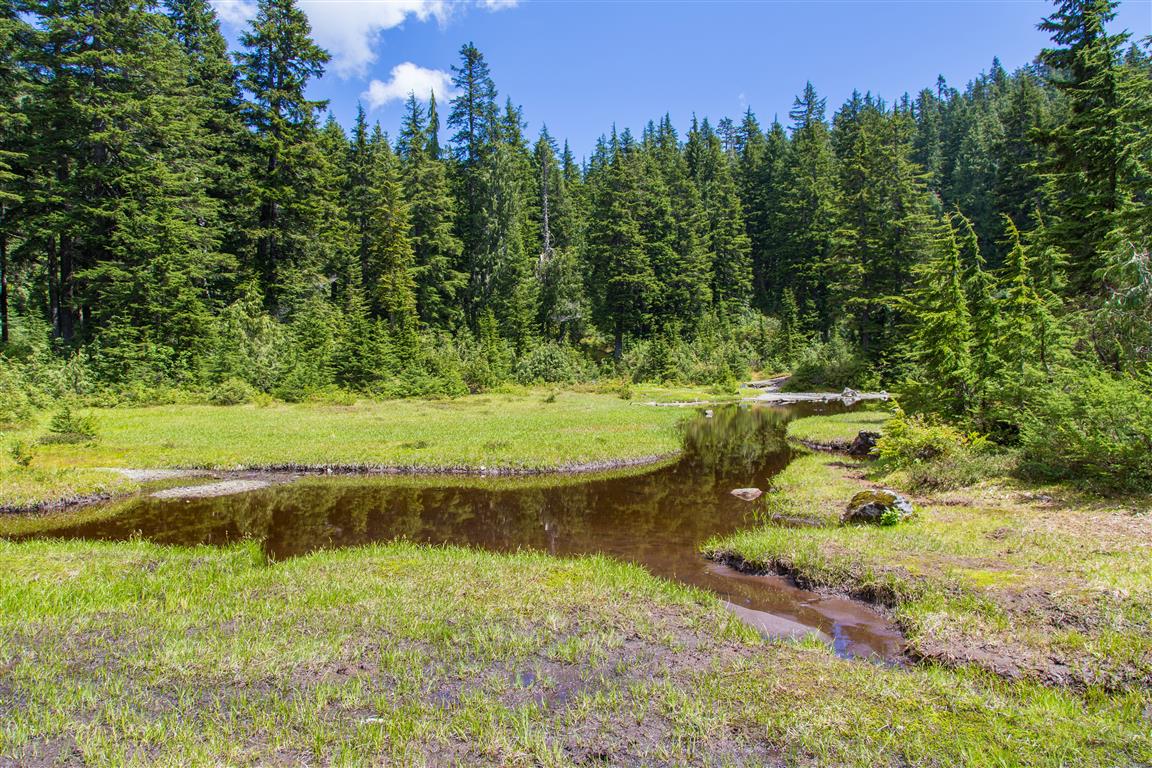
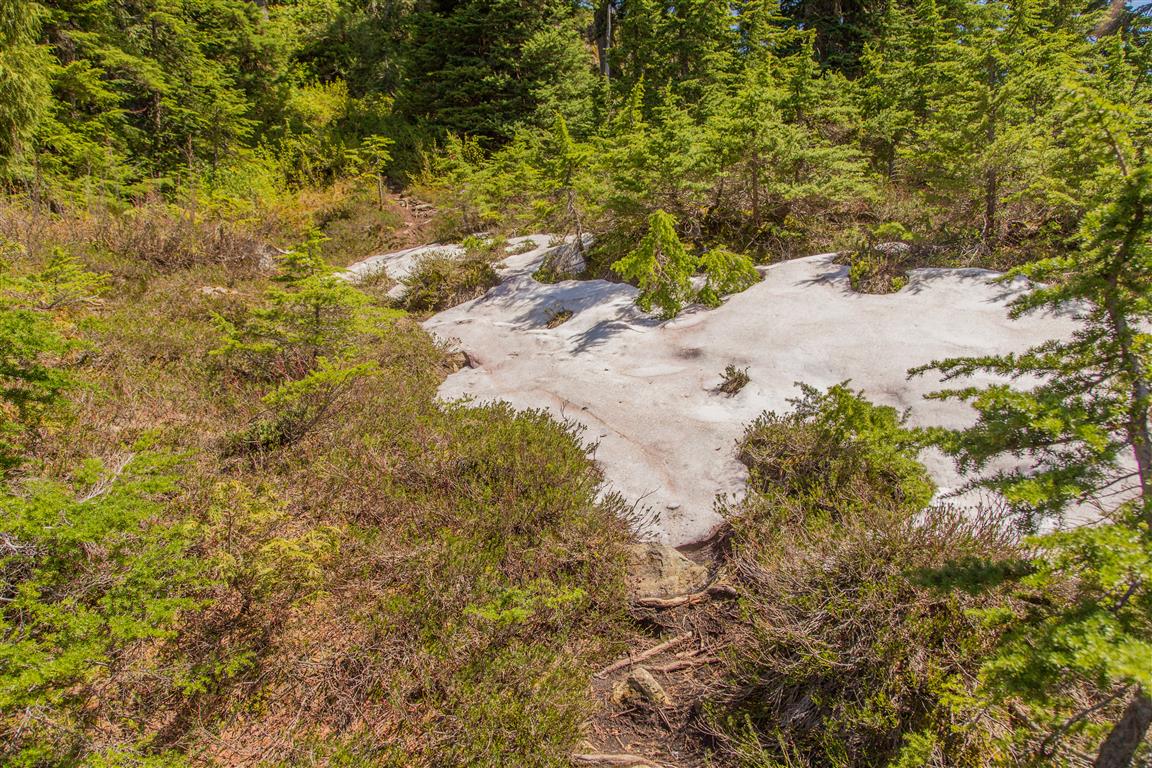
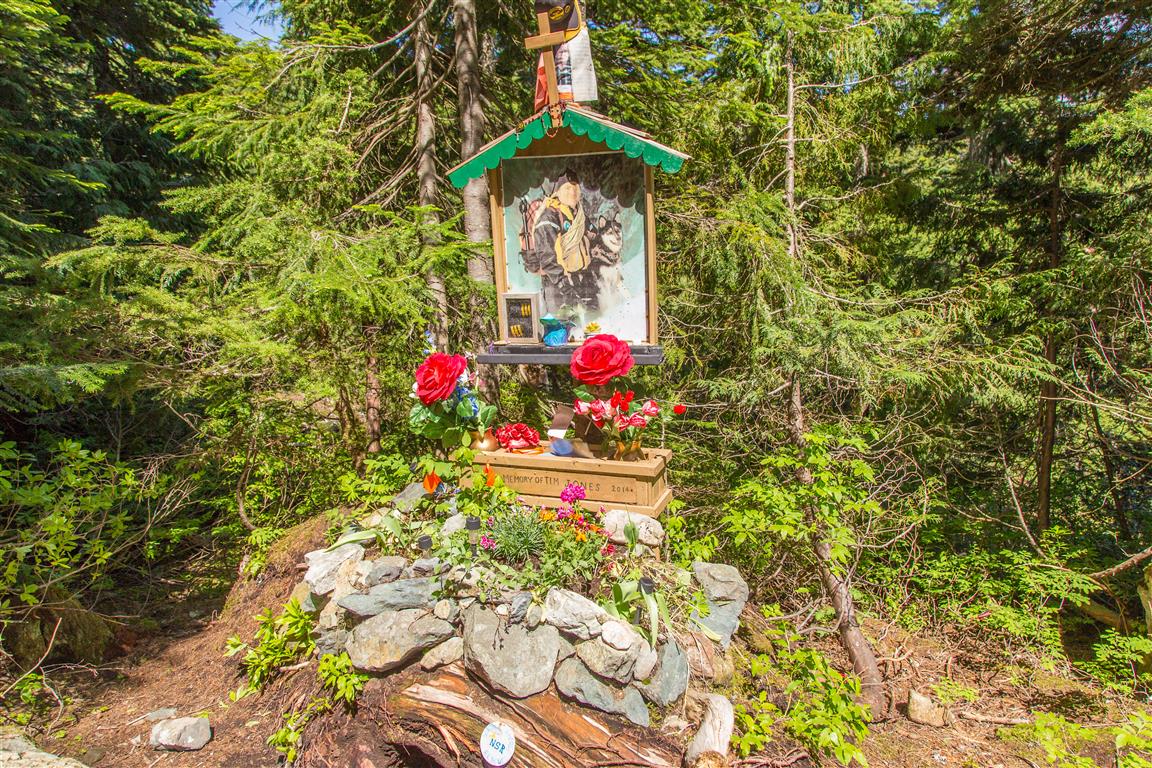
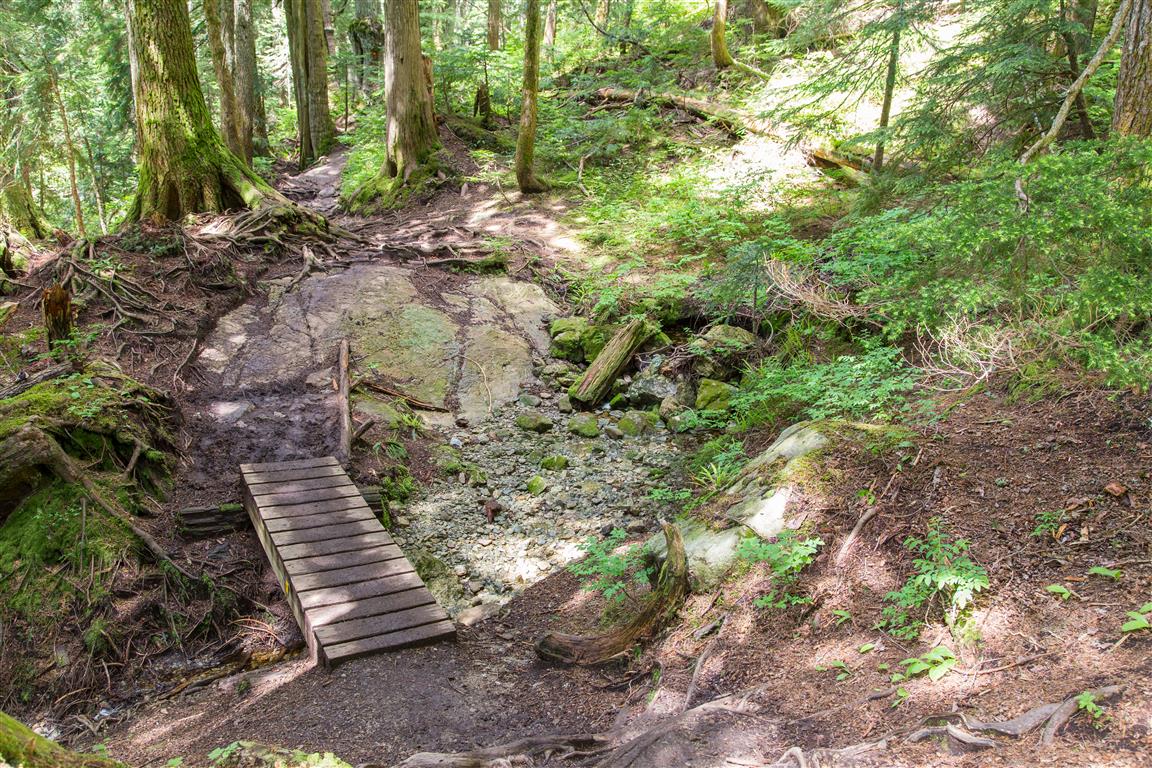
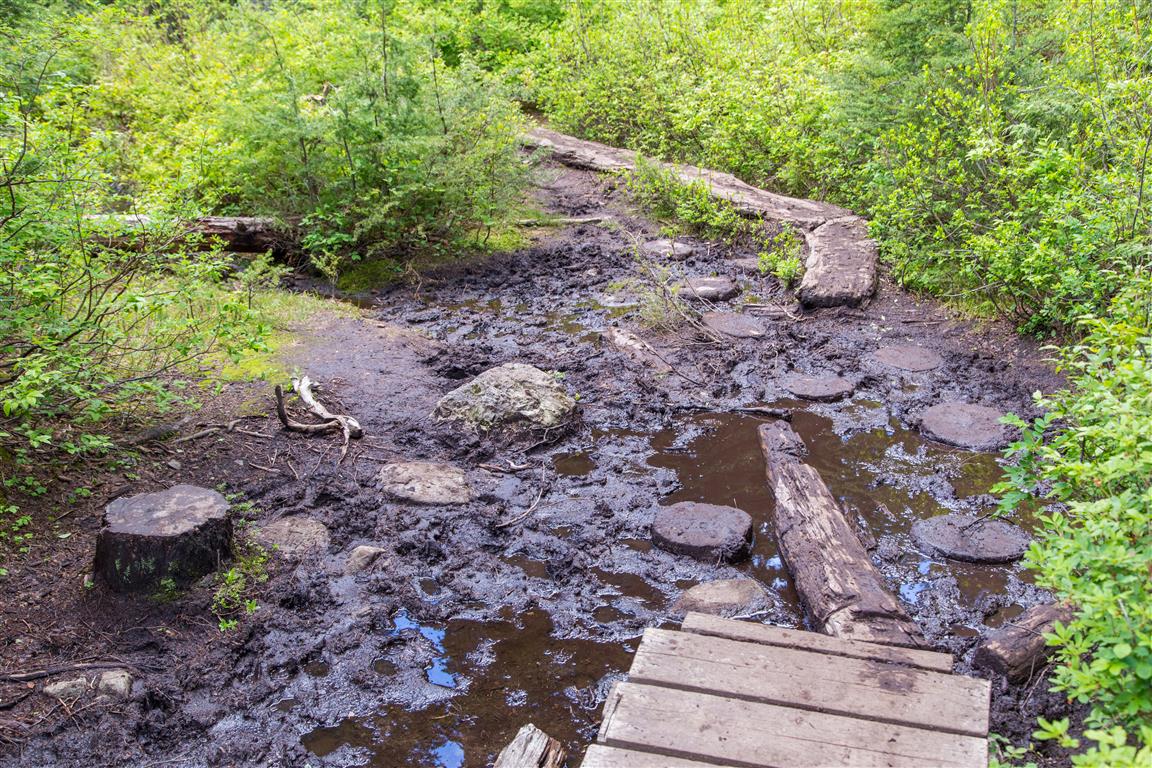
Here are some photos from today…

Seymour River Valley 2
Seymour River Valley
Seymour River Valley 2
View from East Bluff


View from West Bluff
View of Vancouver Harbour from East Bluff
View of Mount Baker from Dog Mountain


Rope on trail
Rope on Trail
Blooming
Blooming
First Lake
First Lake on Dog Mountain Trail


Some snow on trail
Some snow on trail
Tim Jones Memorial
Tim Jones Memorial
Little bridge
Little bridge
Muddy trail
Muddy Trail

★★★★★★★★★★★

Before heading out on your hike, make sure you are well prepared. This means, having the TEN ESSENTIALS. It is also important to leave a trip plan (route details and estimated return time) with someone you trust.

Bring your smartphone, fully charged and put it in airplane mode while hiking. I always bring back-up battery packs for extra piece of mind. It is highly recommended that you bring a GPS device; I use my smartphone with a GPS app (Backcountry Navigator). The GPS will work in airplane mode. Learn how to use it before your hike.

For anyone new to hiking, there is a rule to which hikers follow; it is called “Leave No Trace” or LNT. The concept is generally to pack out what you pack in and respect nature, so all future visitors can enjoy what you have enjoyed.
To learn more about LNT, please check out this BLOG by a certified LNT Trainer.

★★★★★★★★★★★

Eagle Bluffs


This post is for Eagle Bluffs hike in Cypress Provincial Park in West Vancouver.
For the Eagle Bluff viewpoint at Buntzen Lake, please go HERE.

This is a very popular hike. Luckily, I did it on a weekday. On summer weekends, this place can be very busy. After seeing the photos below, you’ll see why ! The hike starts at the Cypress Mountain Lodge and follows the Black Mountain Trail for first bit (so follow signage for Black Mountain. You can add Black Mountain to your trip, but from what I hear, it’s not worth it. But do stop at Cabin Lake – it is a very serene little lake. After Cabin Lake continue on up the Baden Powell Trail. For some variety, you can choose to go to Donut Rock, which is shown on the map below – it offers decent, but slightly obstructed views. A little while after the Donut Rock sidetrail, you will make your descent towards Eagle Bluffs. Eagle Bluffs are a large rock area, with plenty of areas to sit and take in the amazing scenery. On your way, back, there is an alternate loops around a couple of lakes, which offer pleasant views. After the lakes loop, continue on the path you came up on and back to the lodge.

Here are the stats not including Donut Rock:

Distance: 9.2 km (return)
Time: 4 hours
Low point: 912 m
High point: 1213 m
Elevation gain: 301 m
Cumulative Elevation gain: 450 m
Trailhead: 49° 23’ 43” by  123° 12’ 9.3” (Google Map)

The route…

Photos from today (31 May 2016)…

View from the Bluffs
Cabin Lake
Cabin Lake


The Lions
The Lions
Ferry to Bowen Island

Here’s a video from the Bluffs…

Mt. Baker and Downtown Vancouver
Planks along small lake
Raven
Raven


Snow on trail
Snow on trail
View from Donut Bluff
Nice steps
Nice steps


View looking back down from trail
Blueberries in the early stage

★★★★★★★★★★★

Before heading out on your hike, make sure you are well prepared. This means, having the TEN ESSENTIALS. It is also important to leave a trip plan (route details and estimated return time) with someone you trust.

Bring your smartphone, fully charged and put it in airplane mode while hiking. I always bring back-up battery packs for extra piece of mind. It is highly recommended that you bring a GPS device; I use my smartphone with a GPS app (Backcountry Navigator). The GPS will work in airplane mode. Learn how to use it before your hike.

For anyone new to hiking, there is a rule to which hikers follow; it is called “Leave No Trace” or LNT. The concept is generally to pack out what you pack in and respect nature, so all future visitors can enjoy what you have enjoyed.
To learn more about LNT, please check out this BLOG by a certified LNT Trainer.

★★★★★★★★★★★

Hollyburn Mountain


Hollyburn Mountain is located in Cypress Provincial Park, West Vancouver. When I went in May, there was still lots of snow up there (2-3 m in areas). I went up with spikes and poles, which helped immensely. Most people up there didn’t have either and were slipping and sliding. On your ascent make sure to look back once in a while to see the beautiful views of Vancouver. At the summit, there are more amazing views of Vancouver, Mt. Strachan, The Lions and more mountains to the north. Note, that due to the snow, there is a winter route and a summer route – the winter route is pretty much straight up, while the summer route does some meandering through the forest. for this hike, you should park in the Cypress Mountain Nordic Area (see coordinates and link below).

The Stats:

Distance: 7 km (return)
Time: 3.5 hours
Low point: 914 m
High point: 1323 m
Elevation gain: 409 m
Trailhead: 49° 22’ 46.5” by  123° 11’ 29” (Google Maps and Navigation)

The route…

The photos…

Nice spot for a photo
The Lions
The Lions
Coming down
Coming down

Walking in the snow
Walking in the snow
Grouse on trail
Grouse on trail
Little Lake
Little Lake

Me by the small pond
Start of trail
Start of trail
The summit
The summit

Trail pic
Trail pic
Trail pic
Trail pic
View of Lions Gate Bridge

View of Mountains to the north
Edge of small pond
Edge of small pond

★★★★★★★★★★★

Before heading out on your hike, make sure you are well prepared. This means, having the TEN ESSENTIALS. It is also important to leave a trip plan (route details and estimated return time) with someone you trust.

Bring your smartphone, fully charged and put it in airplane mode while hiking. I always bring back-up battery packs for extra piece of mind. It is highly recommended that you bring a GPS device; I use my smartphone with a GPS app (Backcountry Navigator). The GPS will work in airplane mode. Learn how to use it before your hike.

For anyone new to hiking, there is a rule to which hikers follow; it is called “Leave No Trace” or LNT. The concept is generally to pack out what you pack in and respect nature, so all future visitors can enjoy what you have enjoyed.
To learn more about LNT, please check out this BLOG by a certified LNT Trainer.

★★★★★★★★★★★

Whyte Lake


The Whyte Lake trail is an easy hike that starts from near the Nelson Creek Bridge (Trans-Canada Highway) in West Vancouver. There is nice little parking lot just for this hike (see location below for parking and trailhead location). After passing under the bridge, you will pass a reservoir and start into the forest. The hike is mostly uphill all the way to the lake, which is only 2.5 km away. The trail follows the east side of the Nelson Creek Ravine; as you head north, the ravine gets noticeably smaller. The trail is well established and easy to follow. Today, I completed the hike in a loop (I choose a different way down), but most people will return the same way. With the loop I did, there is a little more elevation gain and the trail isn’t marked (but it is easy to follow assuming no snow on ground). There is a tree-obstructed view of Howe Sound from a small branch off the loop trail.

Here are the stats for the loop/or return on same trail route:

Distance: 6.2 km (loop) / 5.0 km (same trail)
Time: 2 hours (lots of breaks)
Low point: 96 m
High point: 343 m
Elevation gain: 247 m
Calories burned: 600
Trailhead: 49° 21’ 38.7” by  123° 15’ 31.4” (Google Map)

The route…

The photos…

Whyte Lake
Whyte Lake
Nelson Creek
Nelson Creek


Approaching Lake
Approaching Lake
Forest
Forest
Grove of Arbutus Trees


Huge tree
Huge tree
Nelson Creek Bridge
Nelson Creek Bridge
Nelson Creek Bridge
Nelson Creek Bridge
Obstructed viewpoint
Old Nelson Creek Bridge


Old Nelson Creek Bridge
Trail pic2
Trail pic2
Trail pic
Trail pic
Trail pic
Trail pic

★★★★★★★★★★★

Before heading out on your hike, make sure you are well prepared. This means, having the TEN ESSENTIALS. It is also important to leave a trip plan (route details and estimated return time) with someone you trust.

Bring your smartphone, fully charged and put it in airplane mode while hiking. I always bring back-up battery packs for extra piece of mind. It is highly recommended that you bring a GPS device; I use my smartphone with a GPS app (Backcountry Navigator). The GPS will work in airplane mode. Learn how to use it before your hike.

For anyone new to hiking, there is a rule to which hikers follow; it is called “Leave No Trace” or LNT. The concept is generally to pack out what you pack in and respect nature, so all future visitors can enjoy what you have enjoyed.
To learn more about LNT, please check out this BLOG by a certified LNT Trainer.

★★★★★★★★★★★

North Shore Hikes

Here is where you’ll find all of my North Shore hikes. Enjoy…