All posts by admin

Lake Ann and Lower Curtis Glacier


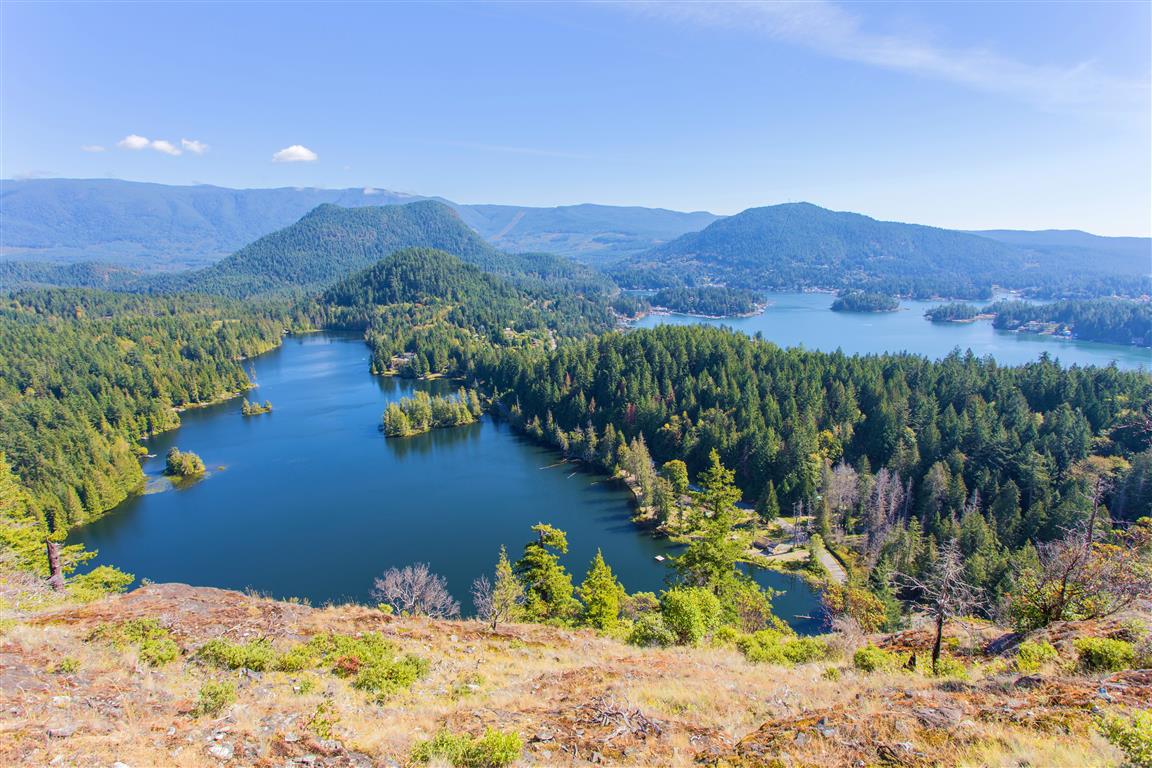
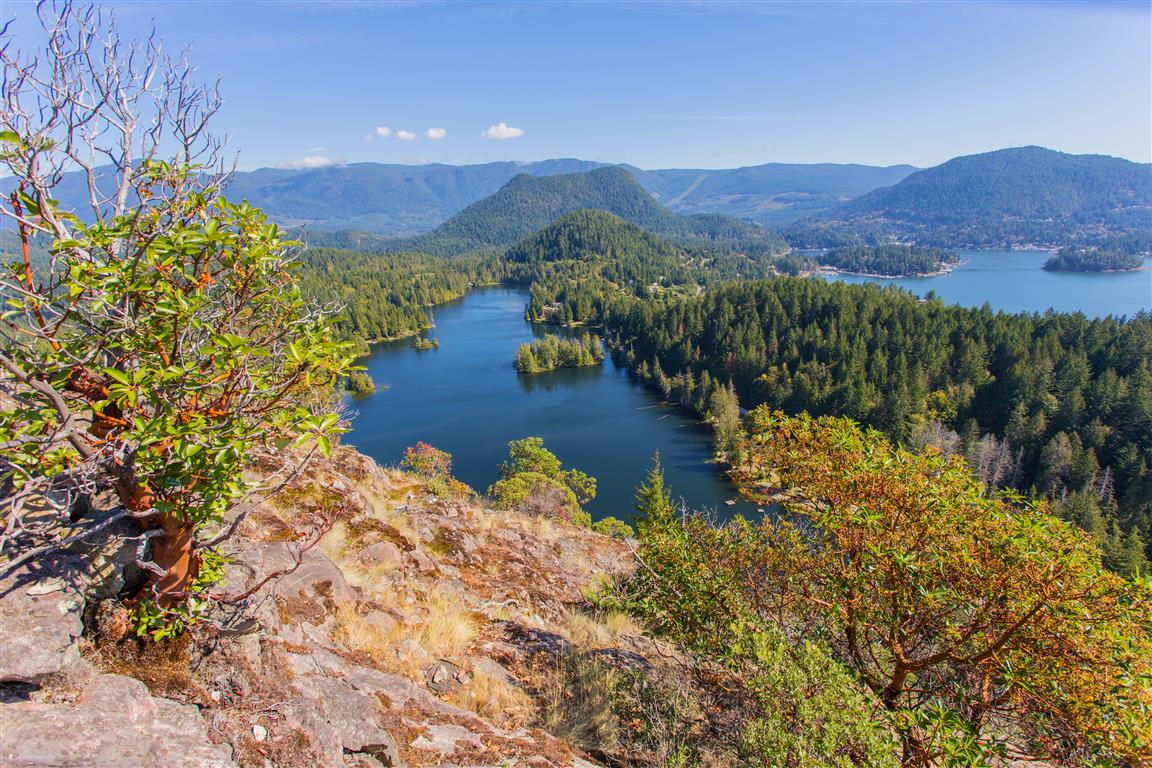
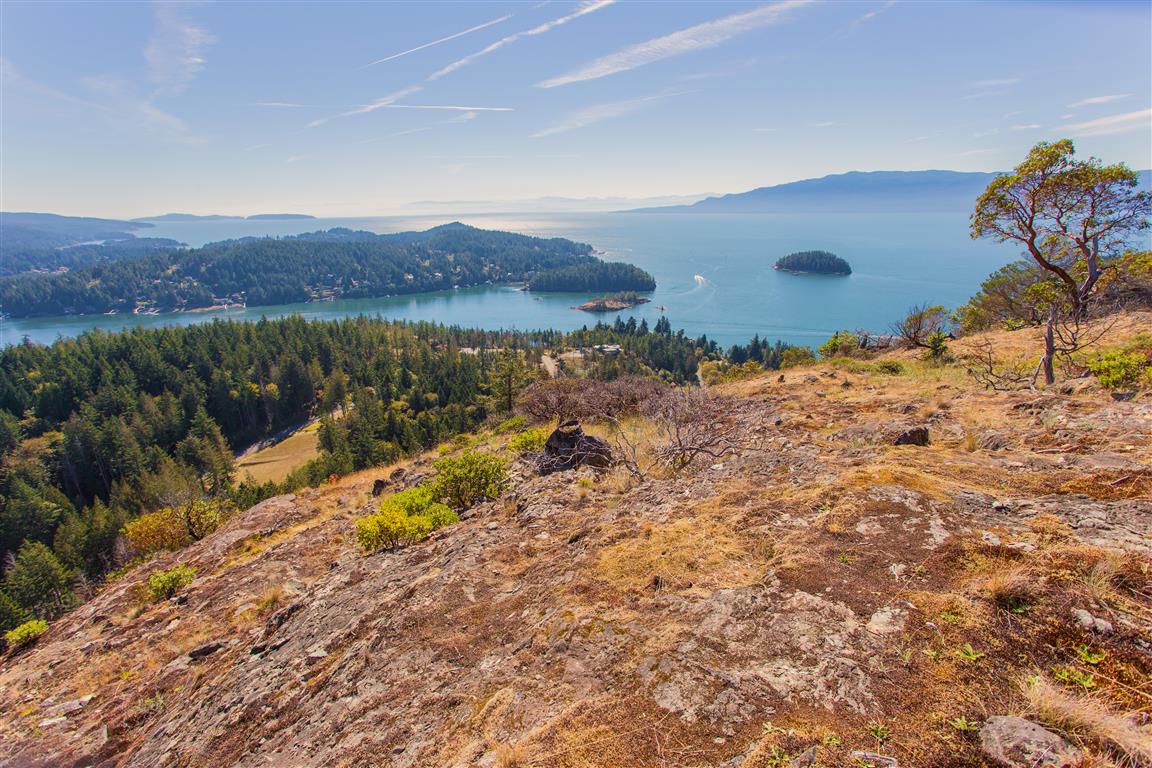
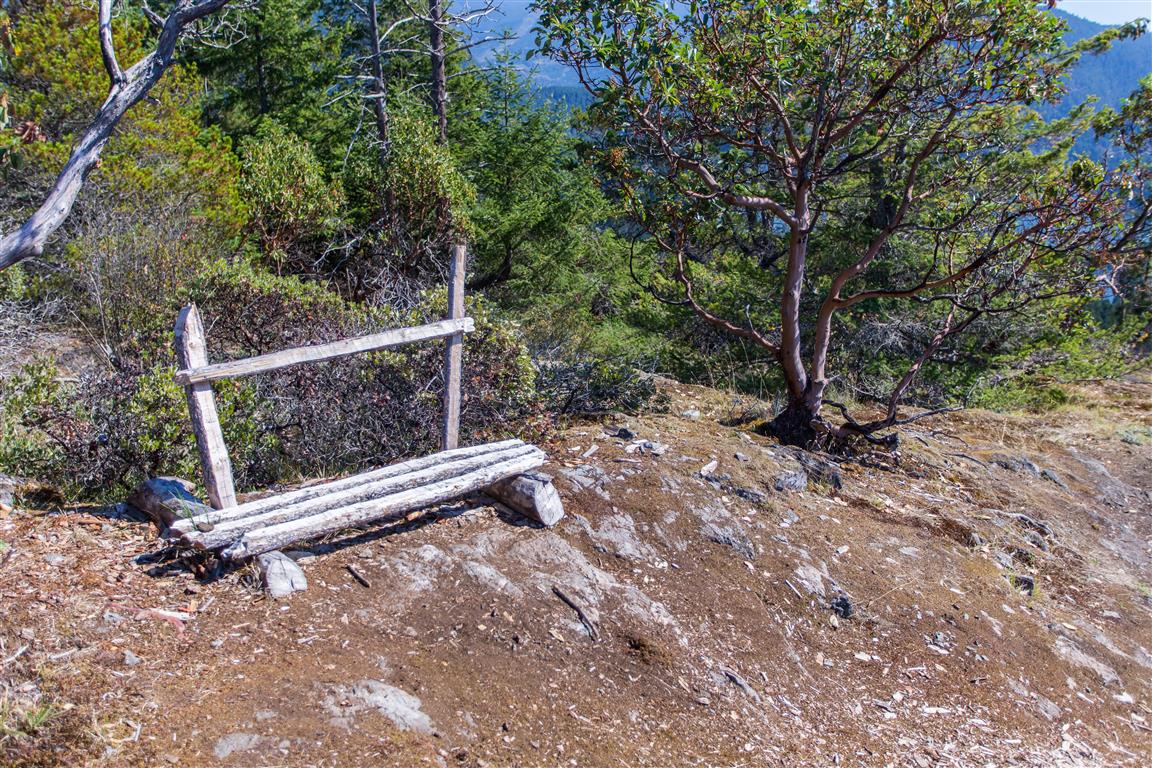
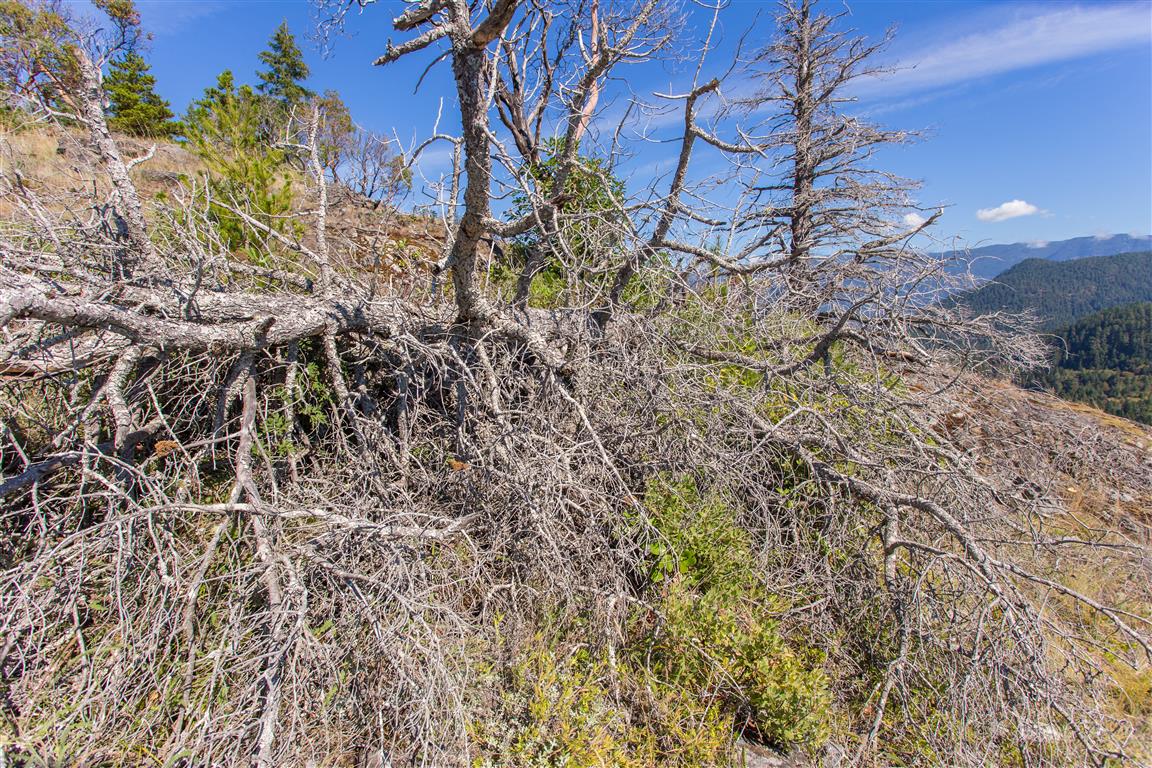
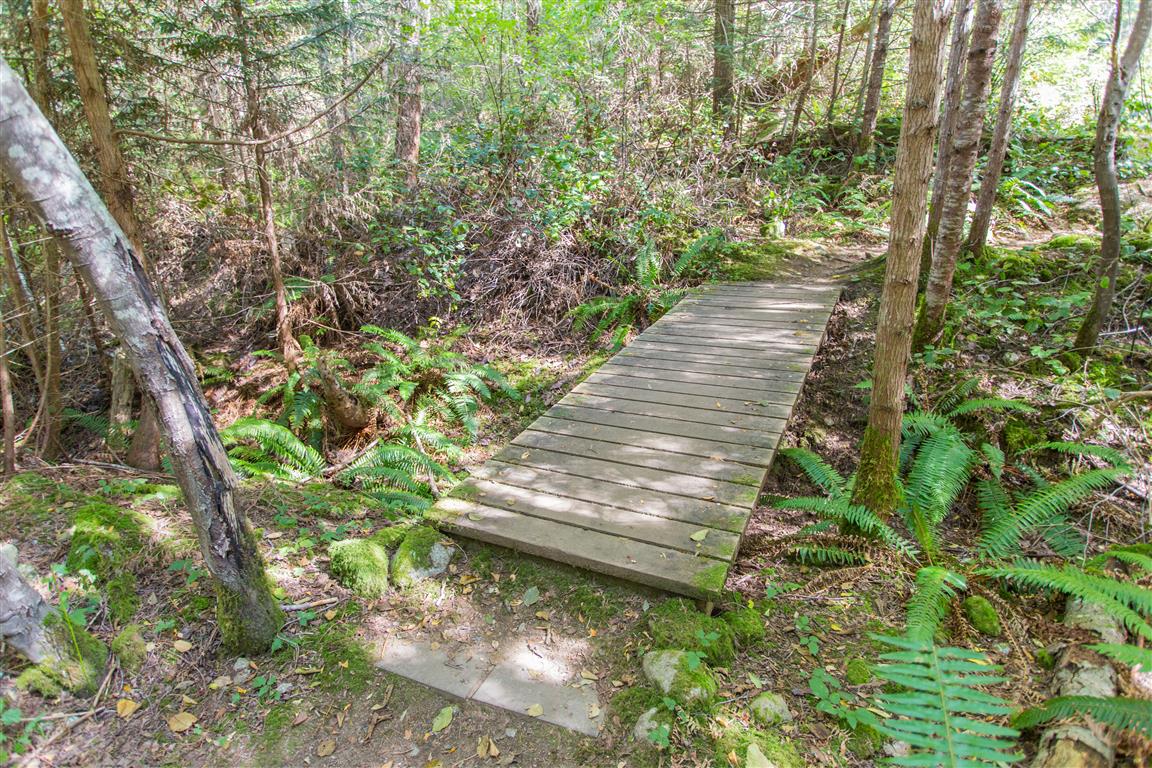
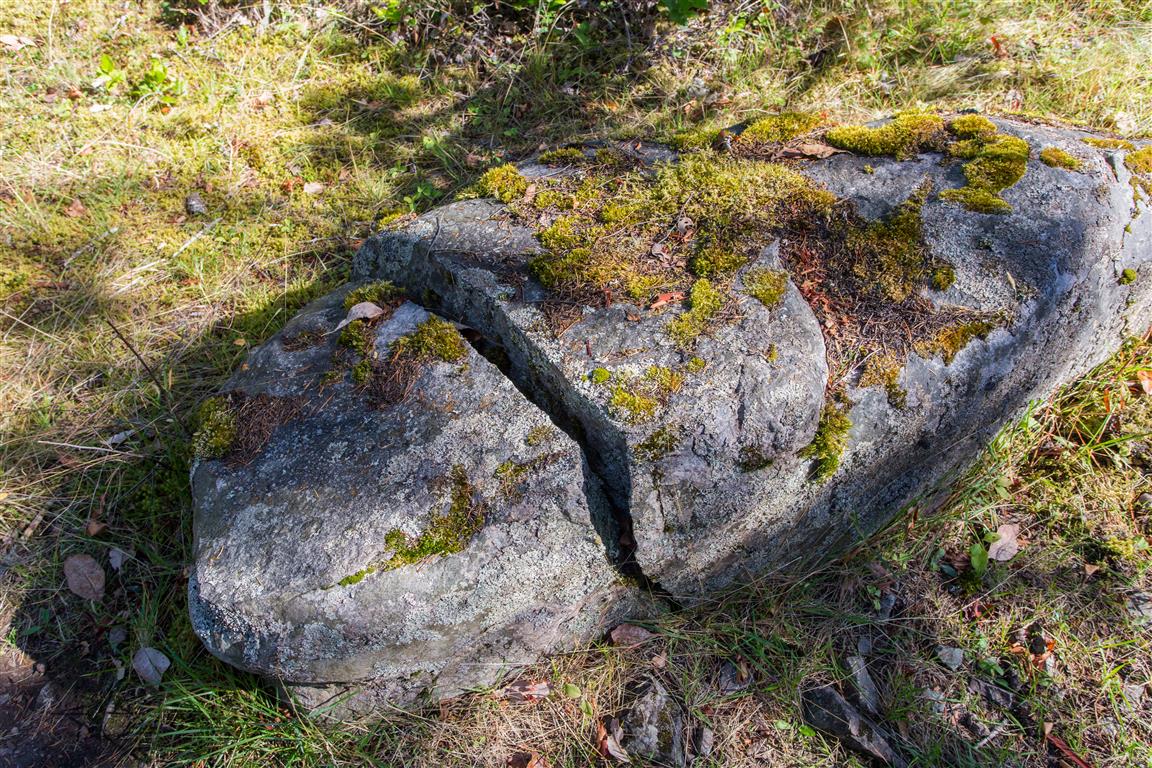
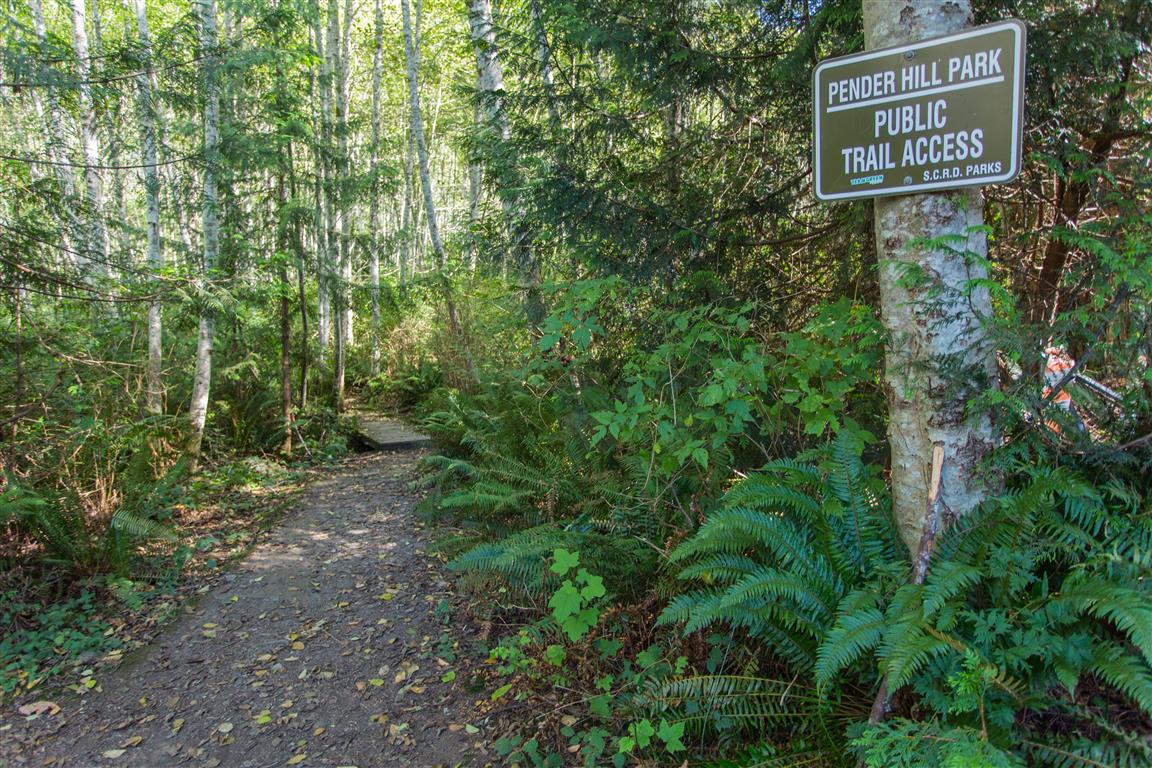
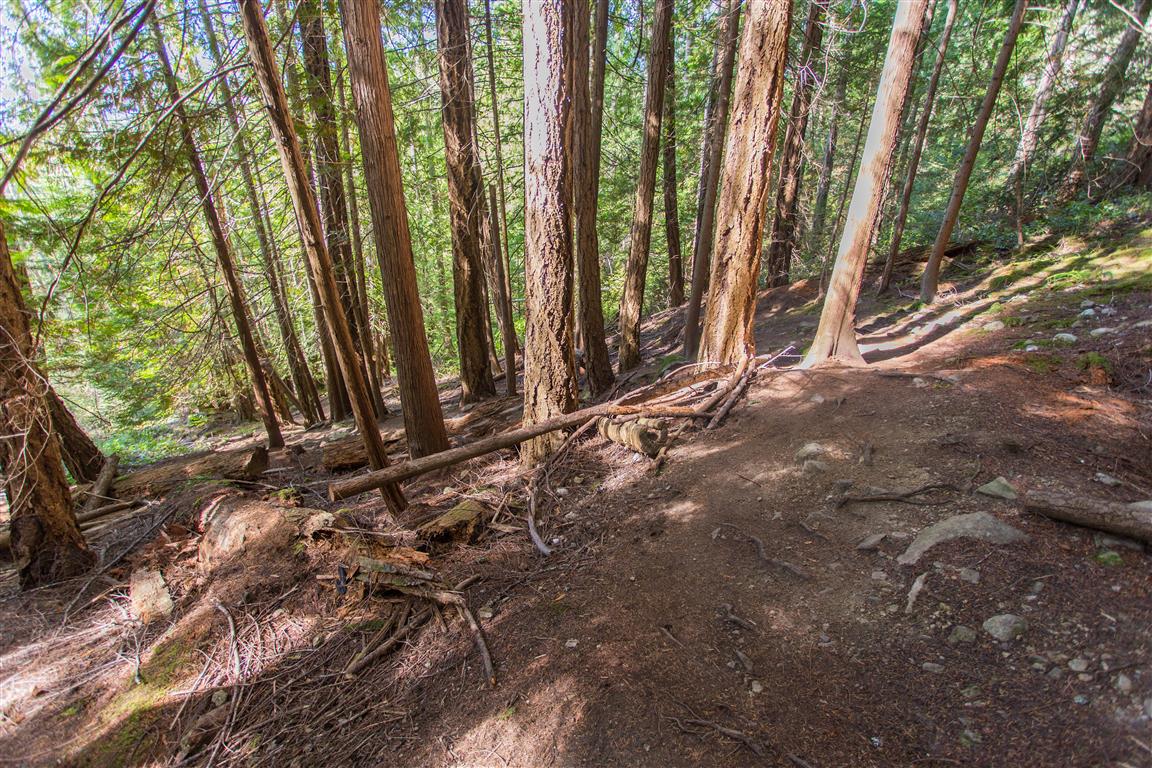
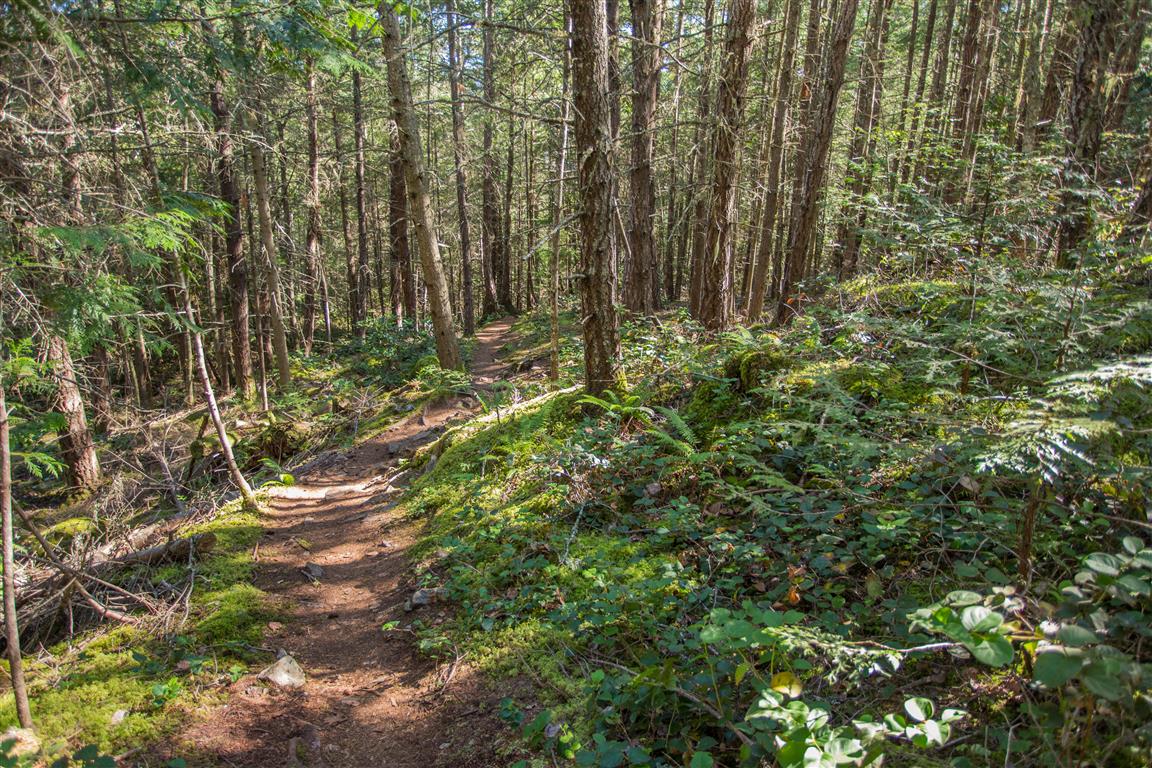
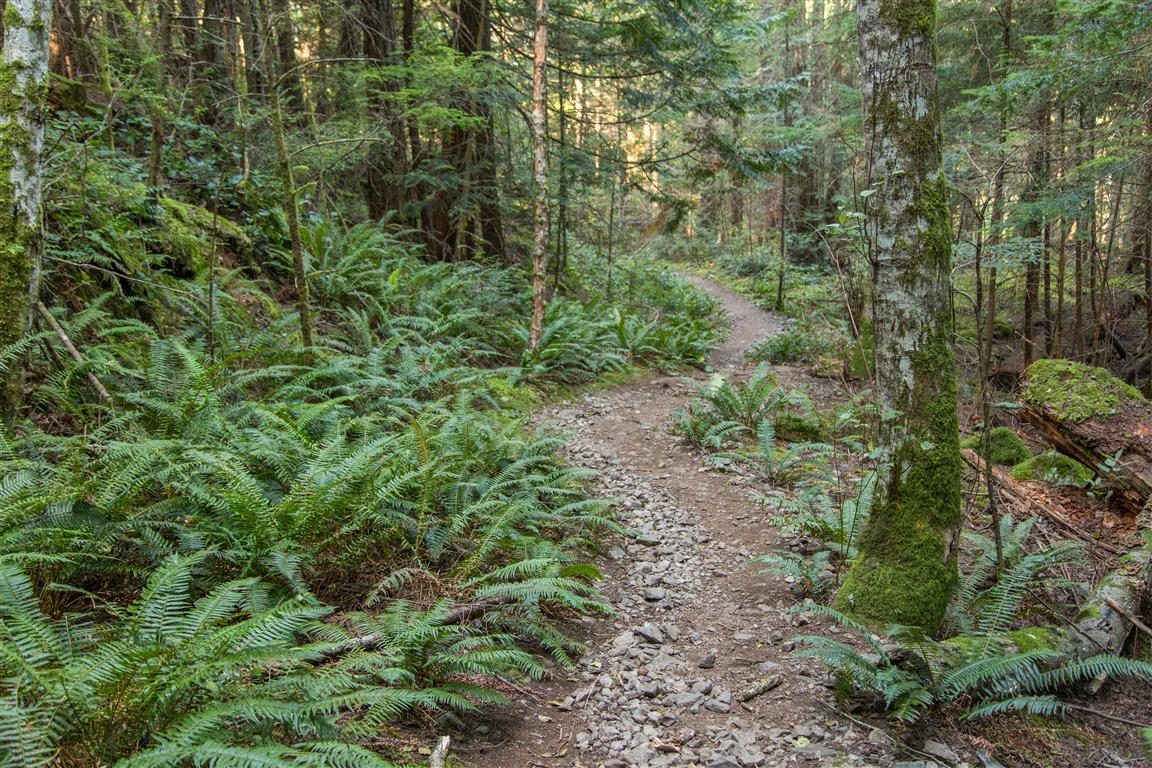
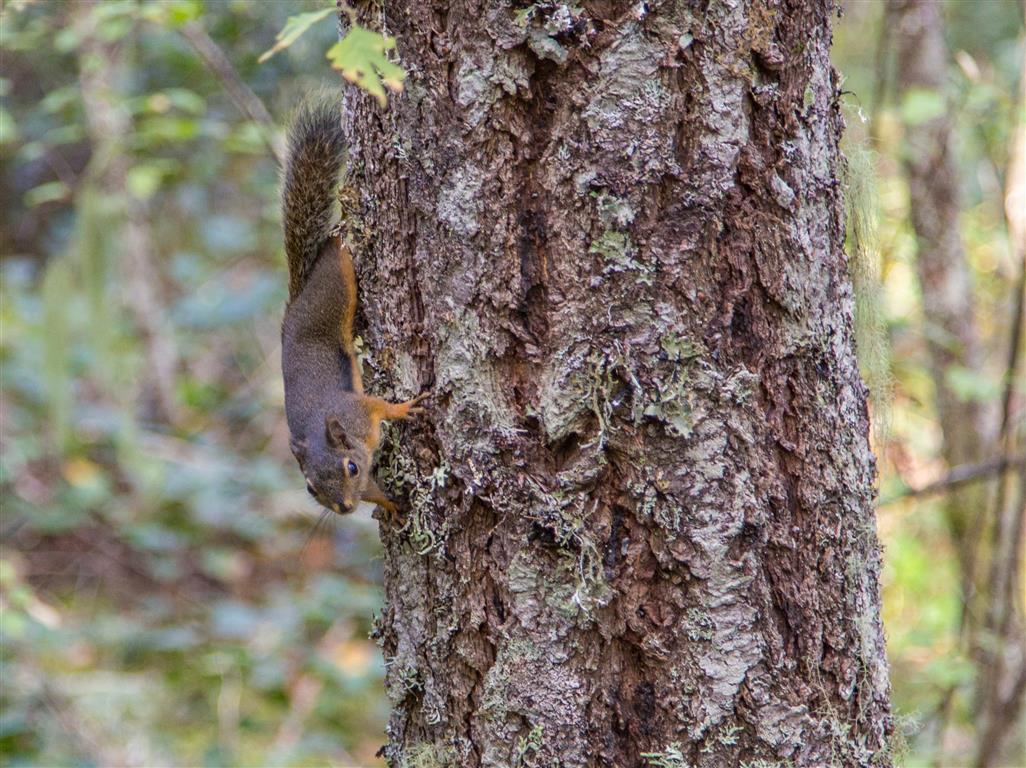
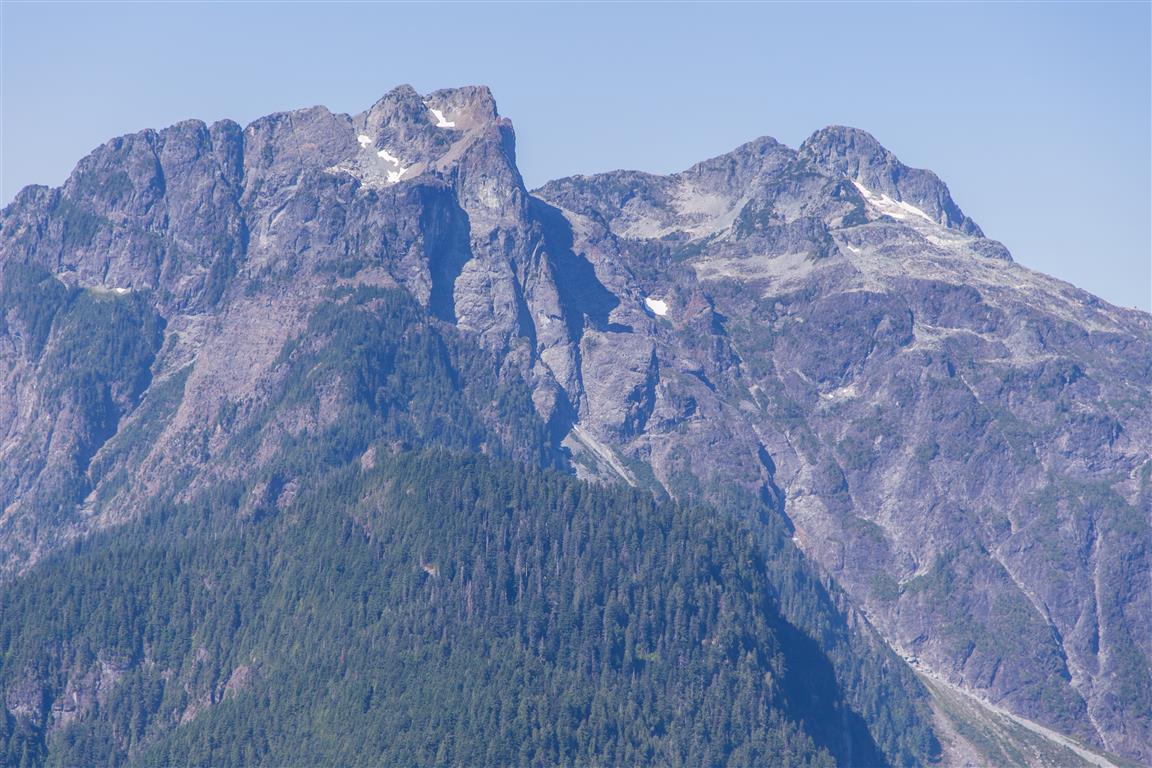
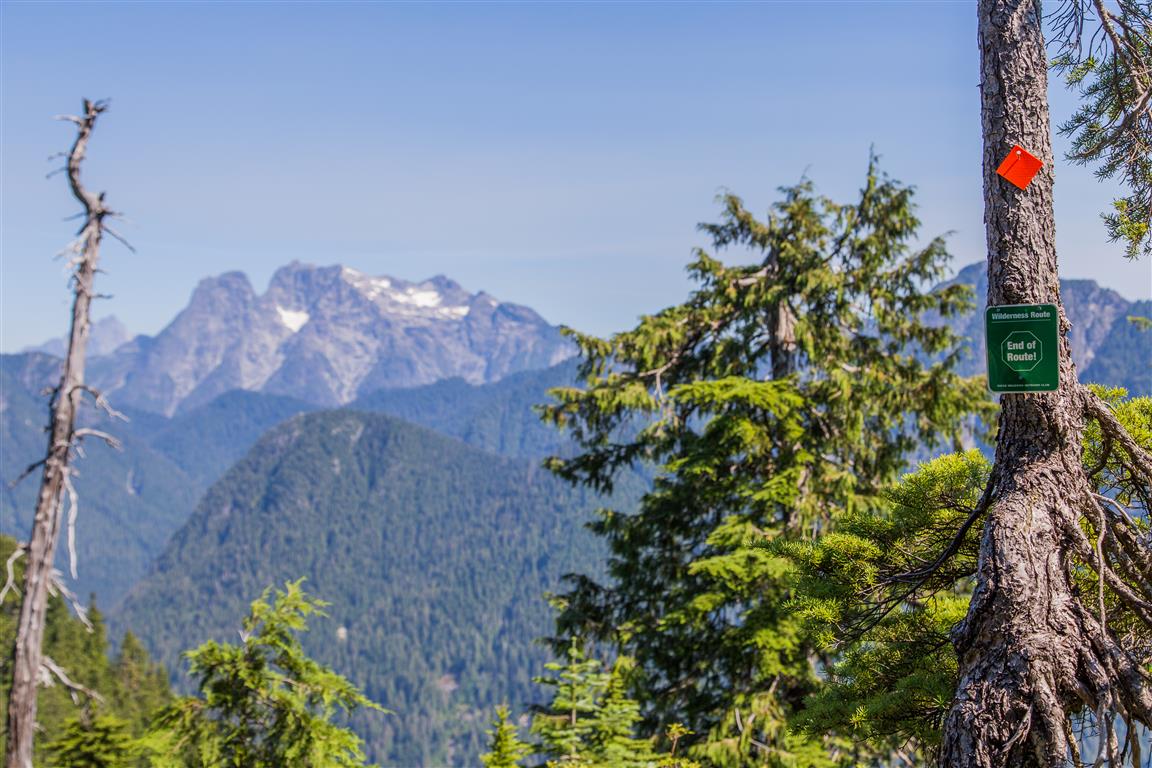
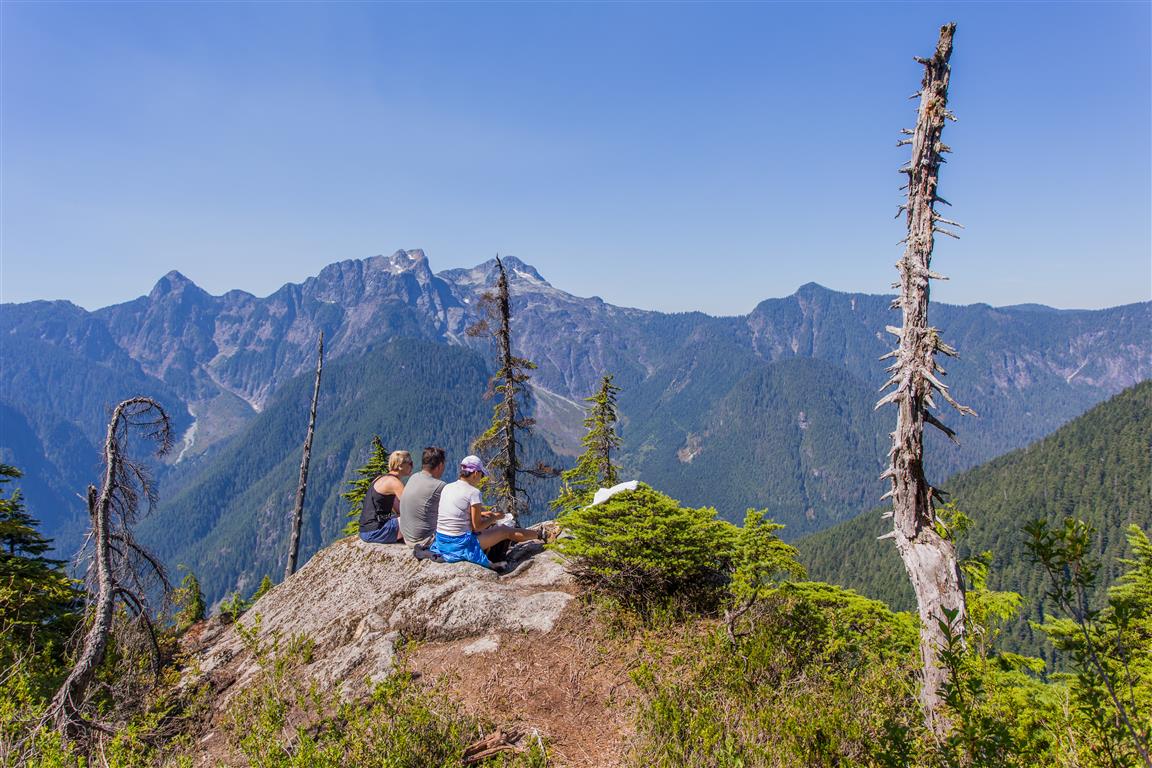
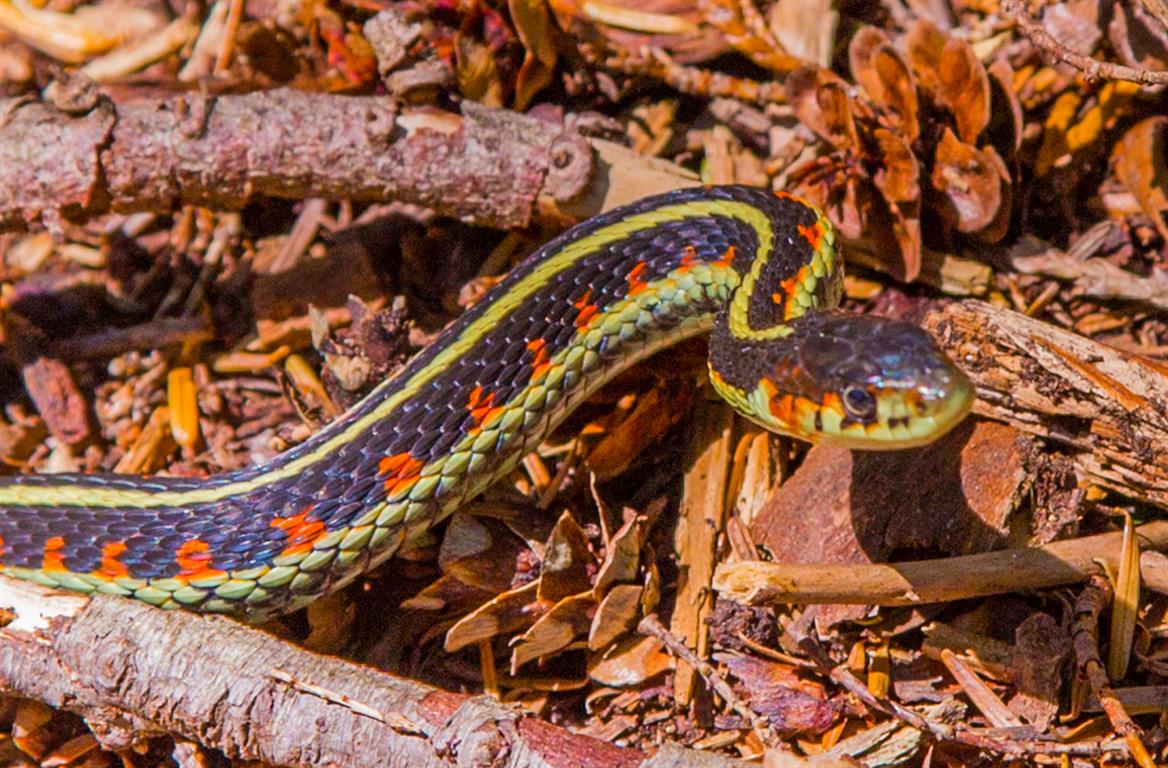
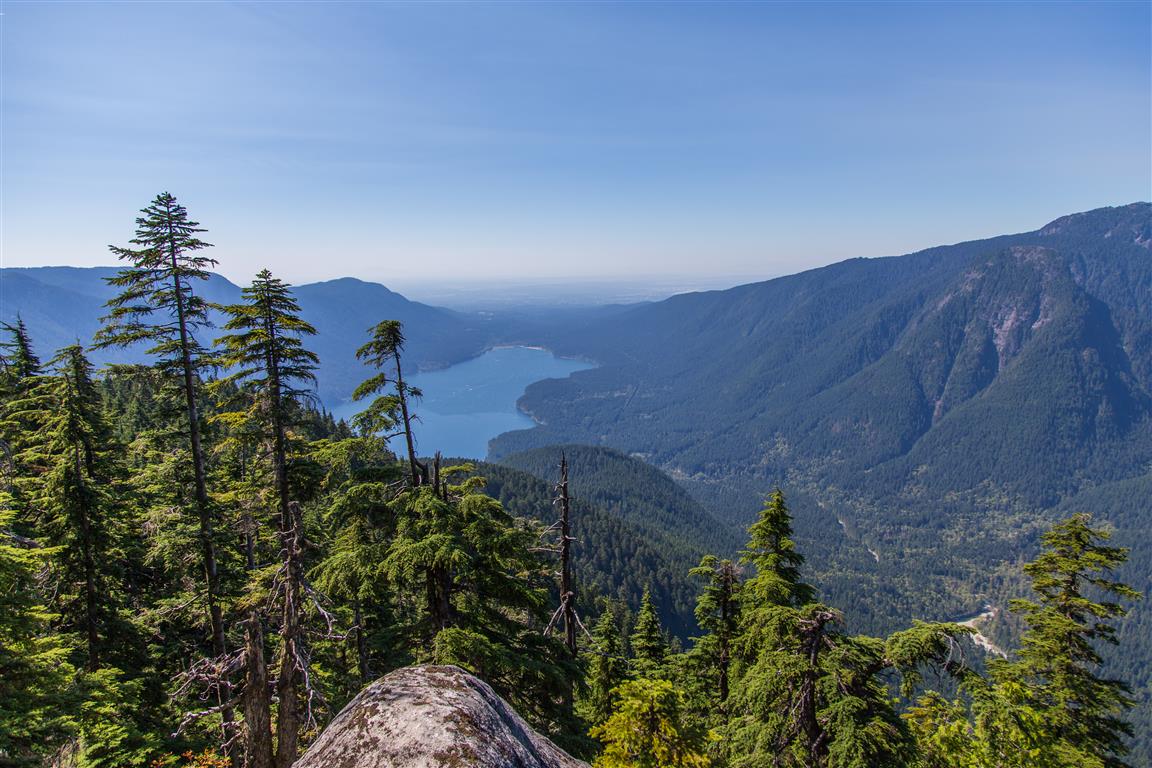
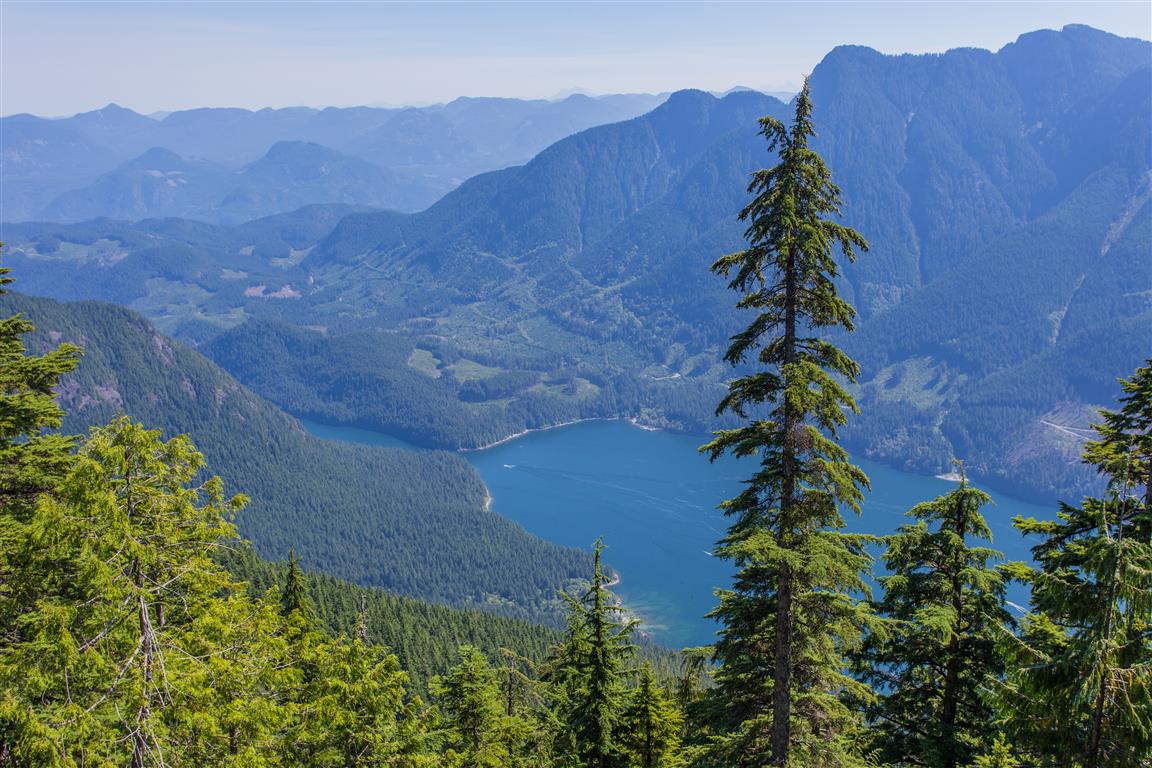
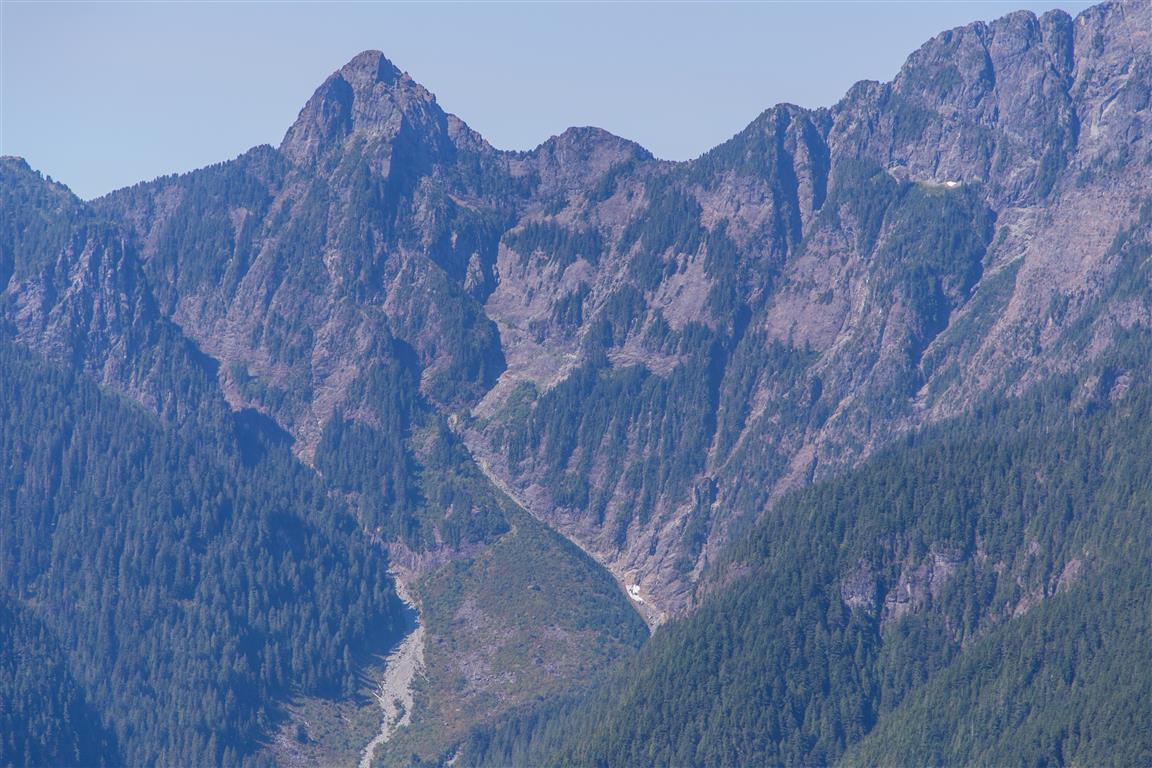
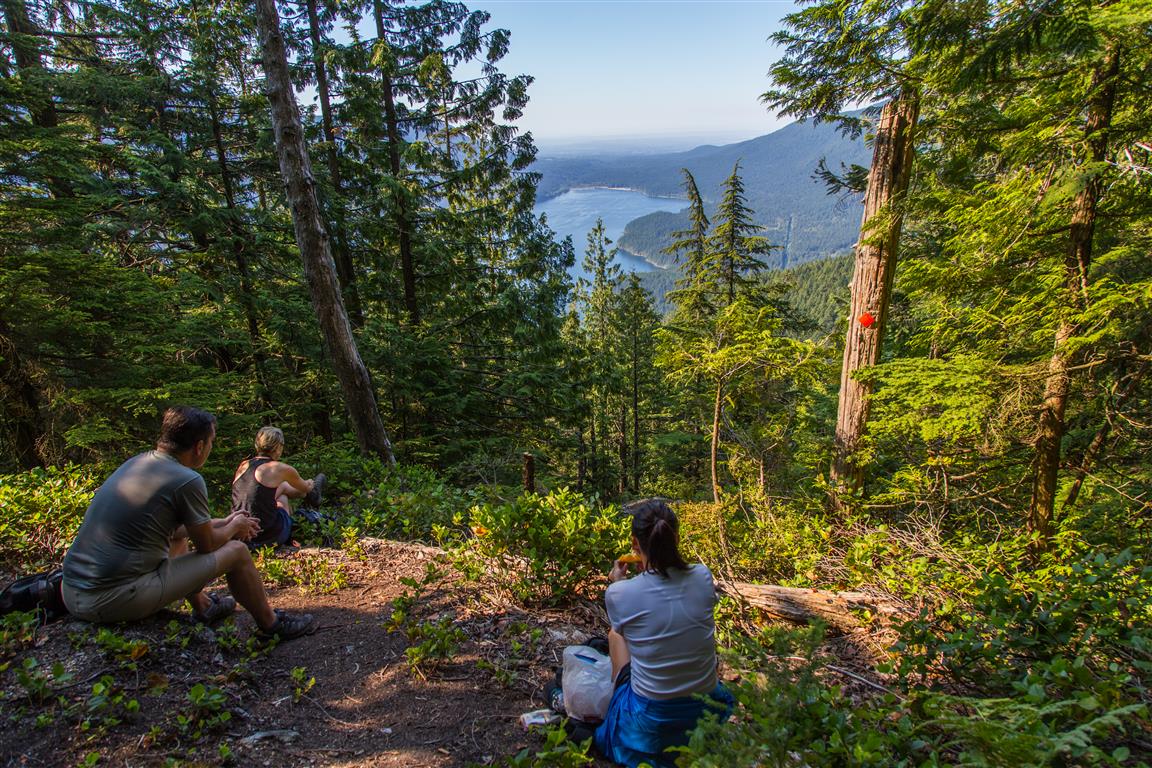
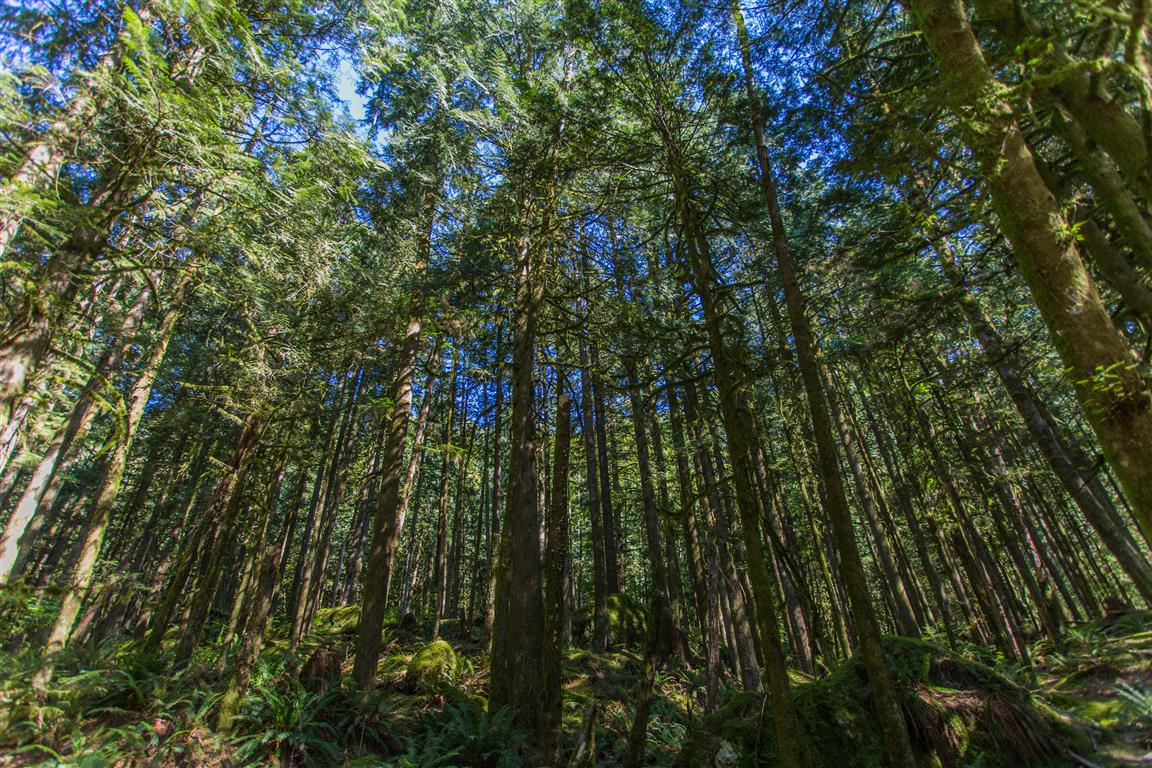
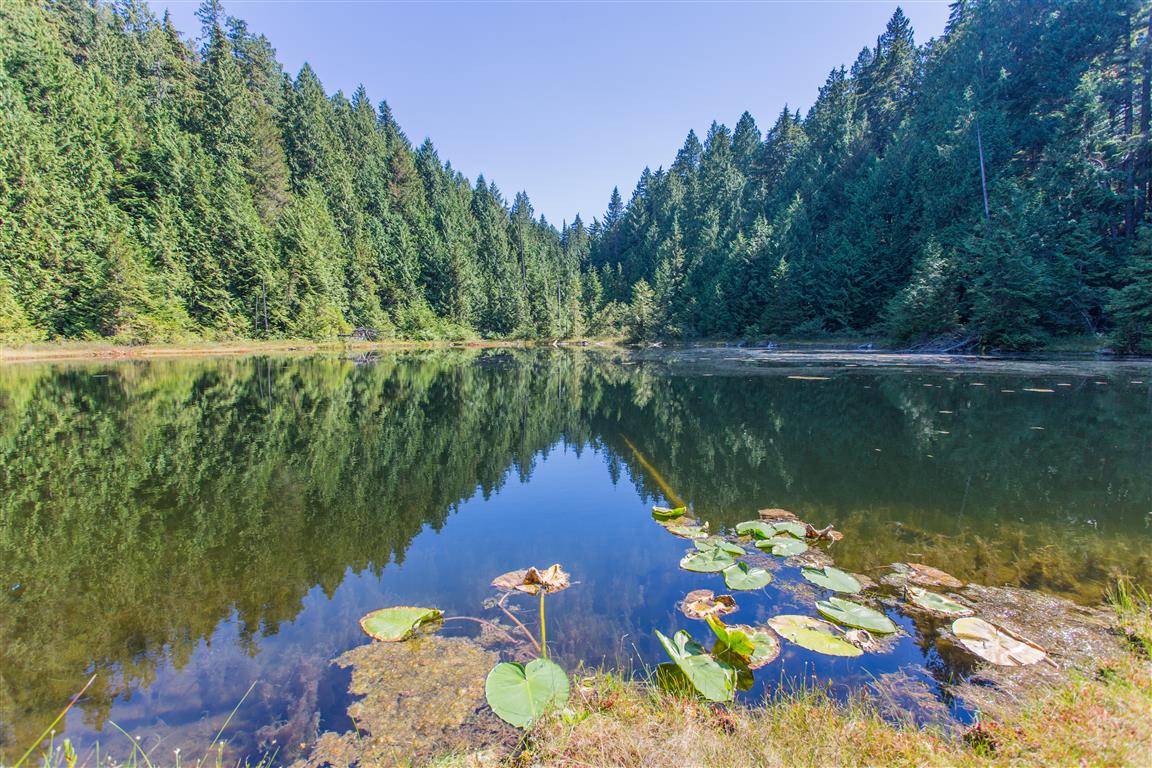
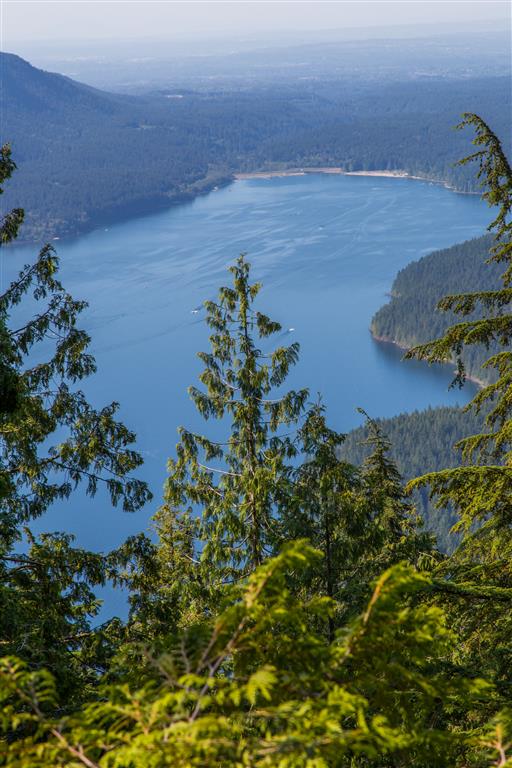
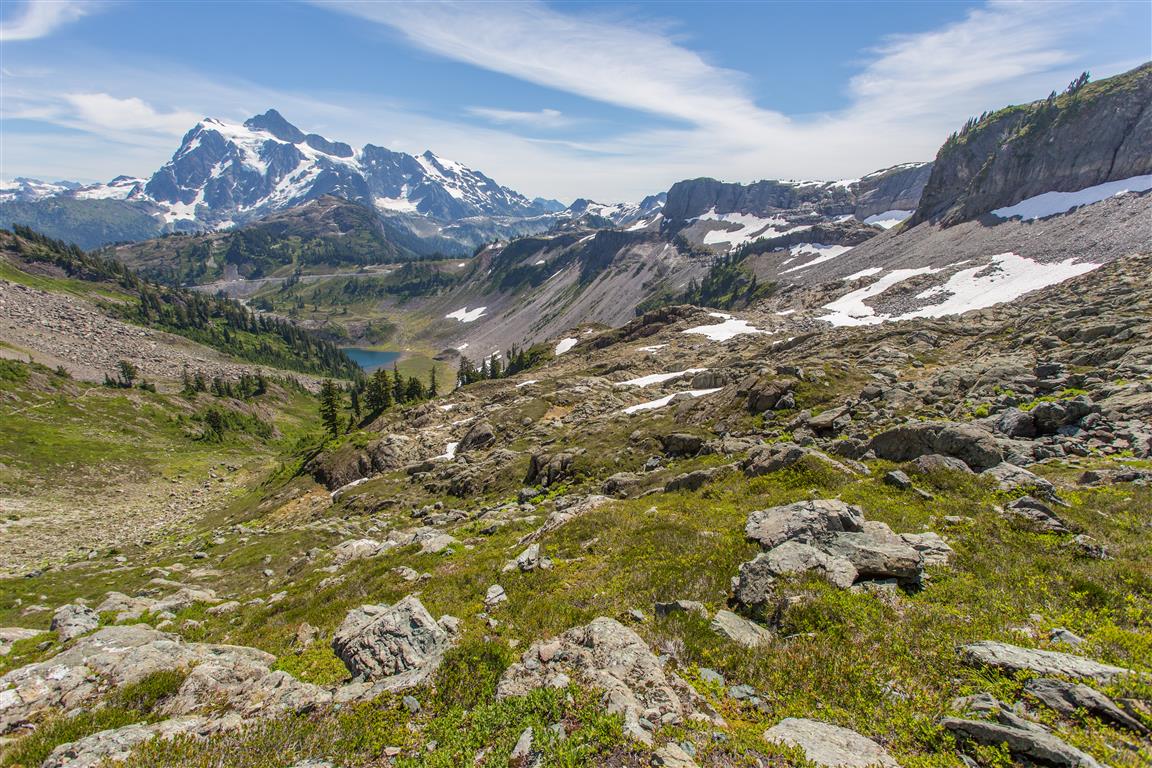
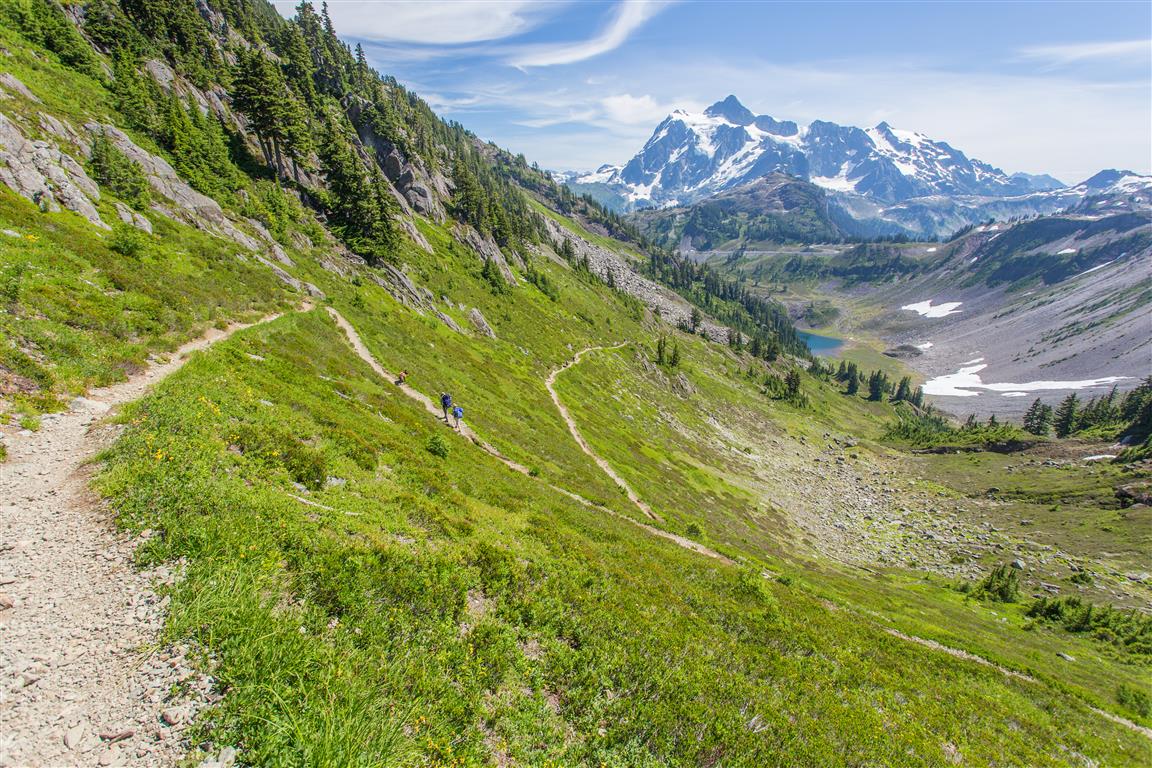
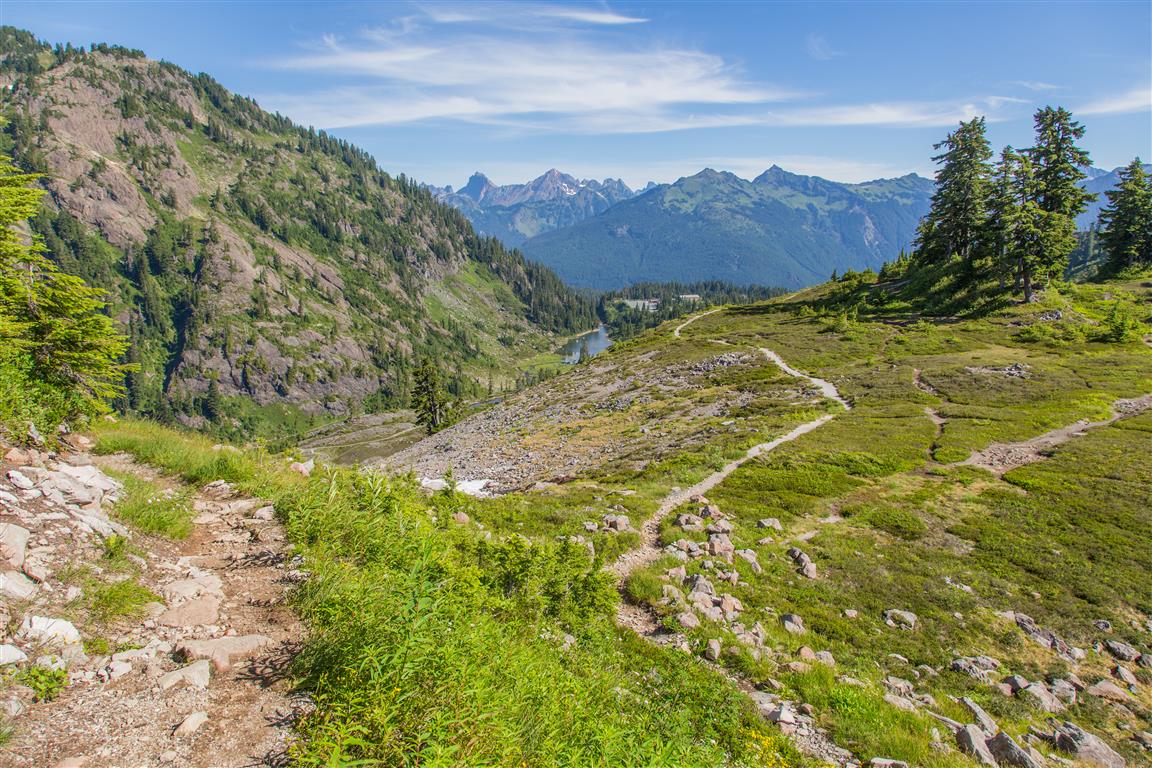
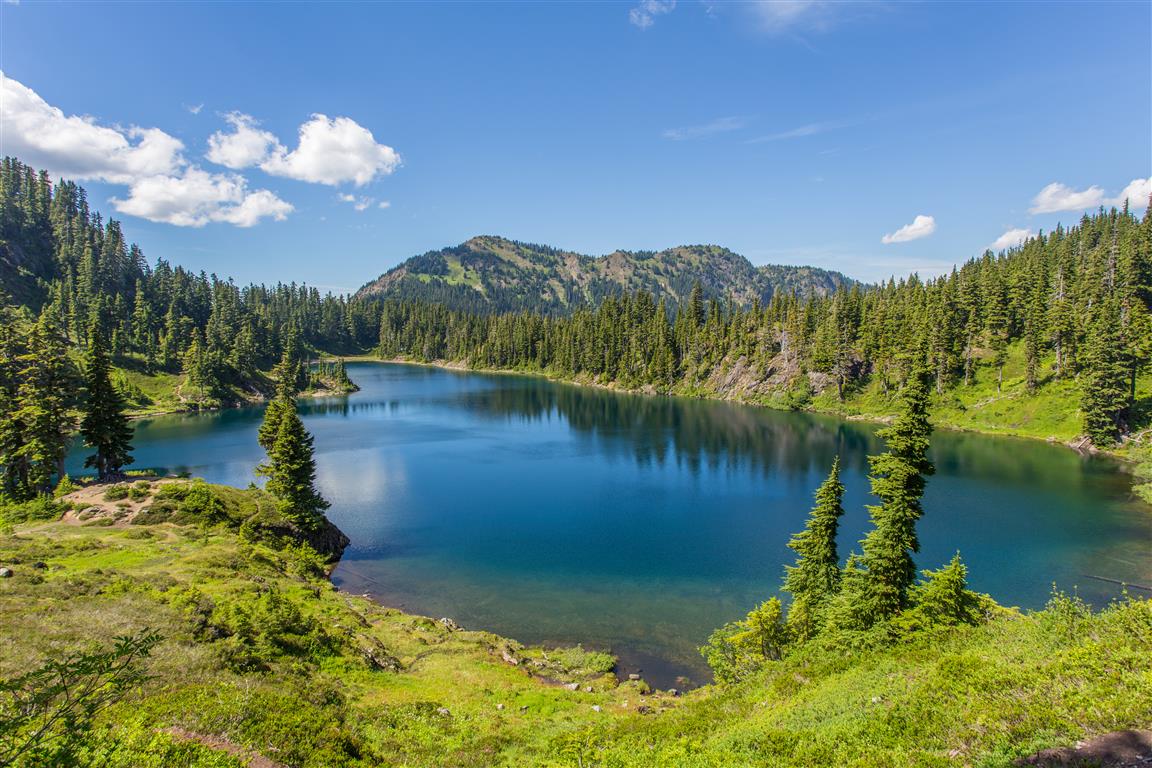
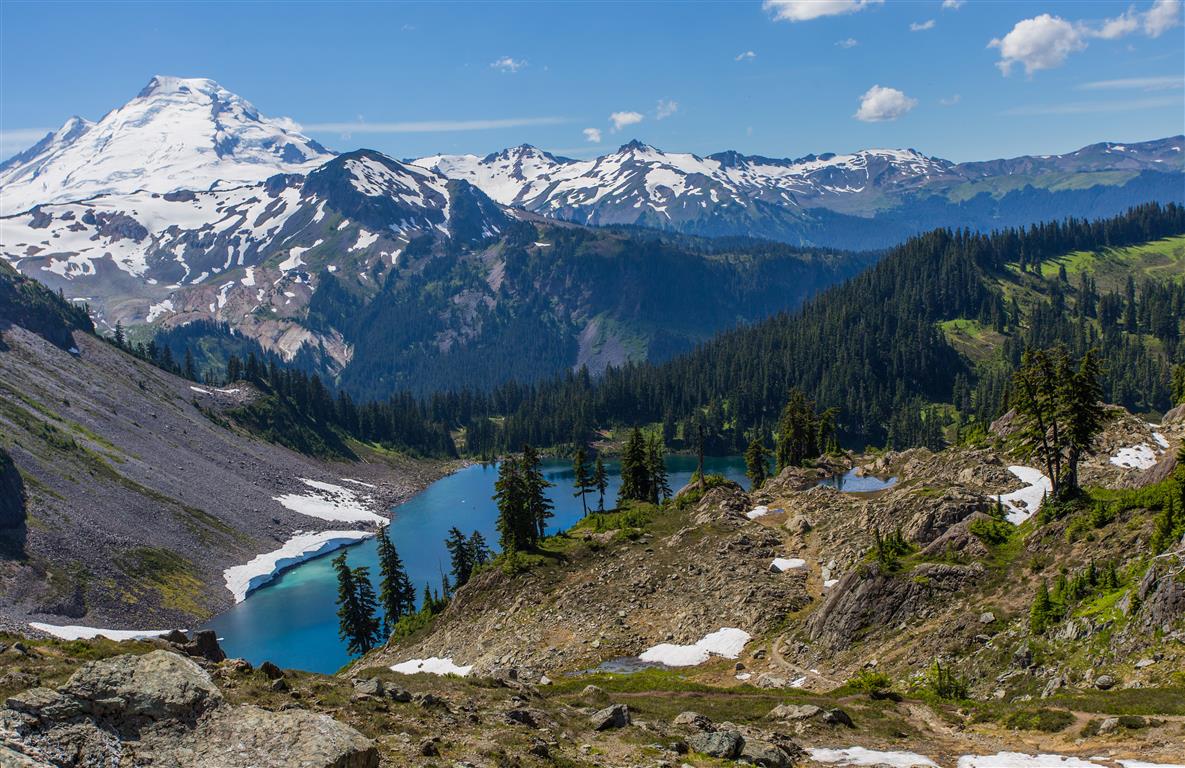
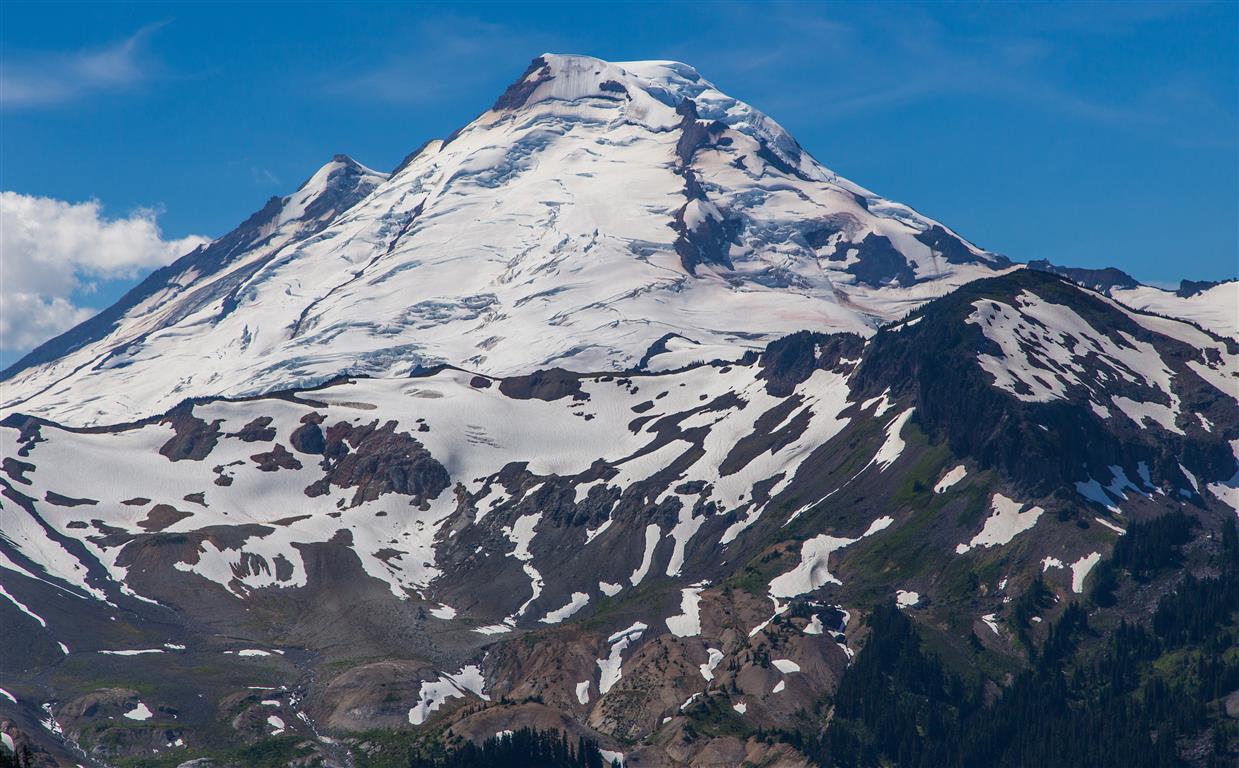
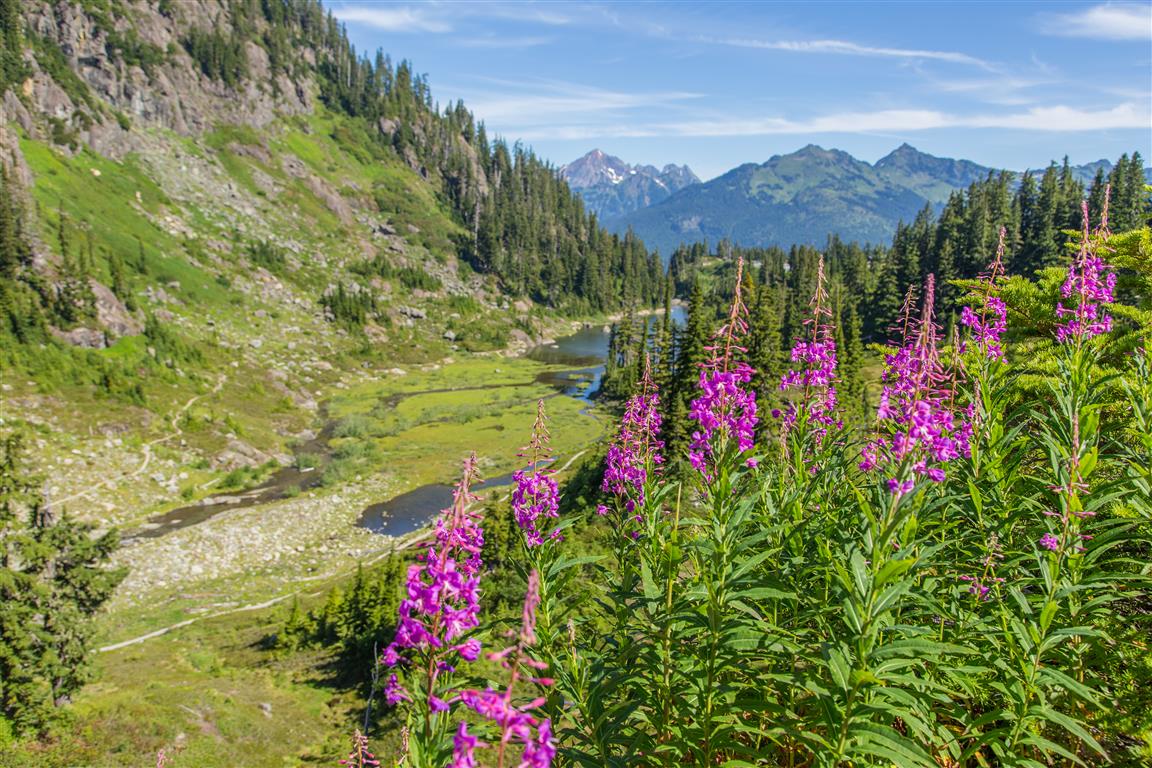
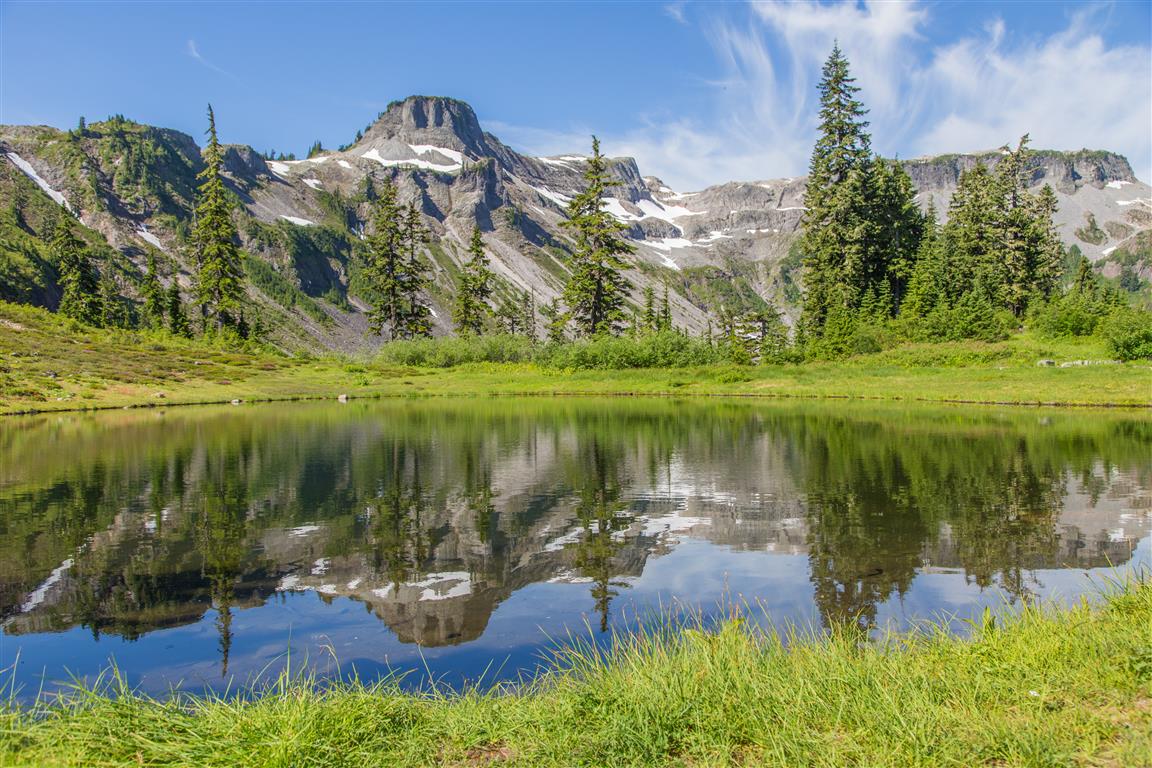
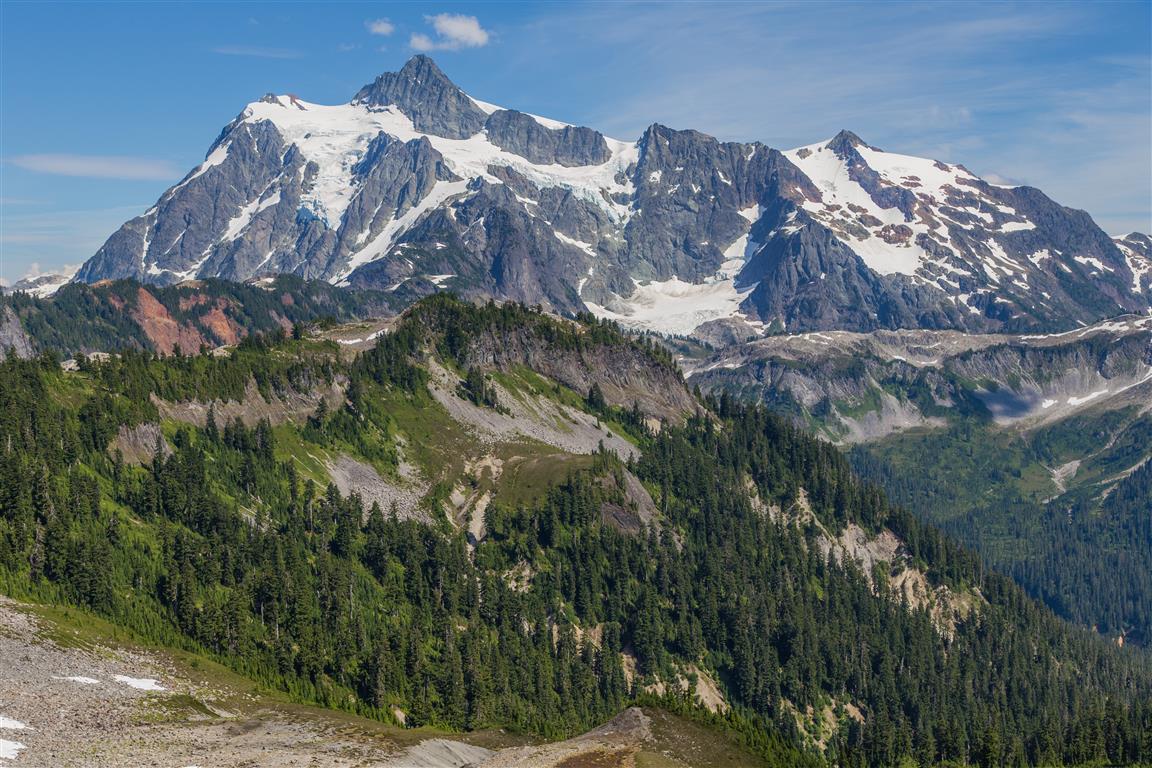
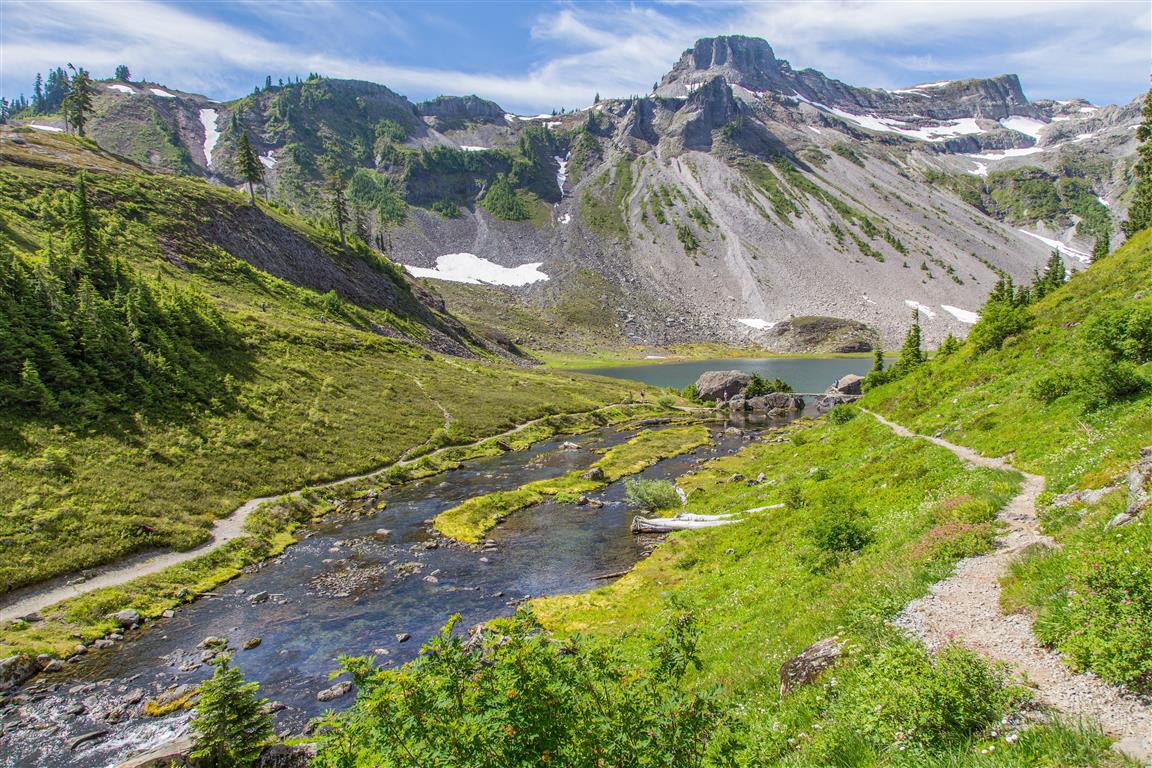
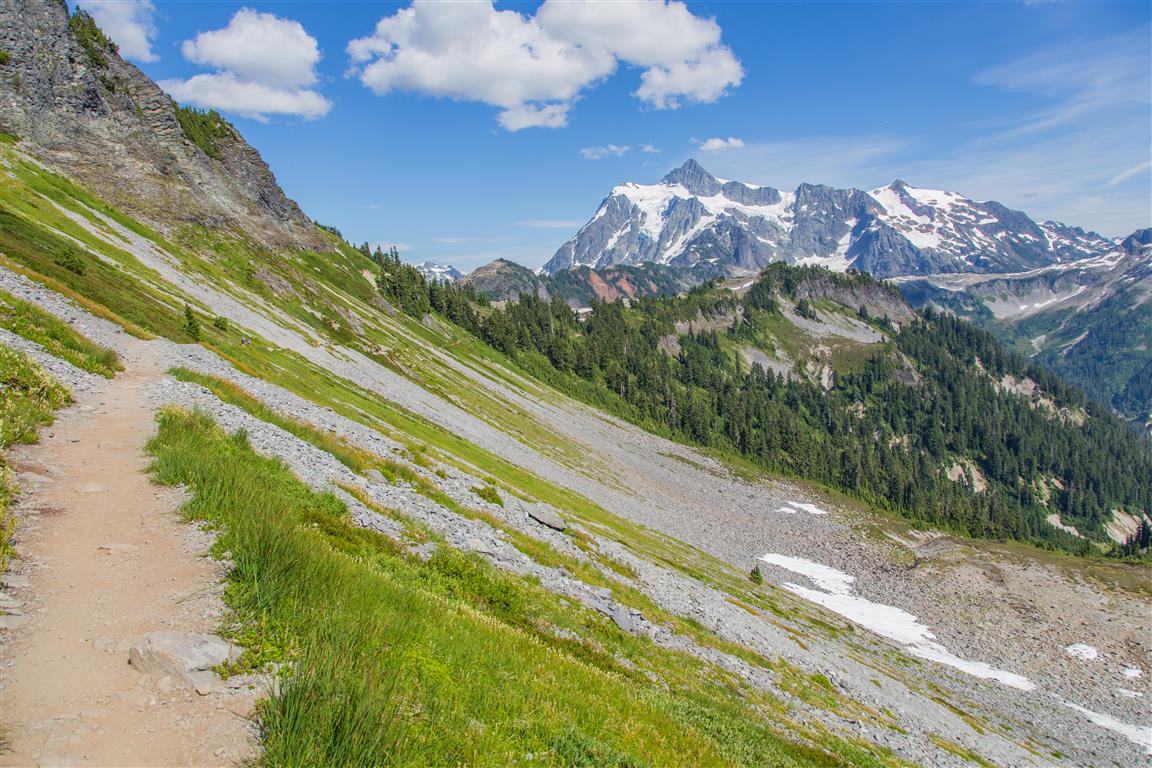
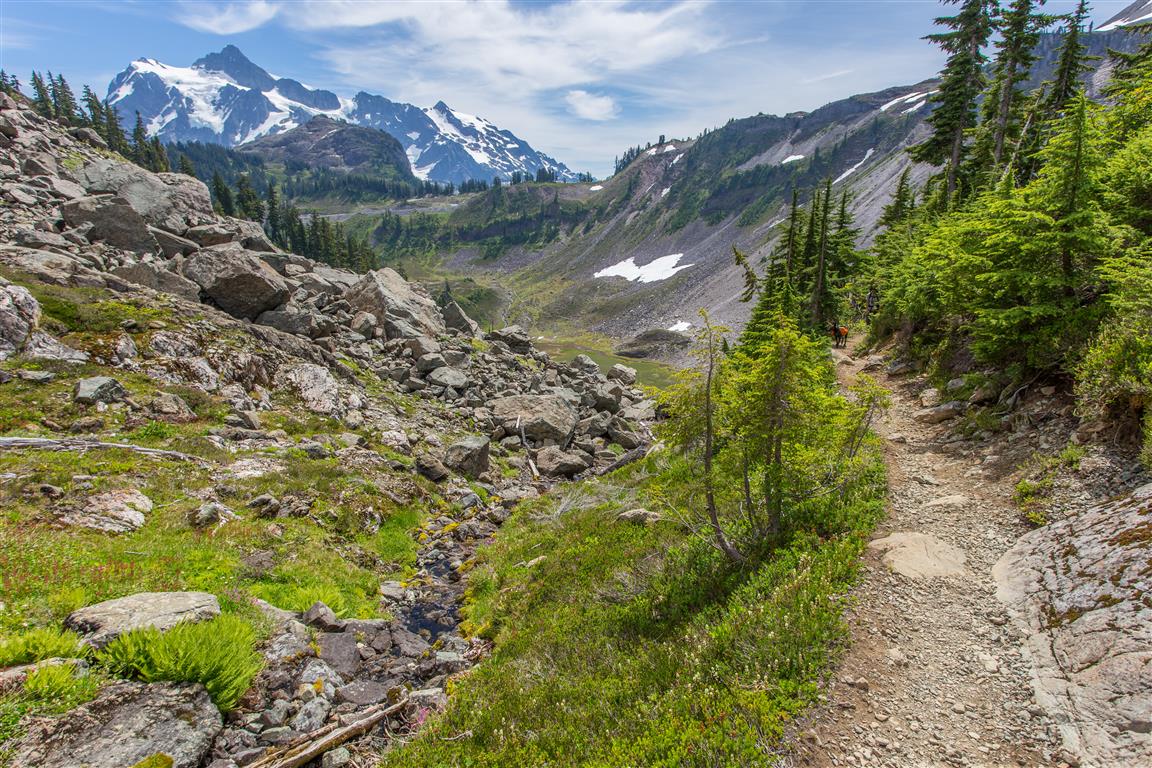
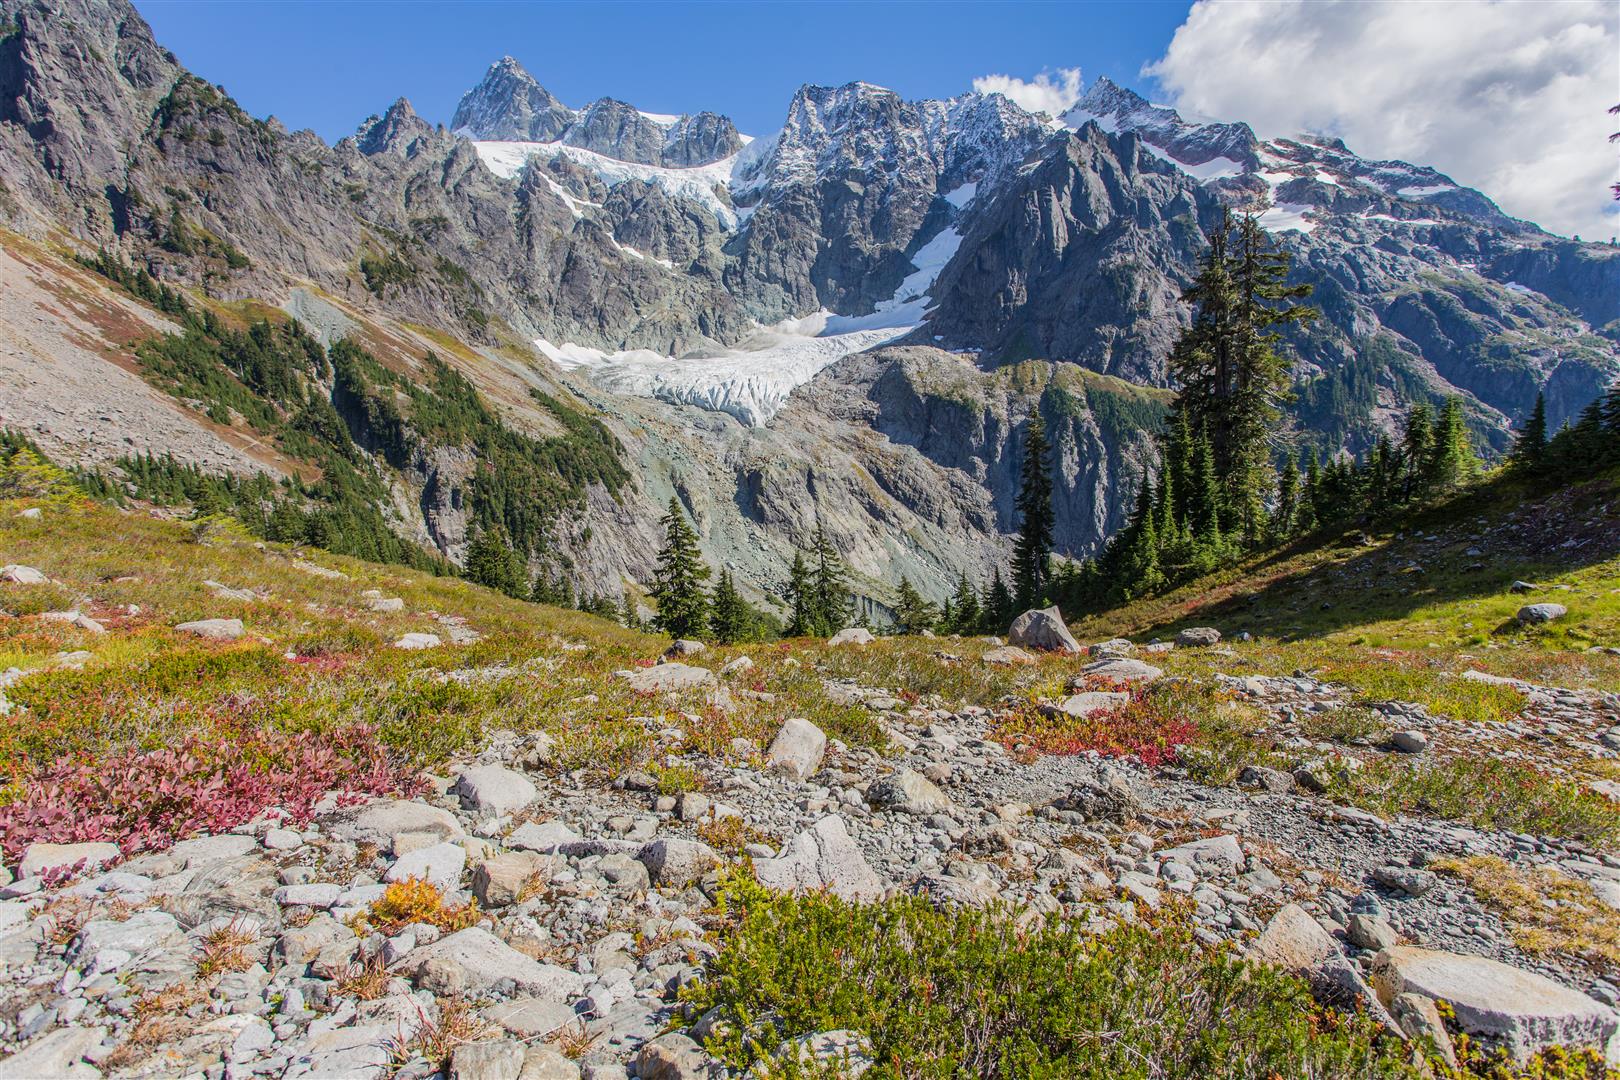
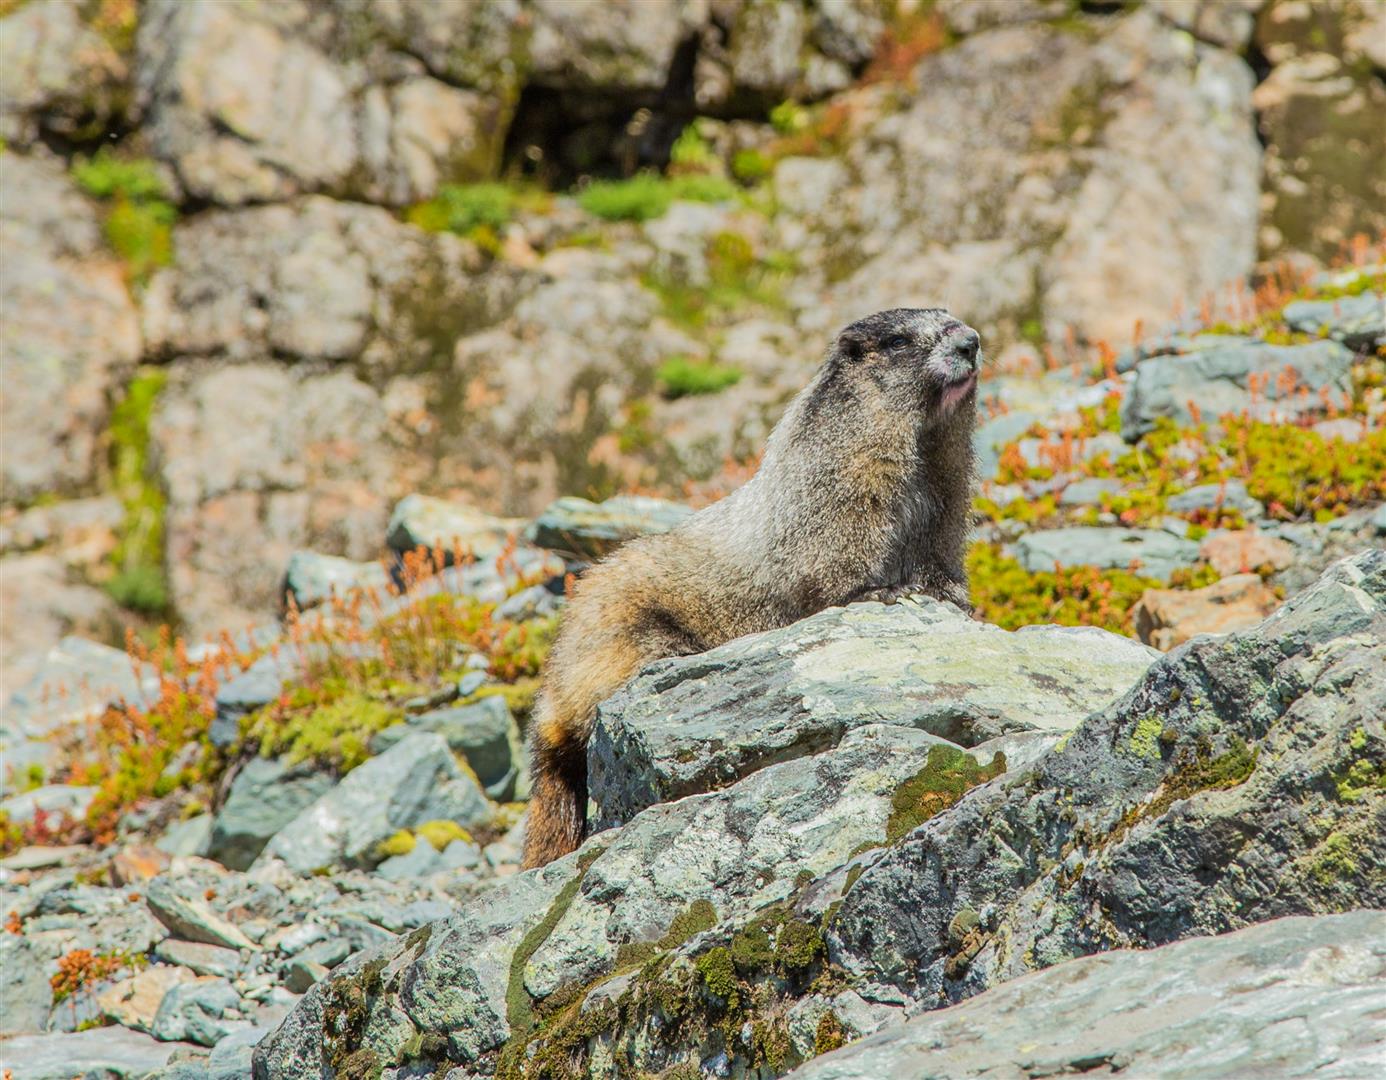
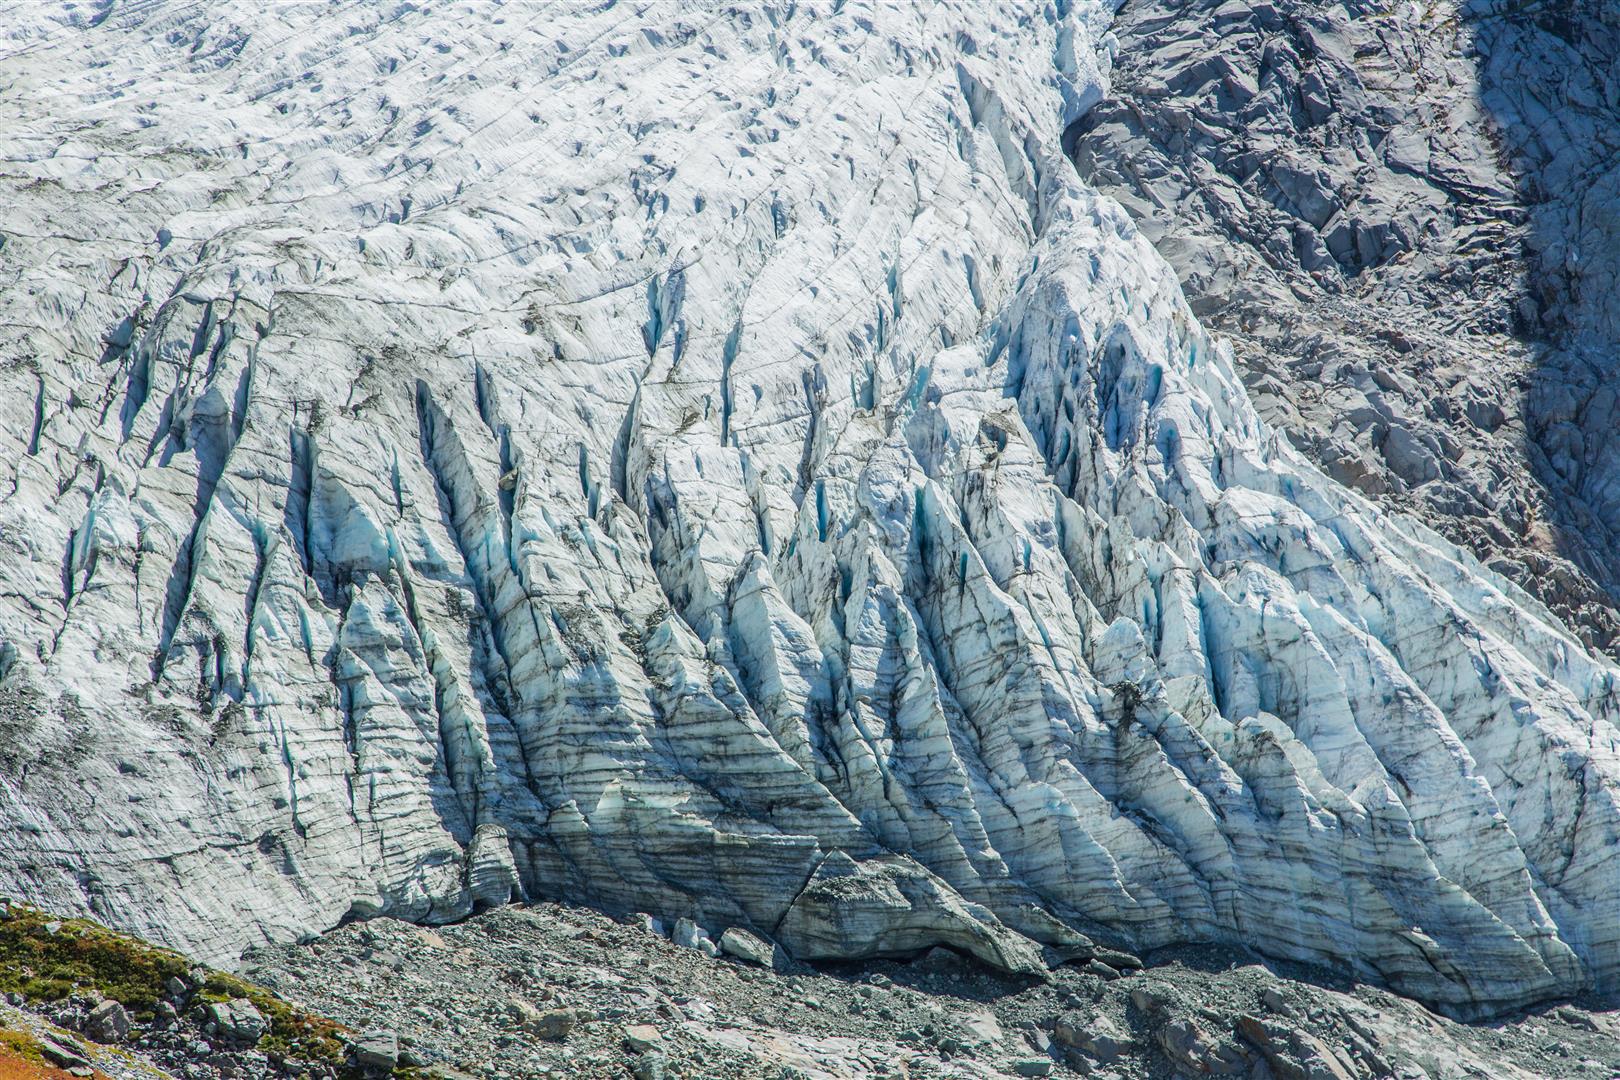
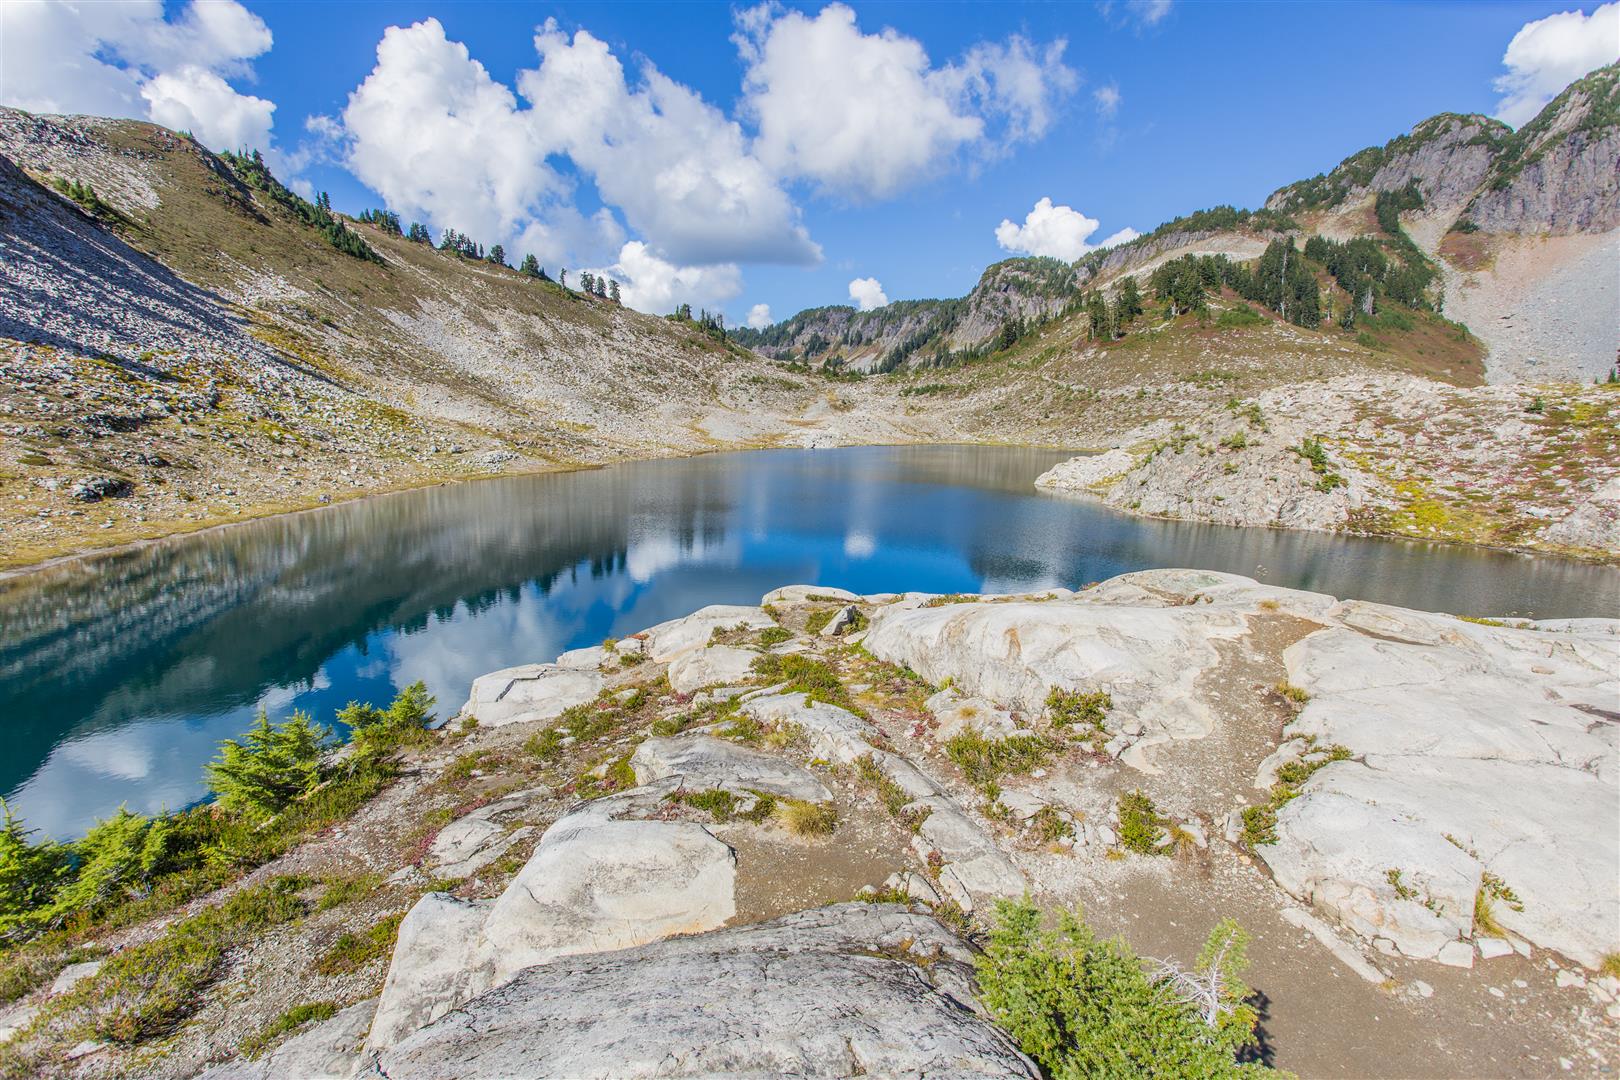
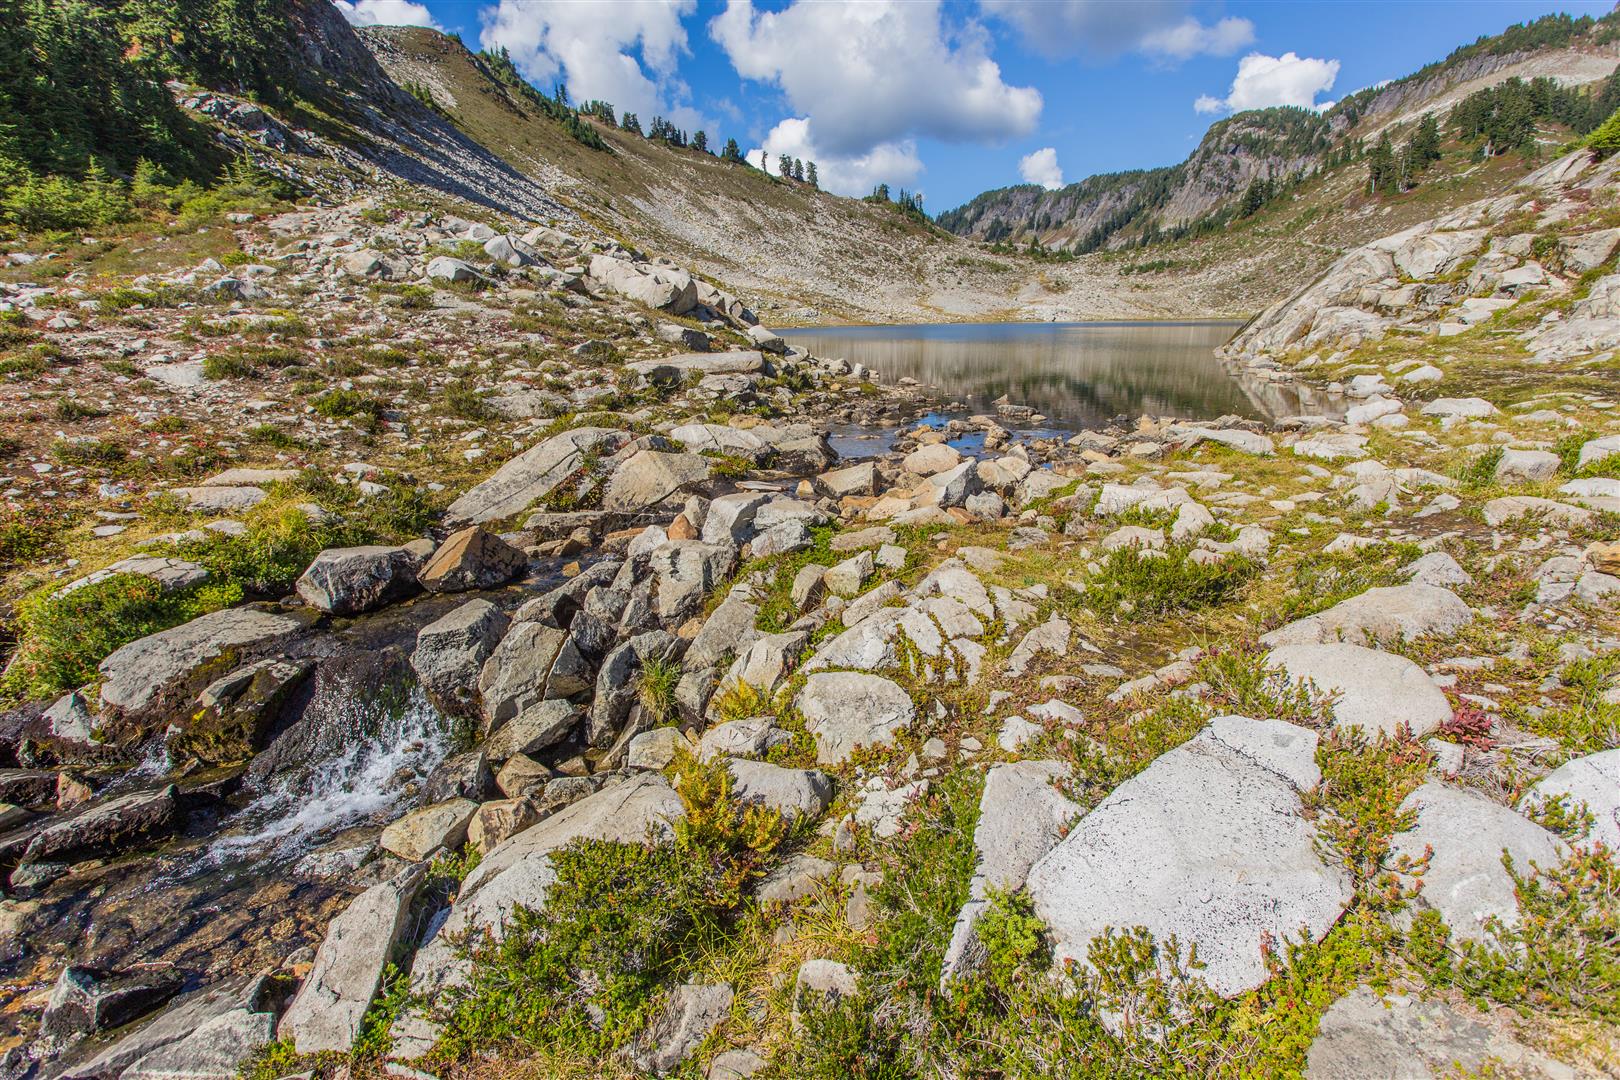
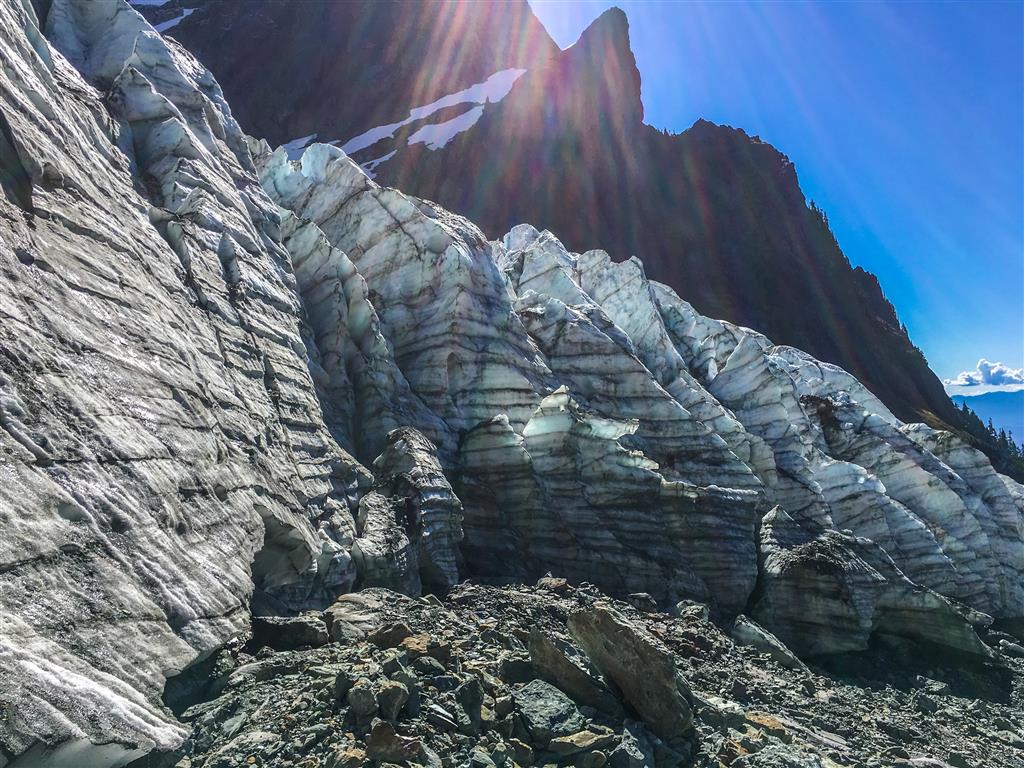
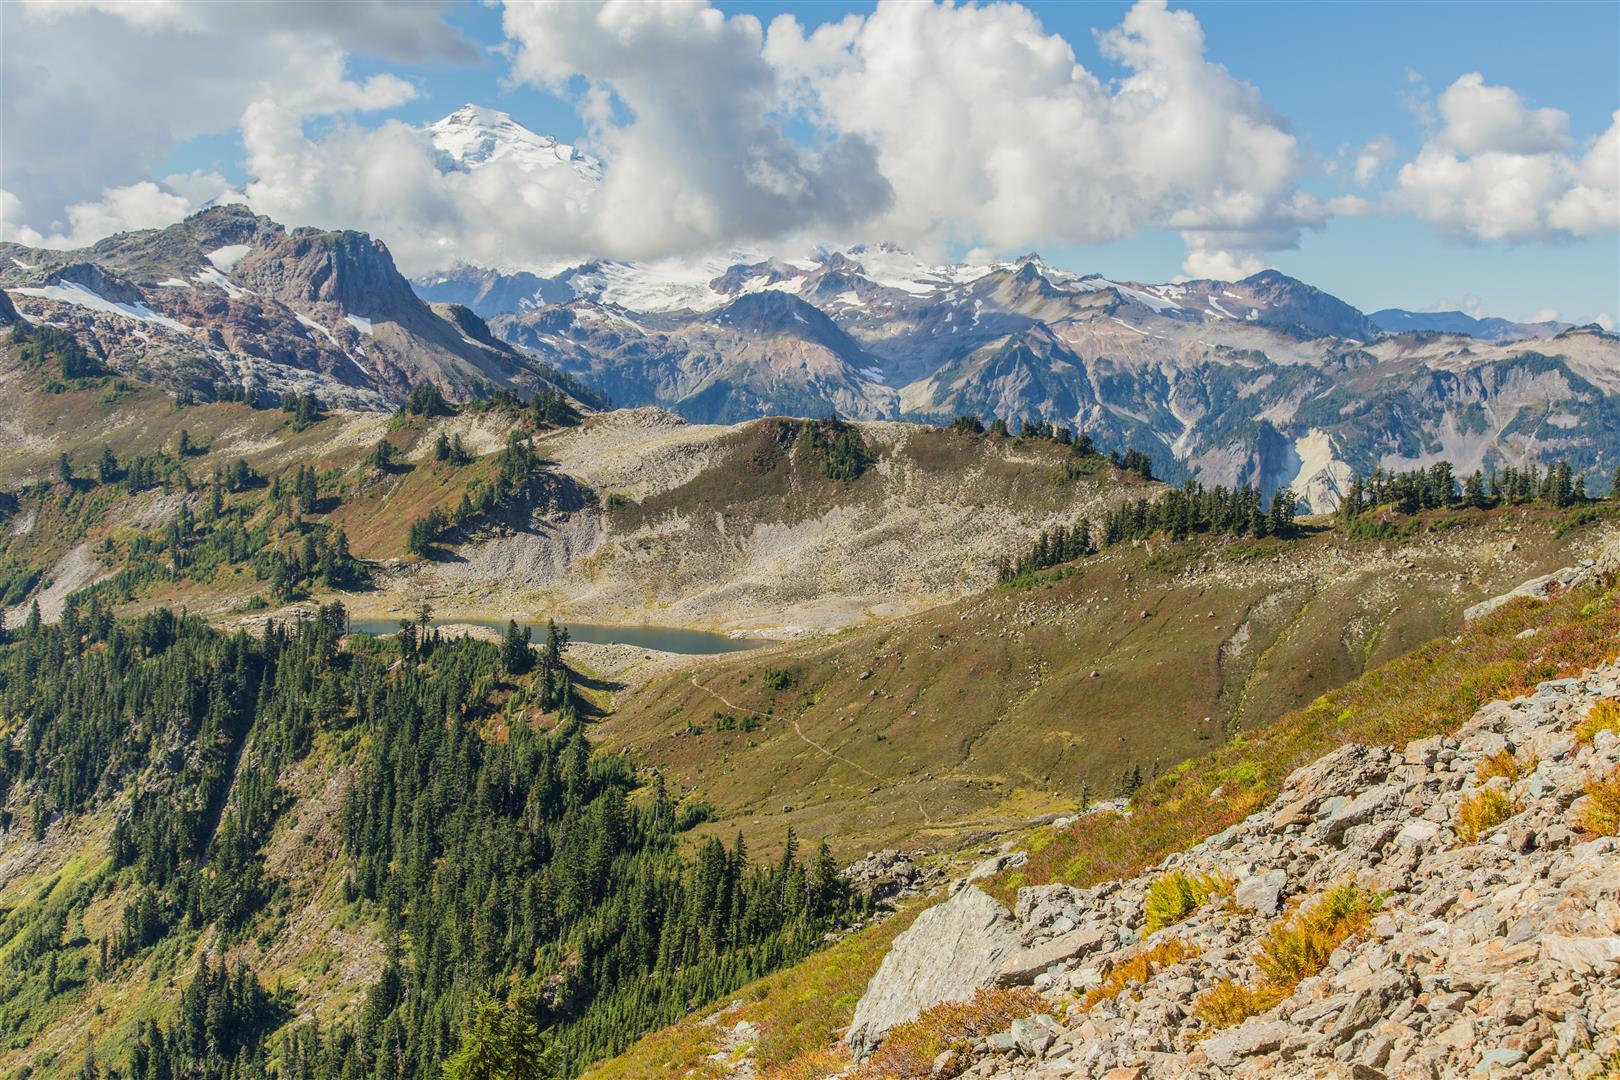
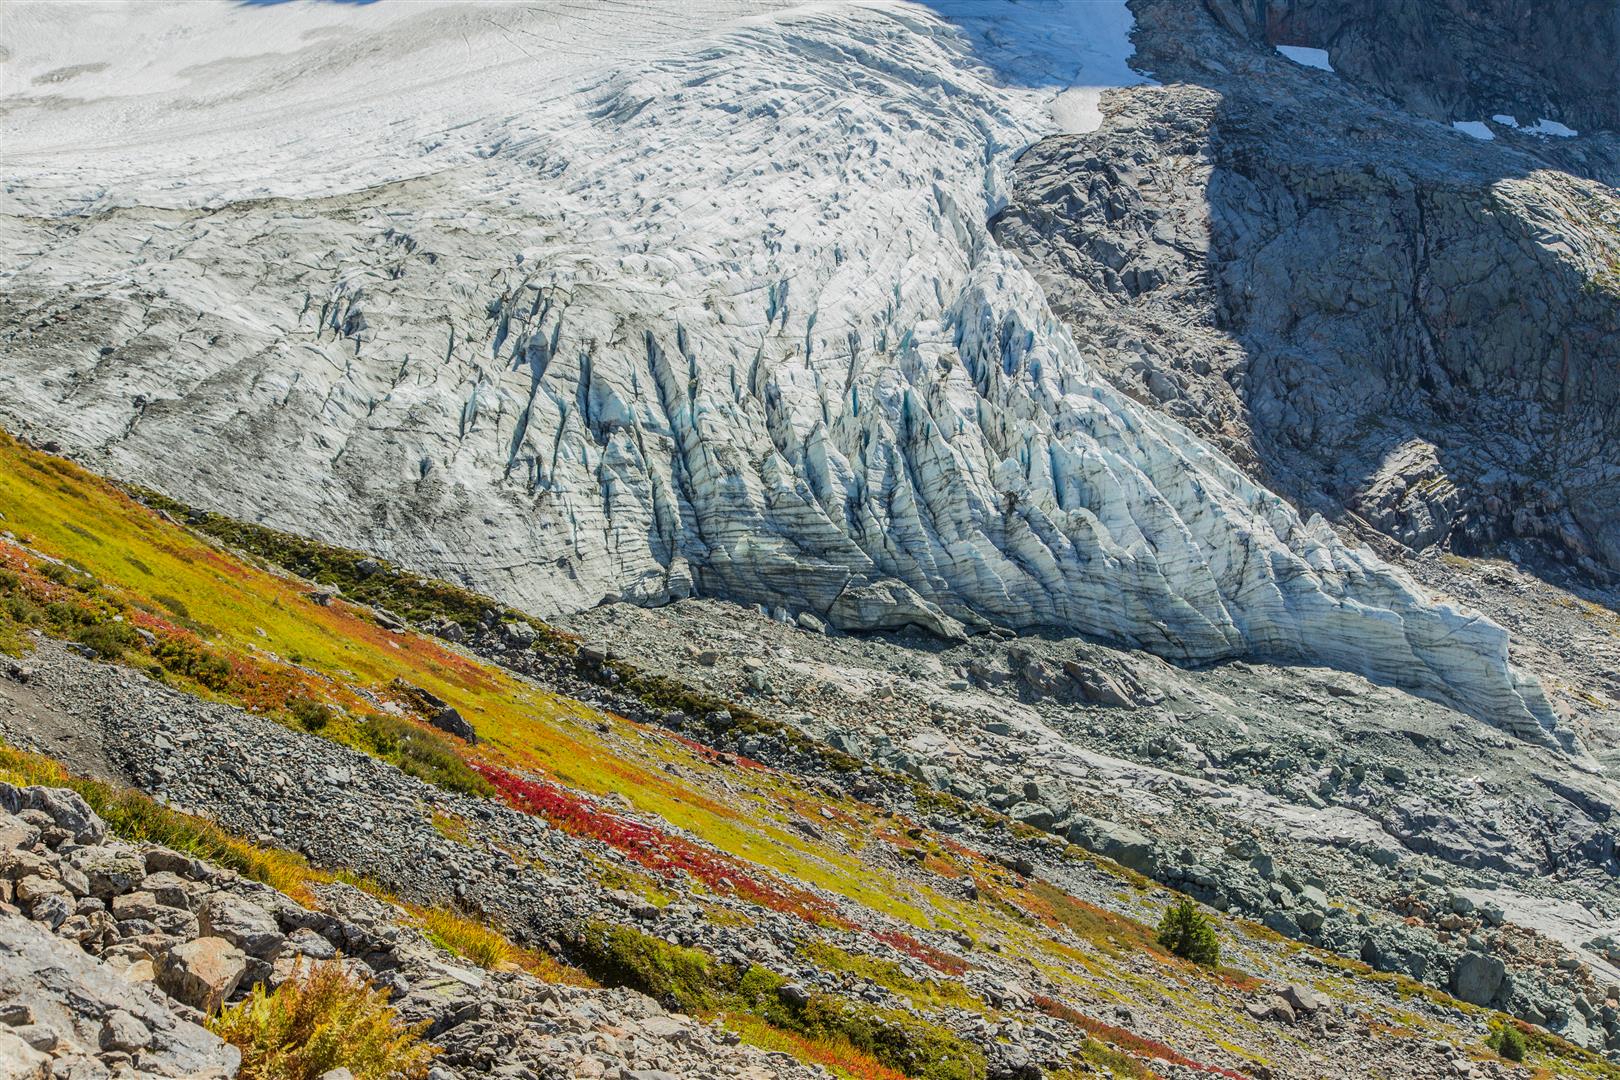
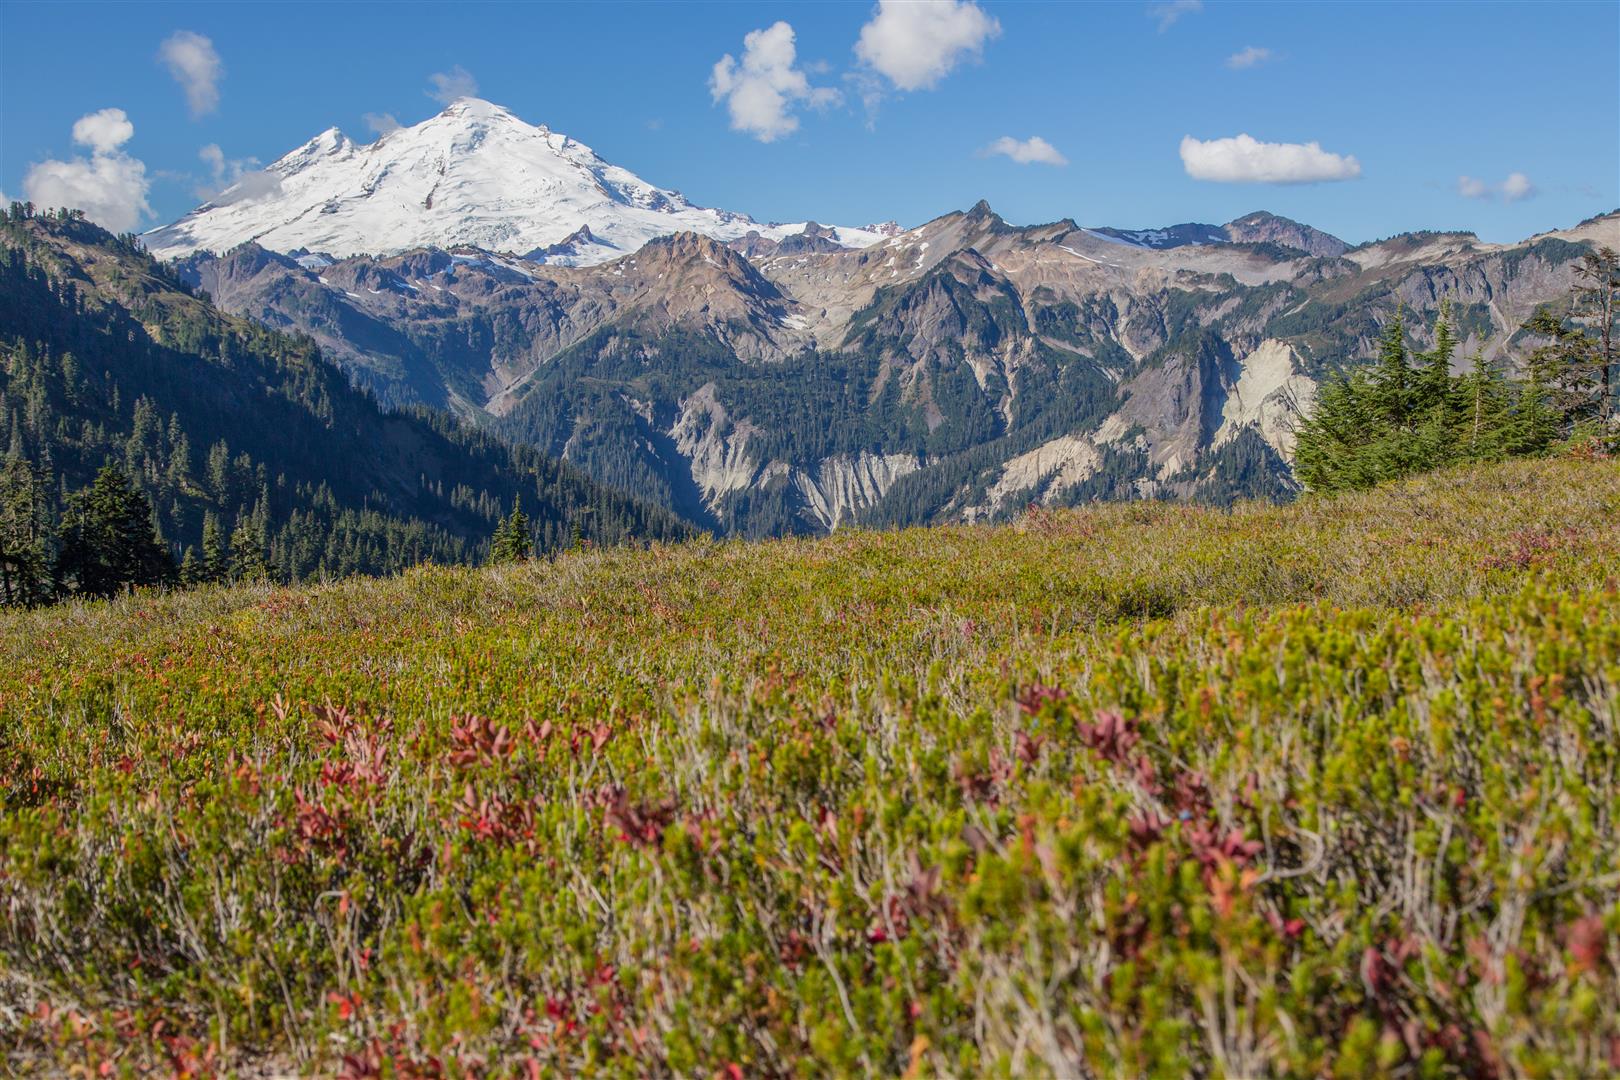
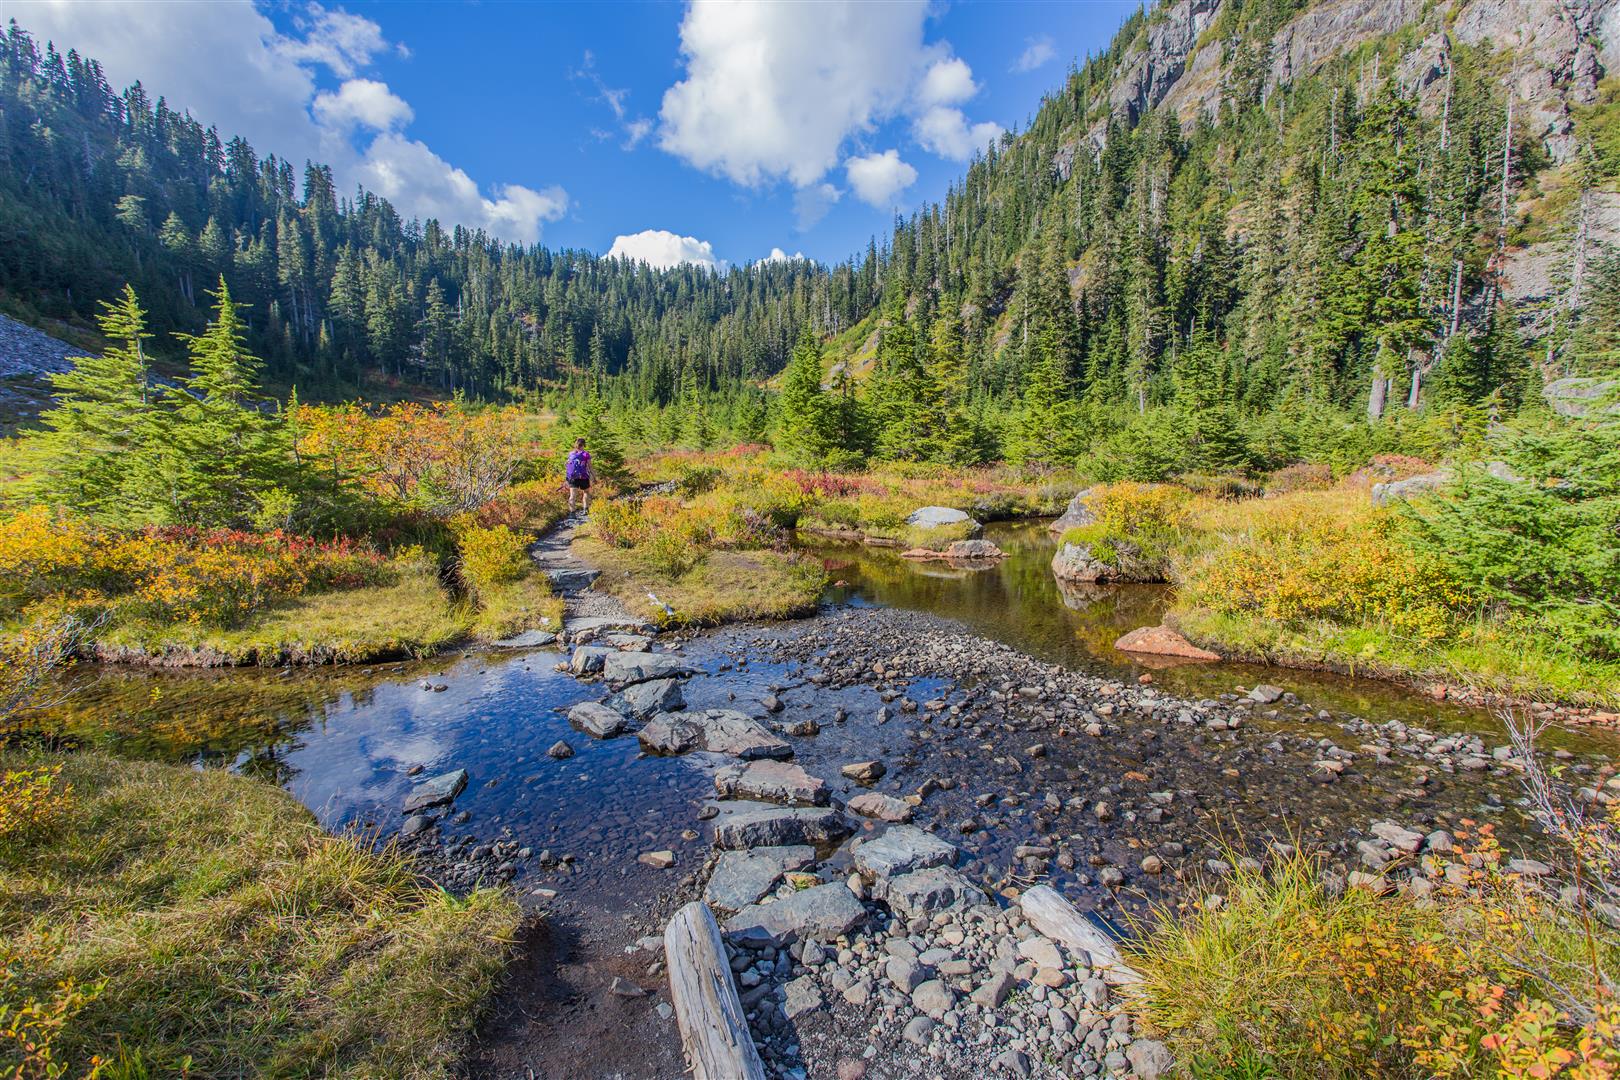
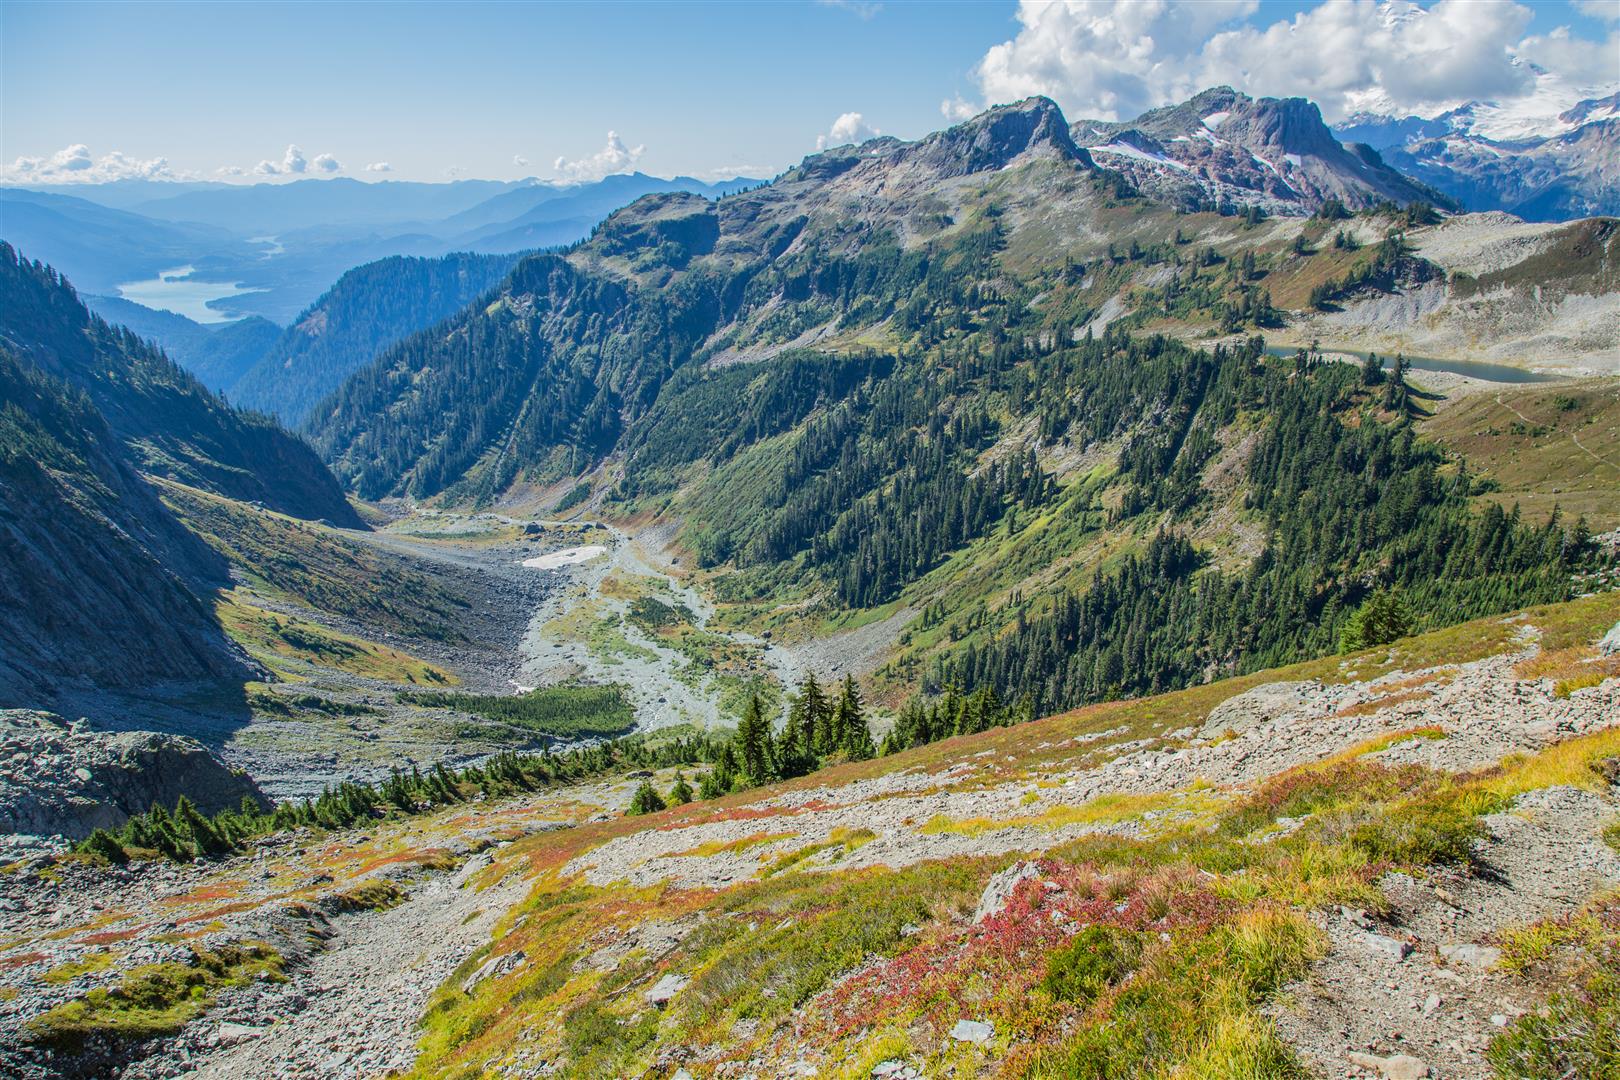
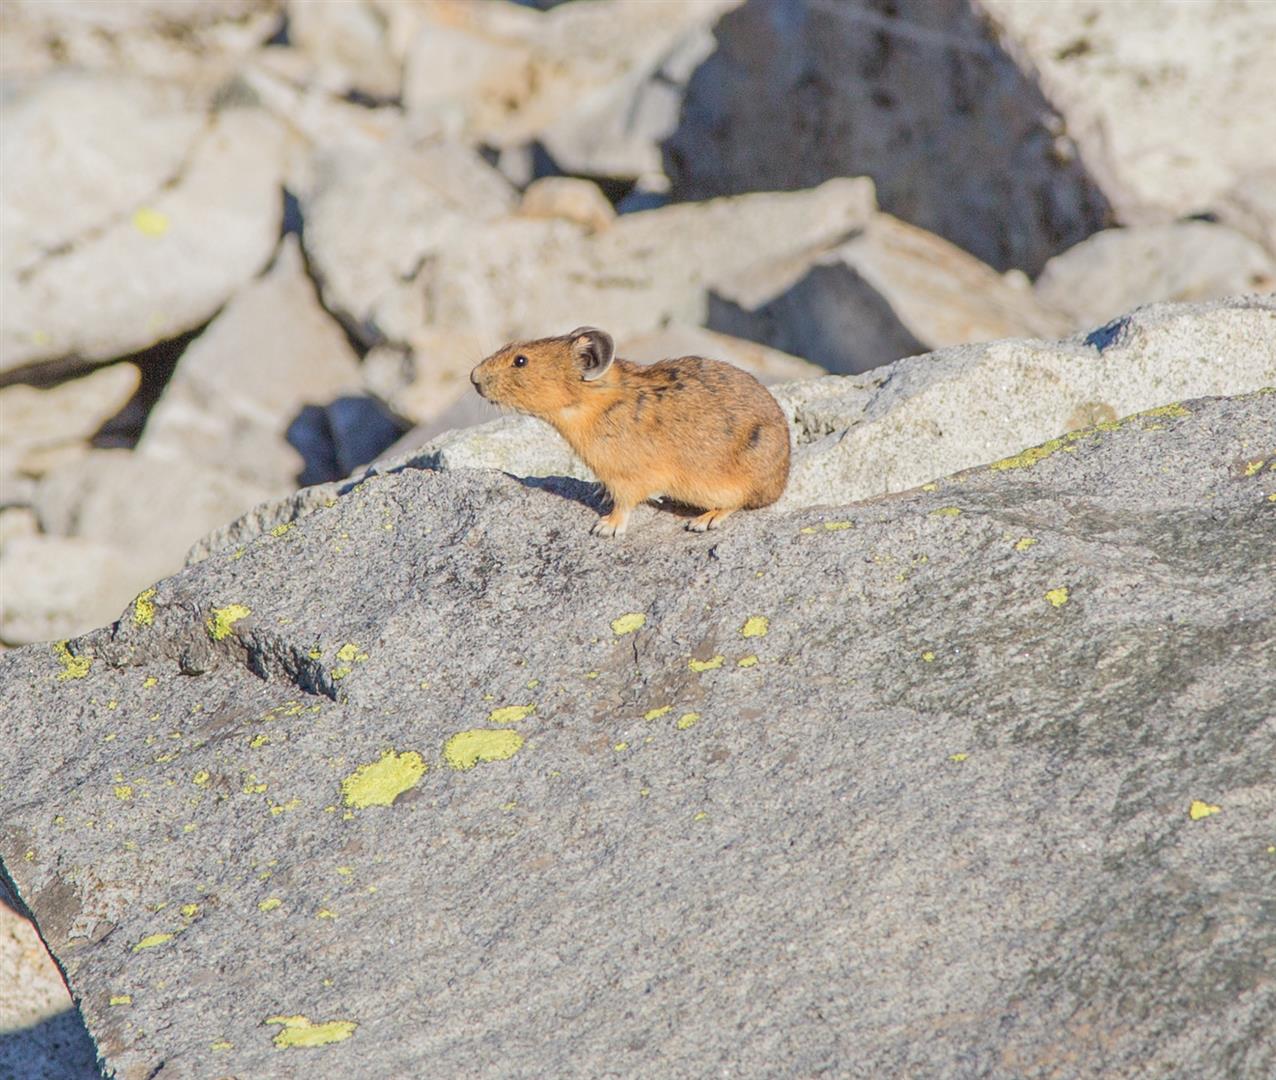
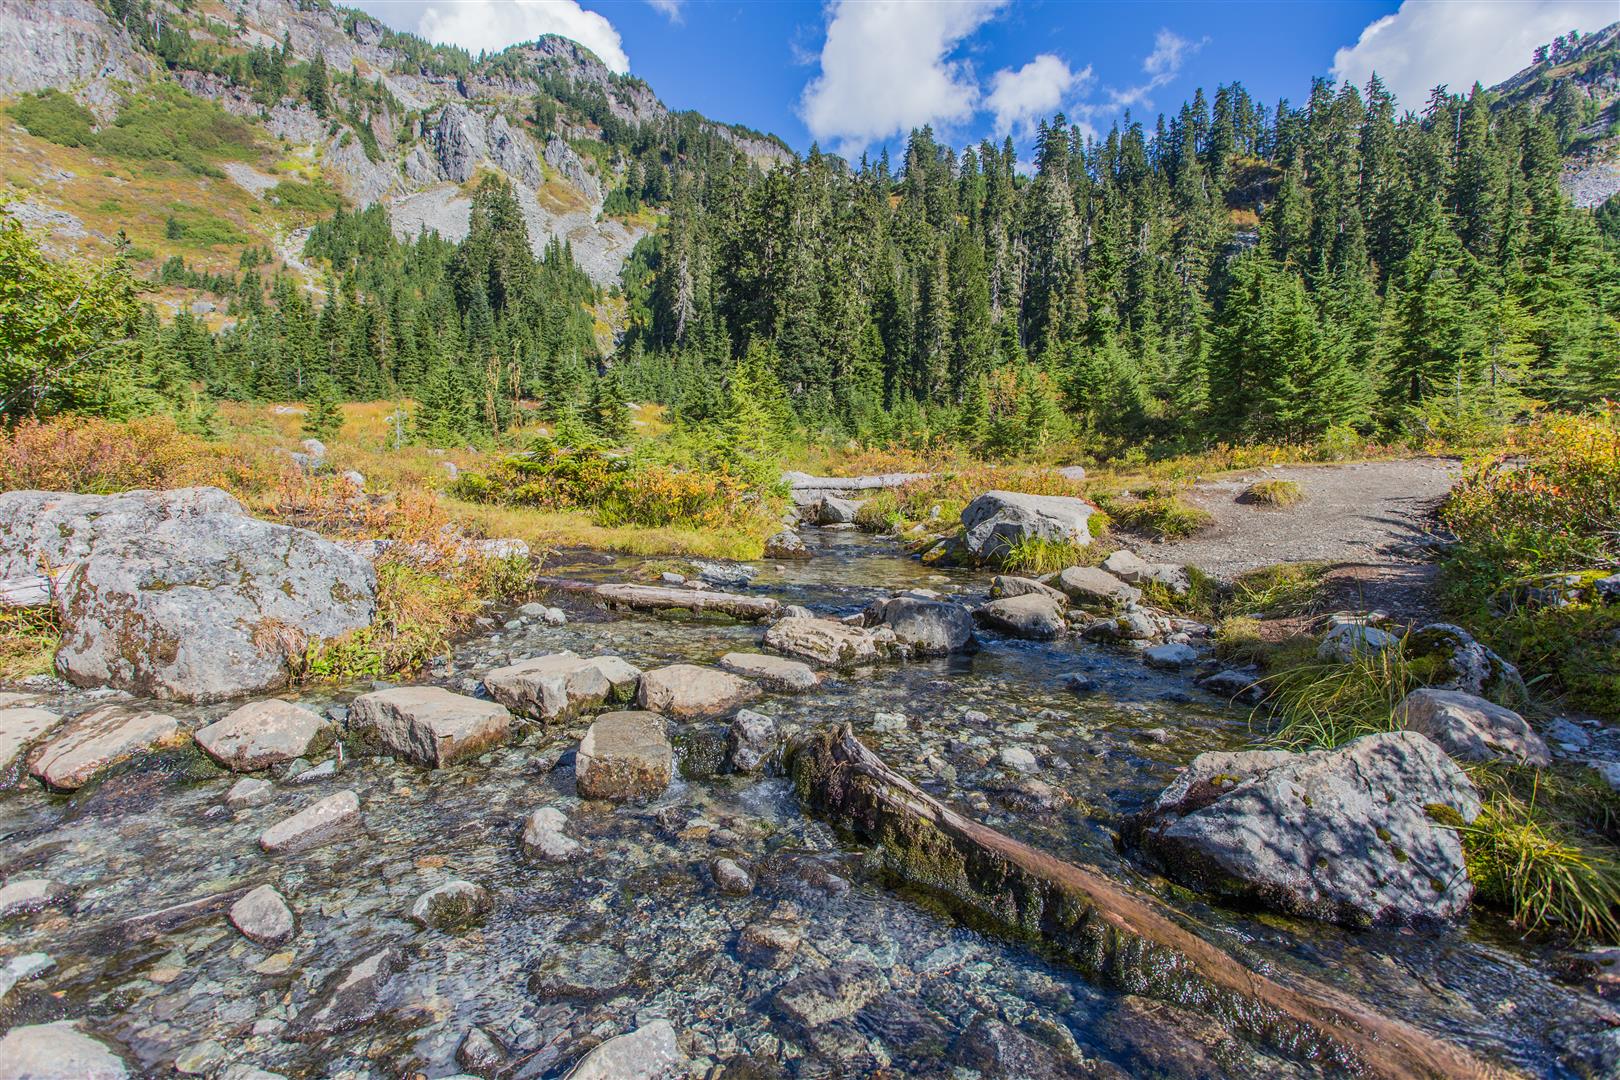
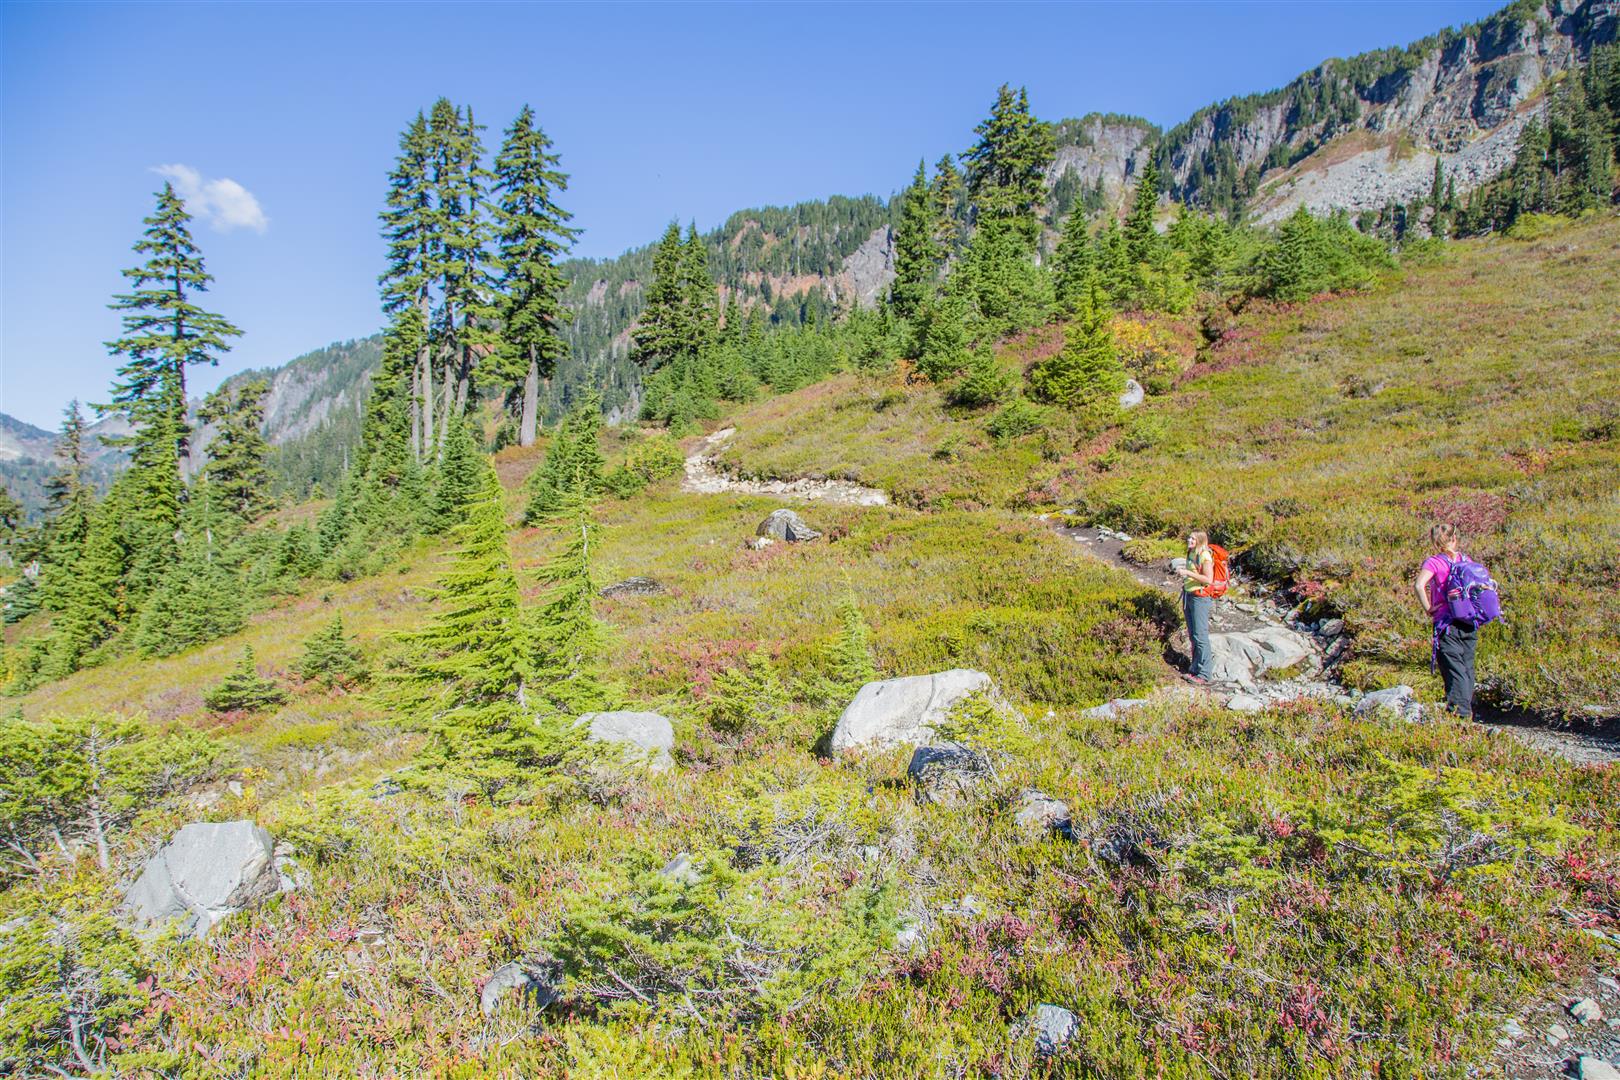
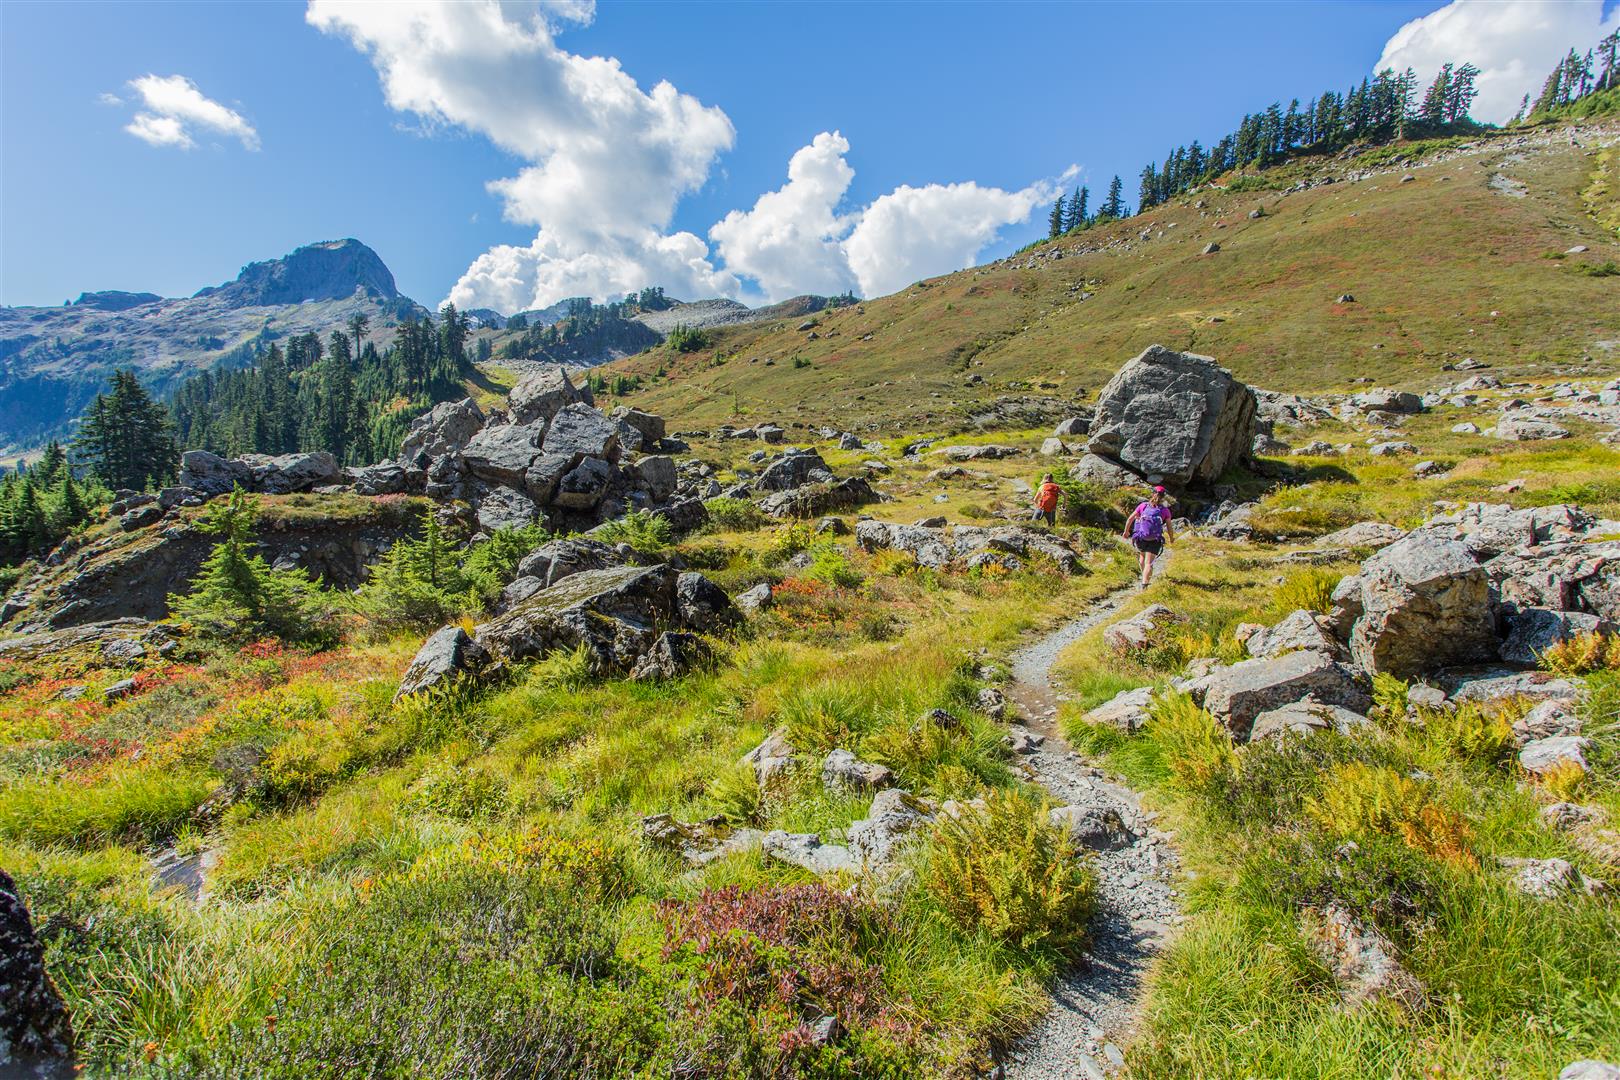
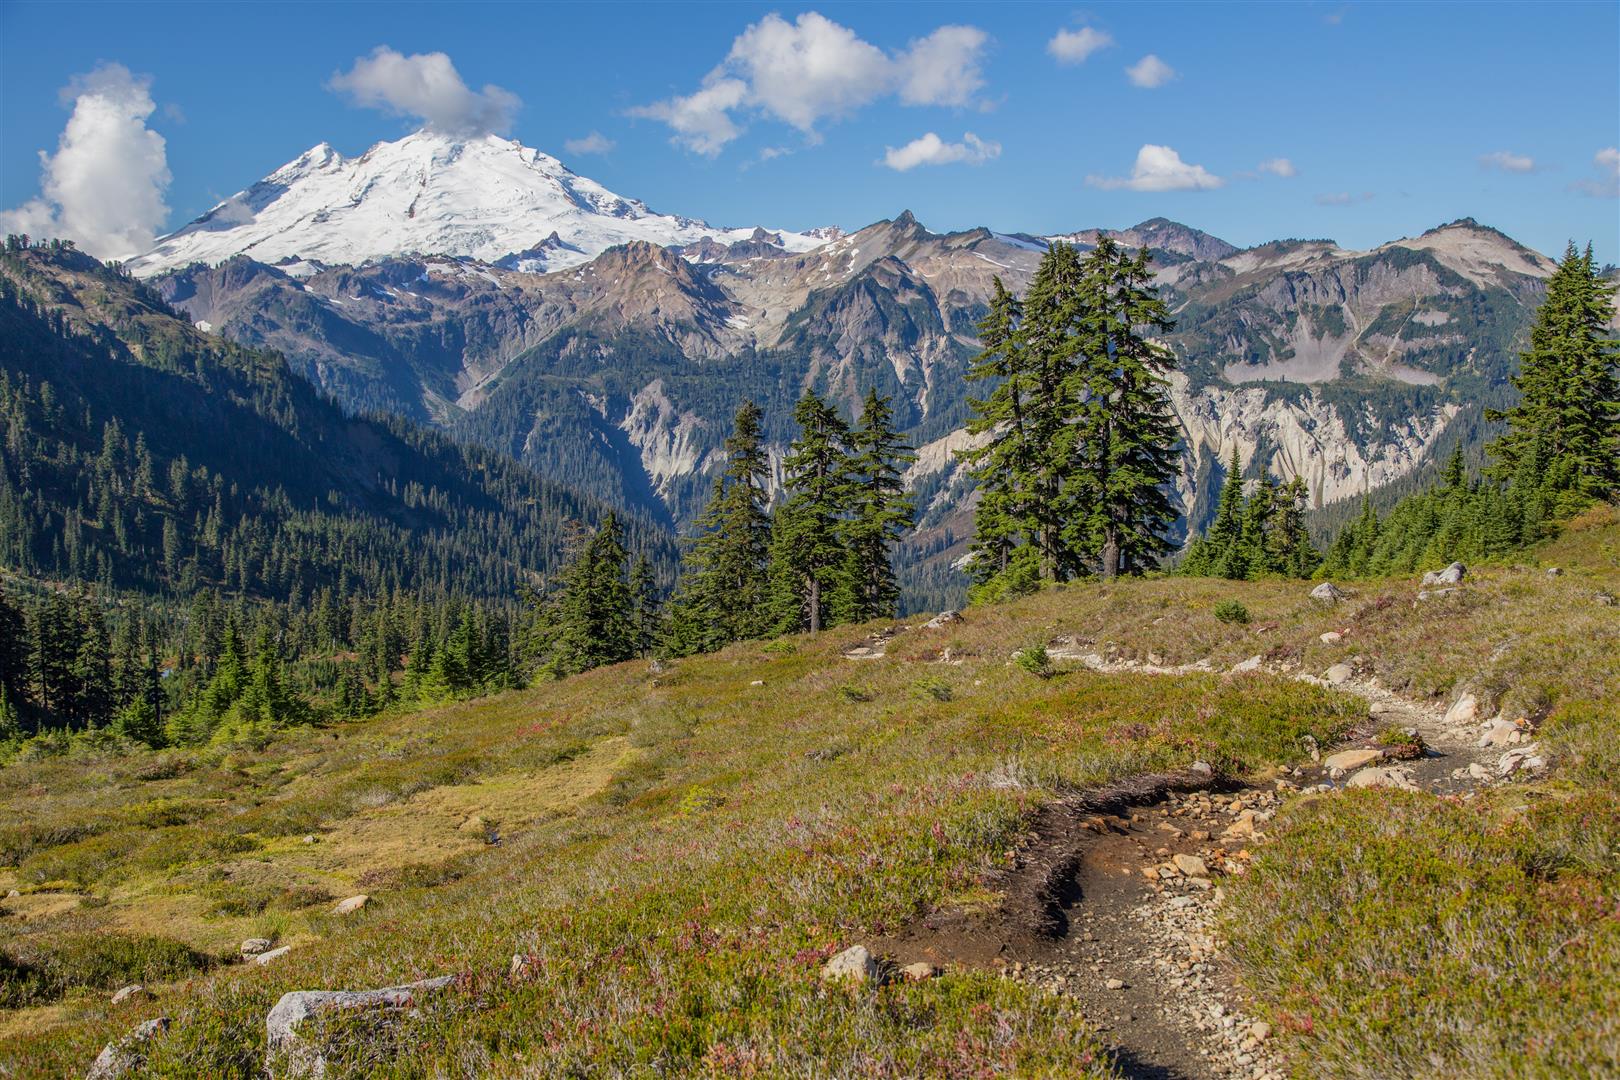
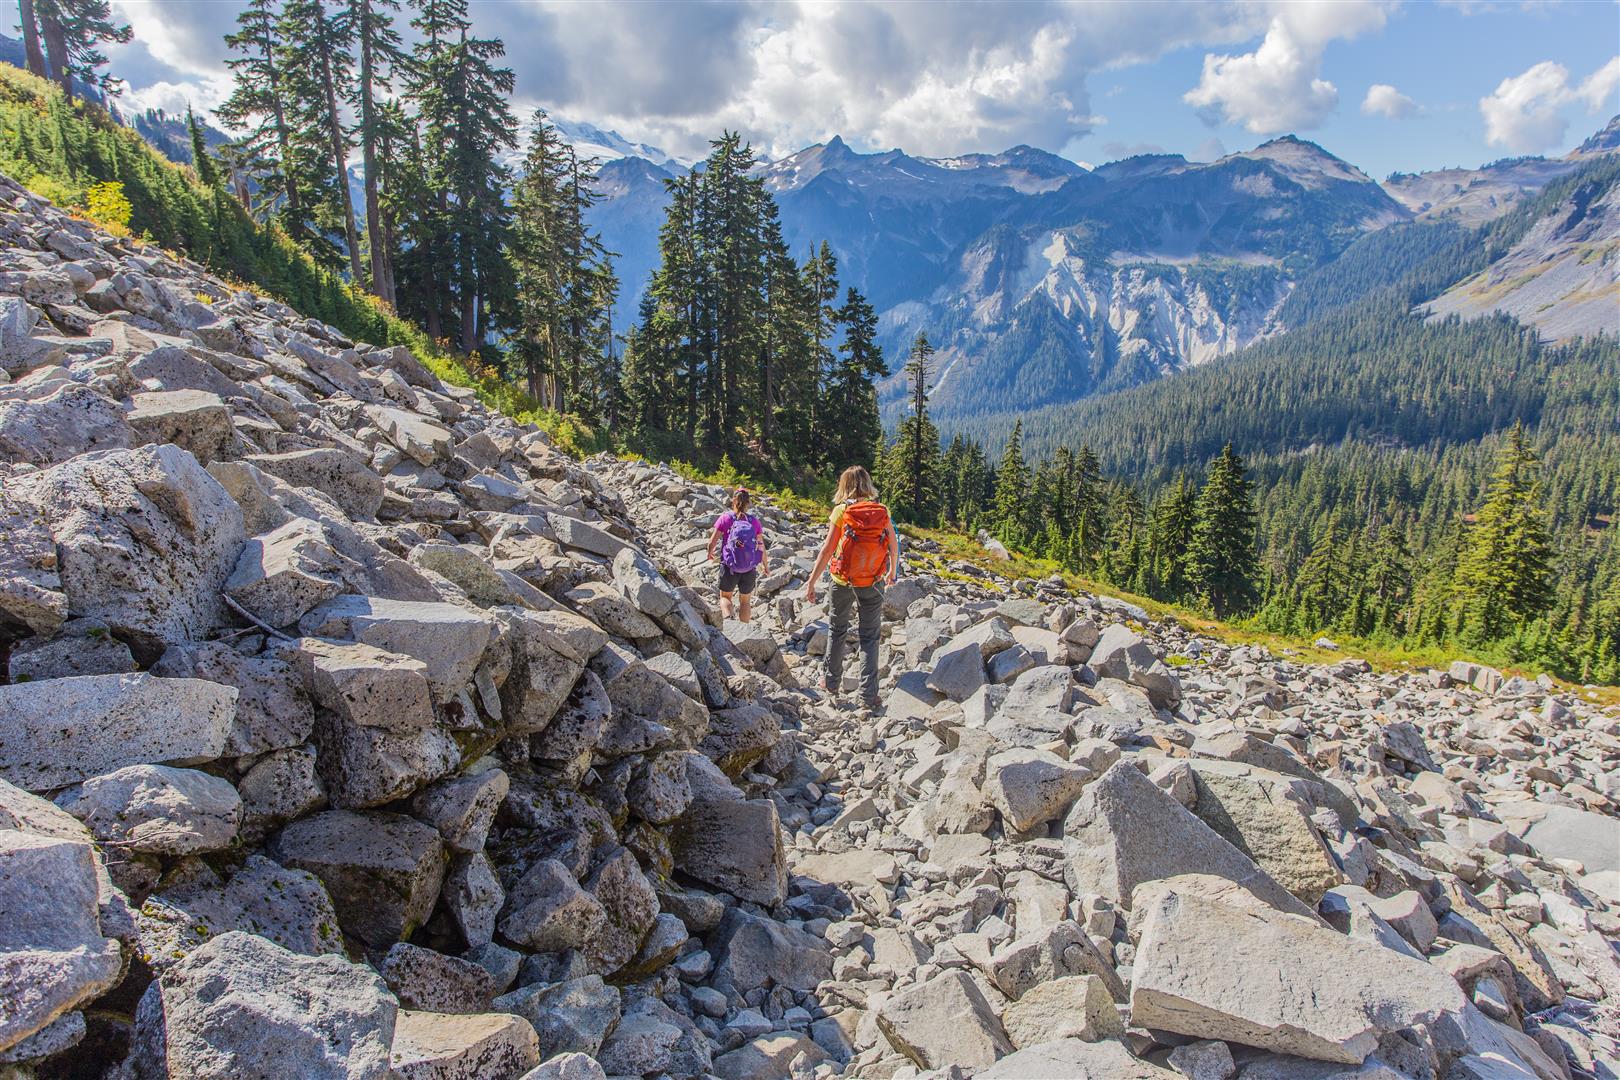
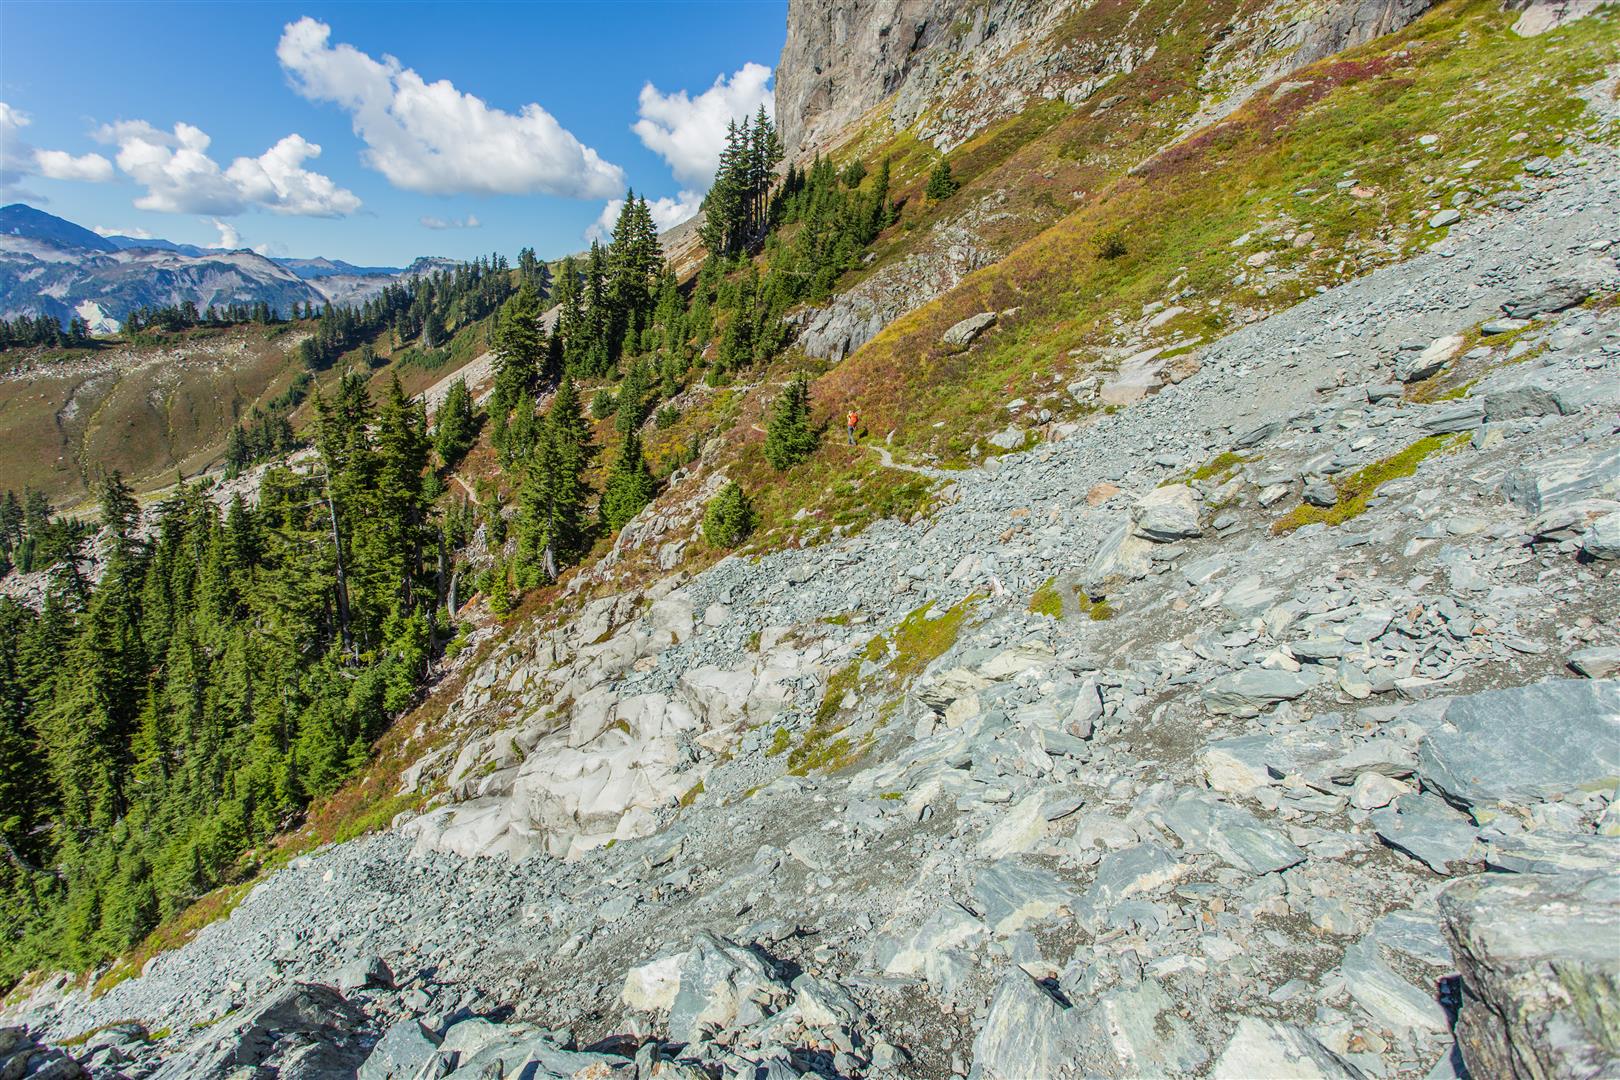
I love the Mt. Baker area and today, I ventured on the Lake Ann trail, which heads close to Mt. Shuksan. Along the way, you pass forests, alpine meadows, streams and views of Mt. Baker and Mt. Shuksan. We even saw pikas and marmots today. The trail to Lake Ann is well established and easy to follow. The lake is beautiful and so are the views of Baker and Shuksan. I recommend after reaching the lake to take the trail that leads to the Lower Curtis Glacier. For the most part the trail is in good shape – there are some scrambling sections. There came a point at which I stopped, but two others in my group scrambled down to the glacier and actually touched it ! I was enjoying the scenery and chasing a marmot (not really). The trail that leads to the glacier crosses into the North Cascades National Park.

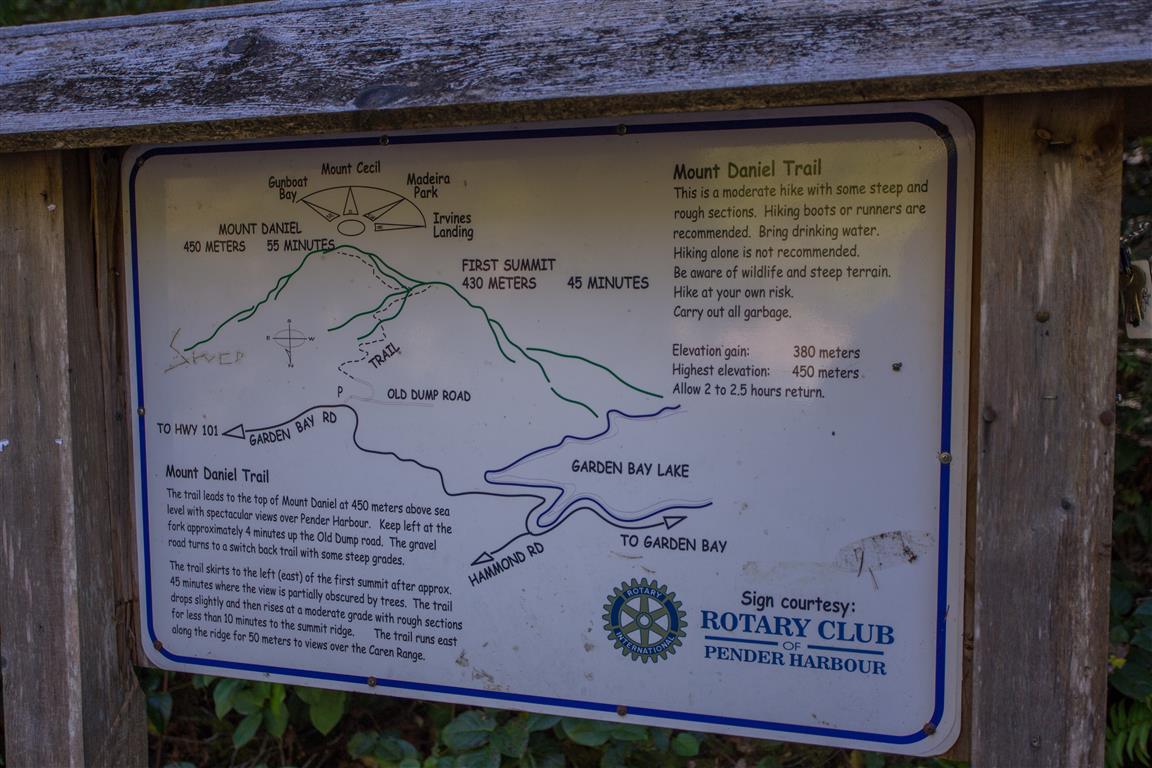
NOTE – You will need a Northwest Forest Pass (one per car), which can be purchased in person at the Glacier Public Service Center at 10091 Mt. Baker Highway,Glacier, WA (Link to Map)

Or you can buy an epass in advance online at the Discover Your Northwest website

Border crossing tips: Bring passport, Nexus or enhanced ID !!; no fruit, no veges, no meat (this isn’t a complete list !); trailmix is ok. There is an IGA just across the border if you want to get some fruit or a sandwich for your hike.

A great resource for current conditions for this hike is the WTA website.
Check it OUT !!!

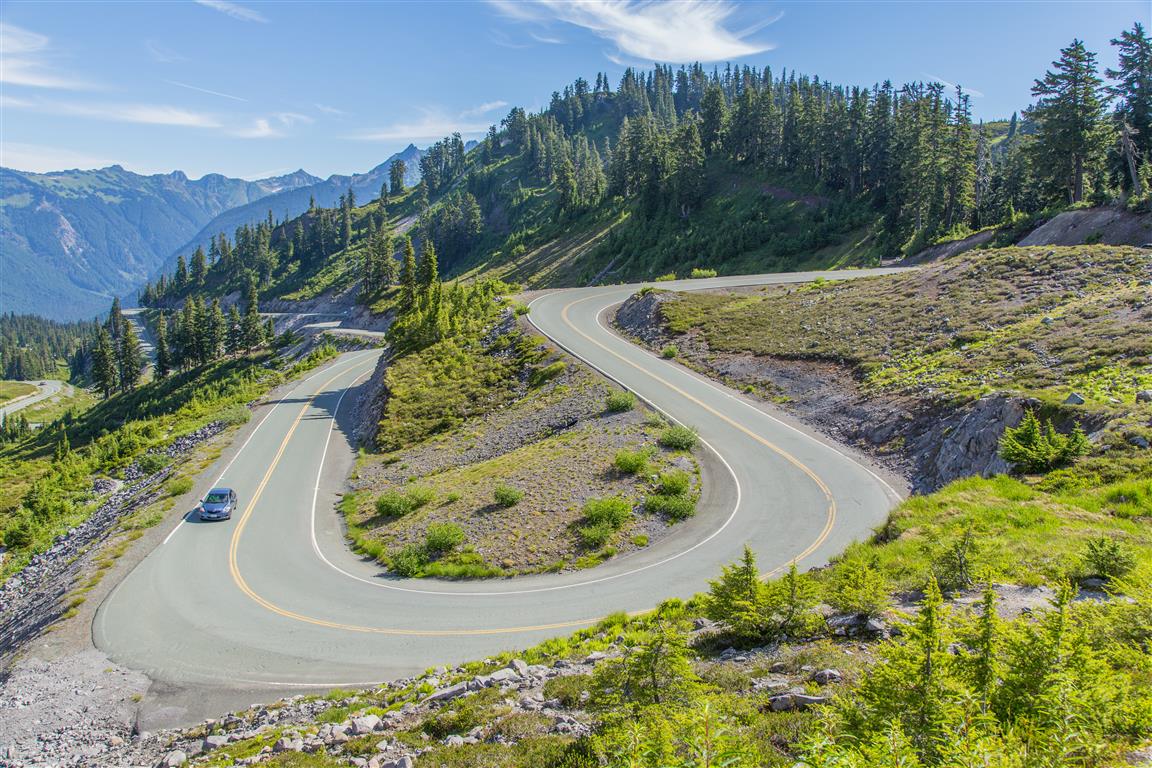
The parking lot / trailhead are just 1.5  km / 1 mile before Artist Point (link below).

The stats to end of trail to Curtis Glacier…

Distance: 18 km (linear return)
Time: 7 hours
Low point: 1196 m
High point: 1620 m
Elevation gain: 424 m
Cumulative Elevation gain: 1060 m
Trailhead: 48° 50’ 59.5” by 121° 41’ 11” (Google Map)

The route…

The Photos…

Mt. Shuksan
Mt. Shuksan
Marmot
Marmot
Lower Curtis Glacier detail
Lake Ann
Lake Ann
Lake Ann
Lake Ann
*Photo by Laura Forbes
Lower Curtis Glacier *Photo by Laura Forbes
Lake Ann and Mt. Baker
Lower Curtis Glacier
Blueberries and Mt. Baker
Hiking through meadow
Mountain Valley
Mountain Valley
Pika
Pika
Stream
Stream
Trail
Trail
Trail
Trail
Trail and Mt. Baker
Trail and Mt. Baker
Crossing boulder field
Crossing small boulder field
Trail to Lower Curtis Glacier

Link to all Lake Ann / Curtis Glacier Photos photos on Flickr

★★★★★★★★★★★

Before heading out on your hike, make sure you are well prepared. This means, having the TEN ESSENTIALS. It is also important to leave a trip plan (route details and estimated return time) with someone you trust.

Bring your smartphone, fully charged and put it in airplane mode while hiking. I always bring back-up battery packs for extra piece of mind. It is highly recommended that you bring a GPS device; I use my smartphone with a GPS app (Backcountry Navigator). The GPS will work in airplane mode. Learn how to use it before your hike.

For anyone new to hiking, there is a rule to which hikers follow; it is called “Leave No Trace” or LNT. The concept is generally to pack out what you pack in and respect nature, so all future visitors can enjoy what you have enjoyed.

To learn more about LNT, please check out this BLOG by a certified LNT Trainer.

★★★★★★★★★★★

Pender Hill


Pender Hill is on the Sunshine Coast of BC. The trail is maintained by the Sunshine Coast Regional District. This hike is fairly short compared to many in this blog, but, you still get fantastic views and it is well worth it. If you want more of a workout for your day, combine this hike and Mt. Daniel together.  The Mt. Daniel trailhead is only 6km from the Pender Hill trailhead.

To get to Pender Hill from Vancouver, you need to take the 1-hour BC Ferry trip from Horseshoe Bay in West Vancouver to Langdale. From Langdale, there is a 73 km trip to the trailhead on Coastview Drive.

The stats:

Distance: 2 km (linear return)
Time: 1-2 hours
Low point: 57 m
High point: 235 m
Elevation gain: 178 m
Trailhead: 49° 38’ 32.8” by 124° 03’ 42” (Google Map)

The route…

The Photos…

View from Pender Hill
Bench at top
Bench at top
Dead Tree
Dead Tree
Little bridge
Little bridge
Broken rock
Broken rock
Trail
Trail
Trail
Trail
Trailhead sign
Trailhead sign

If you have time, stop in Gibsons; it’s a quant little town and stop by Molly’s Reach (of Beachcombers’ fame) for fish and chips !

Gibsons Harbour
Gibsons Harbour
Gibsons Wharf
Gibsons Wharf
Molly's Reach, Gibsons
Molly’s Reach, Gibsons

★★★★★★★★★★★

Before heading out on your hike, make sure you are well prepared. This means, having the TEN ESSENTIALS. It is also important to leave a trip plan (route details and estimated return time) with someone you trust.

Bring your smartphone, fully charged and put it in airplane mode while hiking. I always bring back-up battery packs for extra piece of mind. It is highly recommended that you bring a GPS device; I use my smartphone with a GPS app (Backcountry Navigator). The GPS will work in airplane mode. Learn how to use it before your hike.

For anyone new to hiking, there is a rule to which hikers follow; it is called “Leave No Trace” or LNT. The concept is generally to pack out what you pack in and respect nature, so all future visitors can enjoy what you have enjoyed.

To learn more about LNT, please check out this BLOG by a certified LNT Trainer.

★★★★★★★★★★★

Mt. Daniel


Mt. Daniel is on the beautiful Sunshine Coast. After the 400m elevation gain hike to the summit, you are treated with stunning views of Pender Harbour and the surrounding hills and mountains. The hike traverses though a forest canopy all of way to the top, so it’s great on a hot day.

After this hike, I highly suggest you do another nearby hike, at Pender Hill. The Pender Hill trailhead is only 6km from Mt. Daniel trailhead.

To get to Mt. Daniel from Vancouver, you need to take the 1-hour BC Ferry trip from Horseshoe Bay in West Vancouver to Langdale. From Langdale, there is a 67 km trip to the trailhead on Garden Bay Road.

The stats:

Distance: 4.8 km (linear return)
Time: 2-4 hours
Low point: 77 m
High point: 435 m
Elevation gain: 358 m
Trailhead: 49° 38’ 51.6” by 124° 00’ 15.7” (Google Map)

The route…

The Photos…

View from Mt. Daniel
Arbutus Tree
Arbutus Tree
Arbutus Tree Bark
Arbutus Tree Bark
Arbutus Tree Berries
Ferns
Ferns
Trail
Trail
Trail
Trail
Logging relic
Logging relic
Visitor
Visitor
Sign at trailhead
Sign at trailhead

If you have time, stop in Gibsons; it’s a quant little town and stop by Molly’s Reach (of Beachcombers’ fame) for fish and chips !

Gibsons Harbour
Gibsons Harbour
Gibsons Wharf
Gibsons Wharf
Molly's Reach, Gibsons
Molly’s Reach, Gibsons

★★★★★★★★★★★

Before heading out on your hike, make sure you are well prepared. This means, having the TEN ESSENTIALS. It is also important to leave a trip plan (route details and estimated return time) with someone you trust.

Bring your smartphone, fully charged and put it in airplane mode while hiking. I always bring back-up battery packs for extra piece of mind. It is highly recommended that you bring a GPS device; I use my smartphone with a GPS app (Backcountry Navigator). The GPS will work in airplane mode. Learn how to use it before your hike.

For anyone new to hiking, there is a rule to which hikers follow; it is called “Leave No Trace” or LNT. The concept is generally to pack out what you pack in and respect nature, so all future visitors can enjoy what you have enjoyed.

To learn more about LNT, please check out this BLOG by a certified LNT Trainer.

★★★★★★★★★★★

Mount Nutt


Mount Nutt is in Golden Ears Provincial Park and the trail was made between 2011 and 2013 by Alan Lizee and the Ridge Meadows Outdoor Club. The first 1.6 km from the parking lot is a very gentle slope on a gravel path (East Canyon Trail), which is a good warm up. At the 1.6 km mark, you take a right turn into the forest and the vertical gain really starts – suddenly you find yourself heading up fast – well not that fast ! The trail is very well marked (can be slippery when wet). For a while, the climb follows a small creek, which drains a small lake further up.

The lake is nice and the area around it gives you a little reprieve from the gruelling climb. Soon after leaving the lake area, the climb continues. Eventually, we reached a viewpoint (680 m), which offered a pretty good view of Alouette Lake.

Continuing along the ridge, you are treated with about 4 more viewpoints overlooking Golden Ears, Evans Valley, Edge Peak and Alouette Lake, among others. The trail ends before the true summit. We couldn’t find a trail to the summit, but some people have done it.

The Stats:

Distance: 10.7 km (return)
Low point: 160 m
High point: 1150 m
Elevation gain: 990 m
Trailhead/parking: 49° 20’ 4” by  122° 27’ 24.5” (Google Map)

The route…

The Photos:

Golden Ears
Golden Ears
End of Trail view
End of Trail view
Viewpoint
Viewpoint


Garter Snake
Garter Snake
Alouette Lake
Alouette Lake
East end of Alouette Lake
Edge peak and Evans Valley

First Viewpoint


Forest canopy
Forest canopy
Inside of a burnt tree
Lake
Lake
View of Alouette Lake at first viewpoint

★★★★★★★★★★★

Before heading out on your hike, make sure you are well prepared. This means, having the TEN ESSENTIALS. It is also important to leave a trip plan (route details and estimated return time) with someone you trust.

Bring your smartphone, fully charged and put it in airplane mode while hiking. I always bring back-up battery packs for extra piece of mind. It is highly recommended that you bring a GPS device; I use my smartphone with a GPS app (Backcountry Navigator). The GPS will work in airplane mode. Learn how to use it before your hike.

For anyone new to hiking, there is a rule to which hikers follow; it is called “Leave No Trace” or LNT. The concept is generally to pack out what you pack in and respect nature, so all future visitors can enjoy what you have enjoyed.
To learn more about LNT, please check out this BLOG by a certified LNT Trainer.

★★★★★★★★★★★

Chain Lakes Loop


Ok, I really can’t get enough of the Mt. Baker area. Second time back in a couple of weeks. It was another sunny day today.

There are a few variations of this hike. We started at Artist Point, descended to Heather Meadows via the Wild Goose Trail and looped around Northern Bagley Lake, before starting our ascent up through Herman Saddle. 95 % of the hike was bug free (only some around Chain Lakes). Only very minor snow (almost not even worth mentioning). This hike is amazing as are most Mt. Baker area hikes – the views are non-stop ! This was a sunny Saturday and there were many people on the trail, but not so much that it deterred from our enjoyment. There was only some snow on the shore of Iceberg Lake – some of which apparently recently broke off and made icebergs (info from a camper at the lake). I definitely recommend this hike and I will go back for sure !

So, for this hike, you drive to Artist Point, which is paved the entire way.
Yeah ! No pot-holed forestry road !
The location of Artist Point is HERE

You will need a Northwest Forest Pass (one per car), which can be purchased in person at the Glacier Public Service Center at 10091 Mt. Baker Highway,Glacier, WA (Link to Map)

Or you can buy an epass in advance online at the Discover Your Northwest website

Border crossing tips: Bring passport, Nexus or enhanced ID !!; no fruit, no veges, no meat (this isn’t a complete list !); trailmix is ok. There is an IGA just across the border if you want to get some fruit or a sandwich for your hike.

A great resource for current conditions for this hike is the WTA website.
Check it OUT !!!

The trailhead for the Wild Goose Trail is just behind the washrooms.

Today’s stats:

Distance: 10.7 km
Time: 6 hours
Low point: 1259 m
High point: 1654 m
Elevation gain: 395 m
Cumulative Elevation gain: 725 m

The route…

The photos…

Shuskan from Herman Saddle
Switchbacks upto Herman Saddle
Wild Goose Trail to Bagley Lakes


Dead Tree
Dead Tree
Hayes Lake
Hayes Lake
Mt. Baker and Iceberg Lake
Mt. Baker
Mt. Baker
Northern Bagley Lake through wild flowers


Reflection in Lake
Reflection in Lake
Shuskan
Shuskan
Stream between Bagley Lakes
Trail back to Artist Point
Trail upto Herman Saddle
Winding Road
Winding Road

★★★★★★★★★★★

Before heading out on your hike, make sure you are well prepared. This means, having the TEN ESSENTIALS. It is also important to leave a trip plan (route details and estimated return time) with someone you trust.

Bring your smartphone, fully charged and put it in airplane mode while hiking. I always bring back-up battery packs for extra piece of mind. It is highly recommended that you bring a GPS device; I use my smartphone with a GPS app (Backcountry Navigator). The GPS will work in airplane mode. Learn how to use it before your hike.

For anyone new to hiking, there is a rule to which hikers follow; it is called “Leave No Trace” or LNT. The concept is generally to pack out what you pack in and respect nature, so all future visitors can enjoy what you have enjoyed.
To learn more about LNT, please check out this BLOG by a certified LNT Trainer.

★★★★★★★★★★★