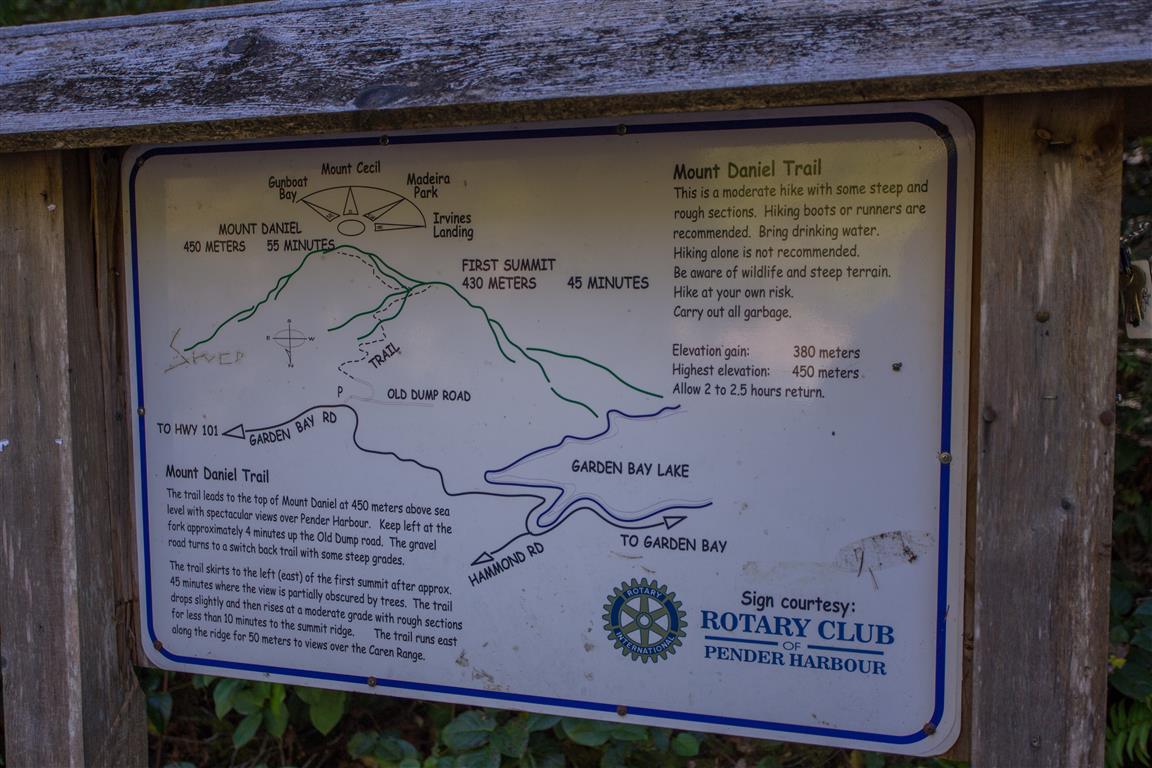
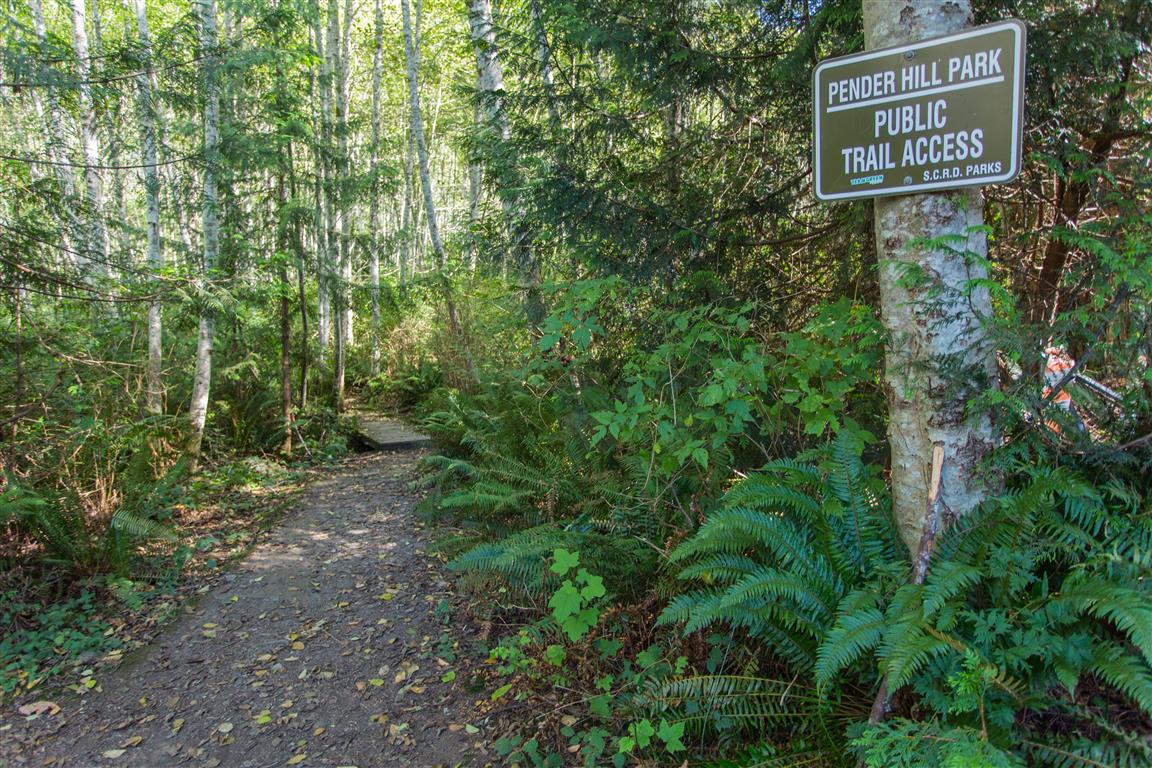
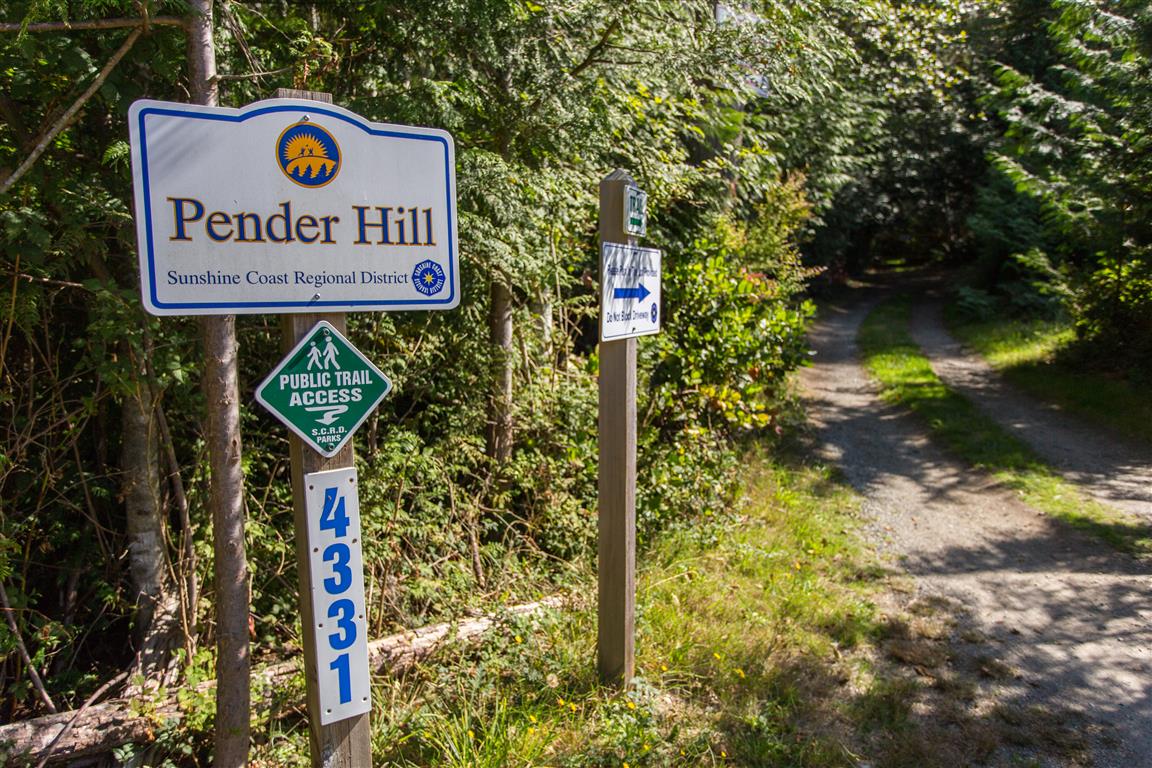
Pender Hill is on the Sunshine Coast of BC. The trail is maintained by the Sunshine Coast Regional District. This hike is fairly short compared to many in this blog, but, you still get fantastic views and it is well worth it. If you want more of a workout for your day, combine this hike and Mt. Daniel together. The Mt. Daniel trailhead is only 6km from the Pender Hill trailhead.
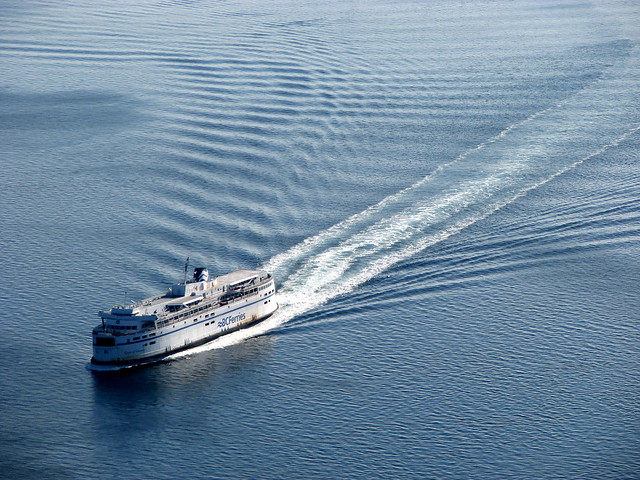
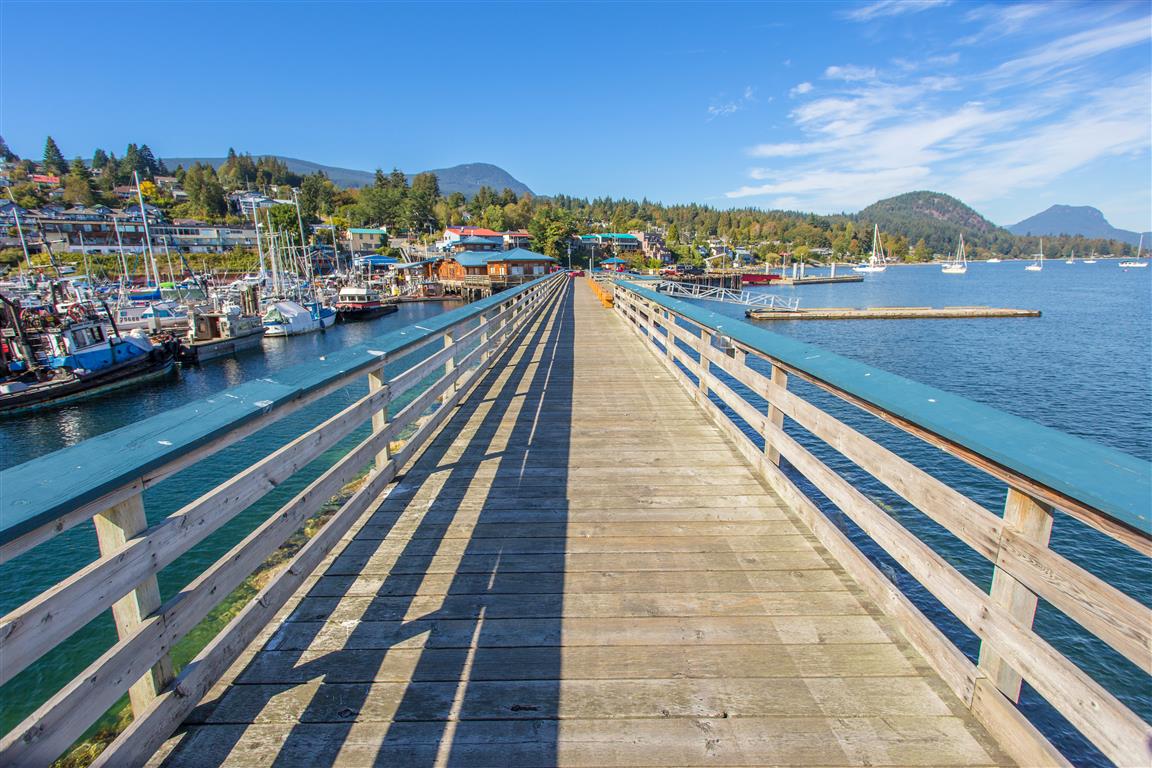
To get to Pender Hill from Vancouver, you need to take the 1-hour BC Ferry trip from Horseshoe Bay in West Vancouver to Langdale. From Langdale, there is a 73 km trip to the trailhead on Coastview Drive.
The stats:
Distance: 2 km (linear return)
Time: 1-2 hours
Low point: 57 m
High point: 235 m
Elevation gain: 178 m
Trailhead: 49° 38’ 32.8” by 124° 03’ 42” (Google Map)
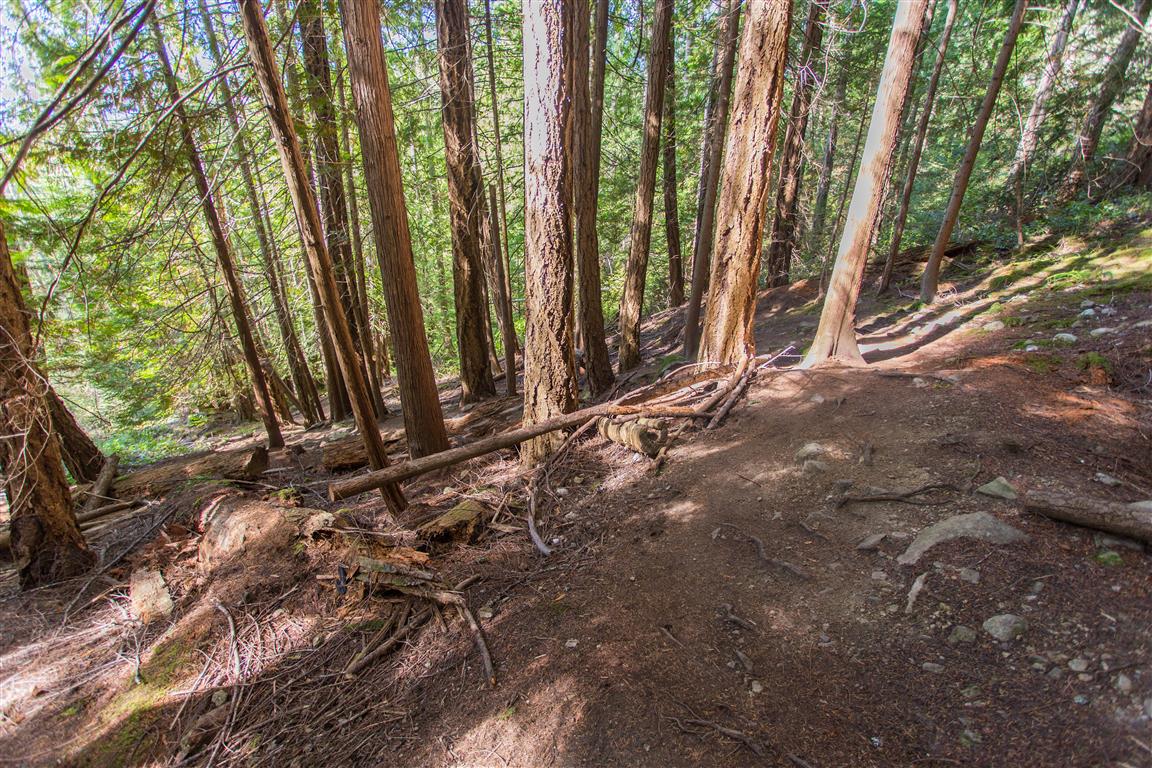
The route…
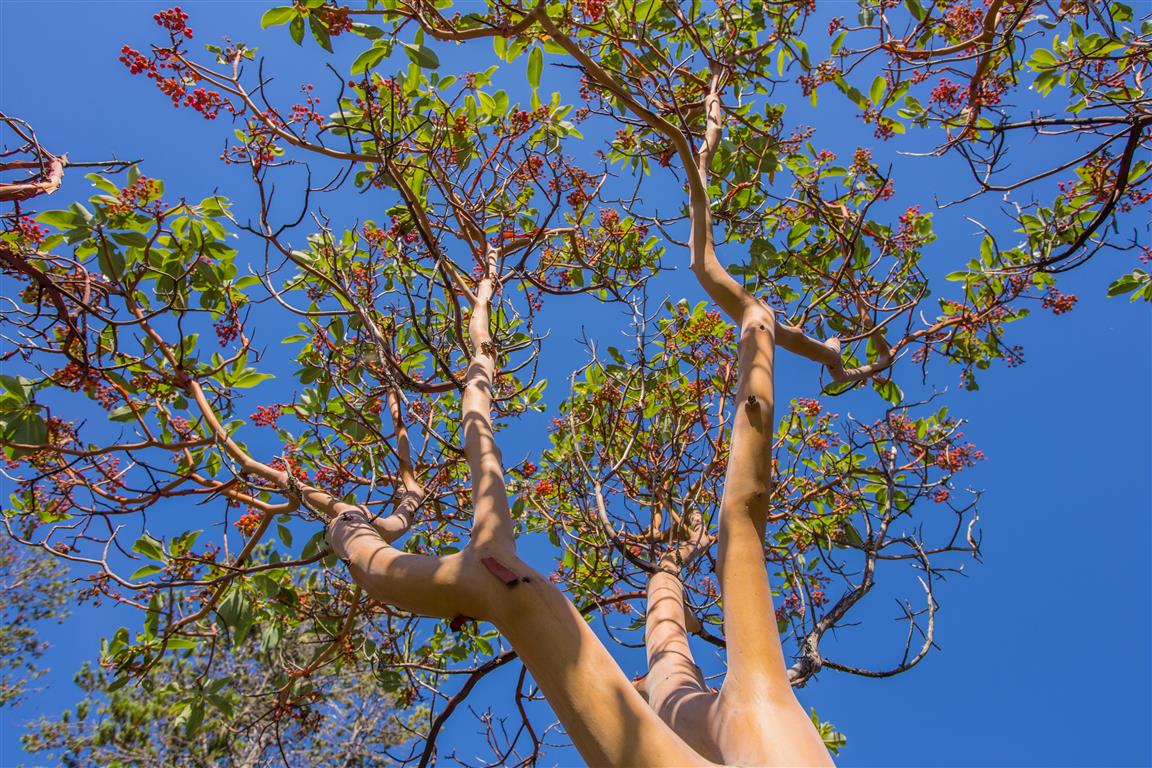
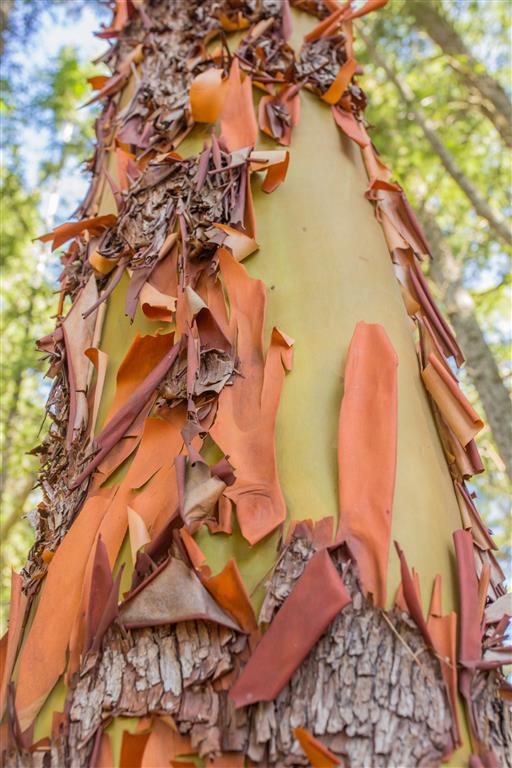
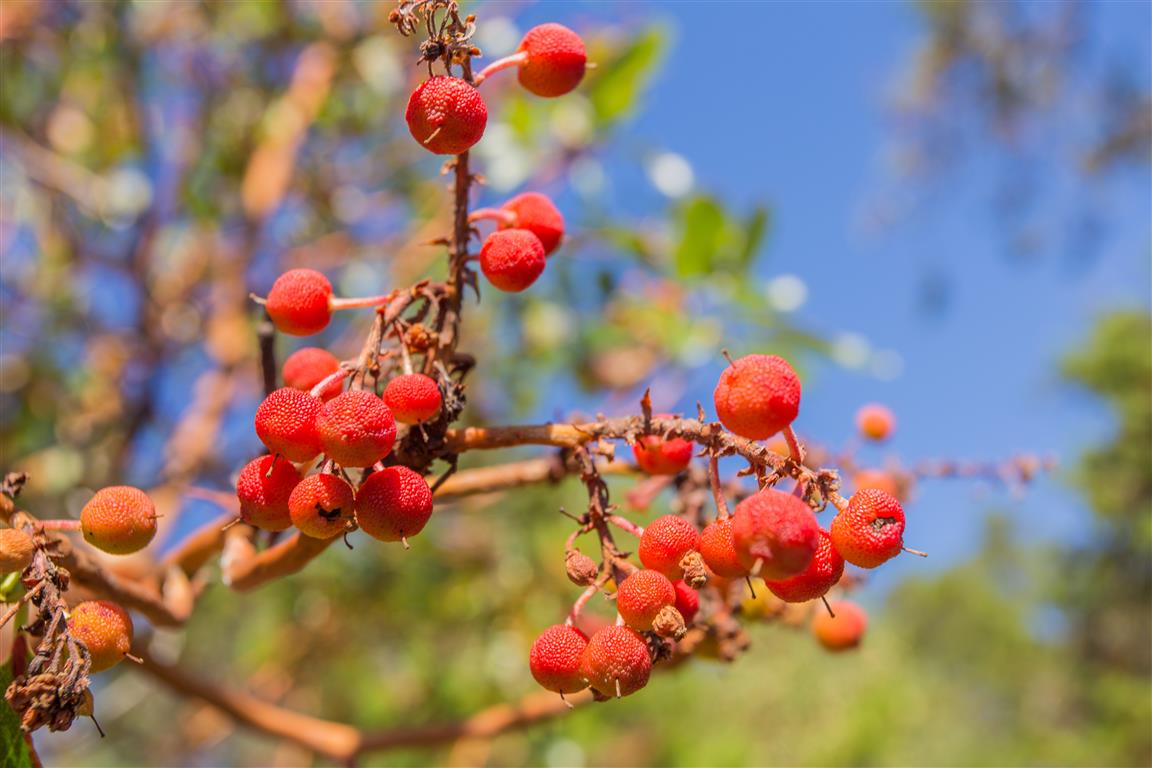
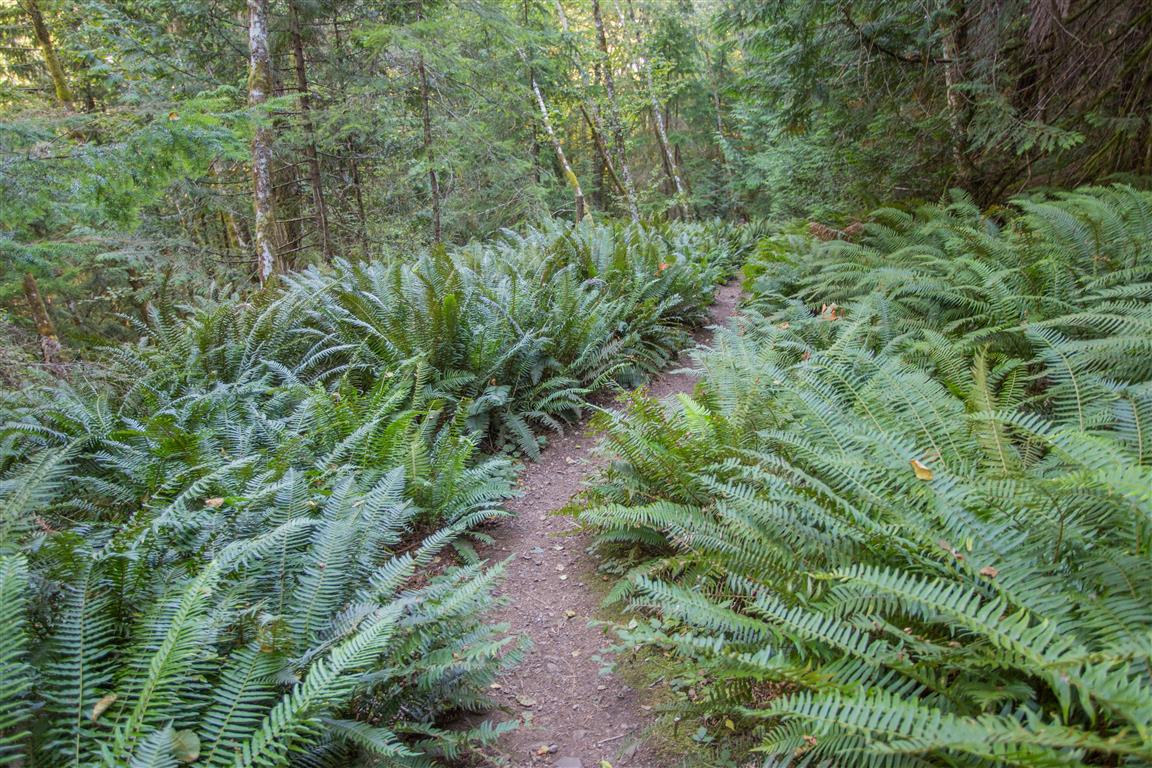
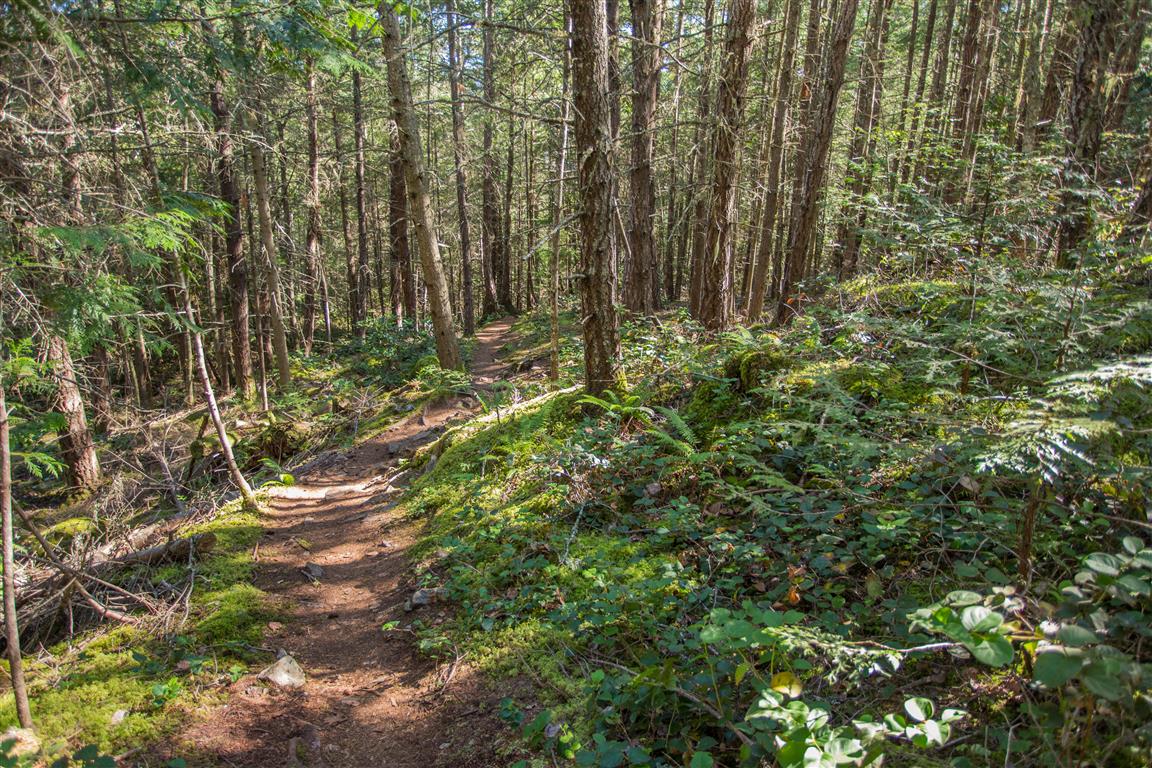
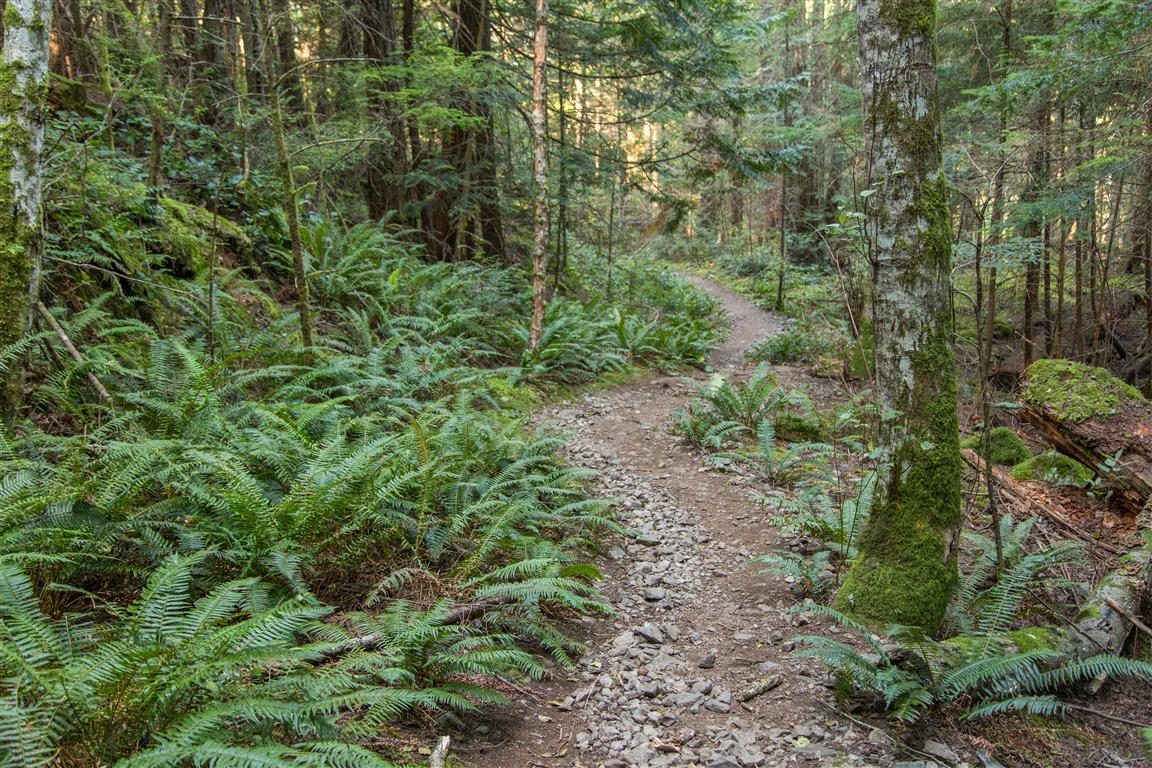
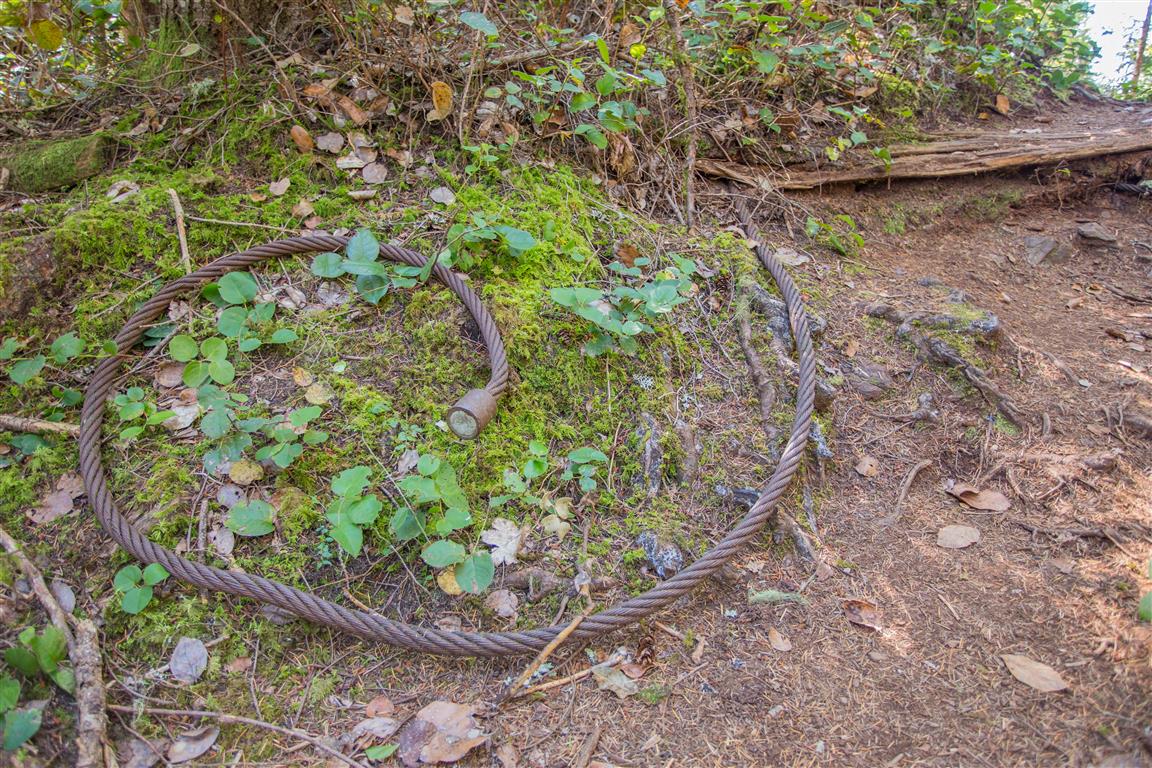
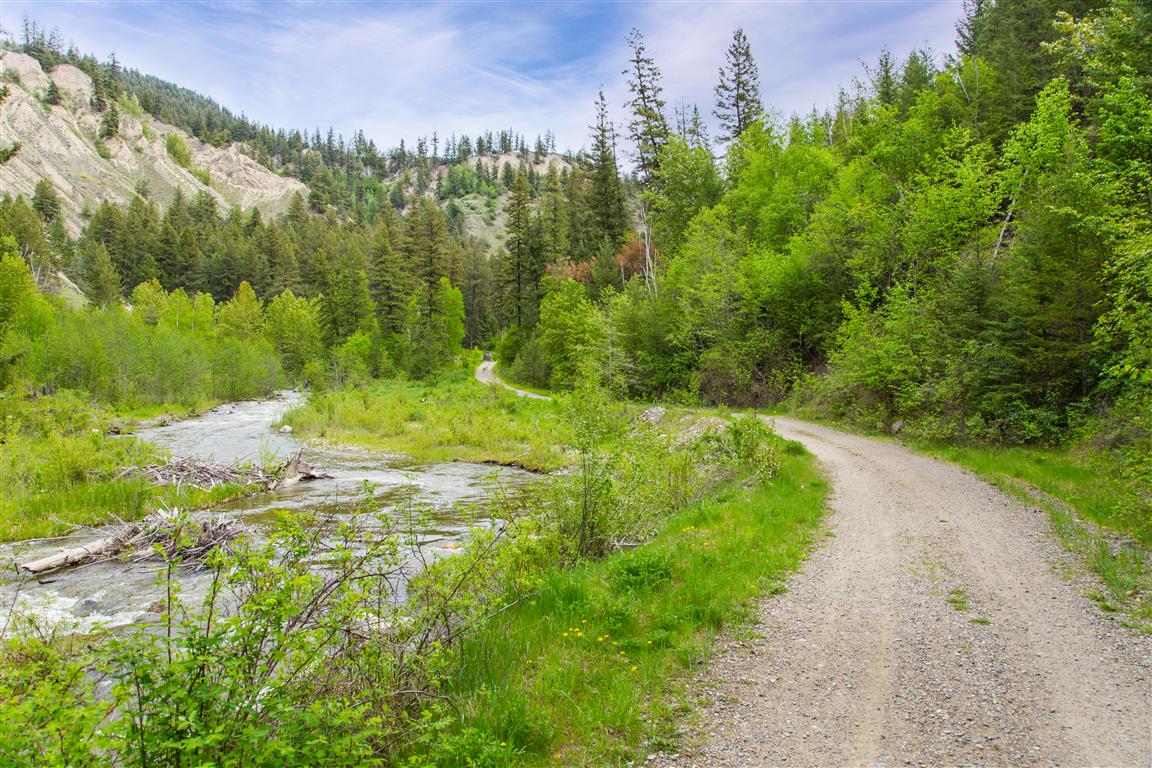
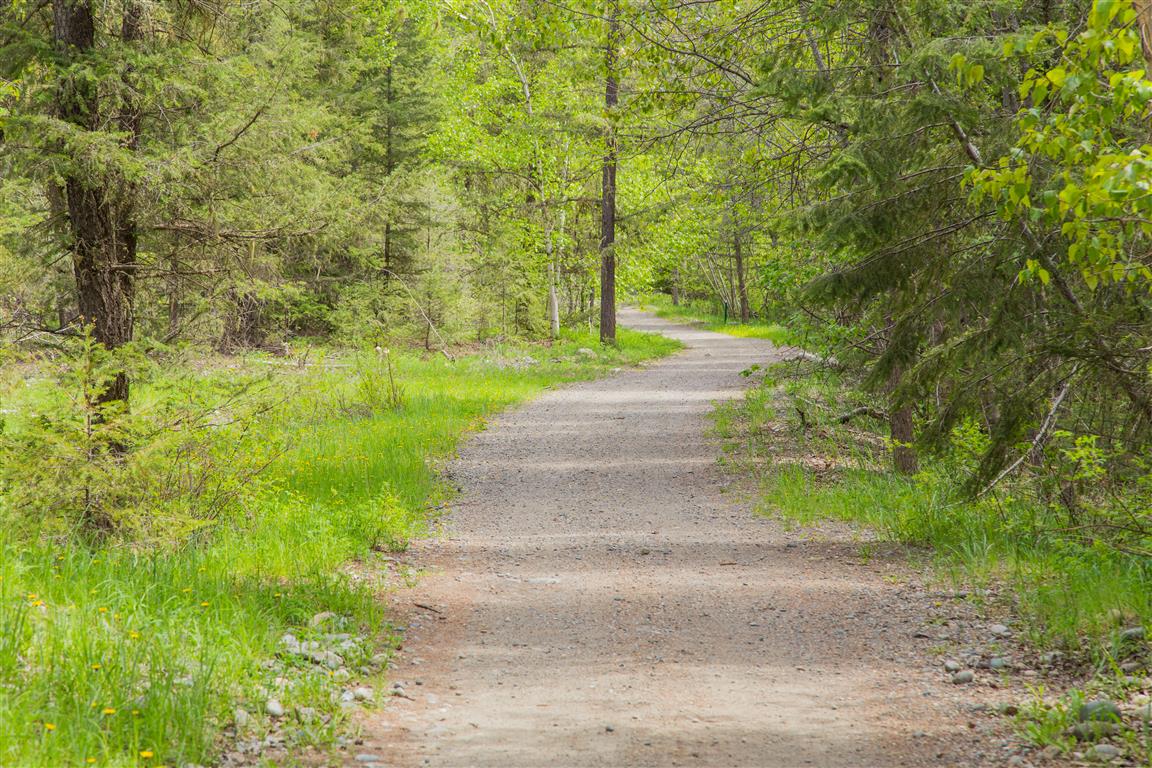
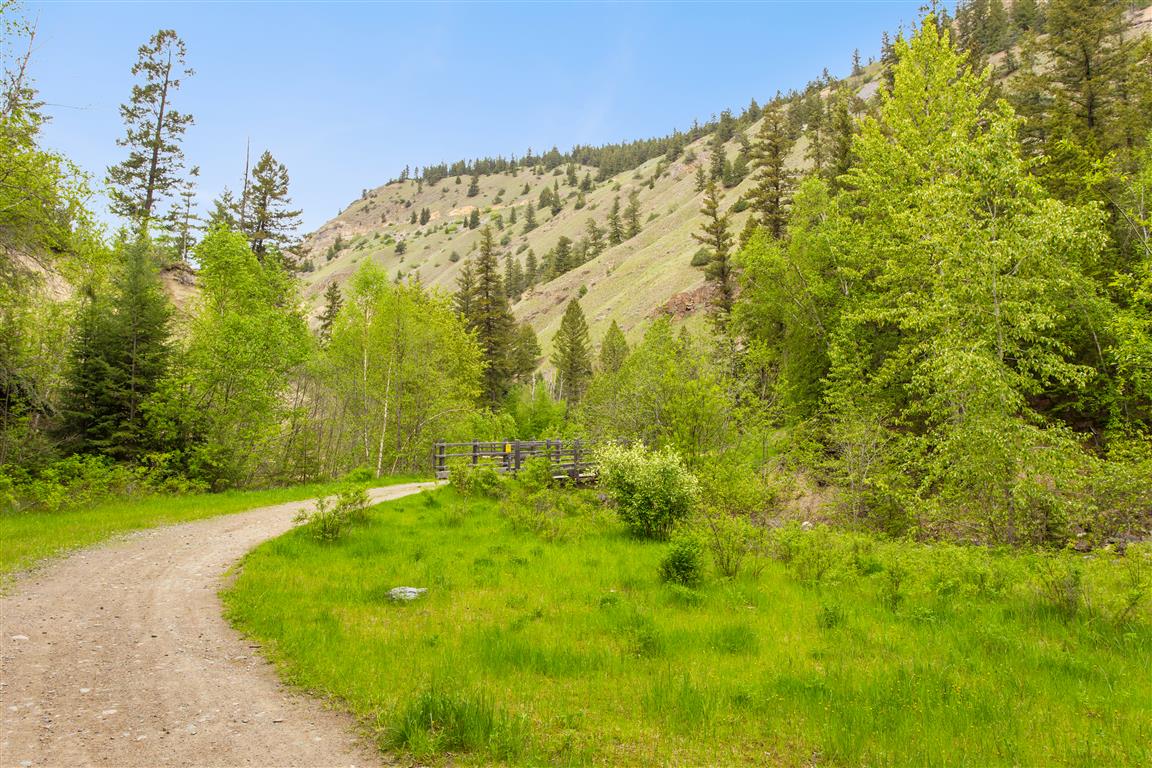
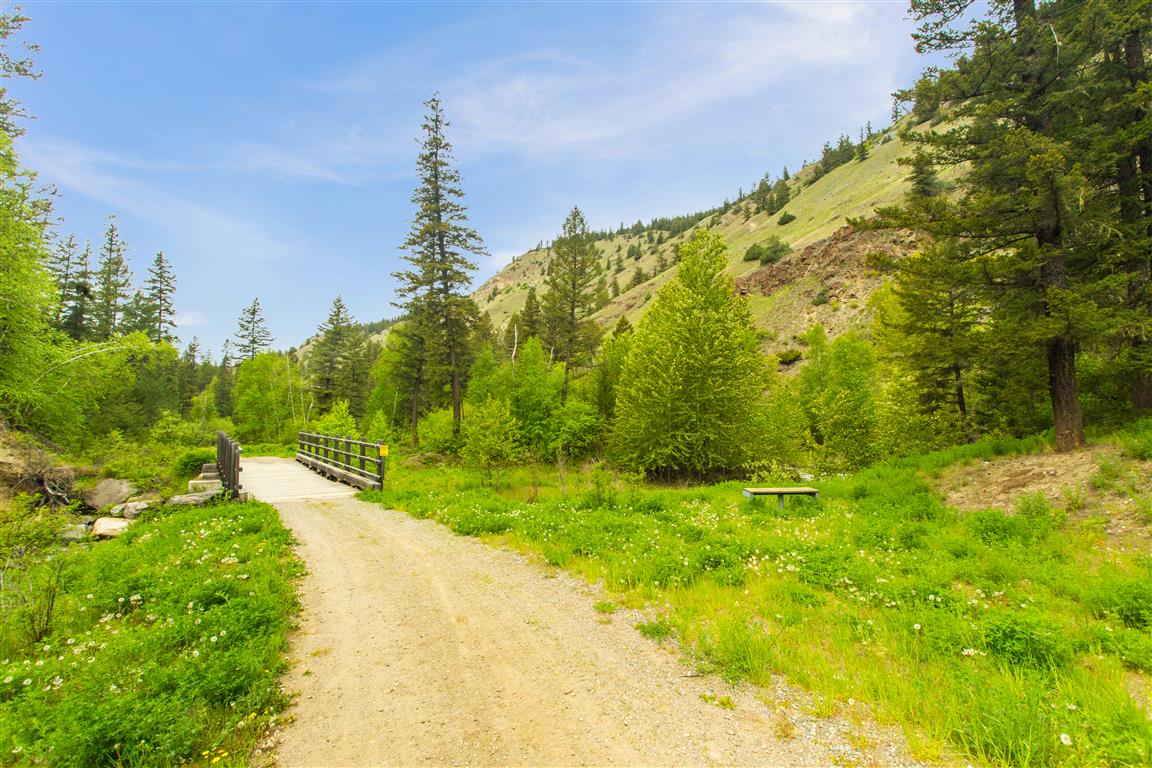
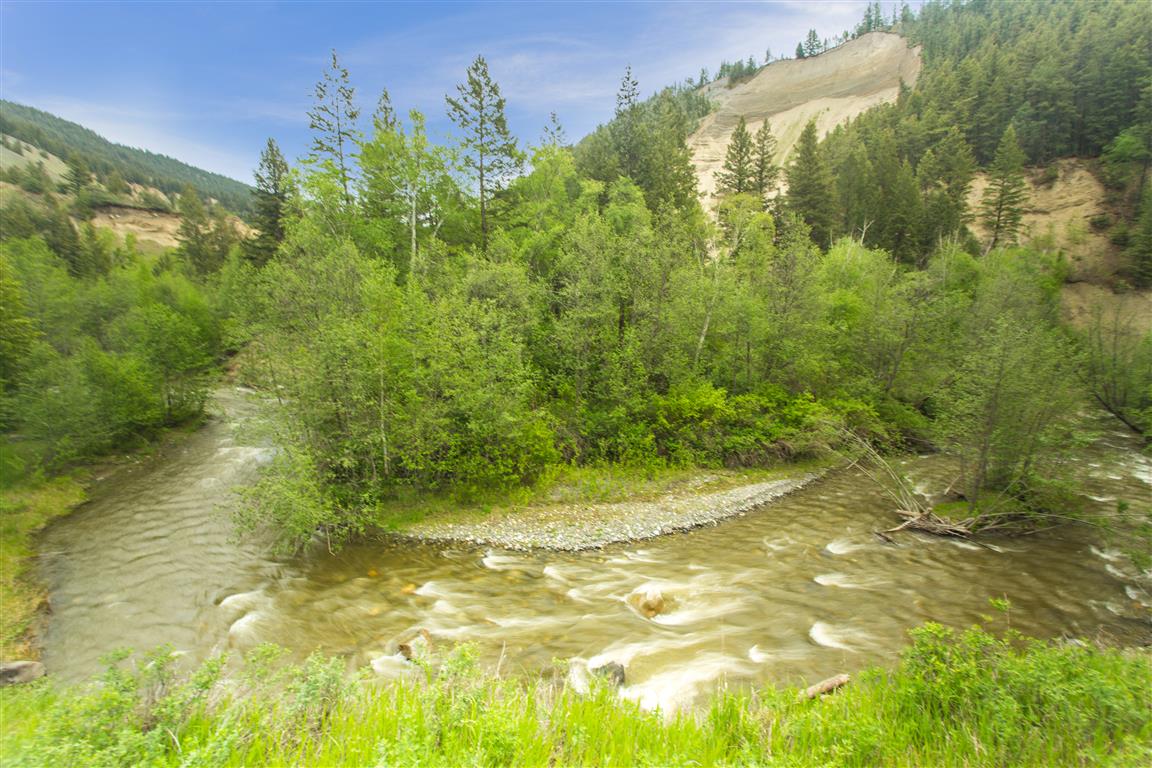
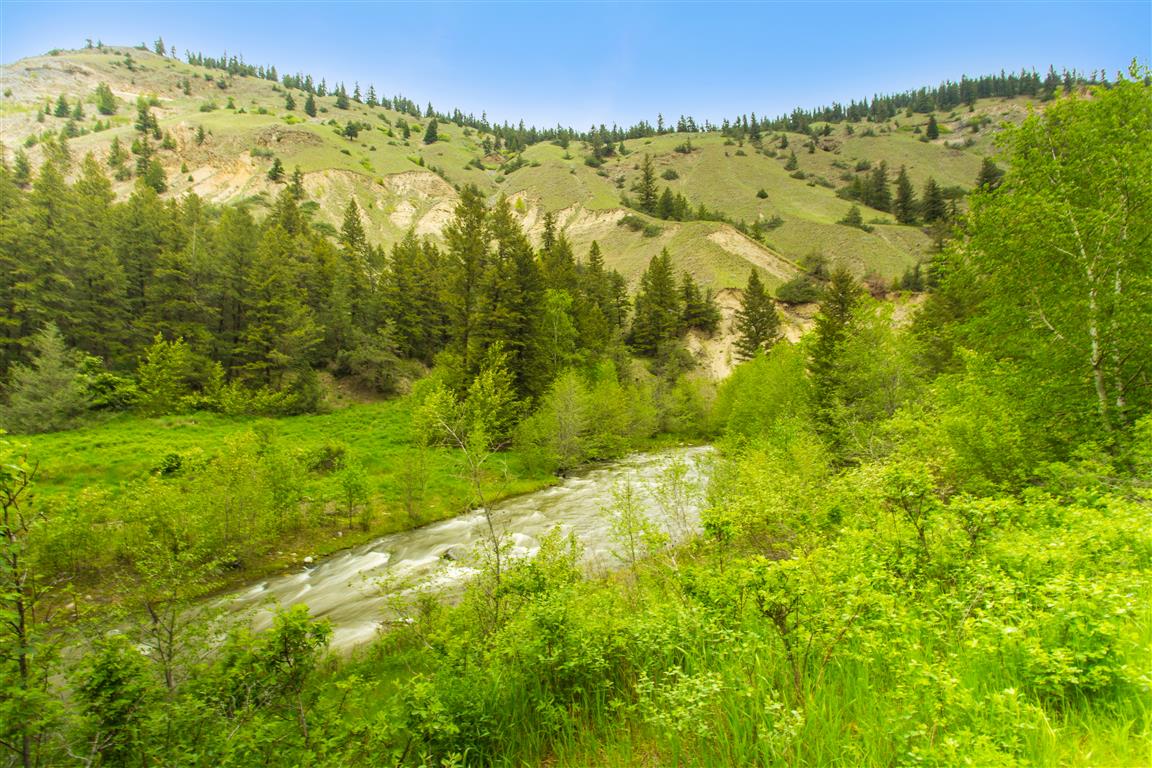
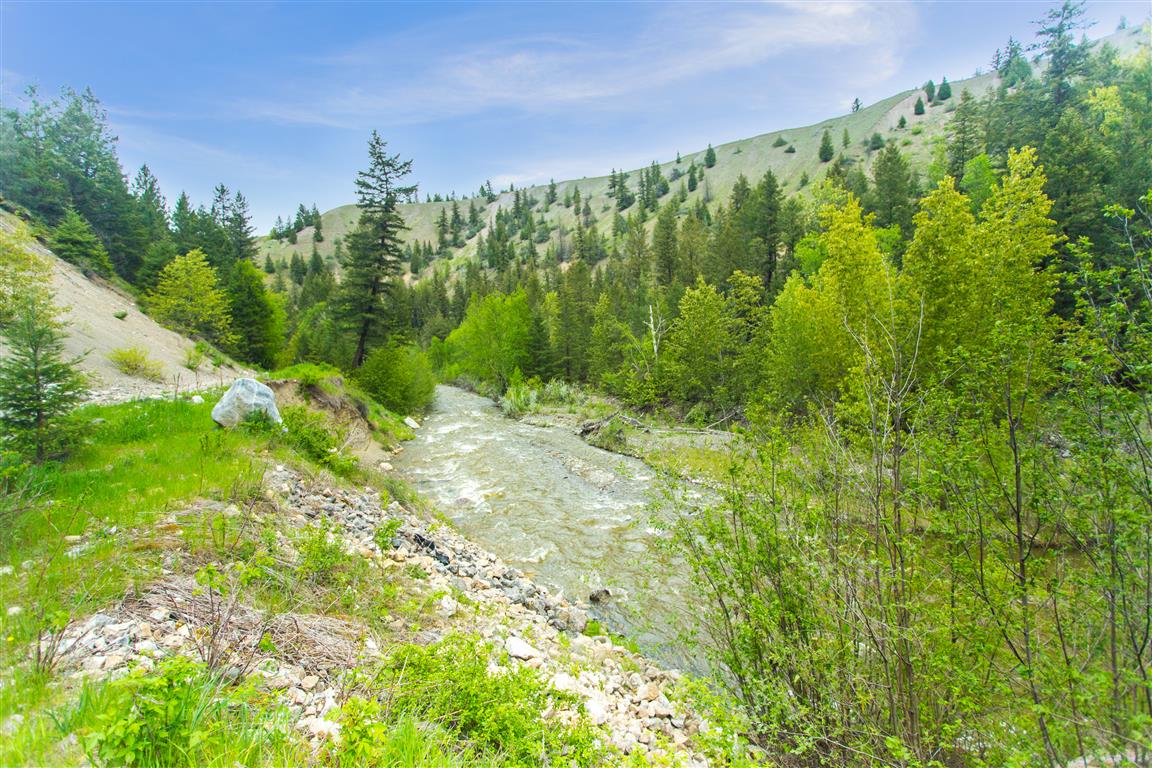
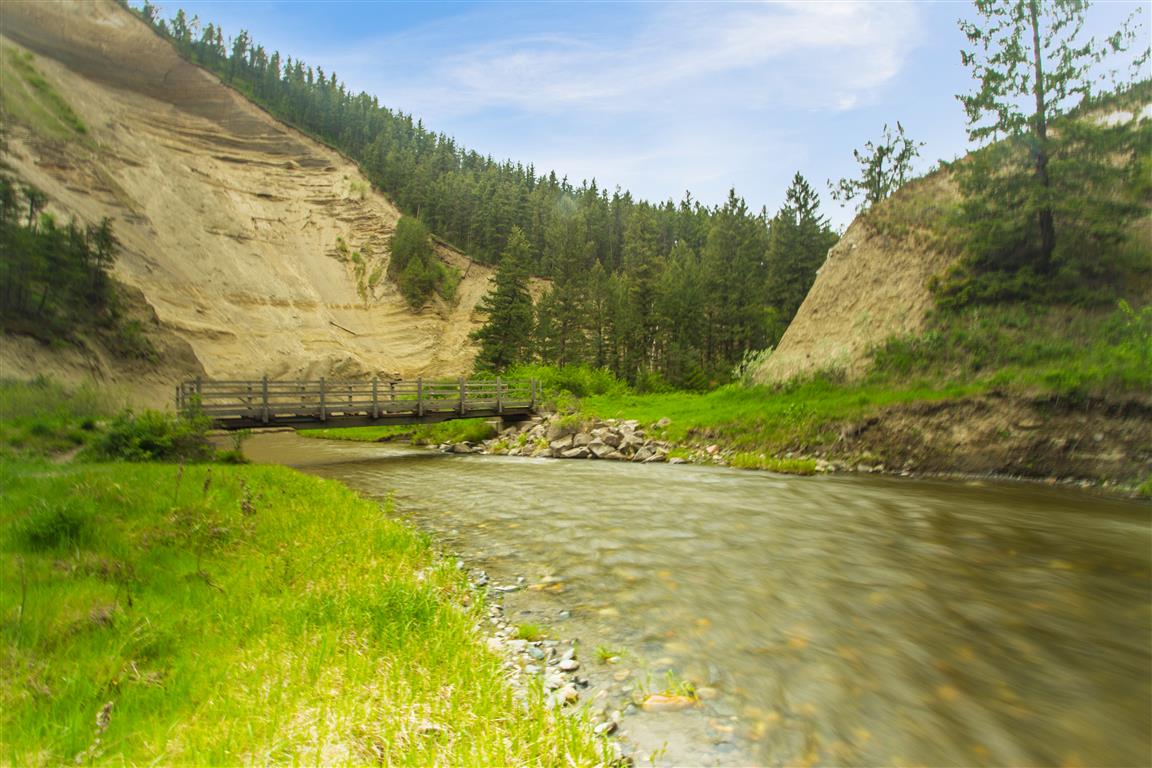
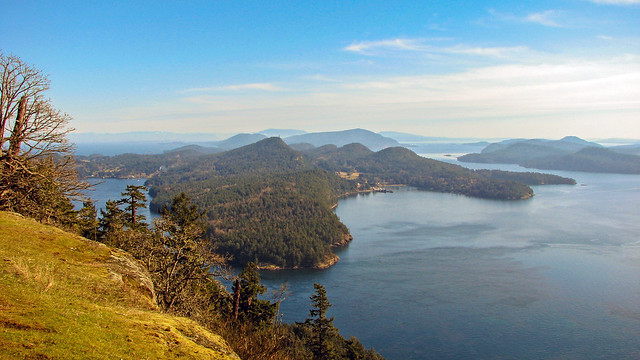
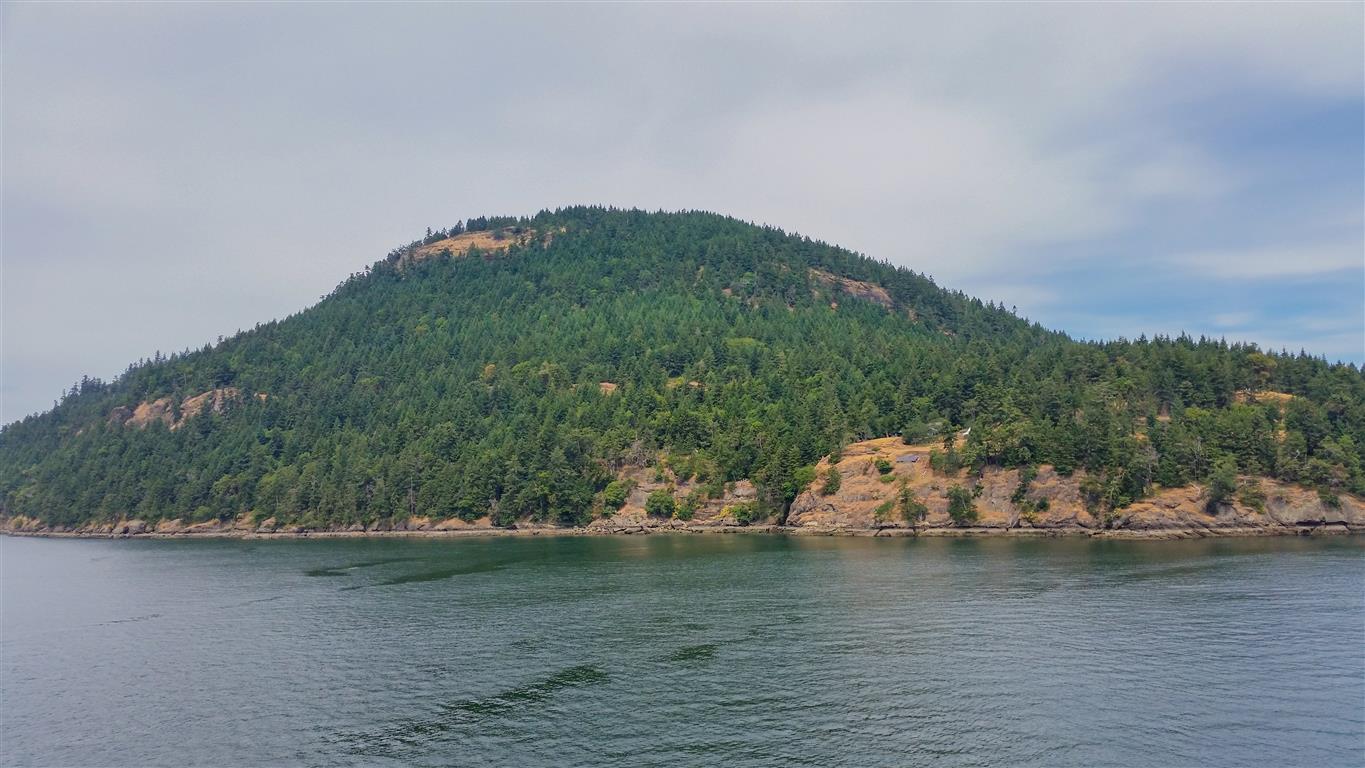
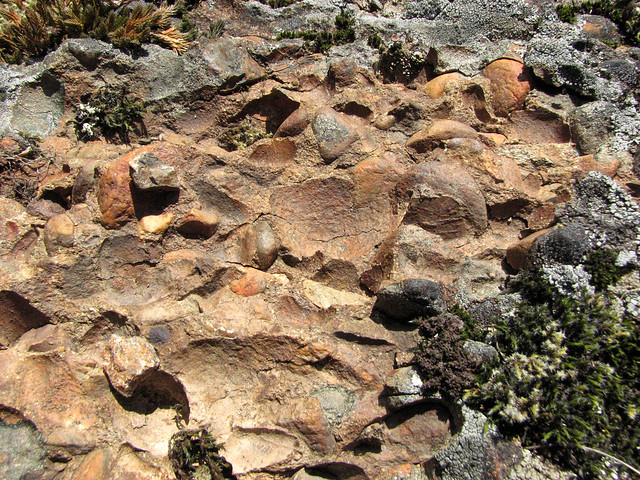
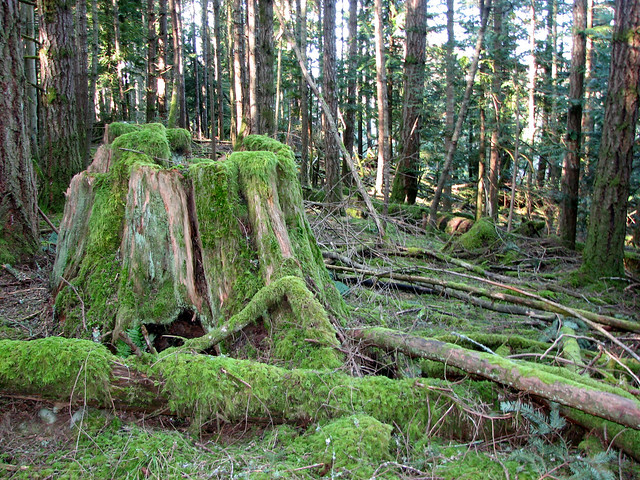
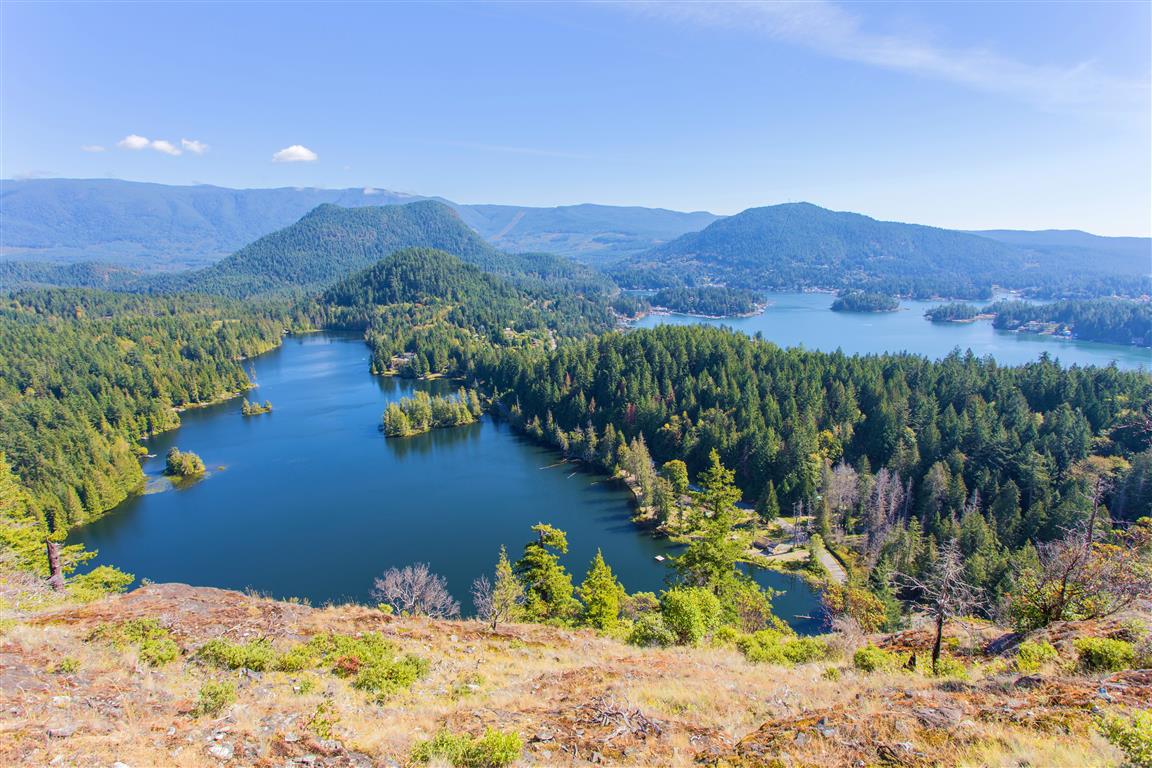
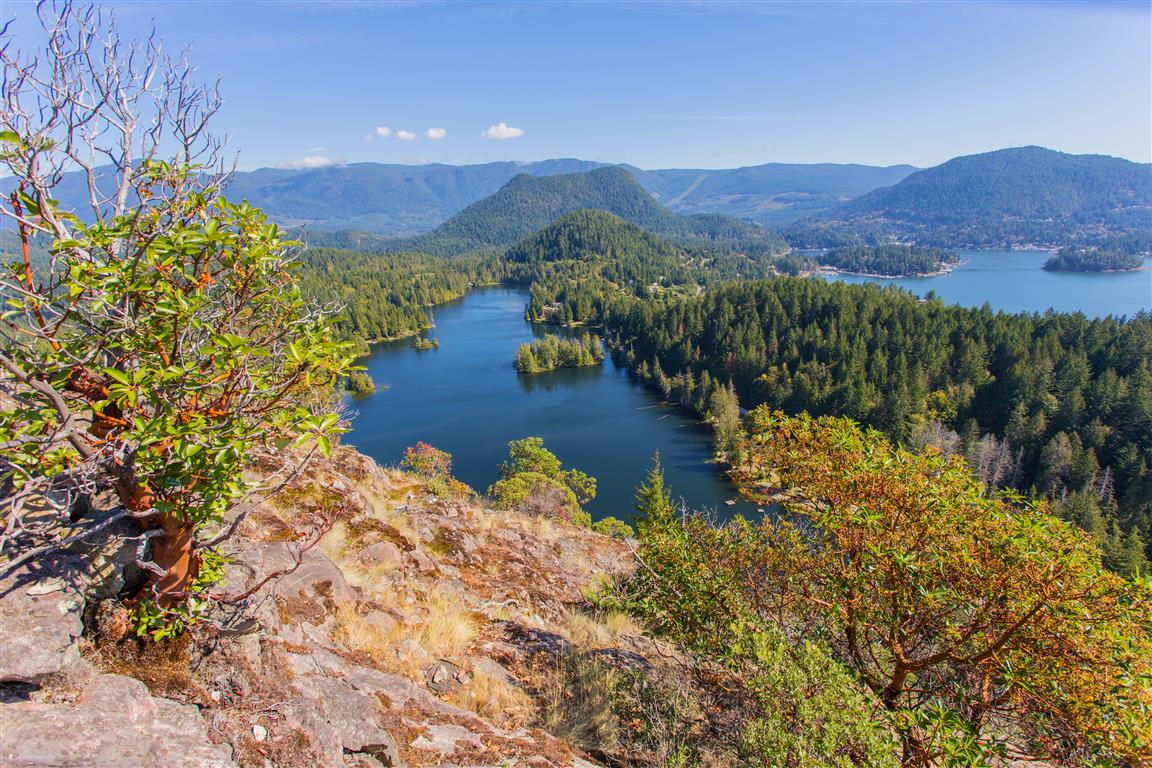
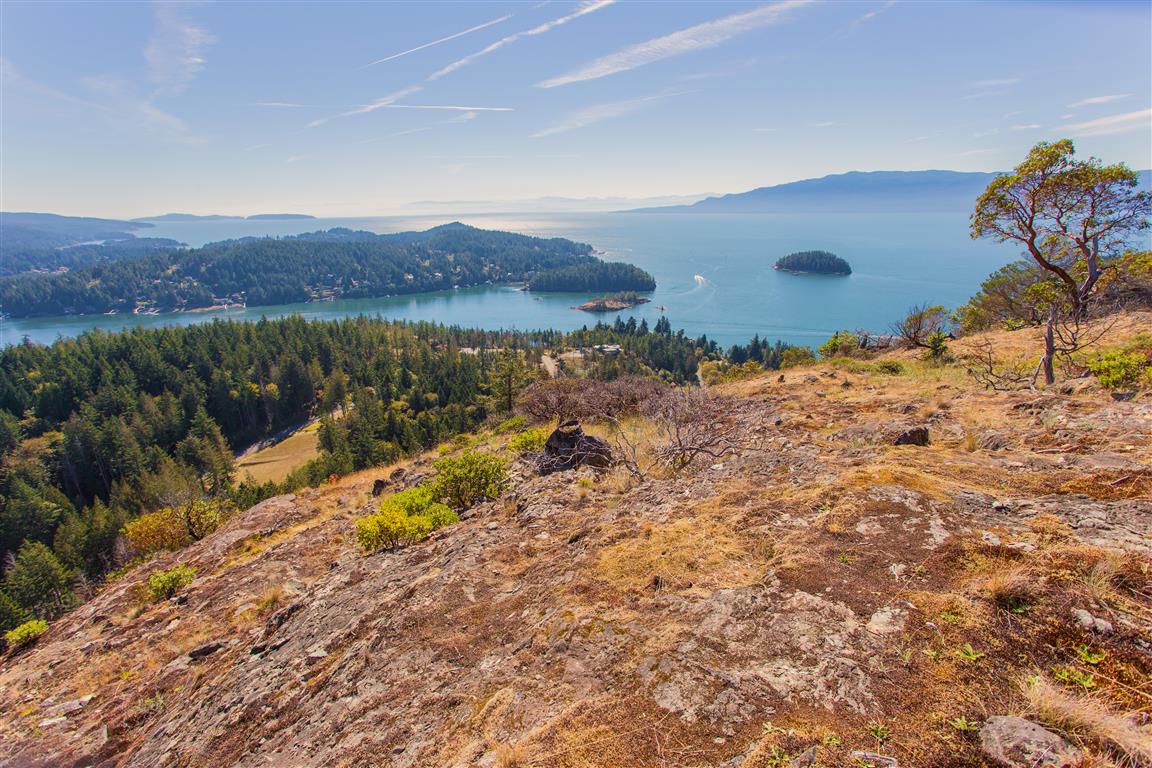
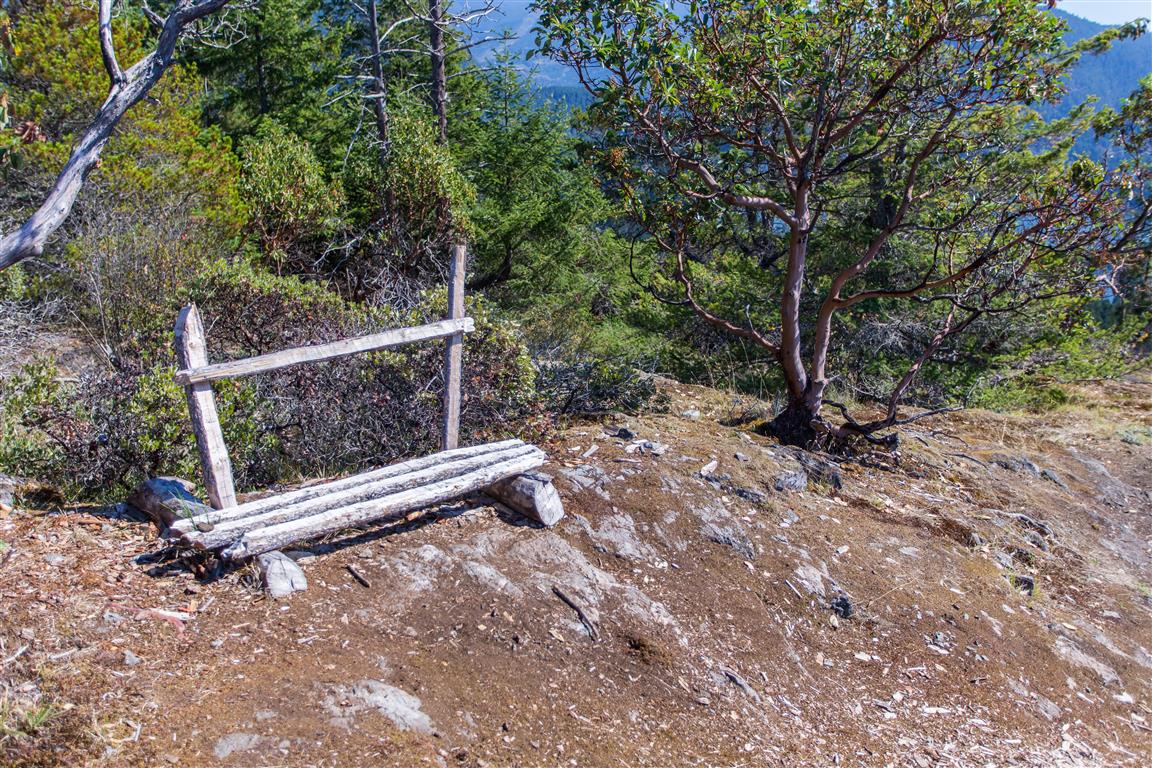
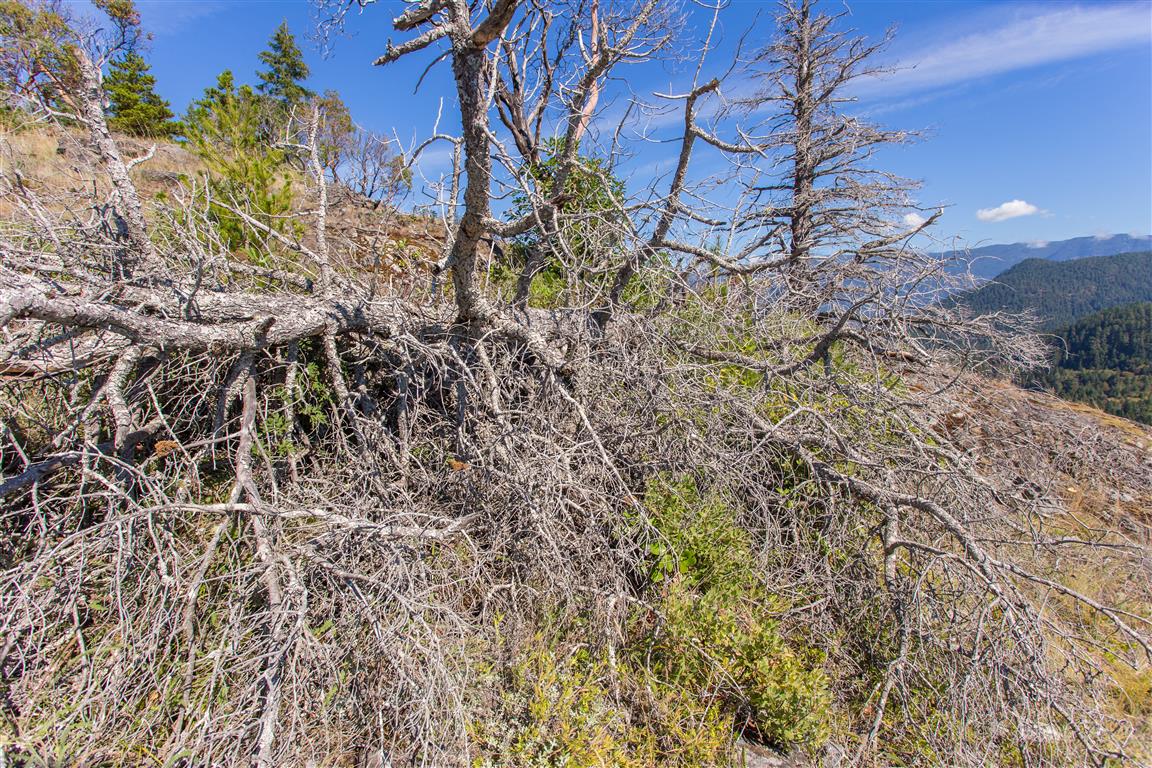
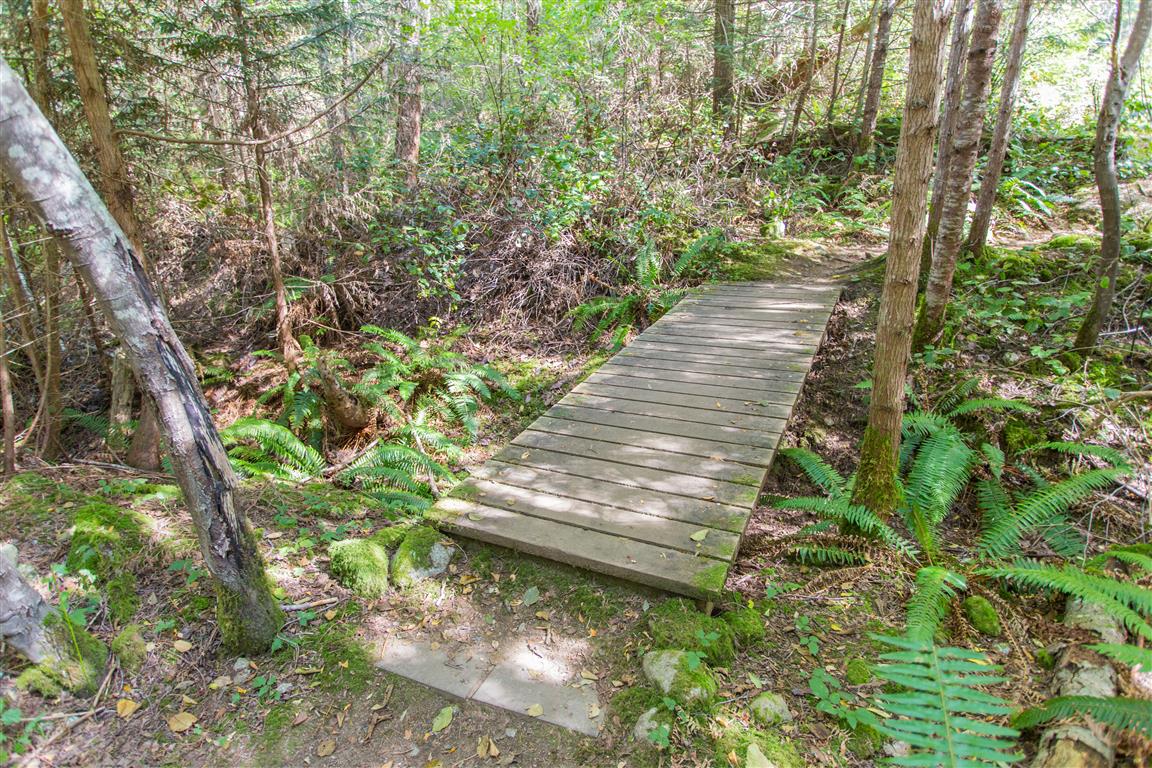
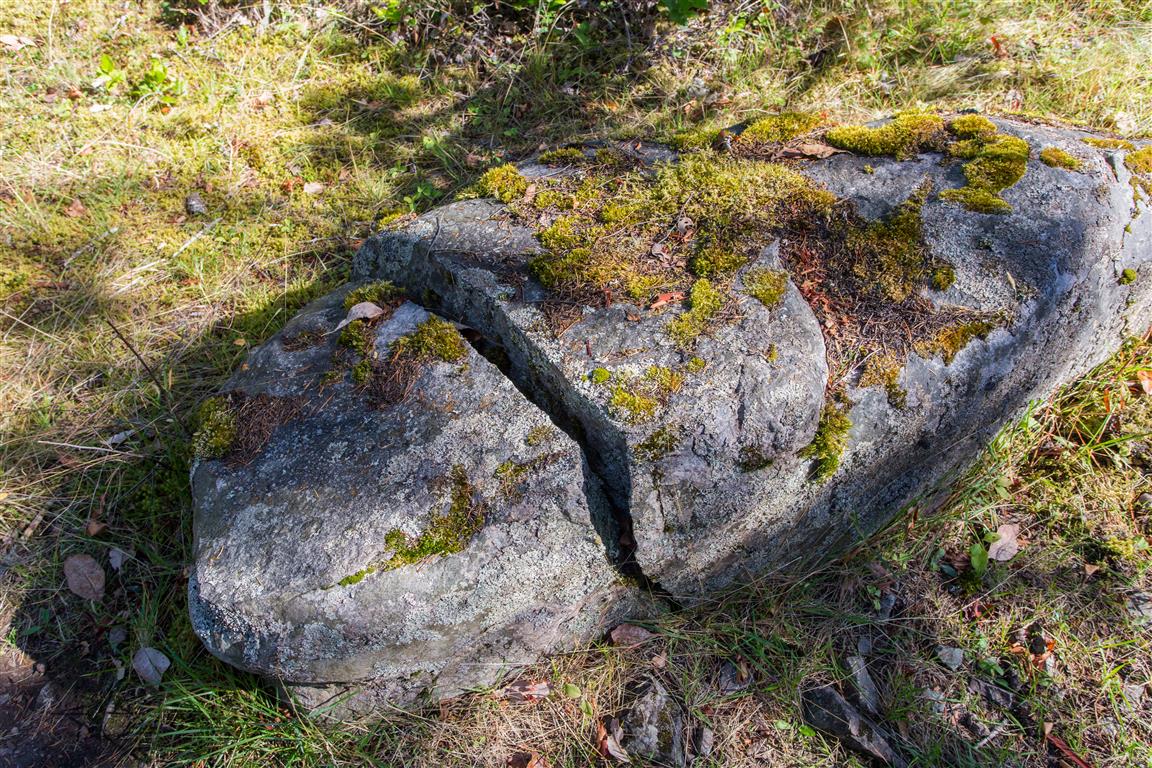
The Photos…
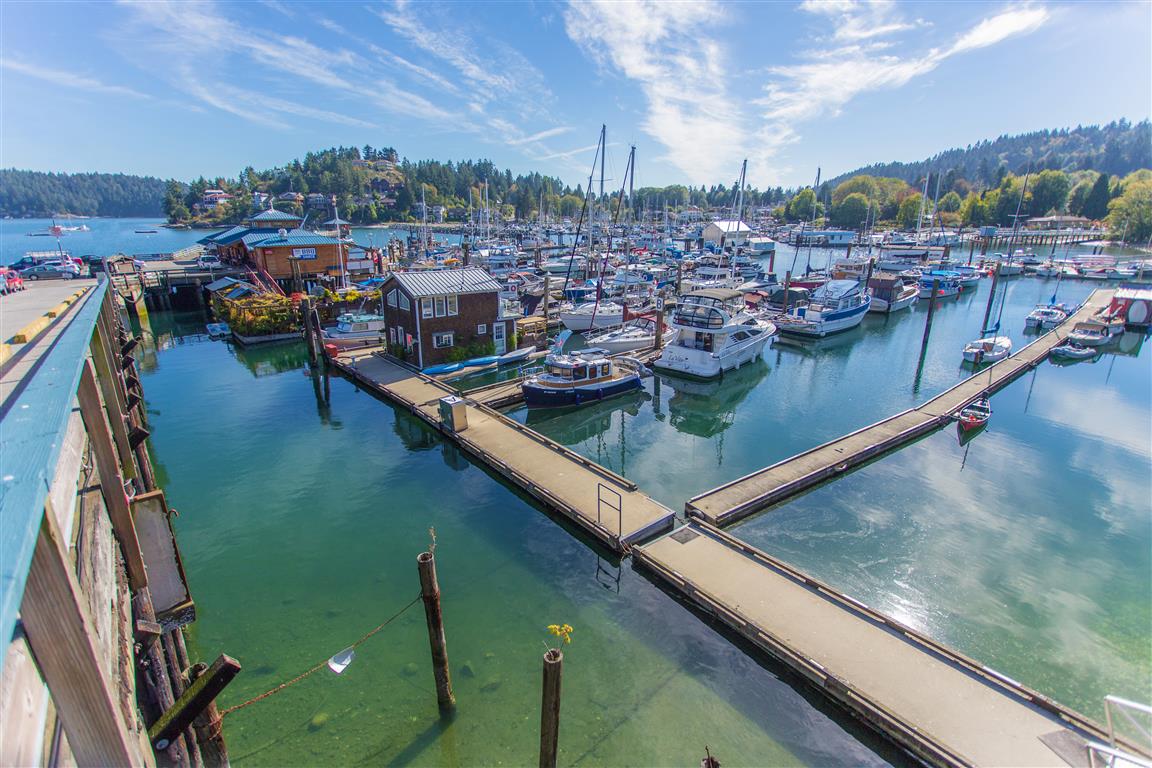
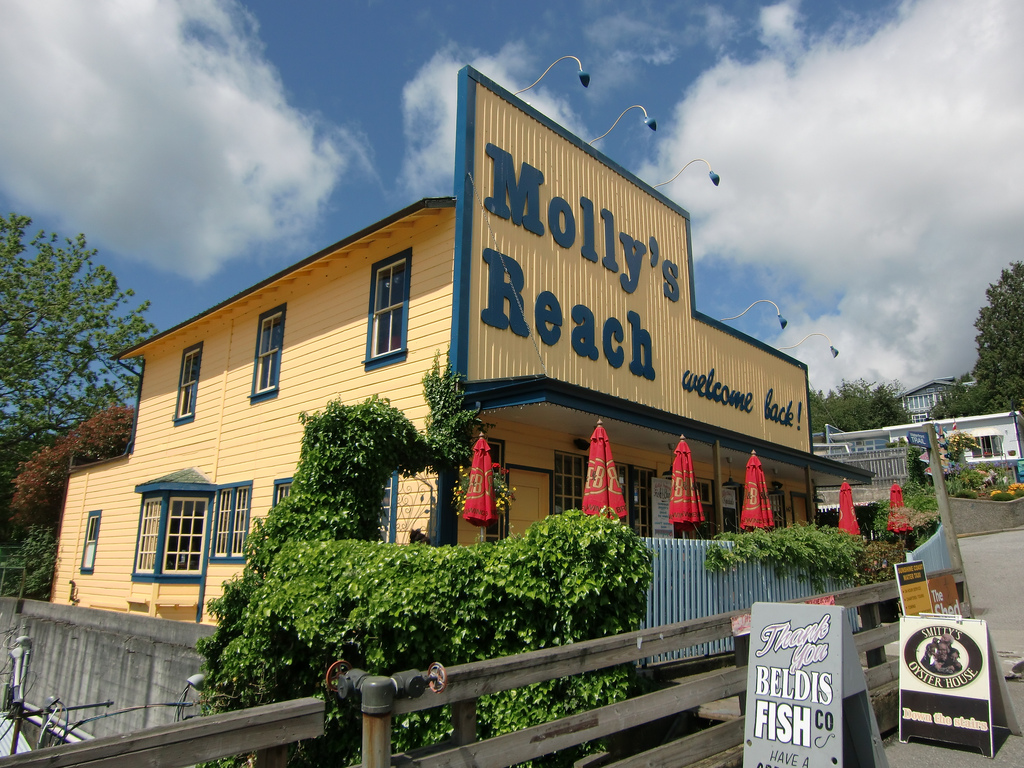
If you have time, stop in Gibsons; it’s a quant little town and stop by Molly’s Reach (of Beachcombers’ fame) for fish and chips !
★★★★★★★★★★★
Before heading out on your hike, make sure you are well prepared. This means, having the TEN ESSENTIALS. It is also important to leave a trip plan (route details and estimated return time) with someone you trust.
Bring your smartphone, fully charged and put it in airplane mode while hiking. I always bring back-up battery packs for extra piece of mind. It is highly recommended that you bring a GPS device; I use my smartphone with a GPS app (Backcountry Navigator). The GPS will work in airplane mode. Learn how to use it before your hike.
For anyone new to hiking, there is a rule to which hikers follow; it is called “Leave No Trace” or LNT. The concept is generally to pack out what you pack in and respect nature, so all future visitors can enjoy what you have enjoyed.
To learn more about LNT, please check out this BLOG by a certified LNT Trainer.