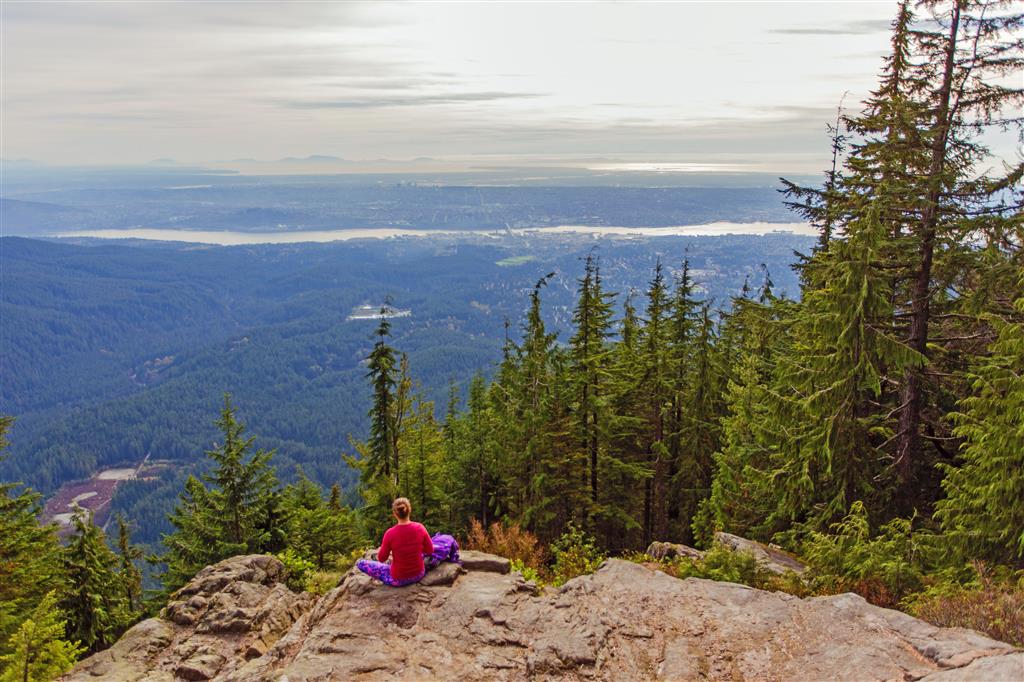
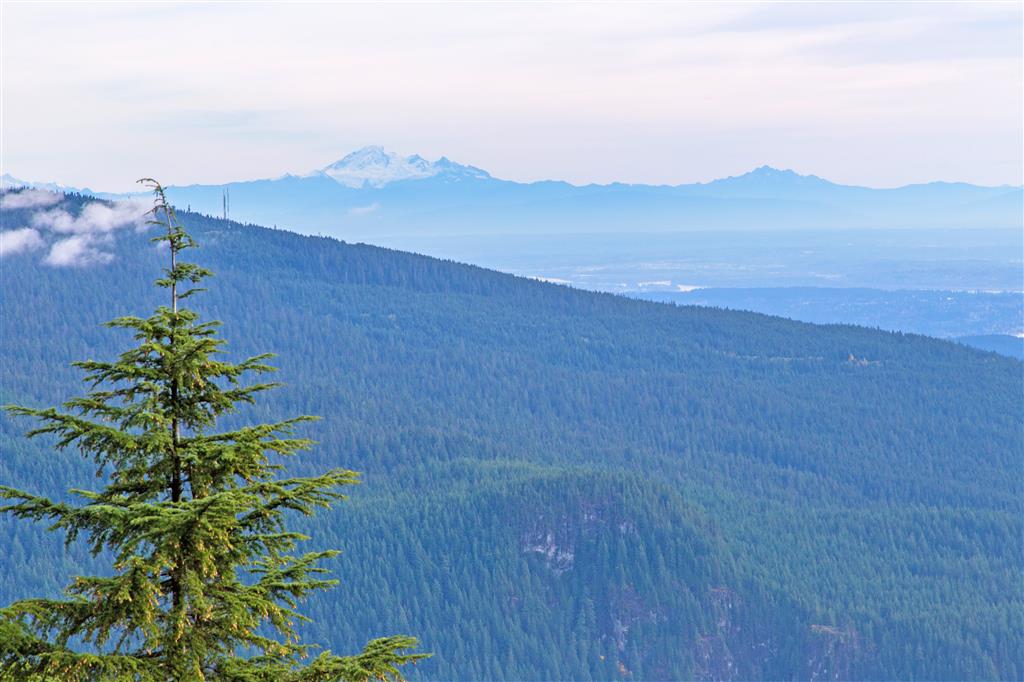
This is my second post for a hike in Lynn Headwaters Regional Park. The first was for a hike to Norvan Falls. Lynn Peak is a much different hike than the Norvan Falls hike. The Lynn Peak hike is uphill pretty much all the way – it’s more of a workout. I found the trail well marked with some bits quite rocky, but overall the trail was very manageable. Compared to the nearby Grouse Grind, this trail is much easier and much less crowded. The trail offers the occasional flat area to catch your breath. Once at the top, there is a large rock bluff at which to have a snack and take in the views looking south. Today, it was overcast, but Mt. Baker was still visible !
NOTE: The access road for vehicles is now closed indefinitely. You will have to hike park on the street somewhere and hike into the park.
Here are the stats starting from the second parking lot…
Distance: 9.1 km (return)
Time: 3 hours moving time
Low point: 192 m
High point: 942 m
Elevation gain: 750 m
Trailhead: 49° 21’ 40” by 123° 01’ 41.5” (Google Map)
Here is the route…
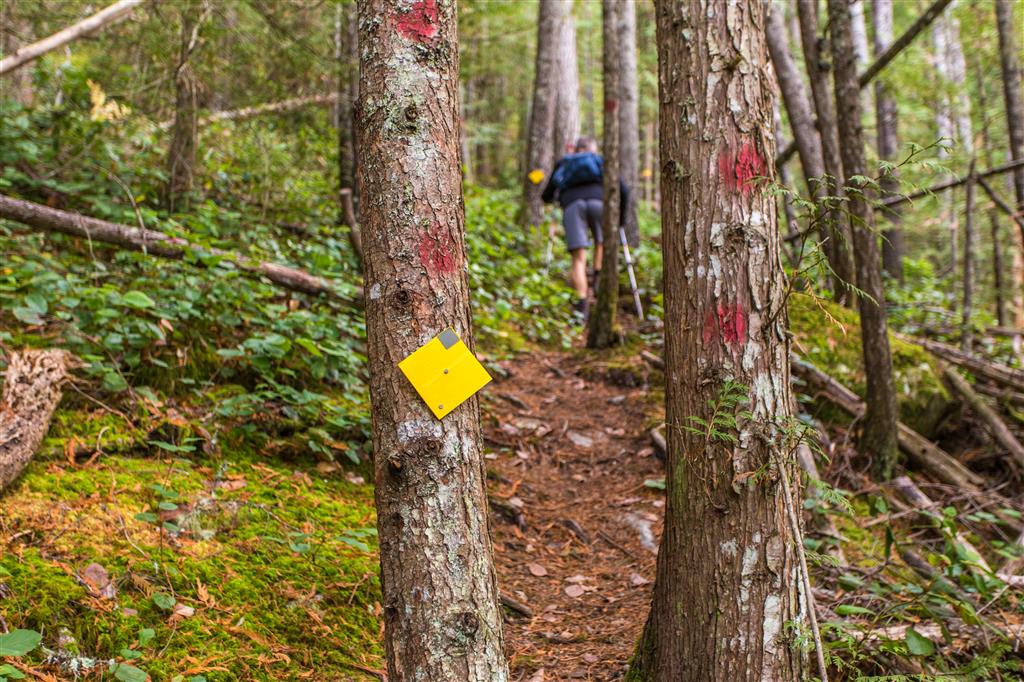
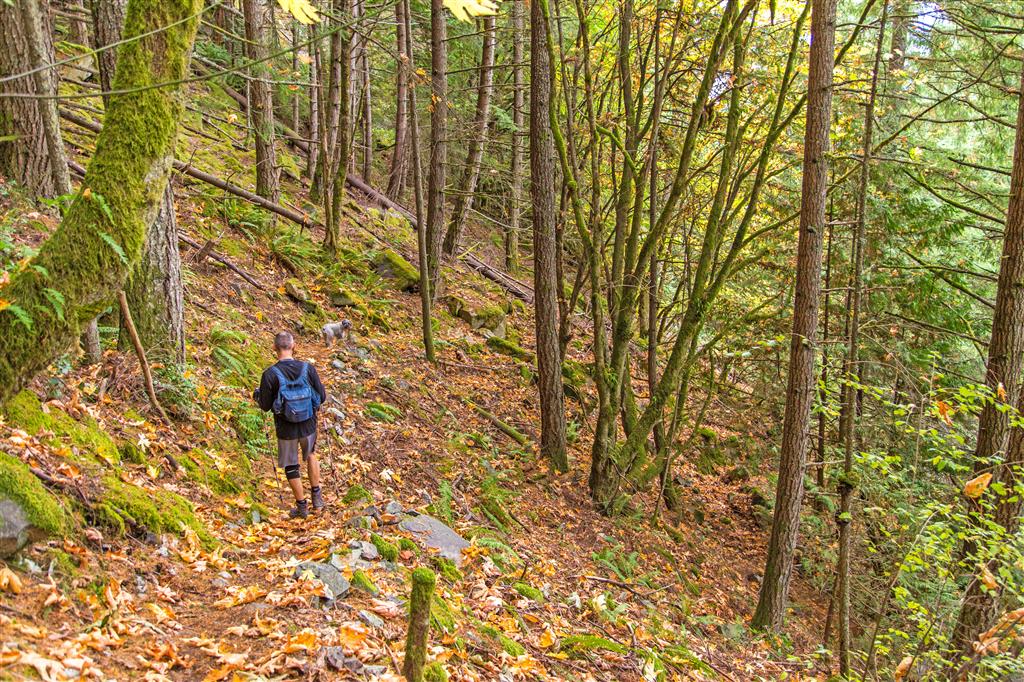
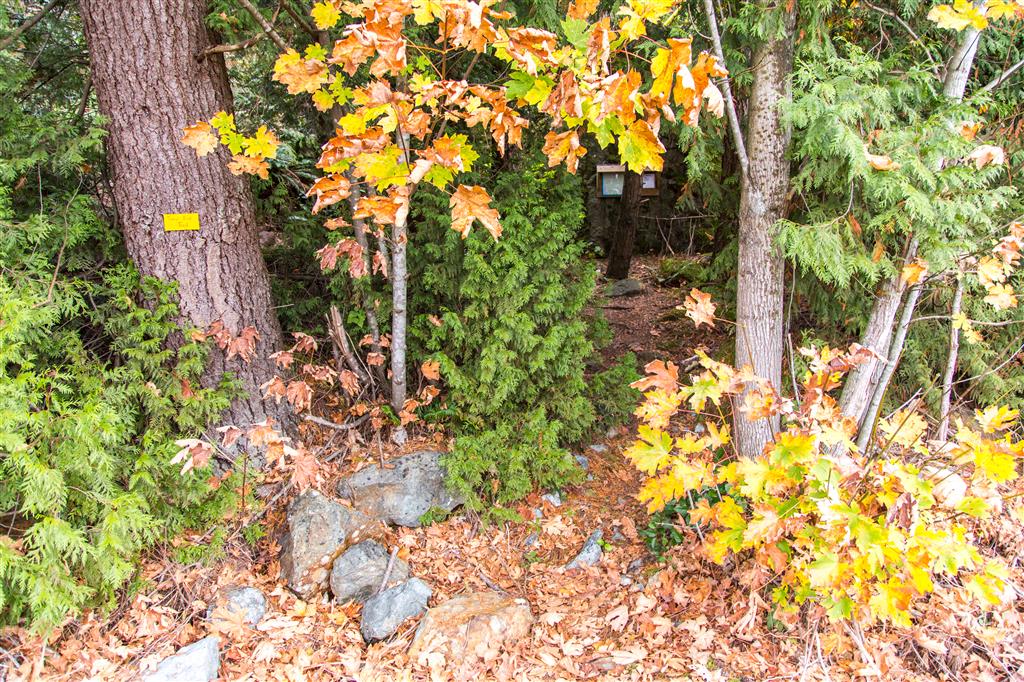
Photos…
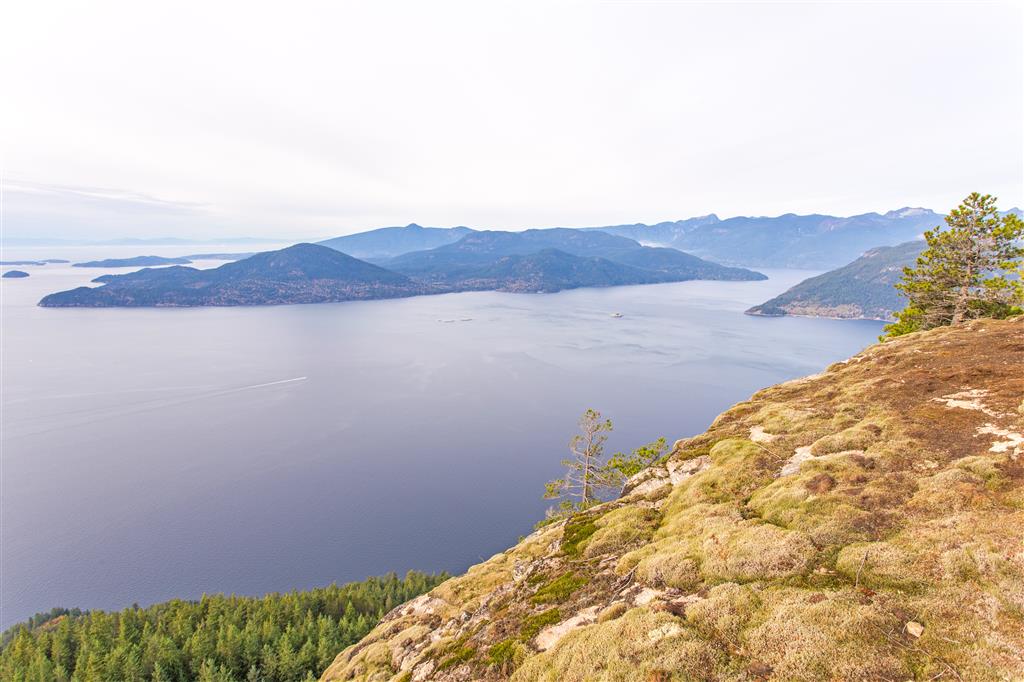
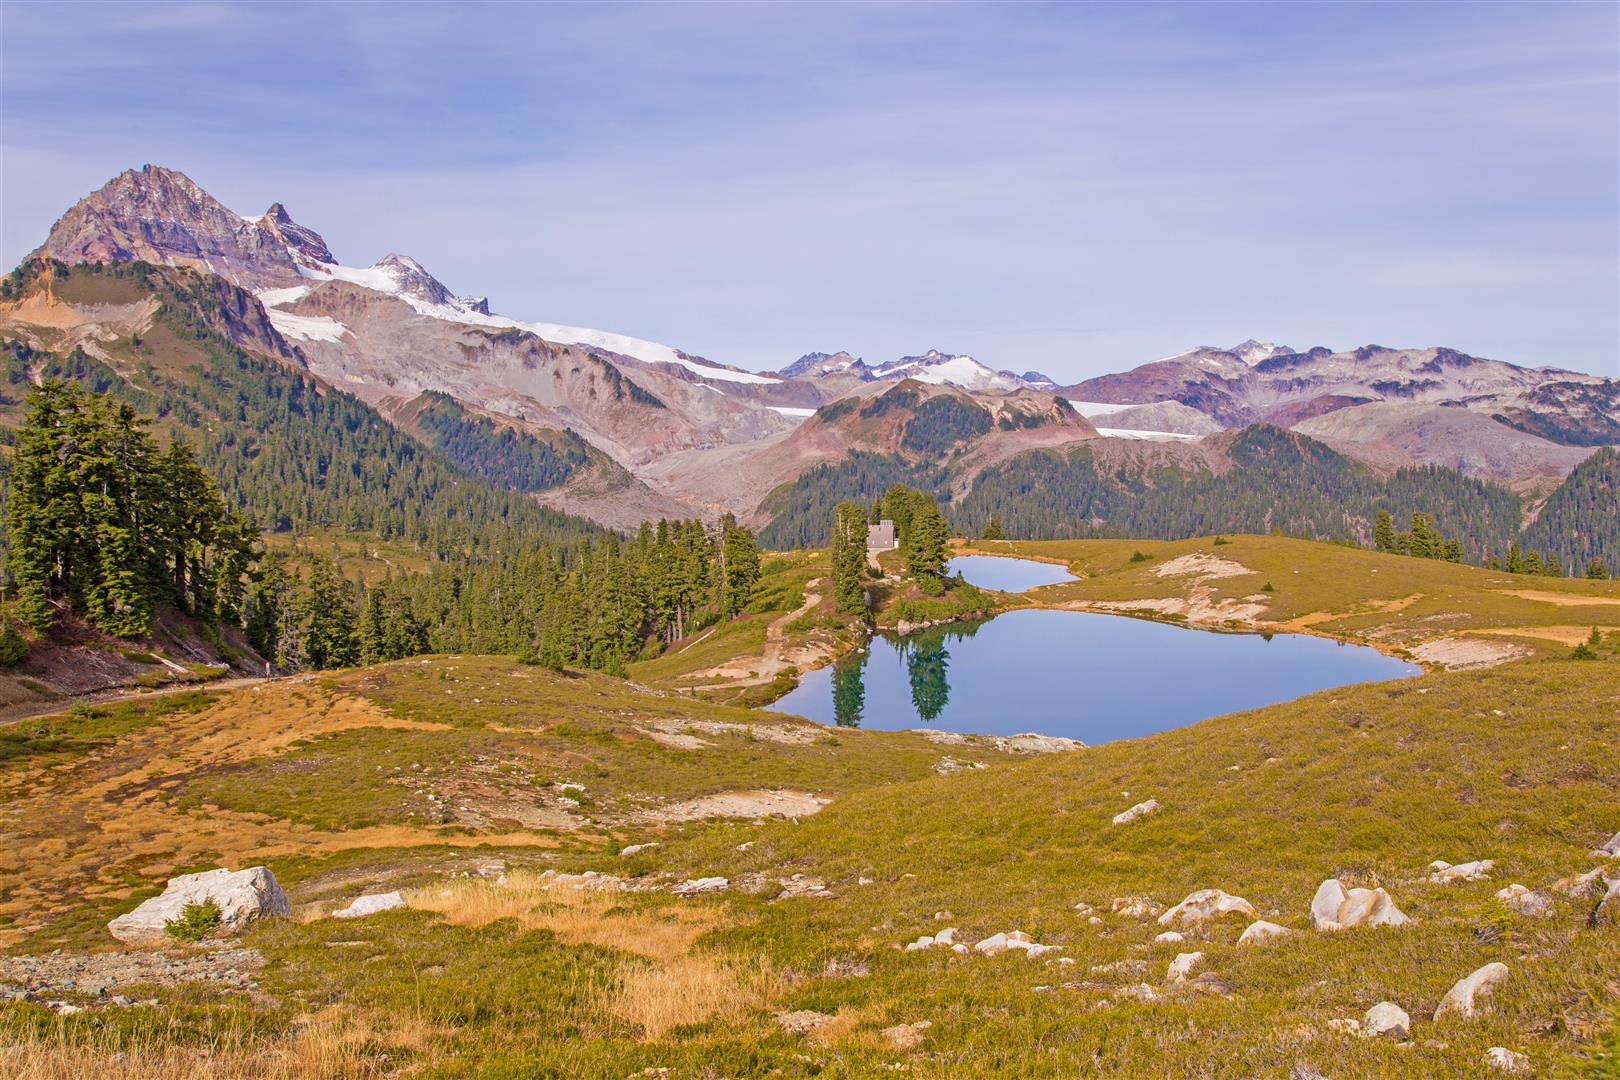
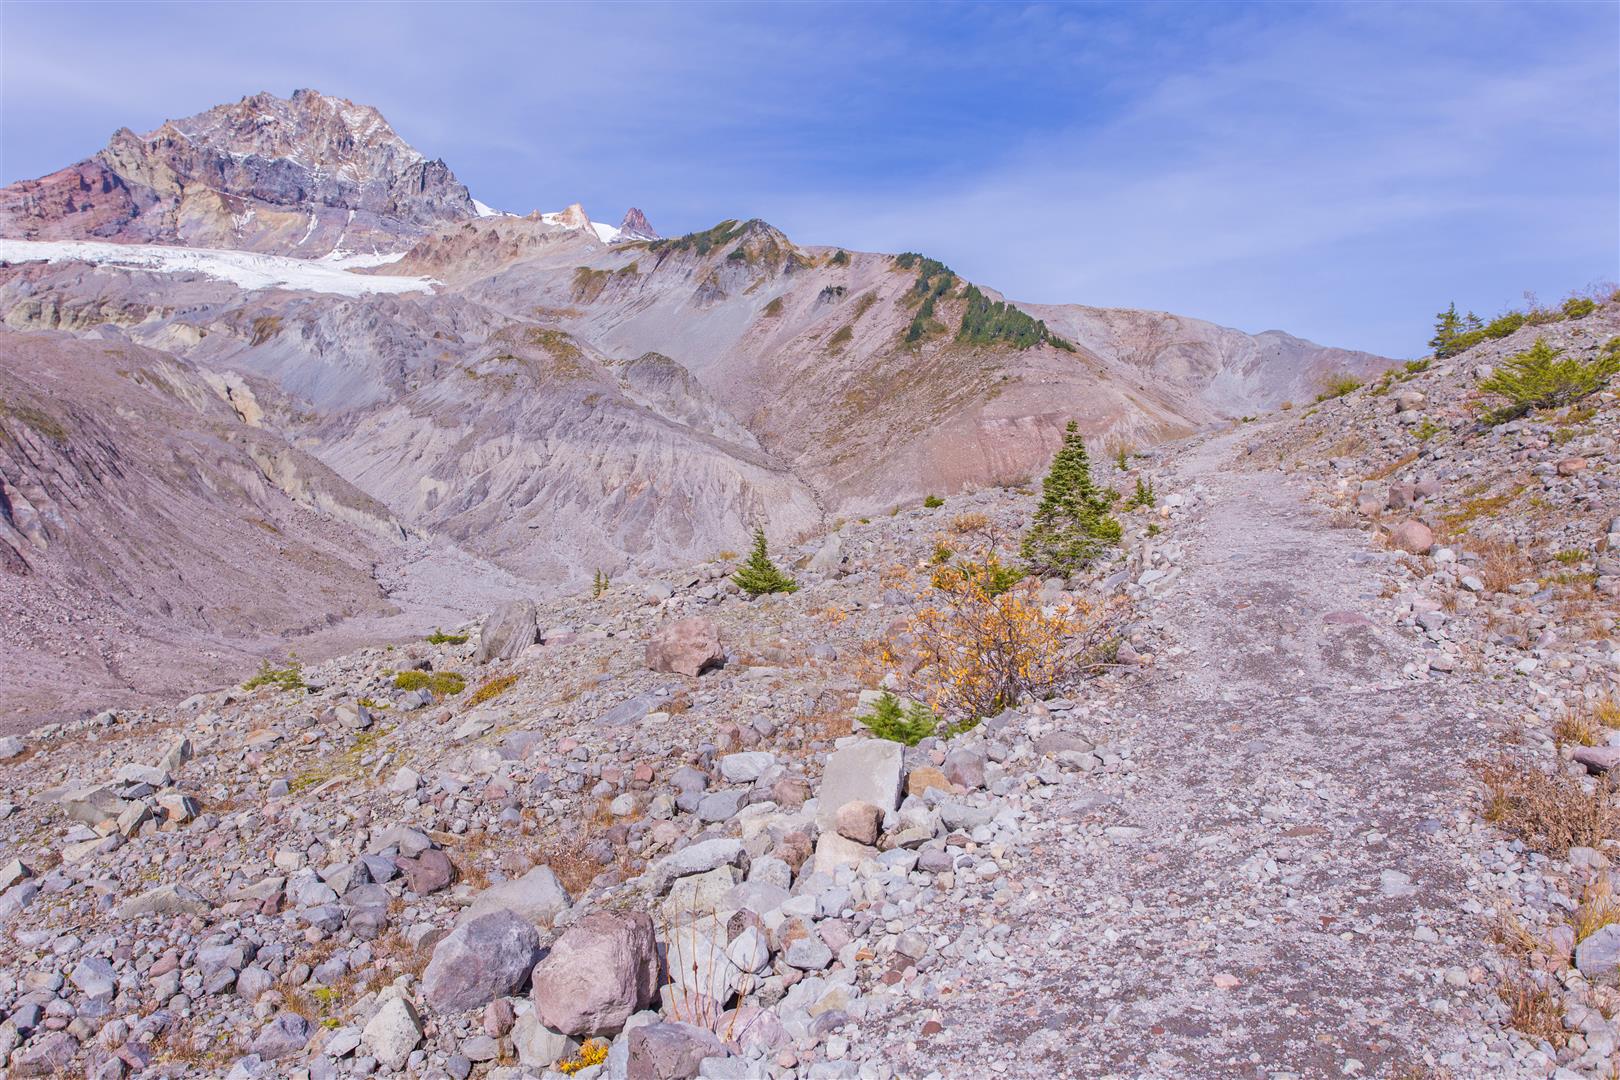
Great view from the top…
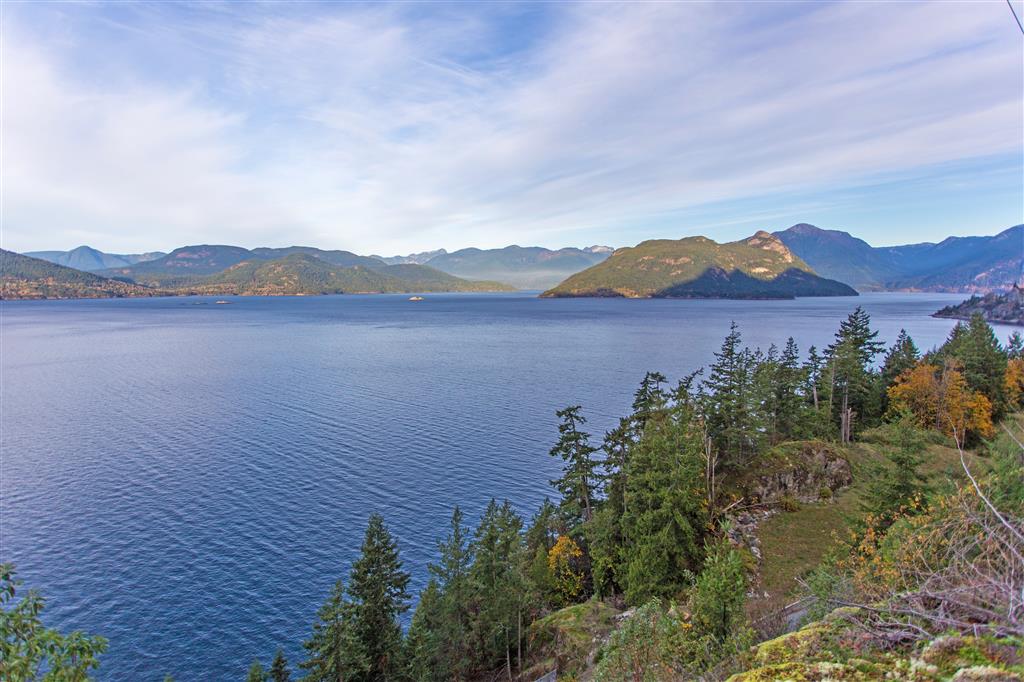
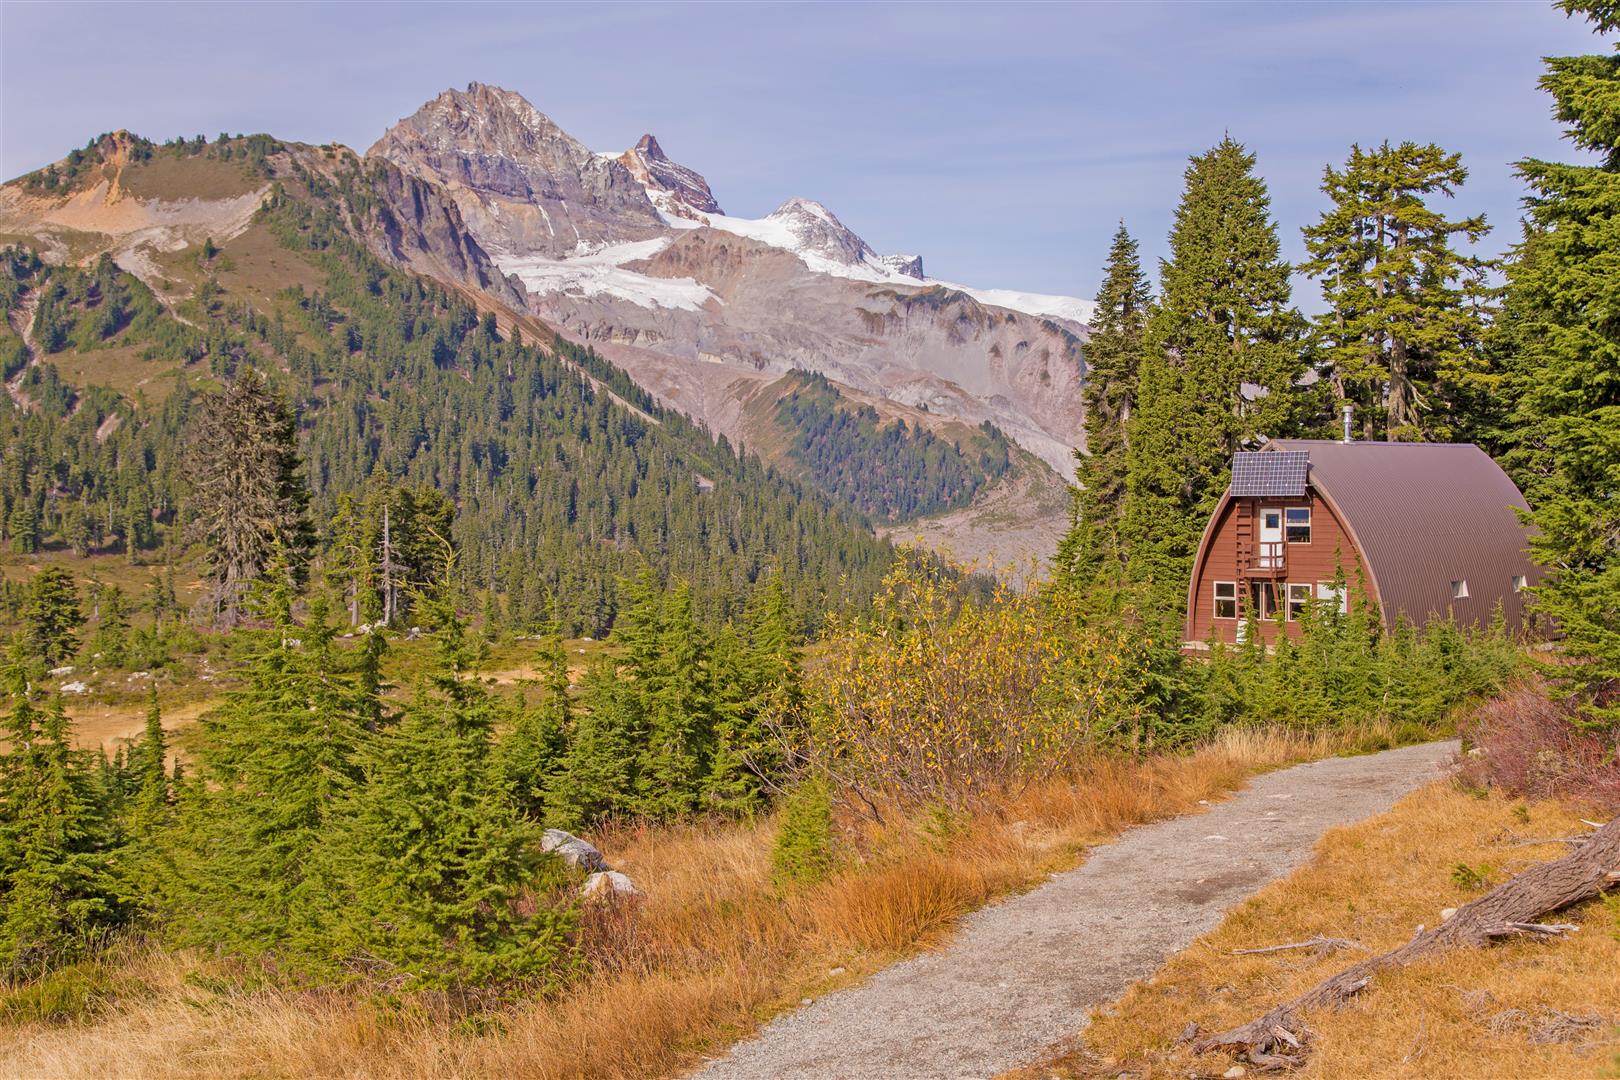
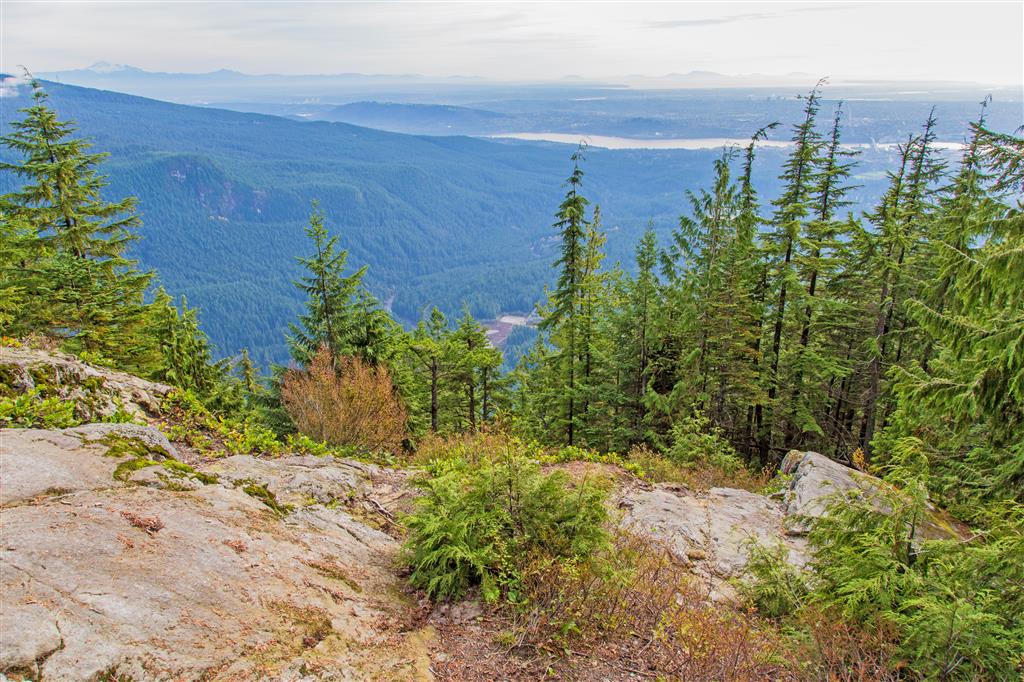
Another view…
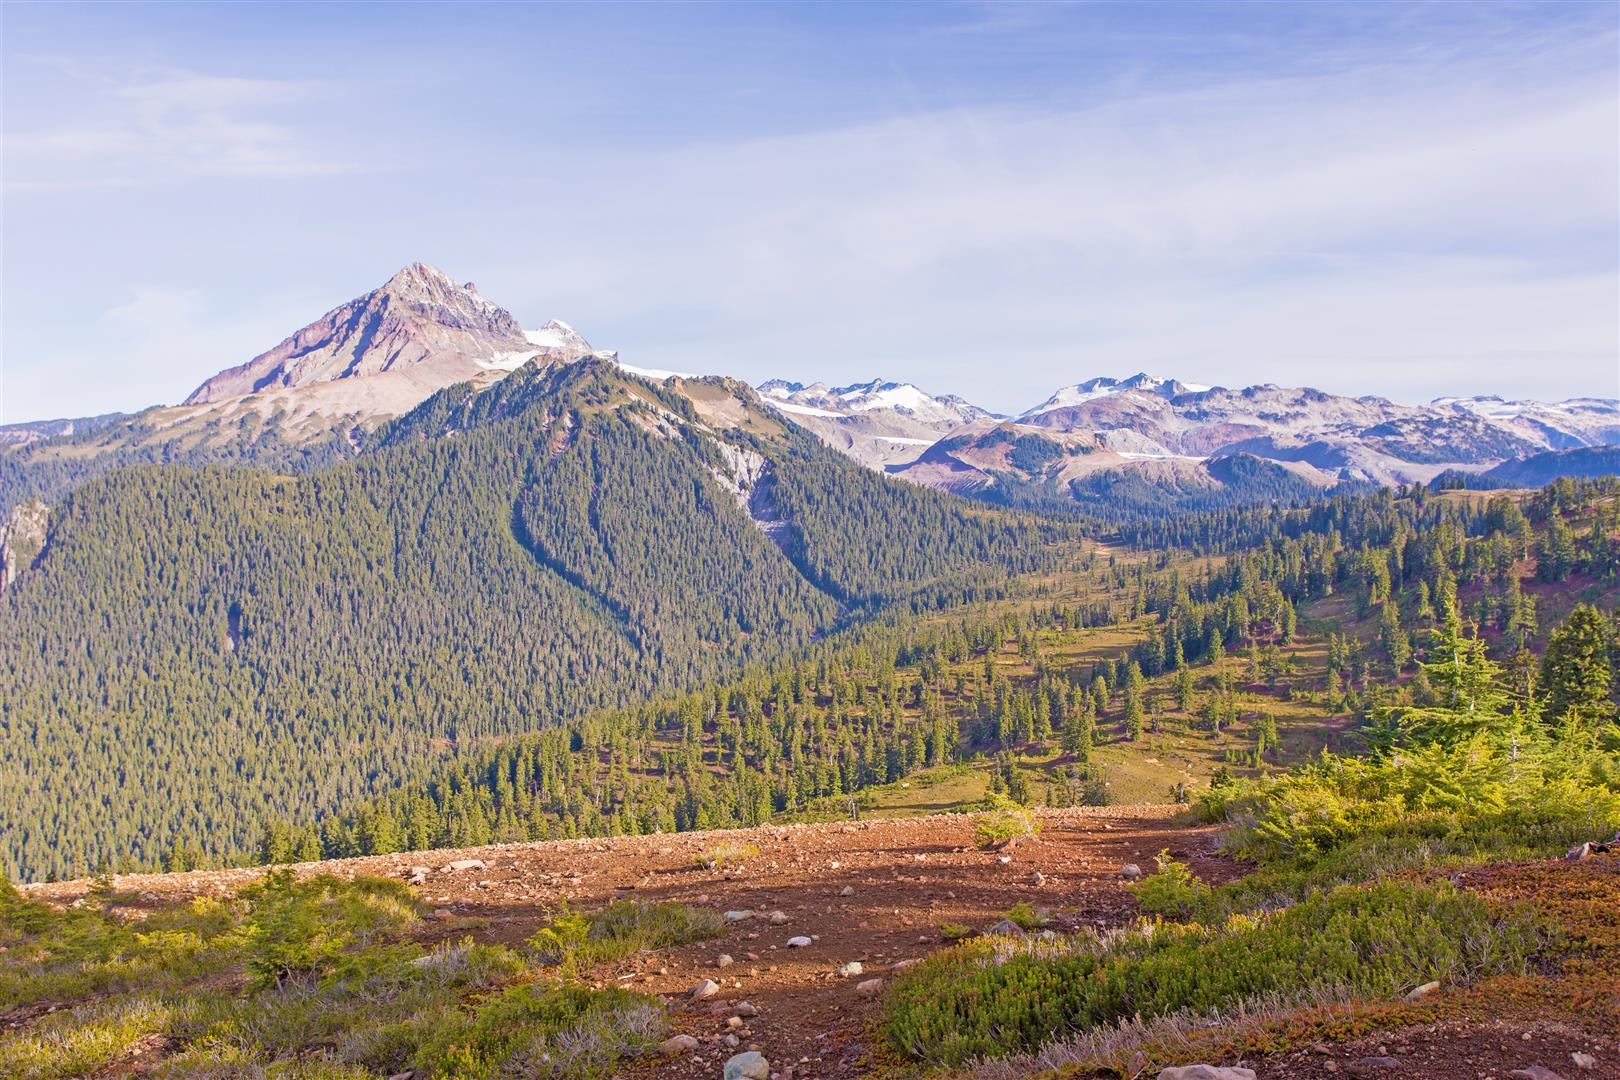
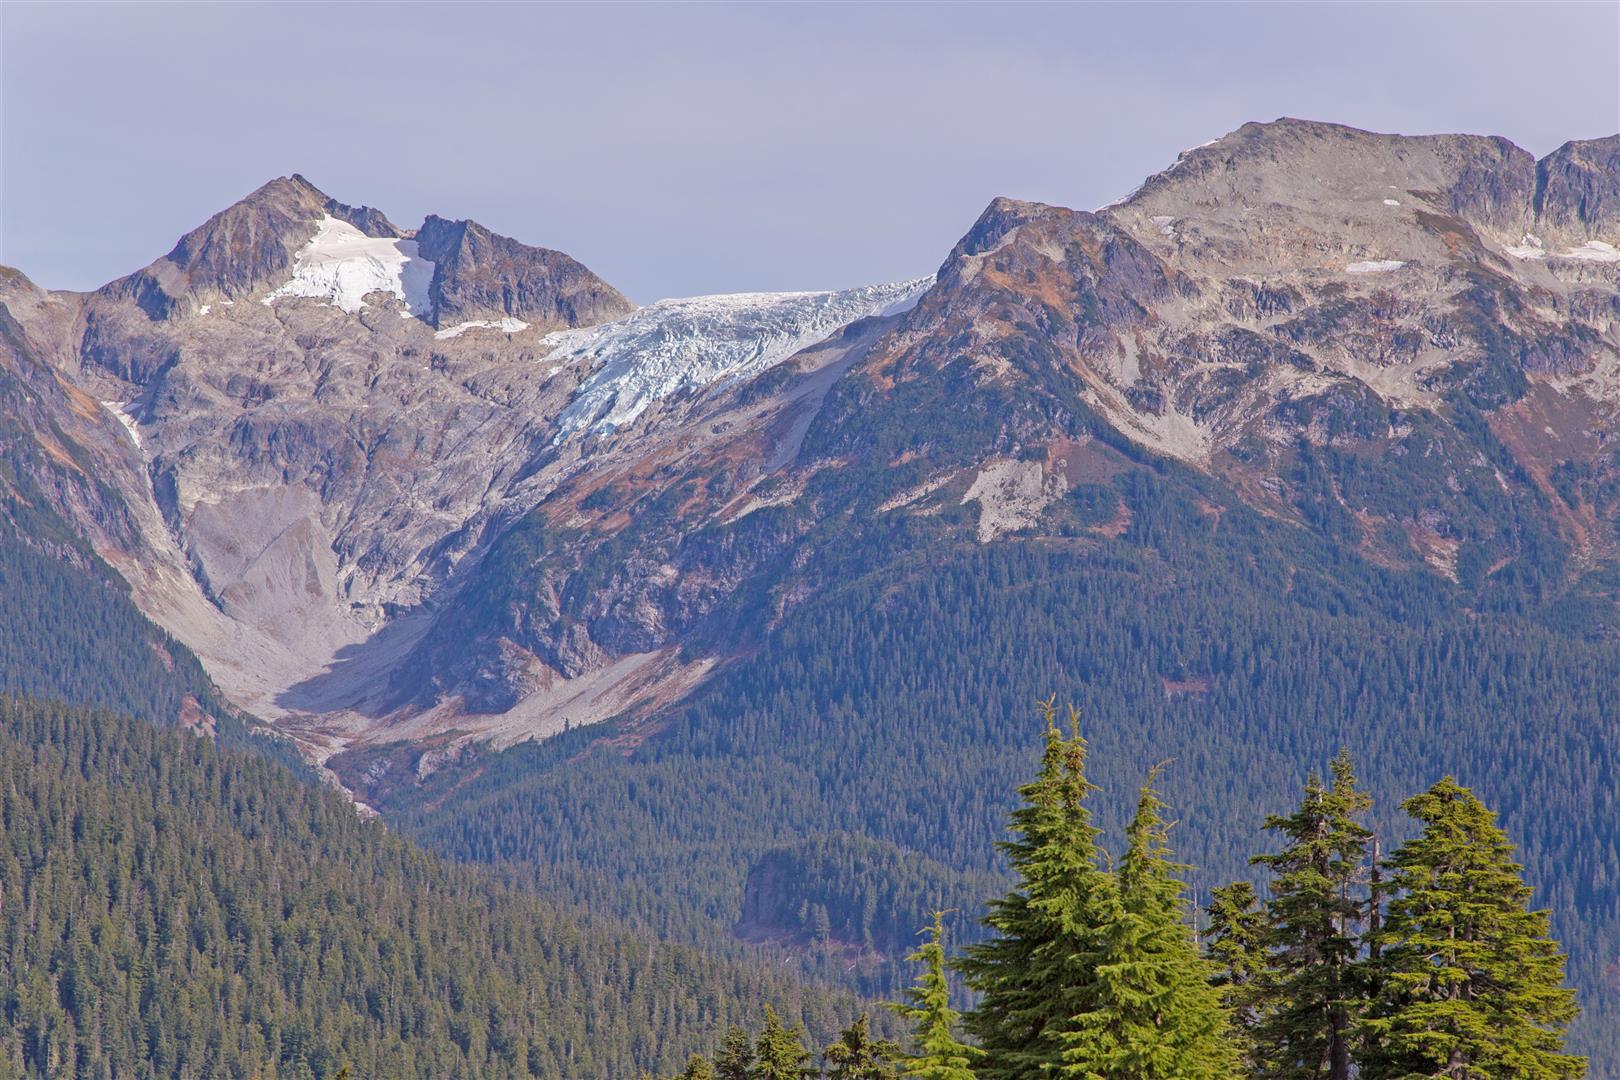
View of Mt. Baker…
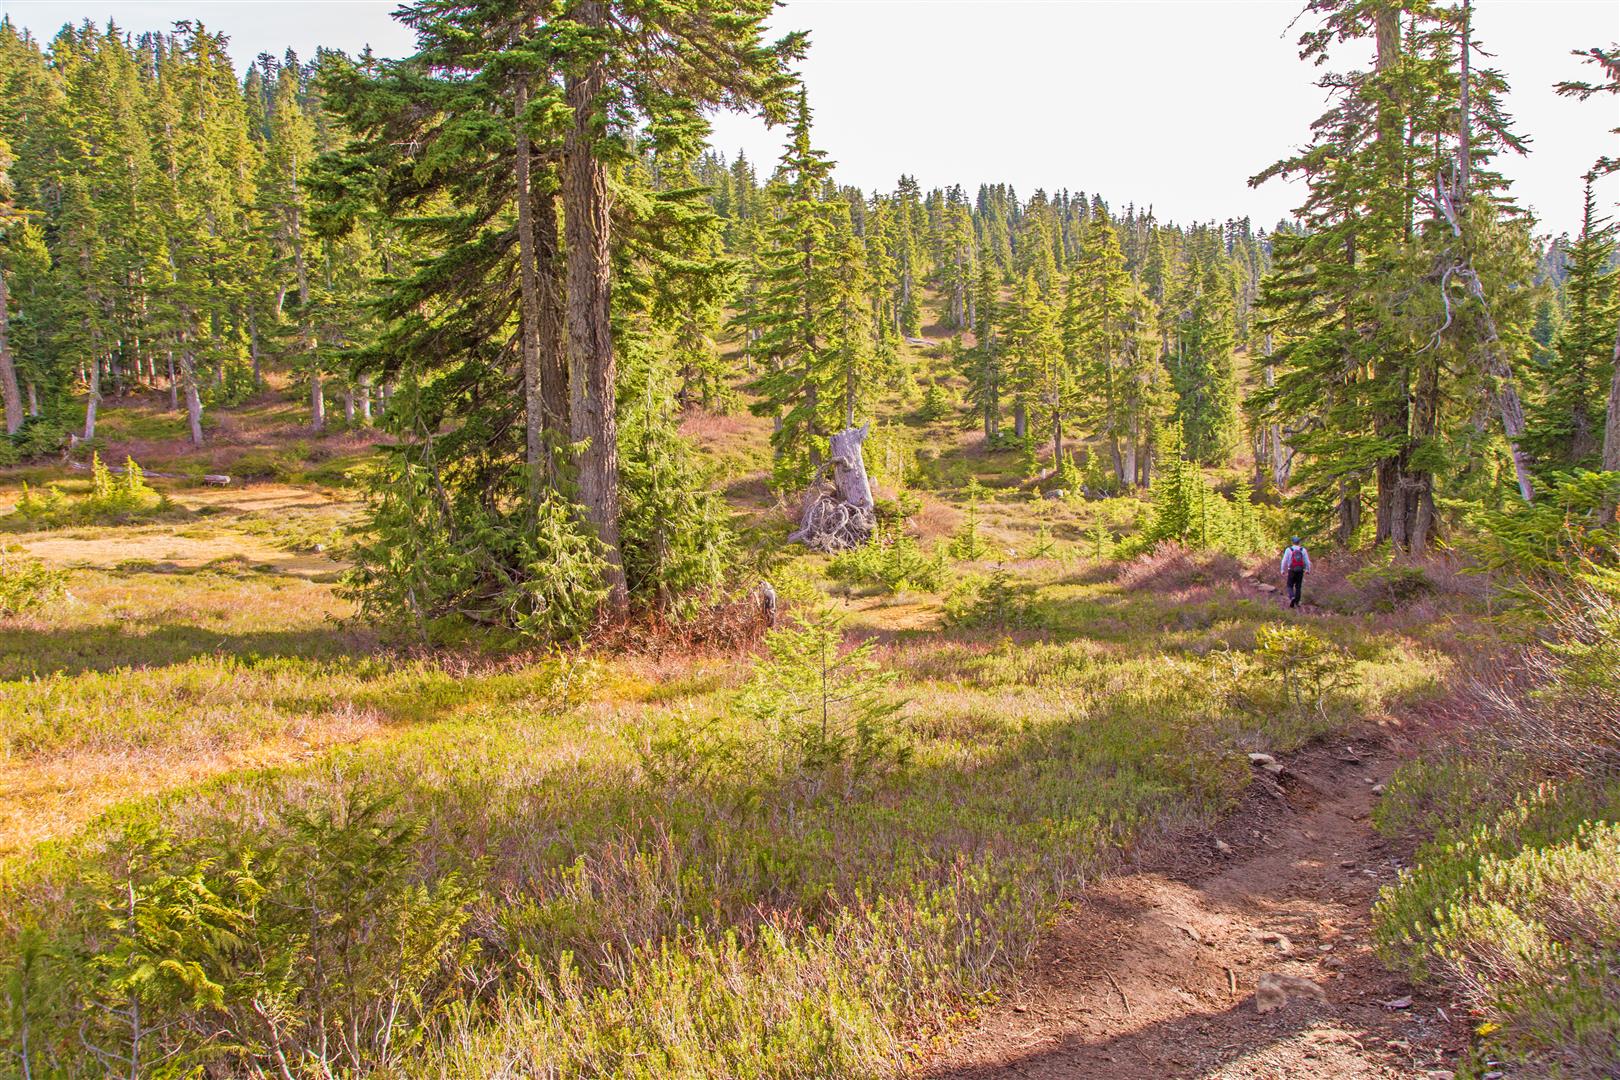
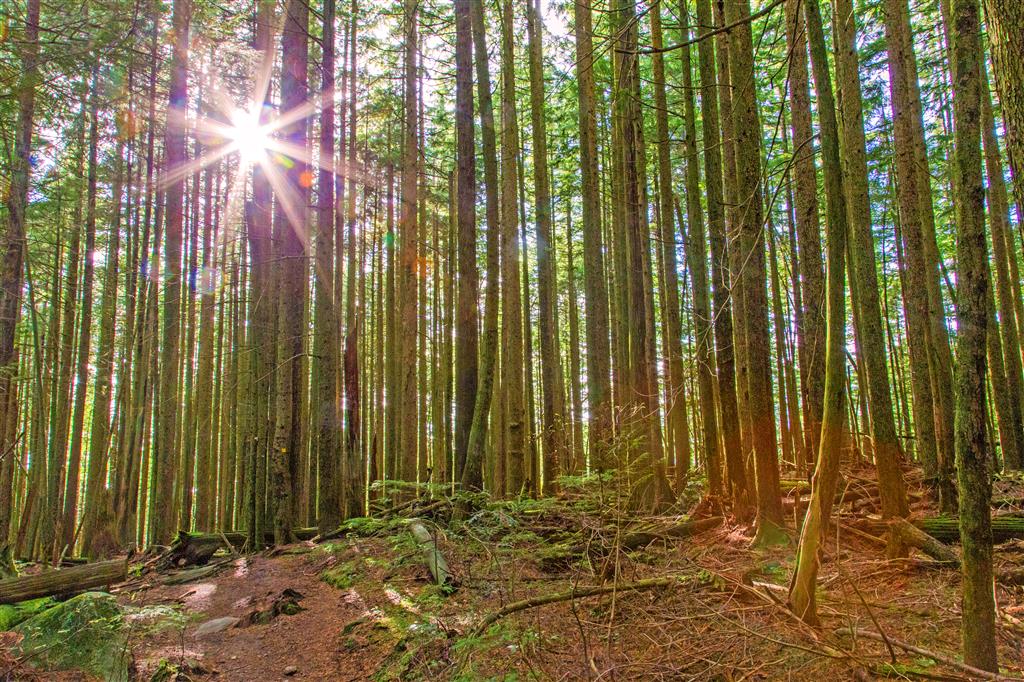
Sun fighting through the trees…
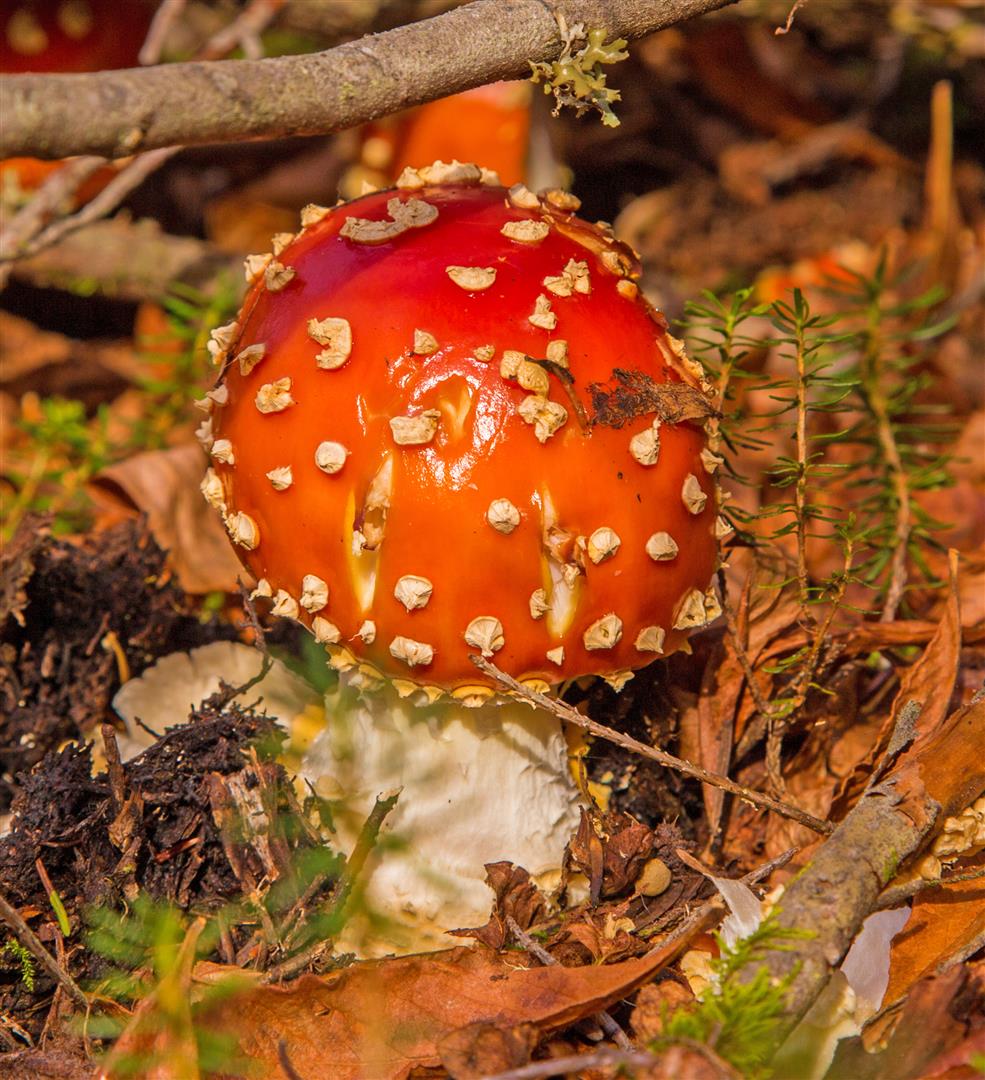
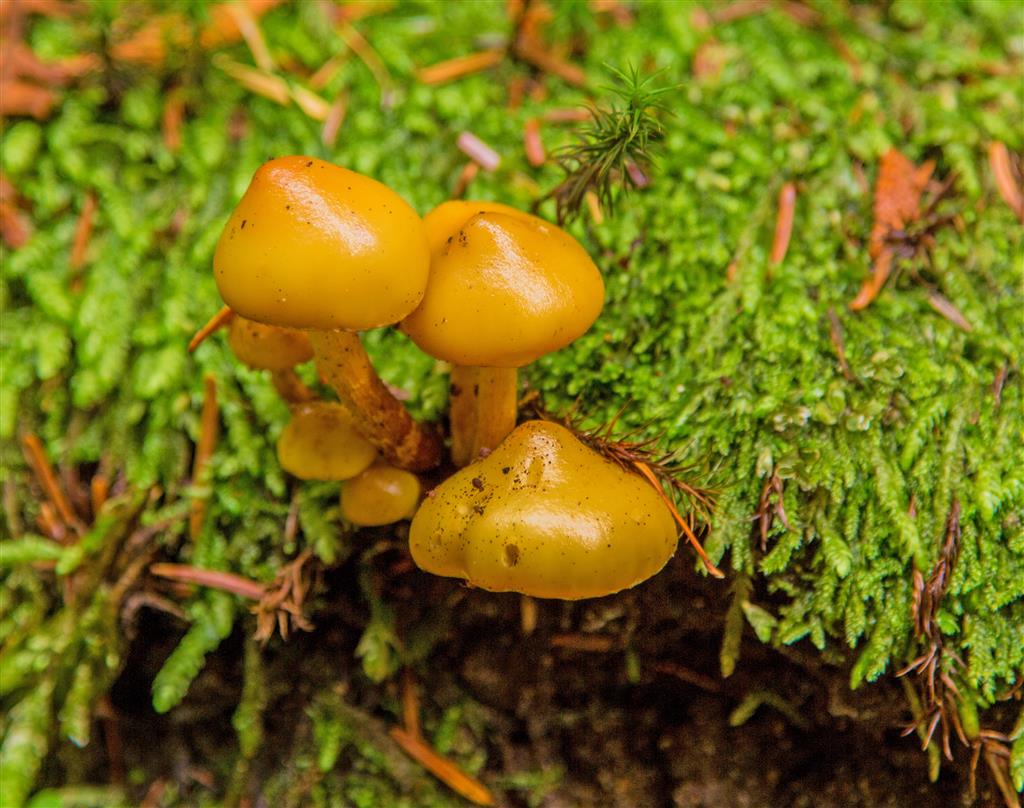
Mushrooms…
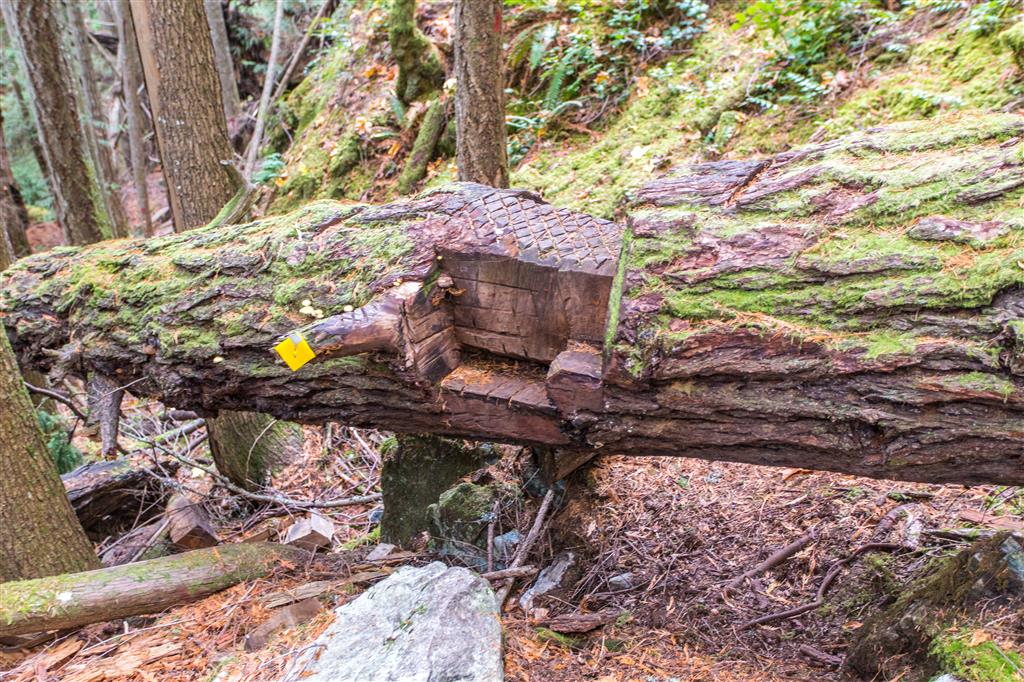
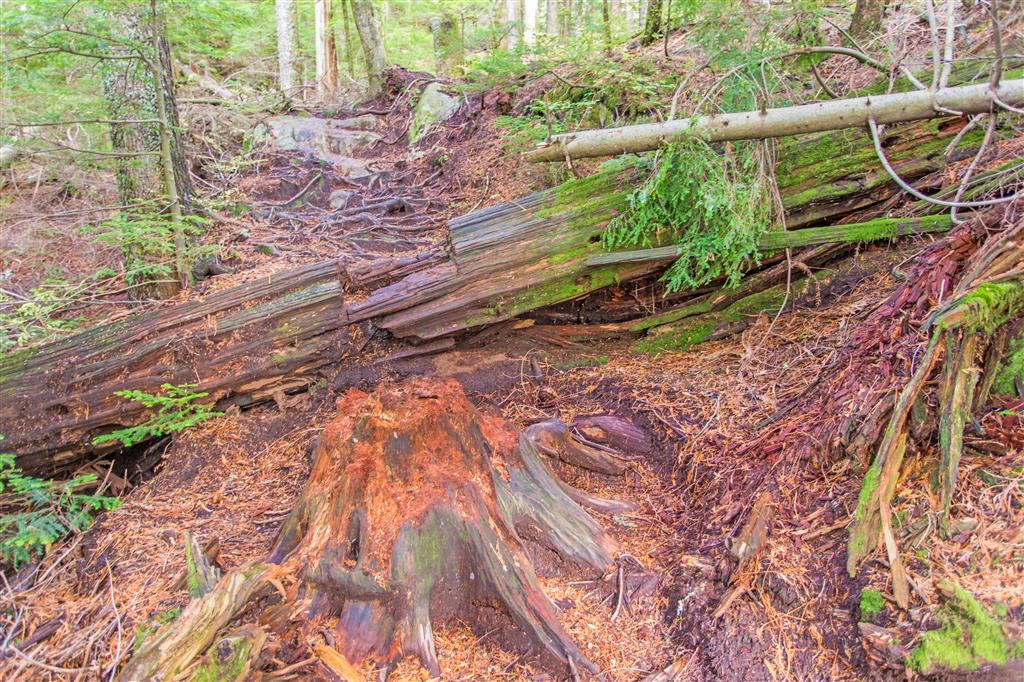
Notch in blow down…
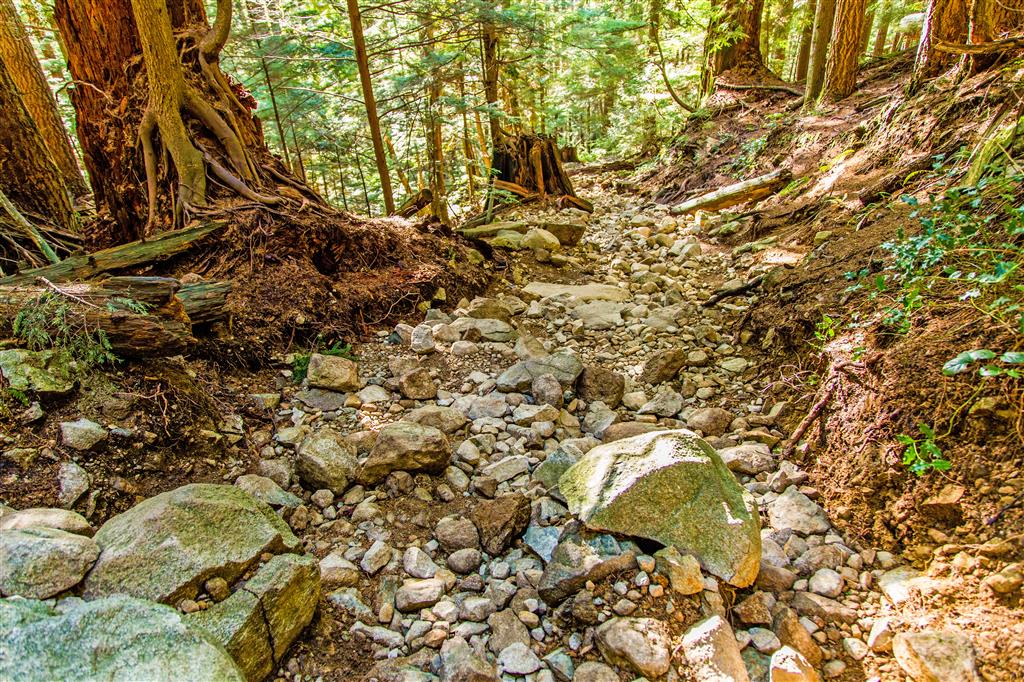
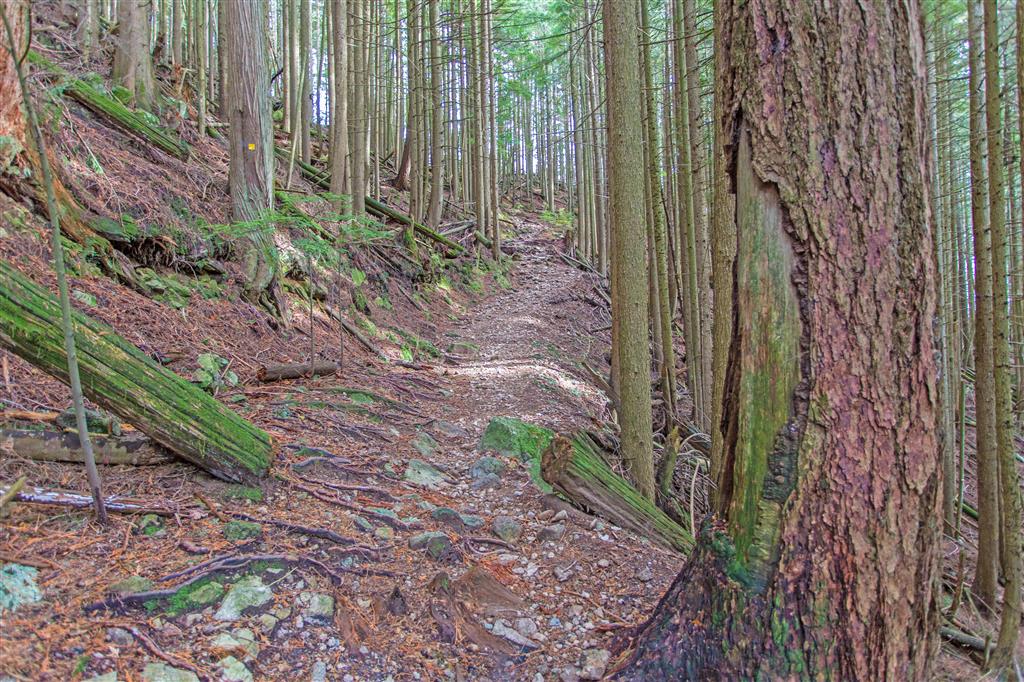
Rocky section…
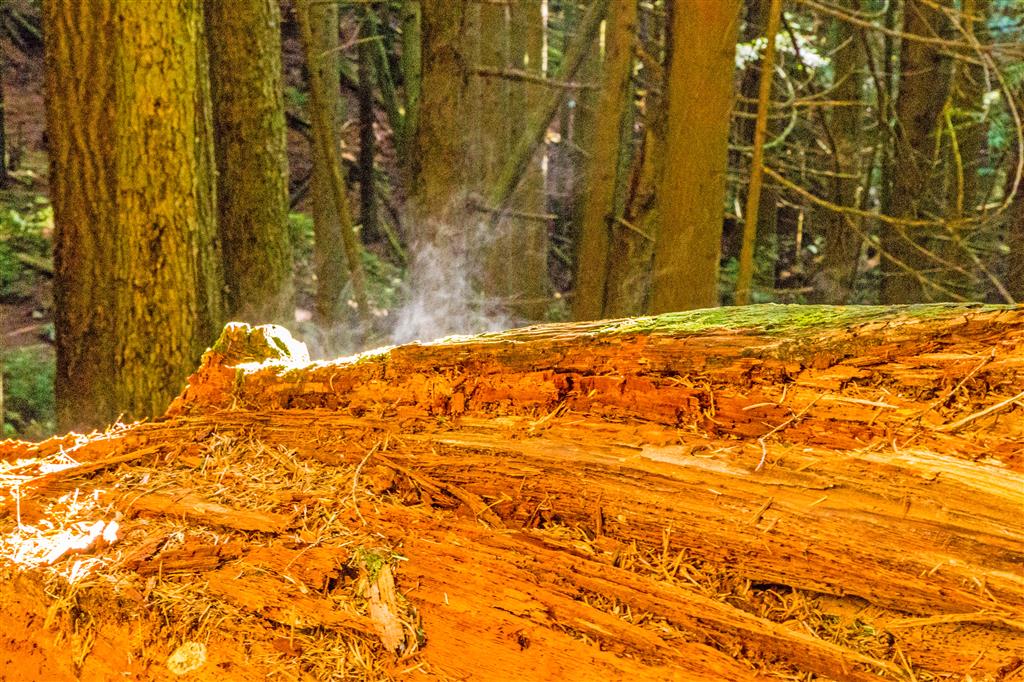
Steam on dead tree…
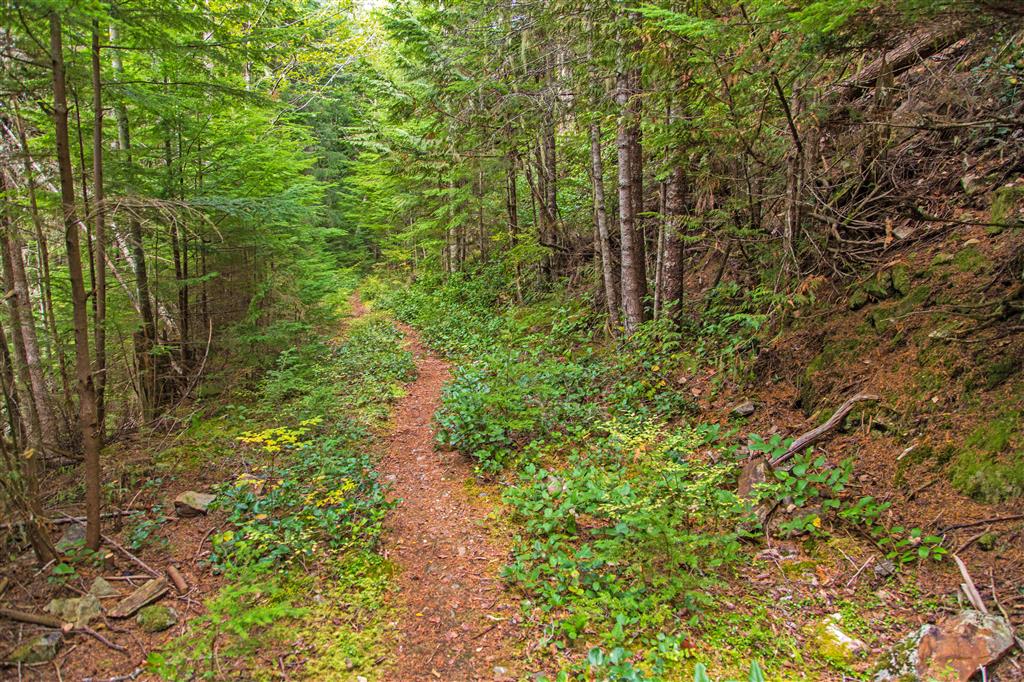
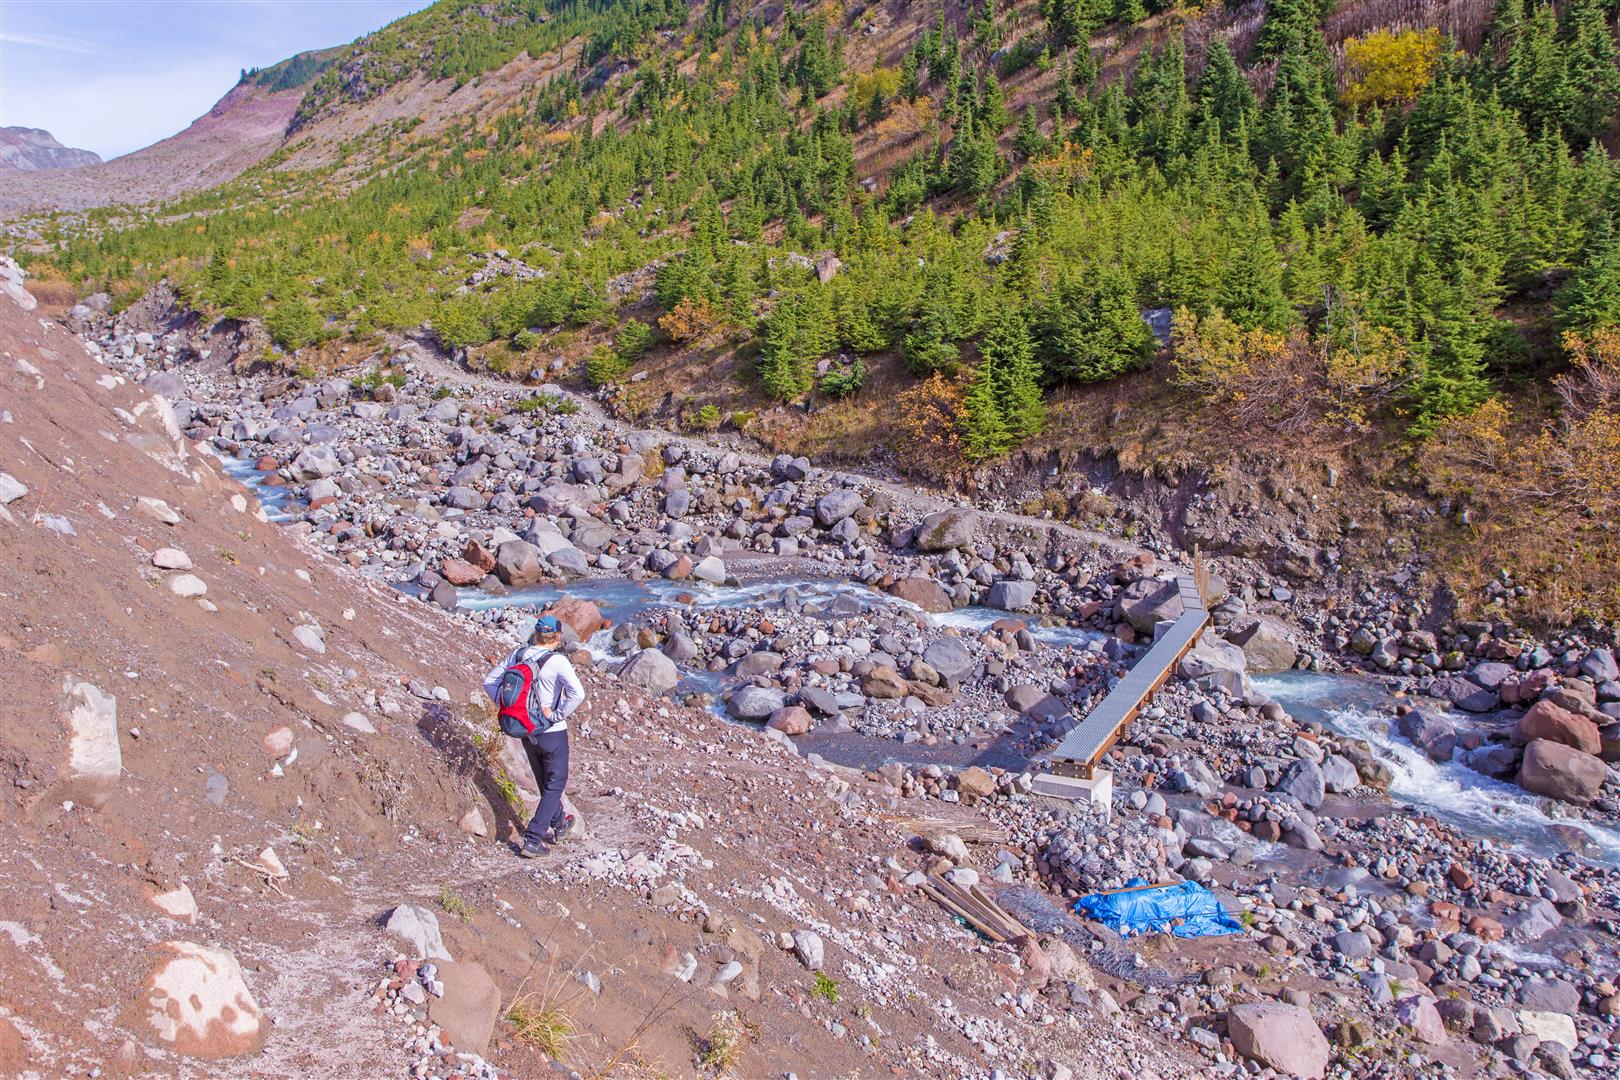
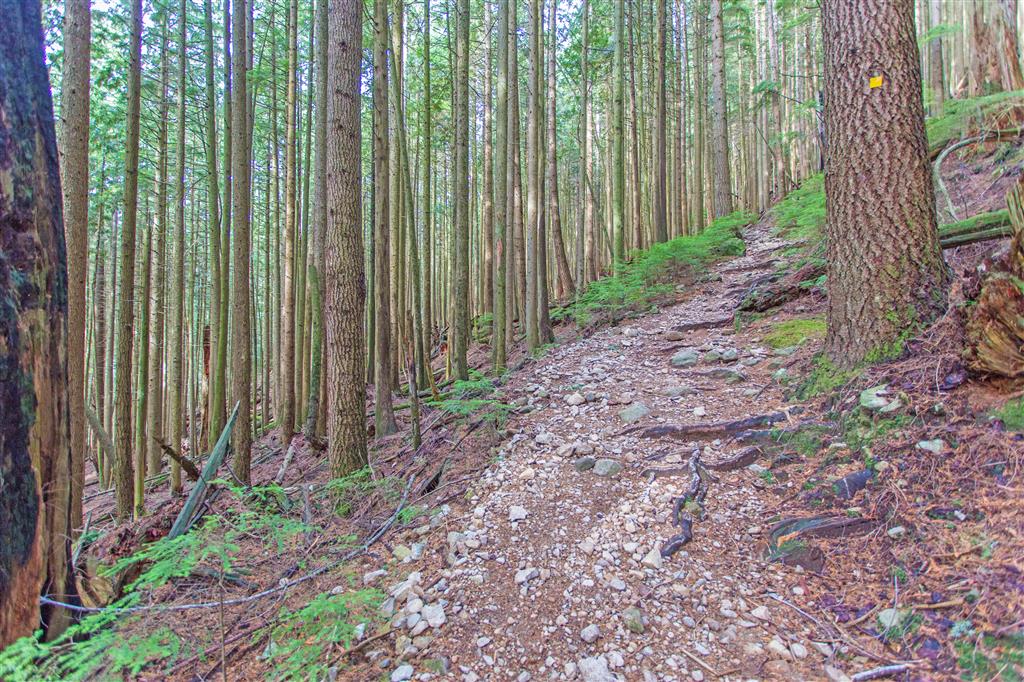
Trail pic…
Trail pic…
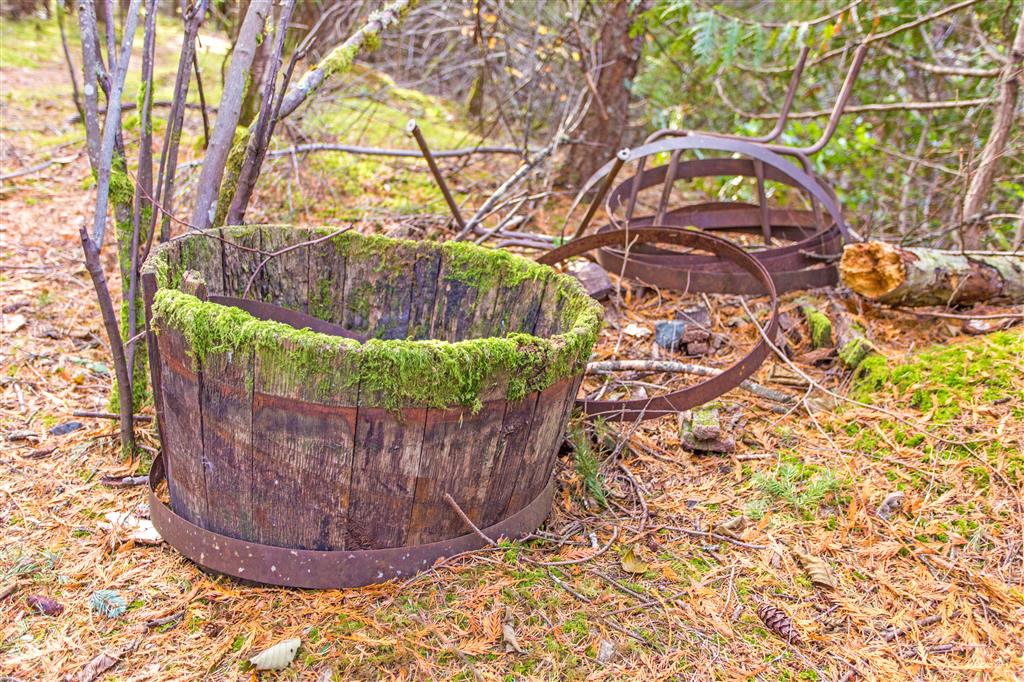
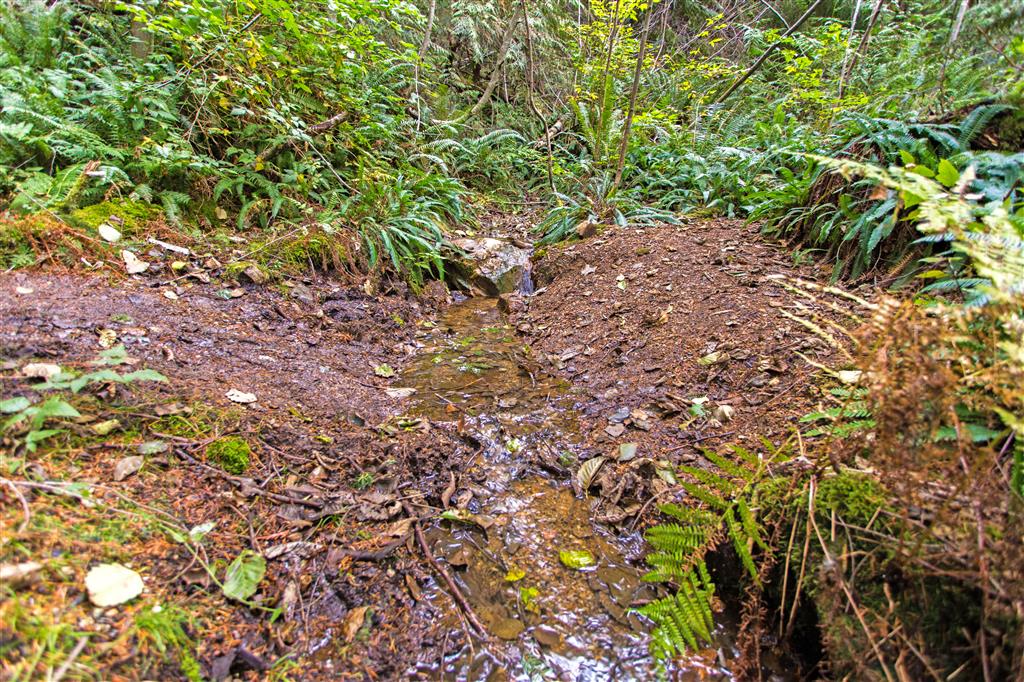
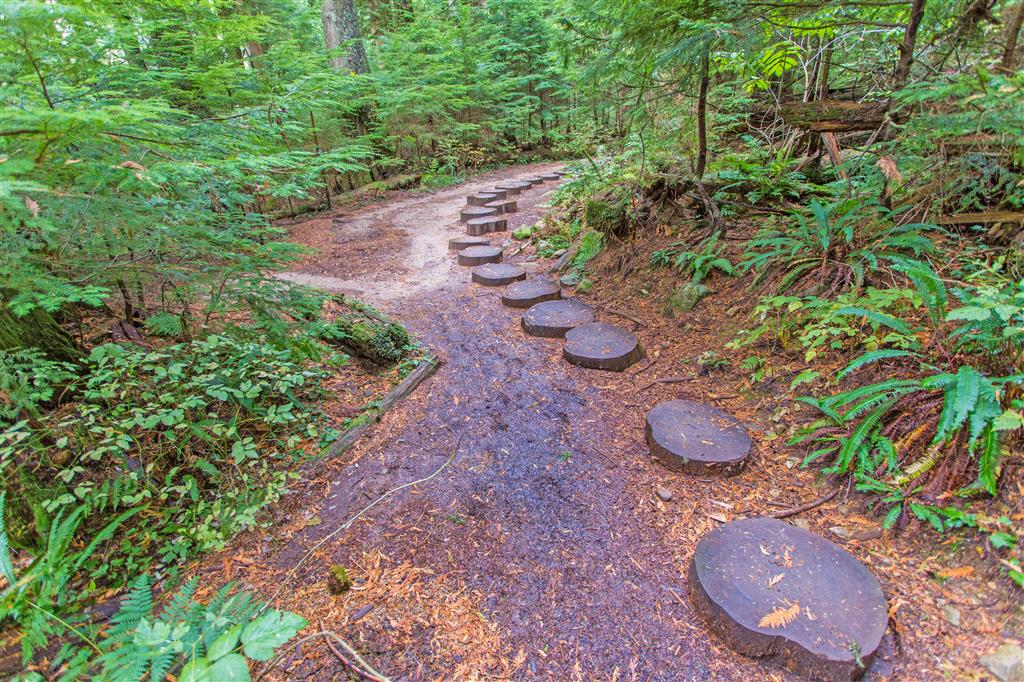
Wooden stumps at a sometimes swampy section…
★★★★★★★★★★★
Before heading out on your hike, make sure you are well prepared. This means, having the TEN ESSENTIALS. It is also important to leave a trip plan (route details and estimated return time) with someone you trust.
Bring your smartphone, fully charged and put it in airplane mode while hiking. I always bring back-up battery packs for extra piece of mind. It is highly recommended that you bring a GPS device; I use my smartphone with a GPS app (Backcountry Navigator). The GPS will work in airplane mode. Learn how to use it before your hike.
For anyone new to hiking, there is a rule to which hikers follow; it is called “Leave No Trace” or LNT. The concept is generally to pack out what you pack in and respect nature, so all future visitors can enjoy what you have enjoyed.
To learn more about LNT, please check out this BLOG by a certified LNT Trainer.