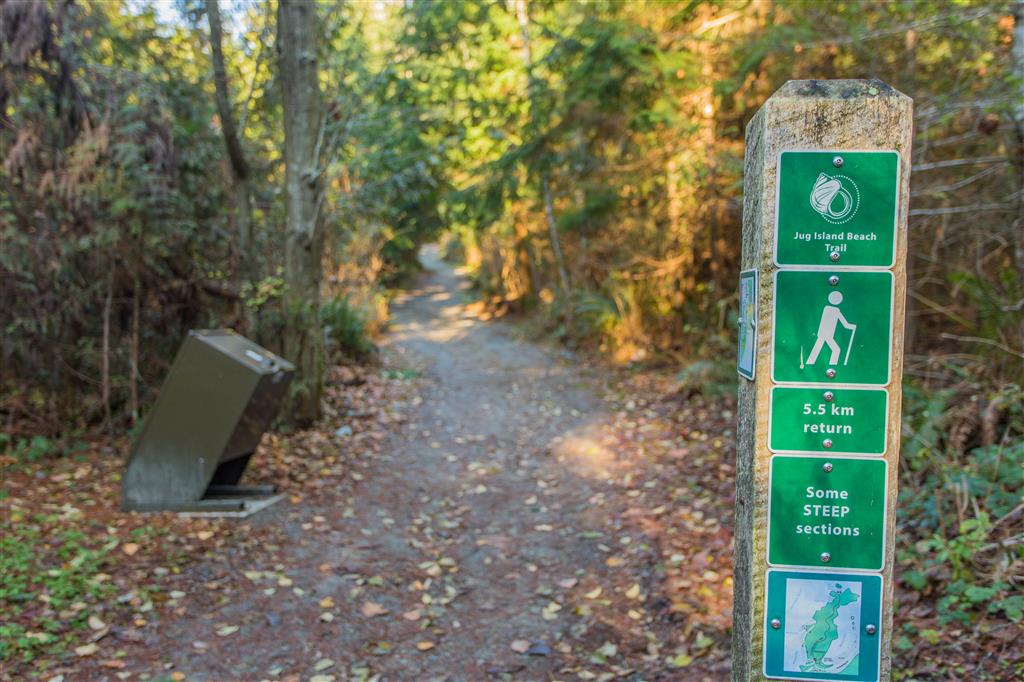
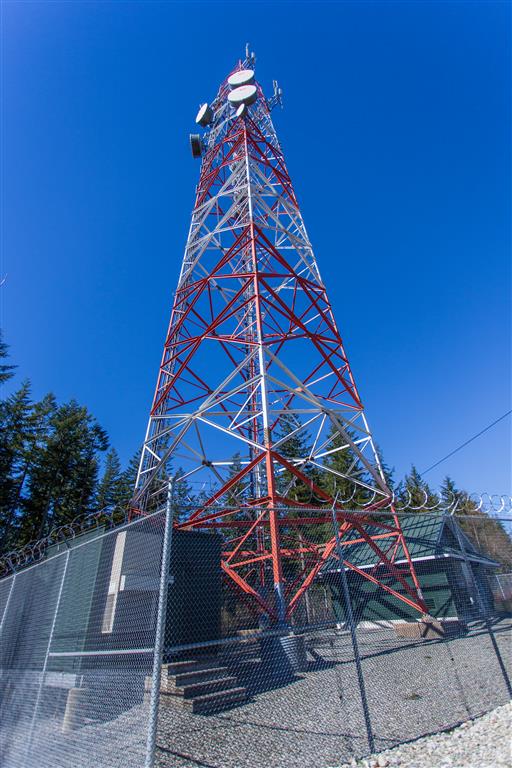
There are some great little hiking trails all around Northeast Coquitlam, specifically Westwood Plateau. One hike I do regularly starts from Bramble Park, goes down to David Avenue and then west on David Avenue – a trail starts just west of Forest Park Way and heads upwards beside West Noons Creek. At the top of the residential development, there are a couple of ways to go. I decided to go down Hickory Drive and start heading up again at the Reservoir at the end of Hickory Drive. From there, you head up many mountain biking trails until you reach the large cell tower at the top. I make my way onto a gravel road and head southeast, eventually reaching Eagle Mountain Drive and then onto the Eagle Mountain Park driveway. Heading north for a bit, I pass the first field and turn right, heading down a path towards Westwood Plateau Golf Course. Eventually reaching Parkway Boulevard and finding the trail again on the other side. There are again many choices for trails in here and I find myself choosing different options each time. Heading down, I eventually reach Panorama Drive and head back towards Bramble Park.
Here are the stats for this route:
Distance: 10 km (return)
Time: 2 hours
Low point: 177 m
High point: 459 m
Elevation gain: 282 m
Cumulative Elevation gain: 518 m
Here’s a PDF of Coquitlam trails from the City HERE
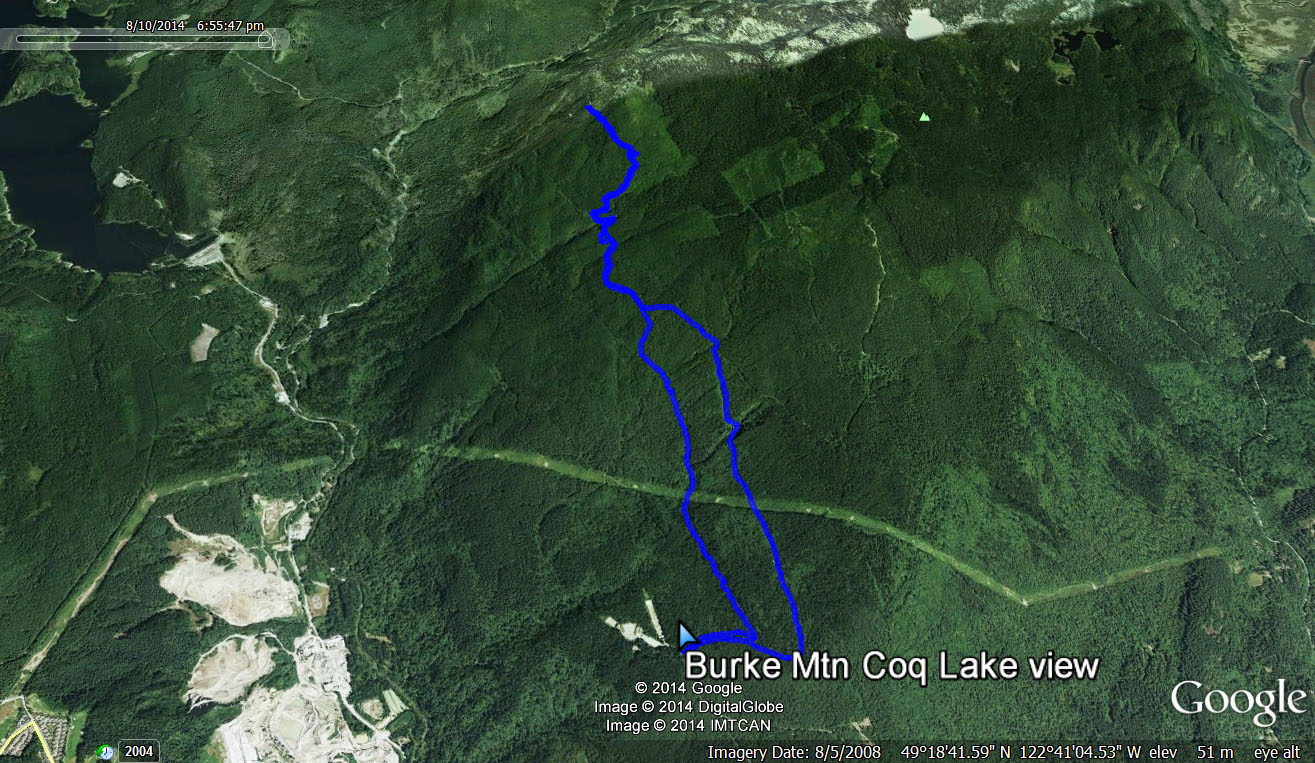
The route:
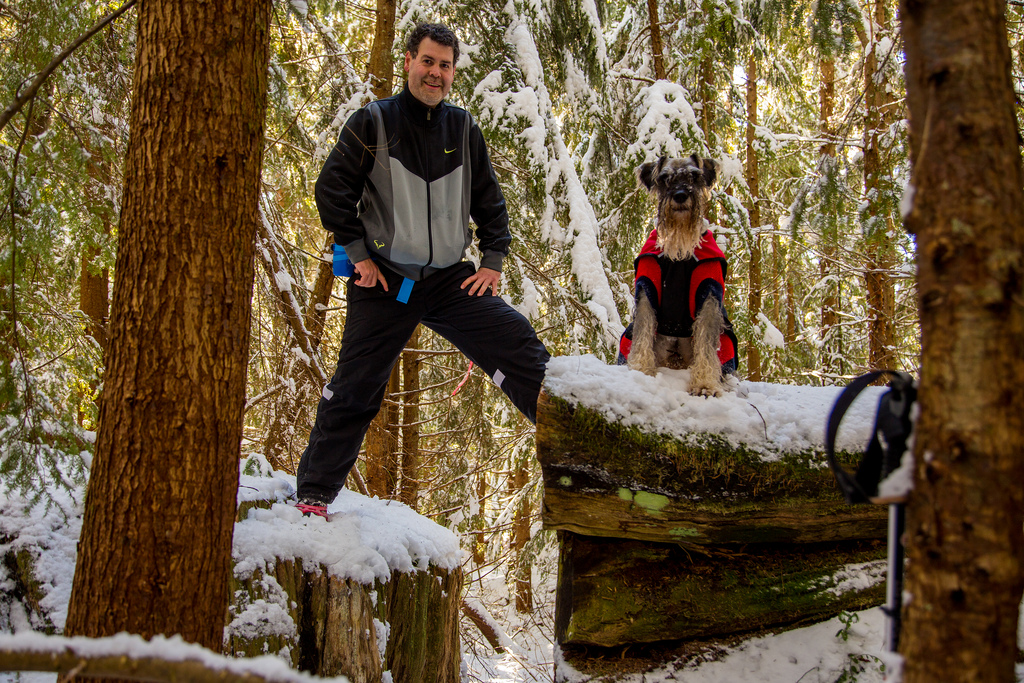
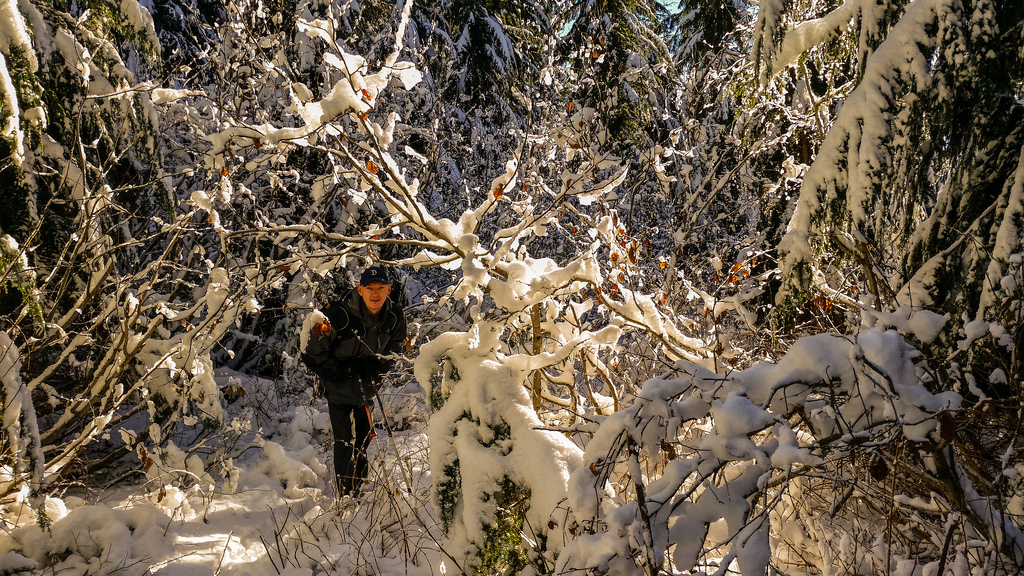
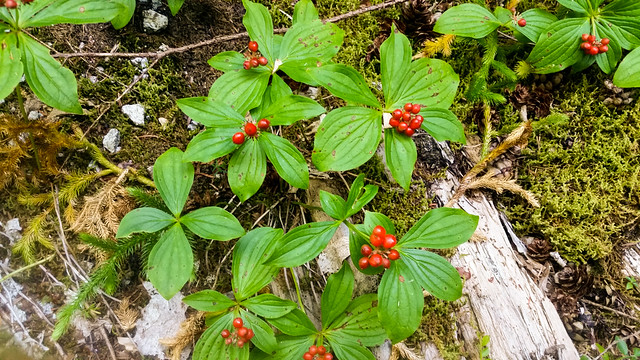
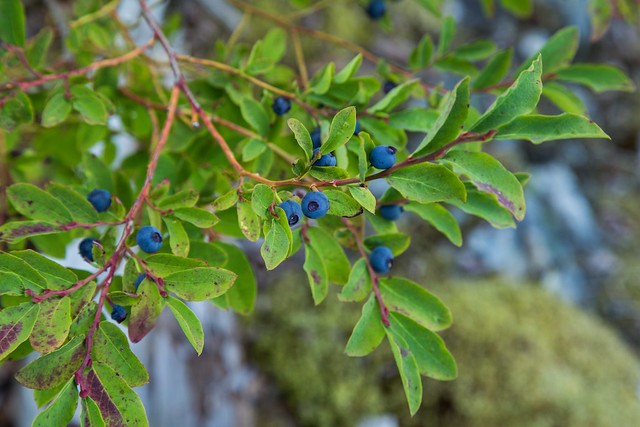
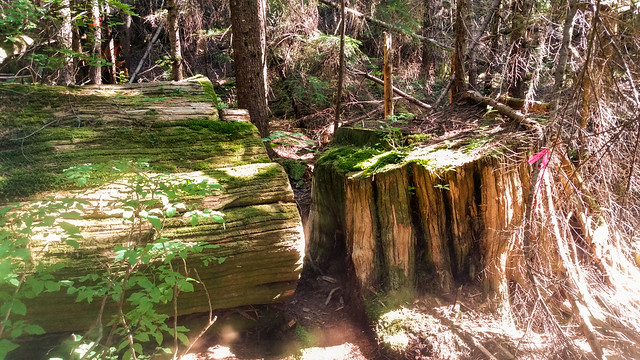
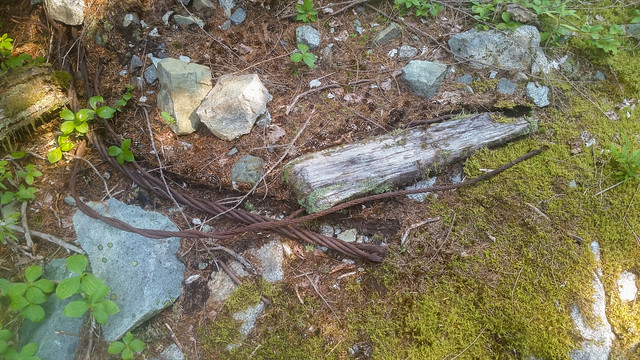
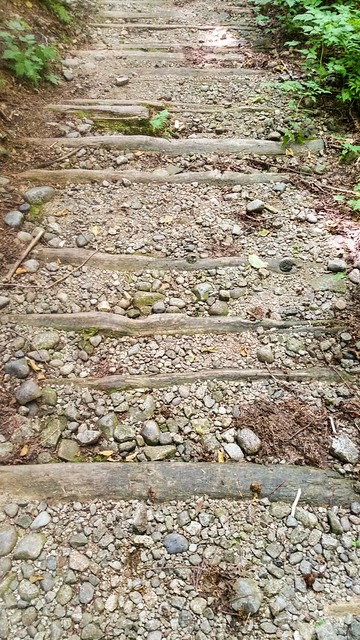
Some photos on the hike:
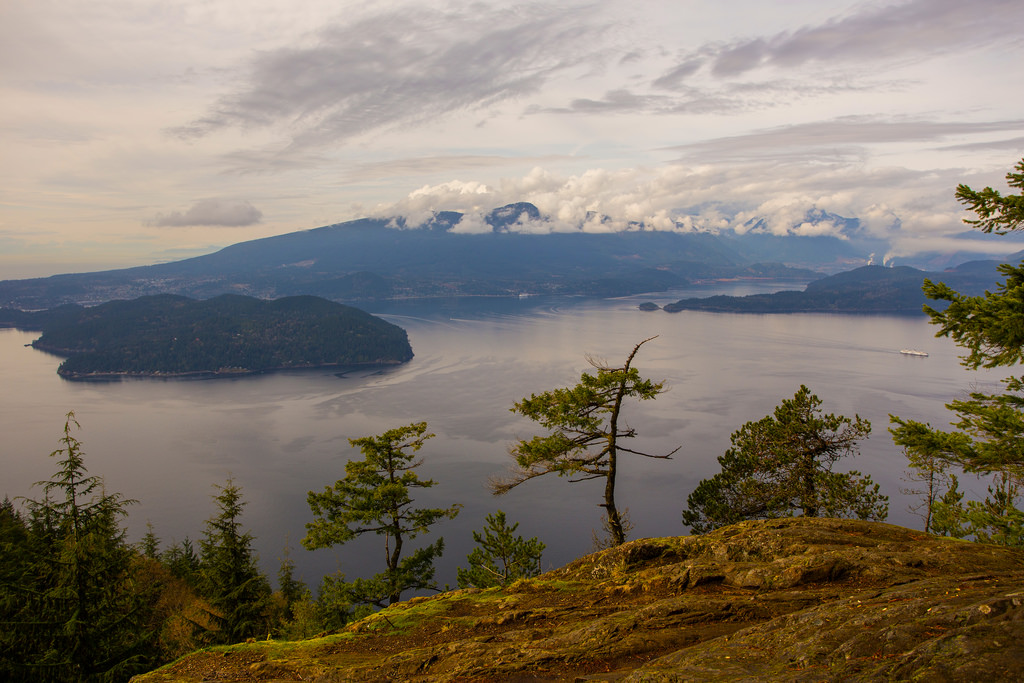
Viewpoints…
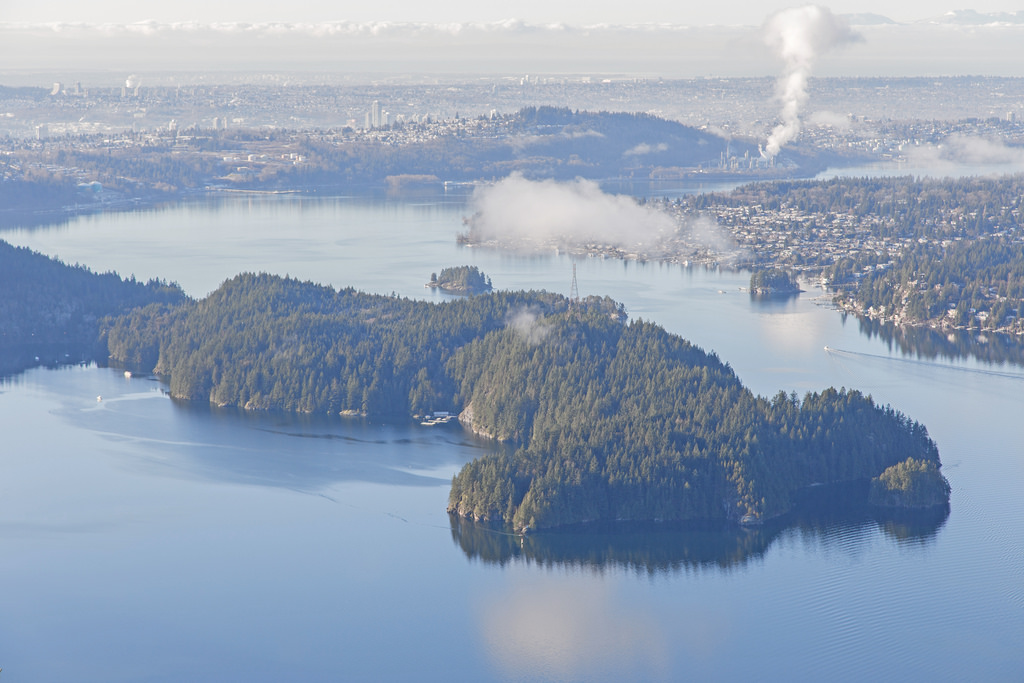
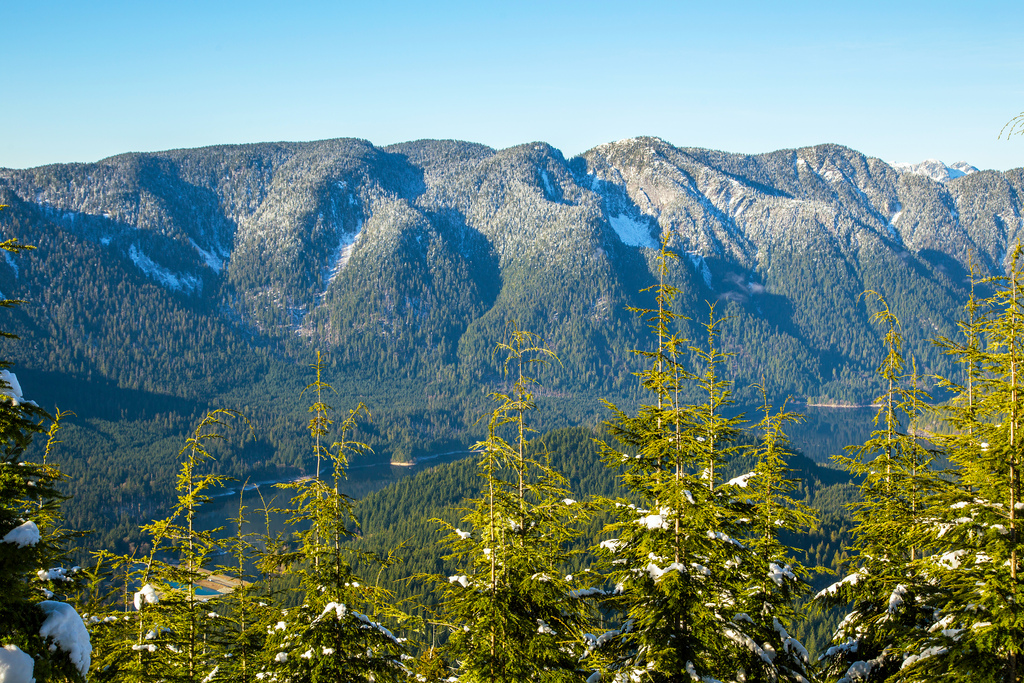
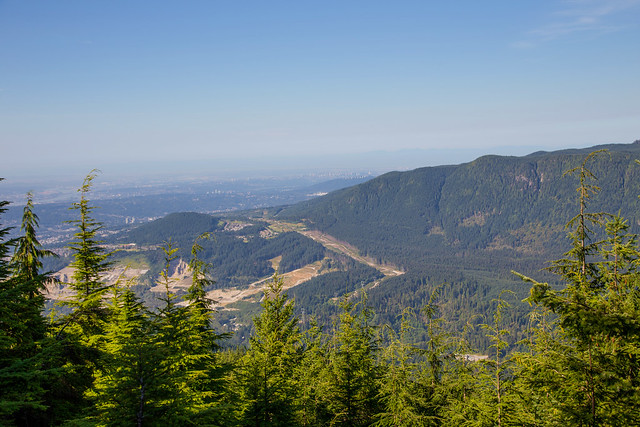
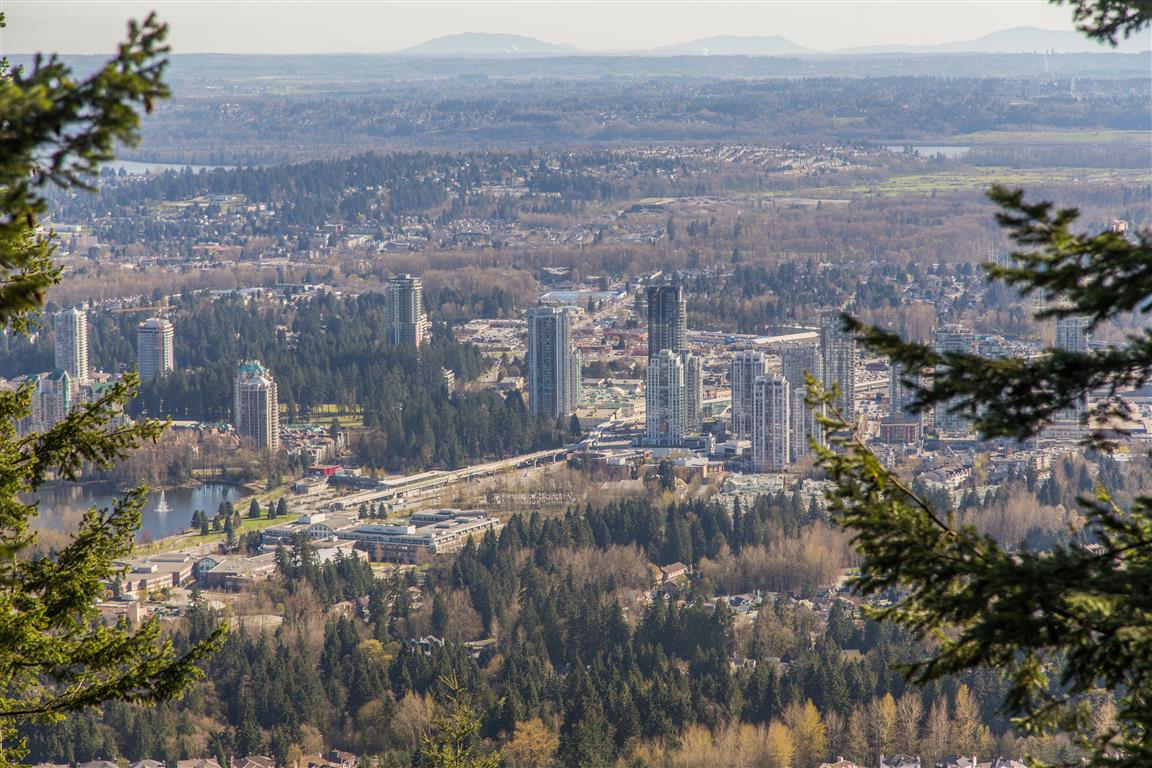
Looking south towards Lafarge Lake…
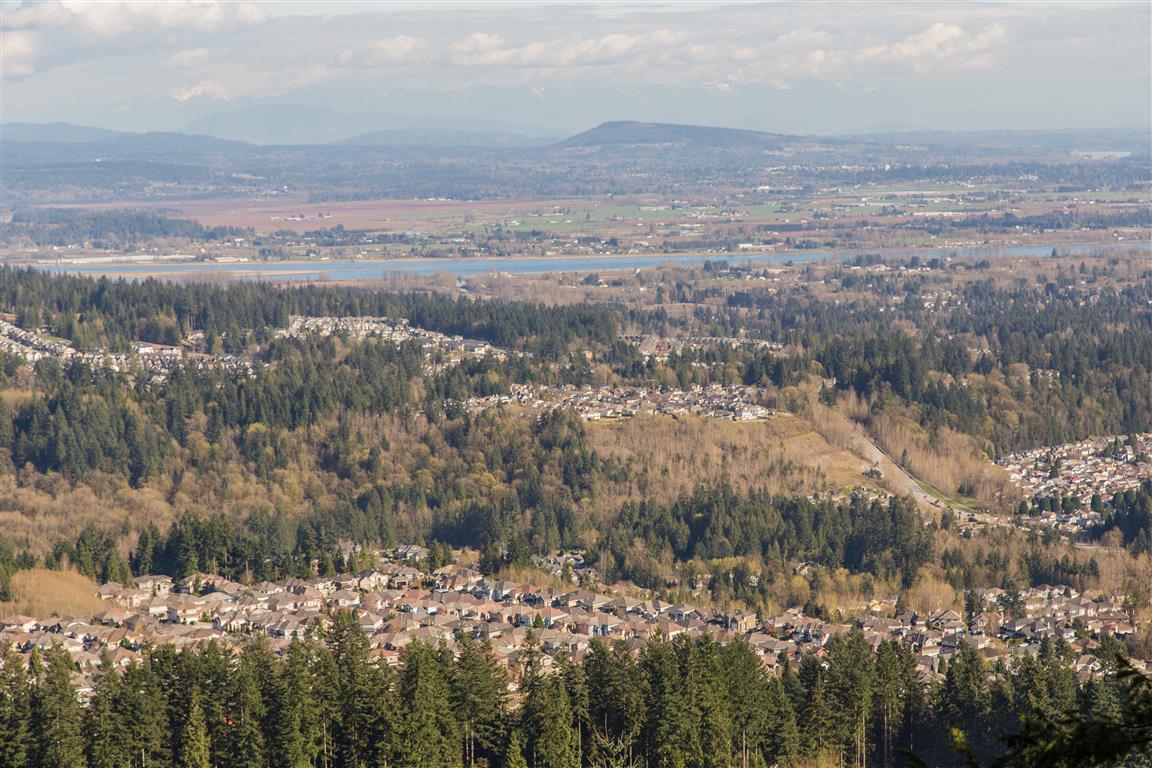
Looking East towards the Pitt River…
Westwood Plateau Golf Course…

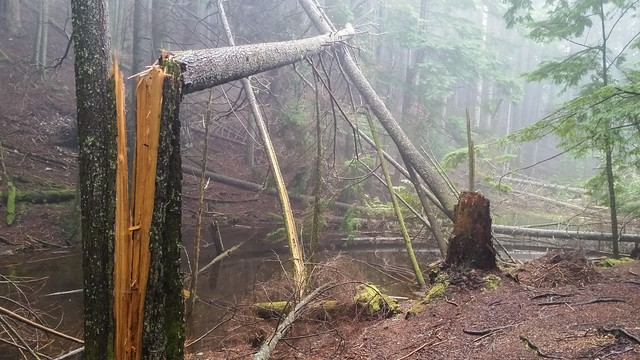
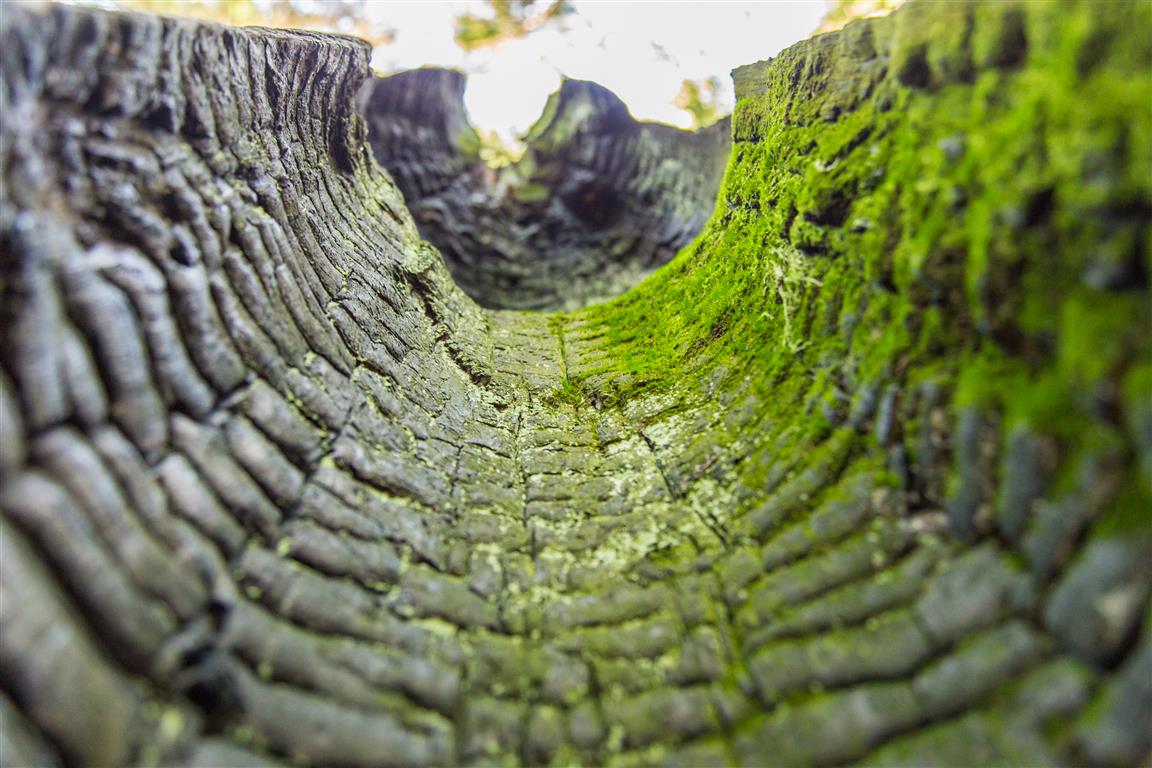
The inside of a burnt tree…
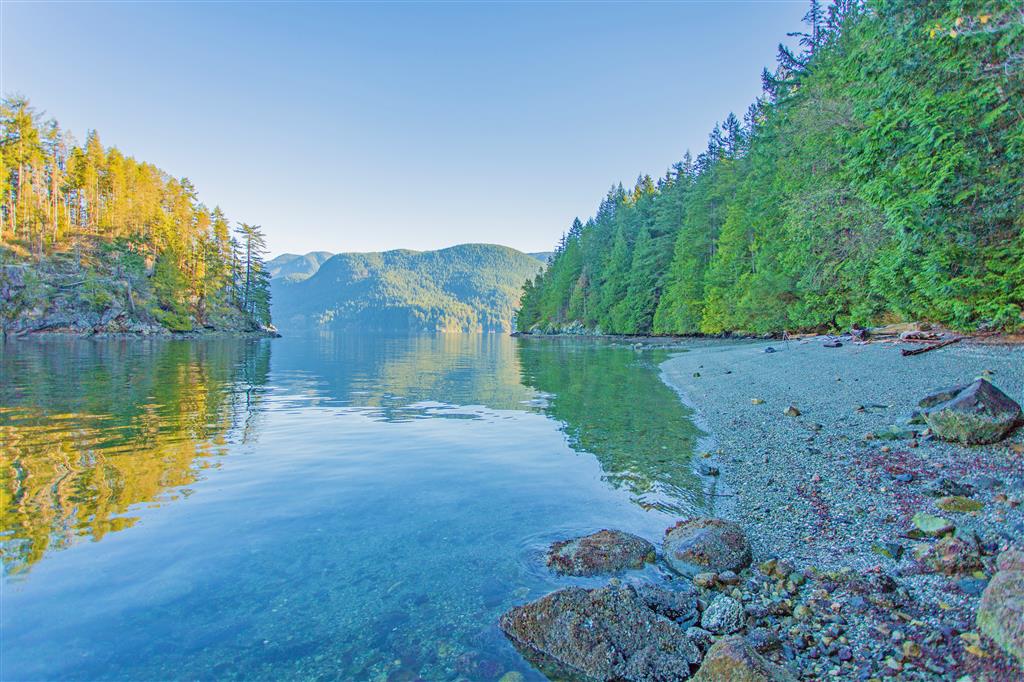
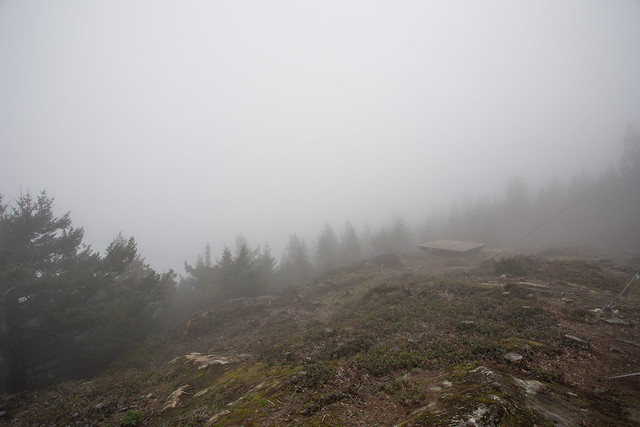
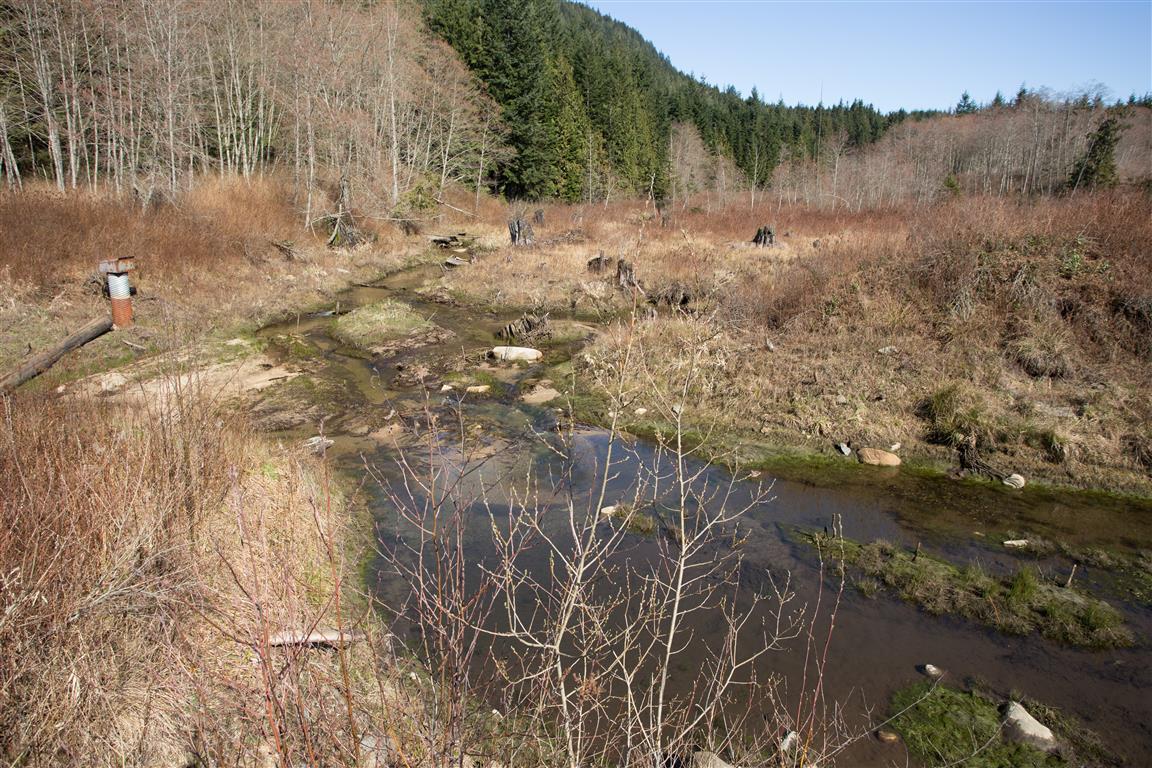
Wetland Area at top of Eagle Mountain Drive…
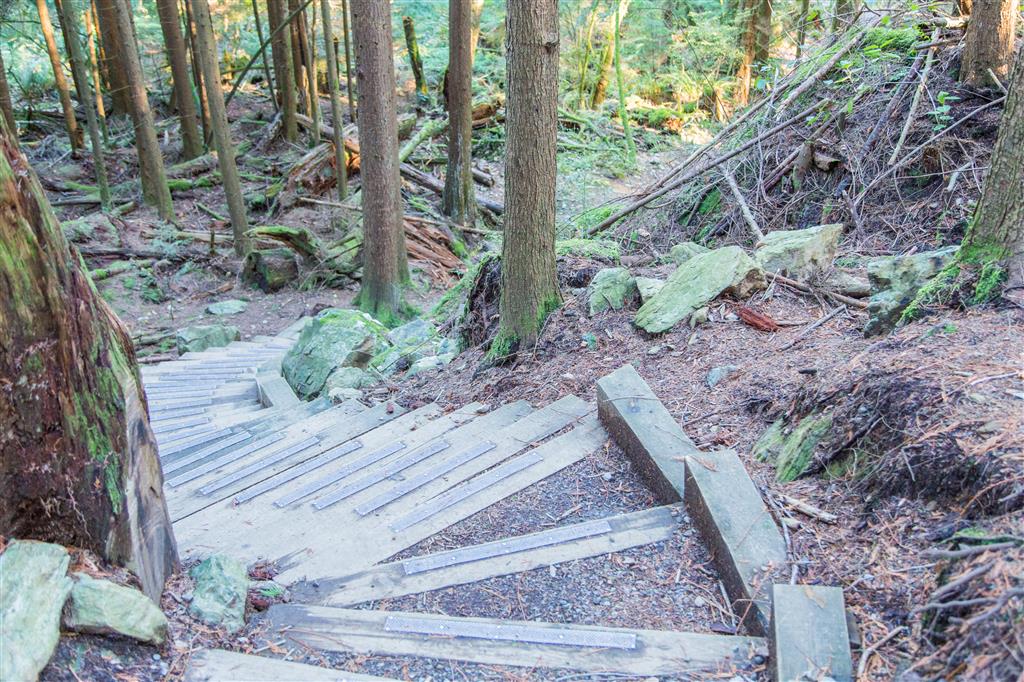
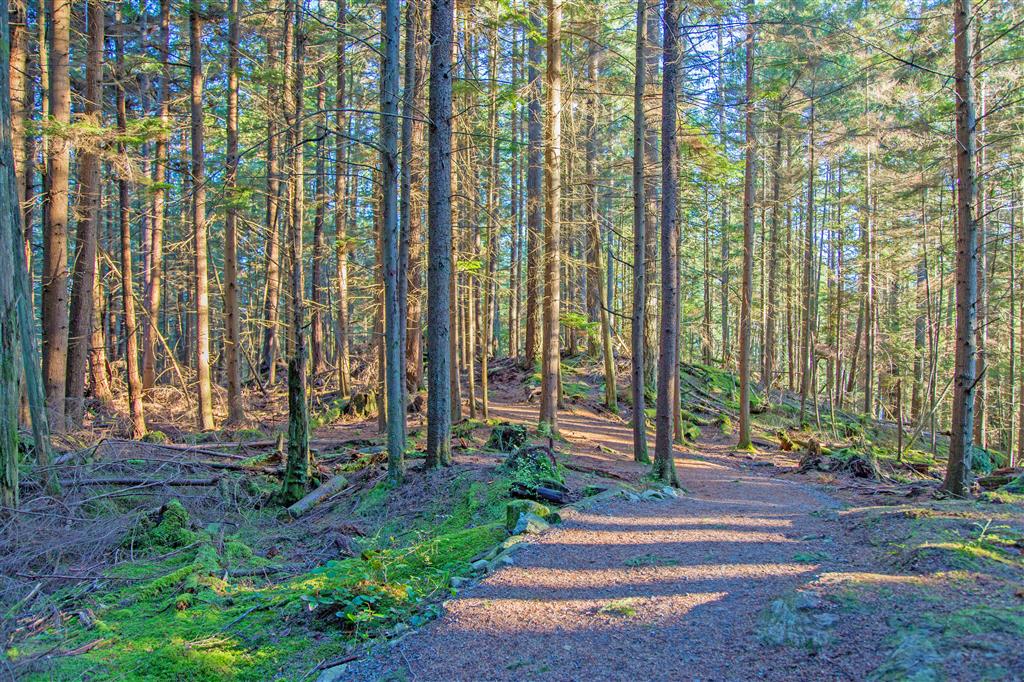
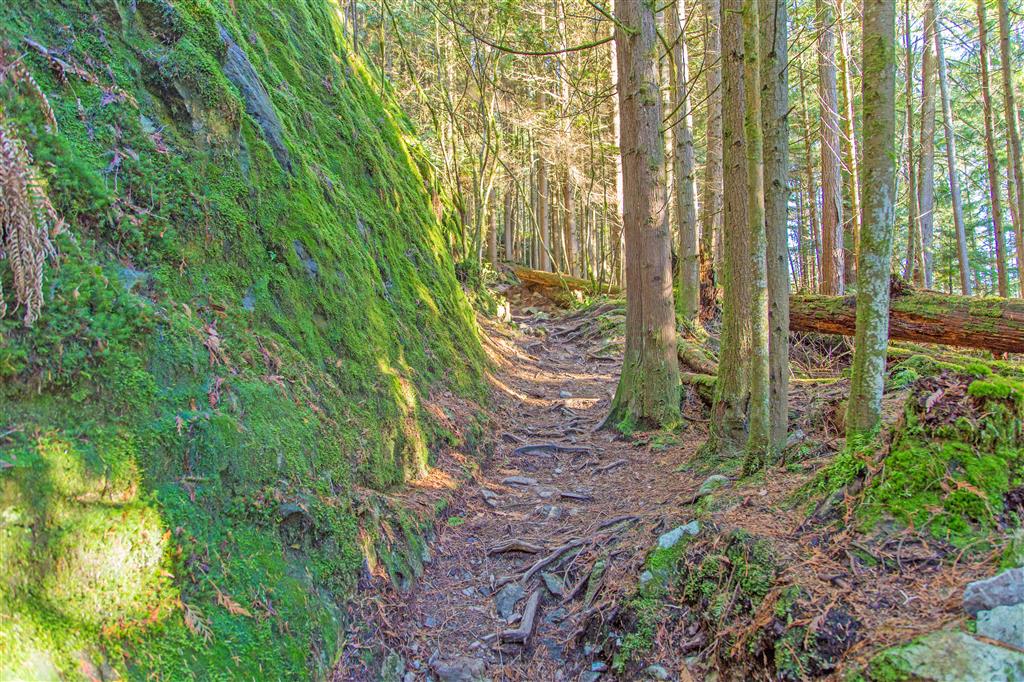
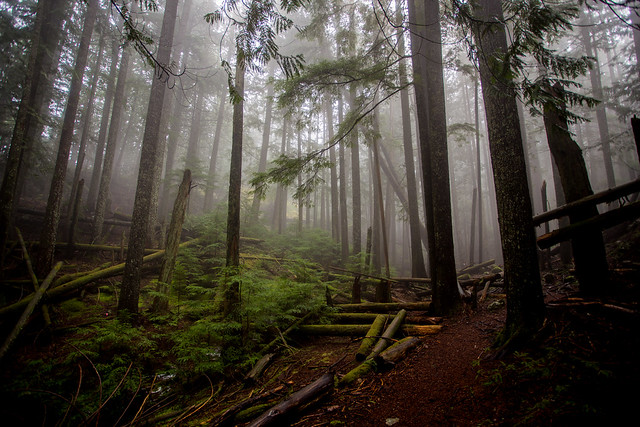
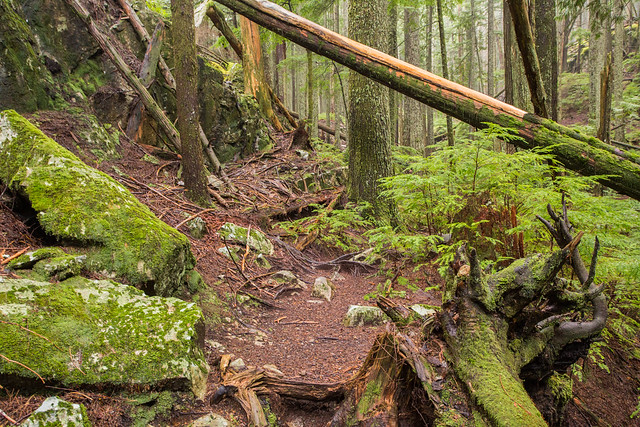
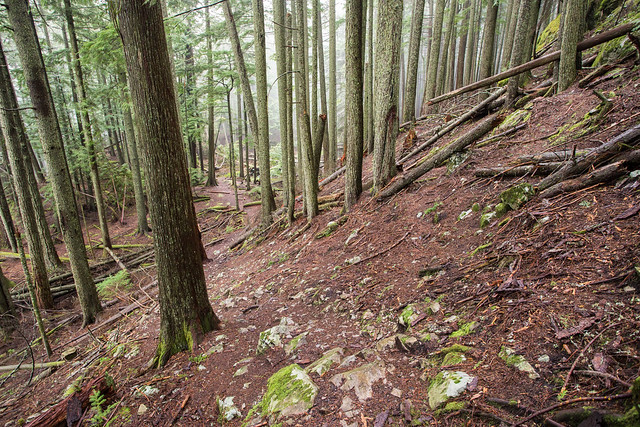
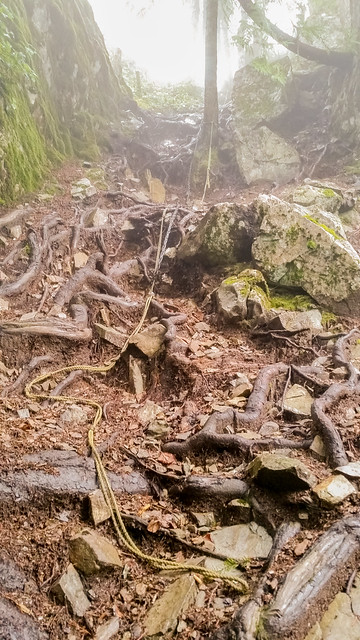
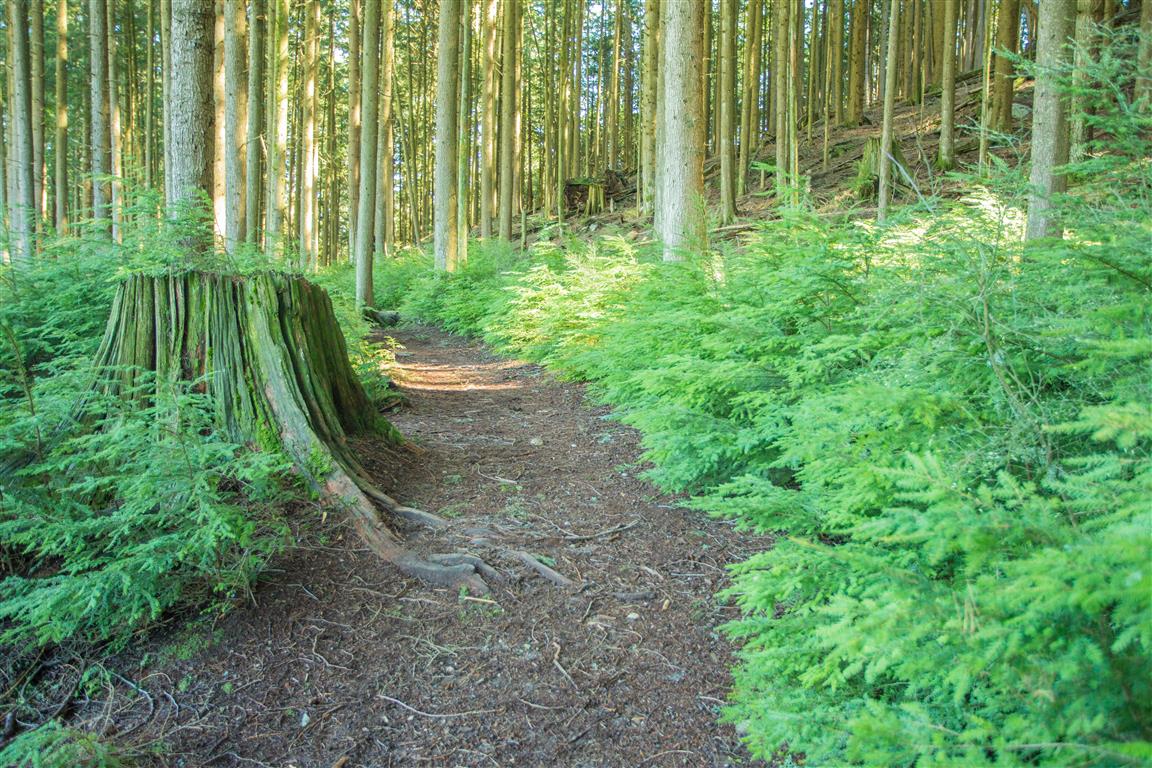
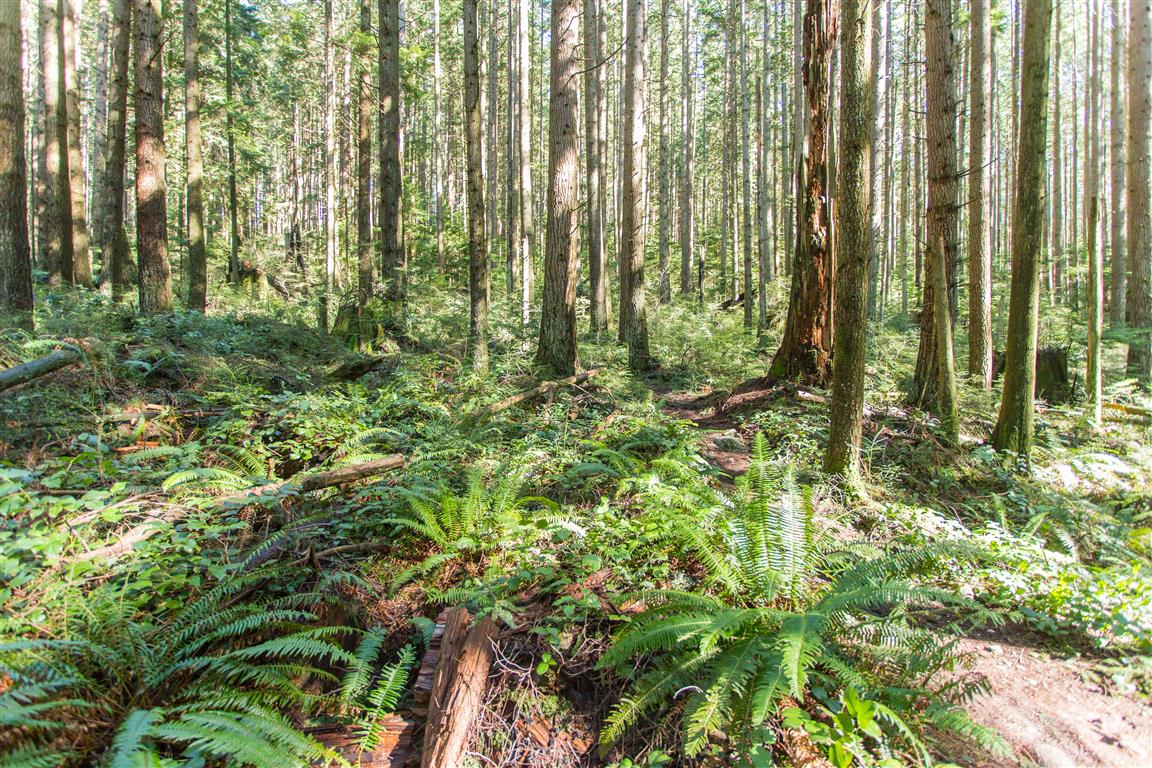
Trail…
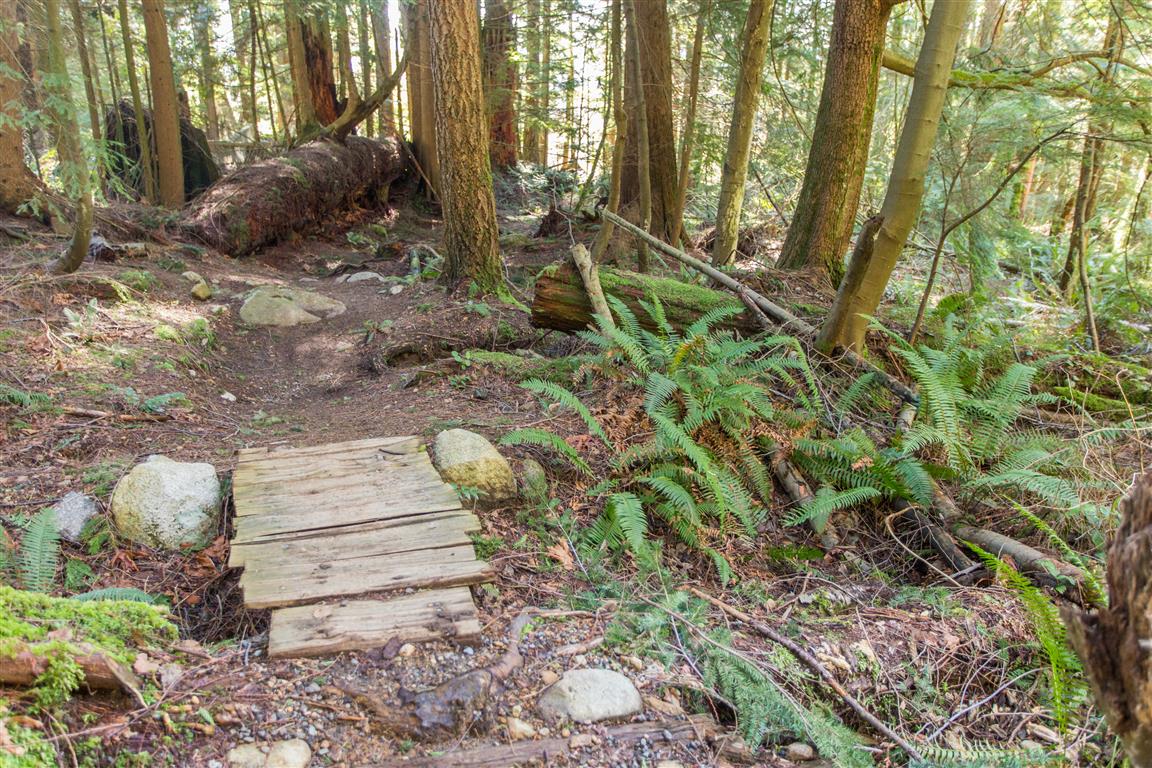
Trail along West Noons Creek…
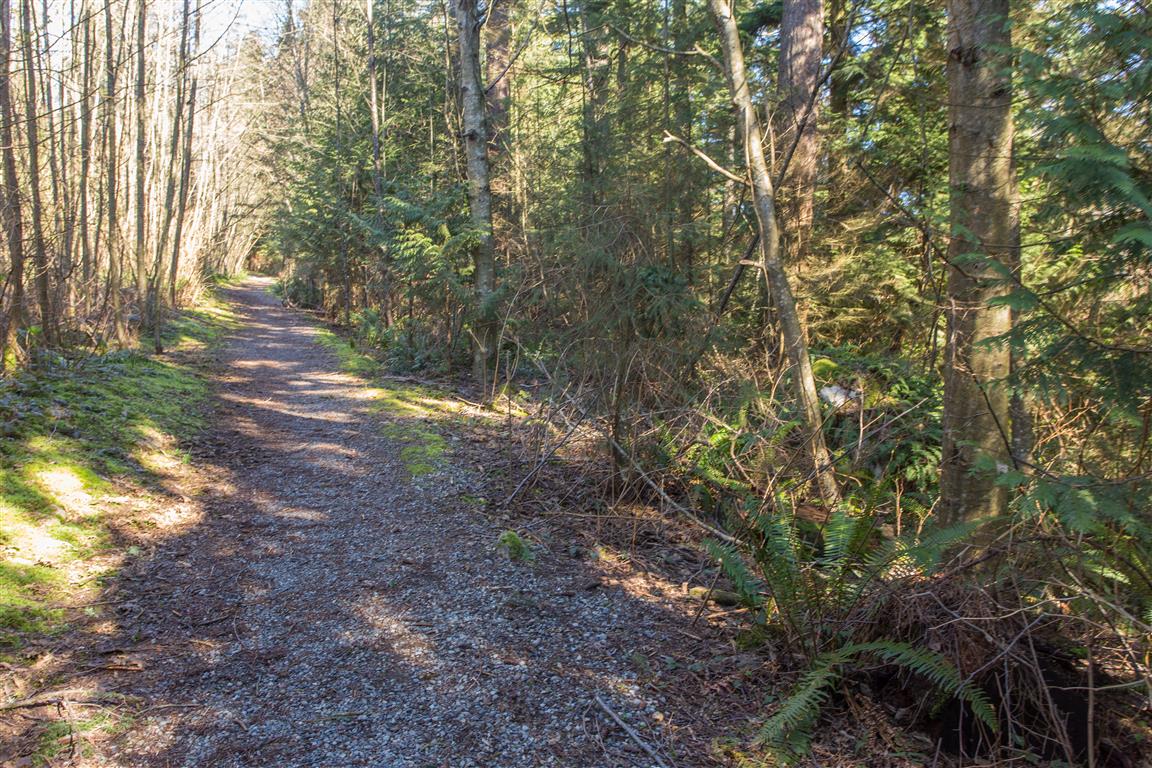
Trail…
Towards Eagle Mountain Park…
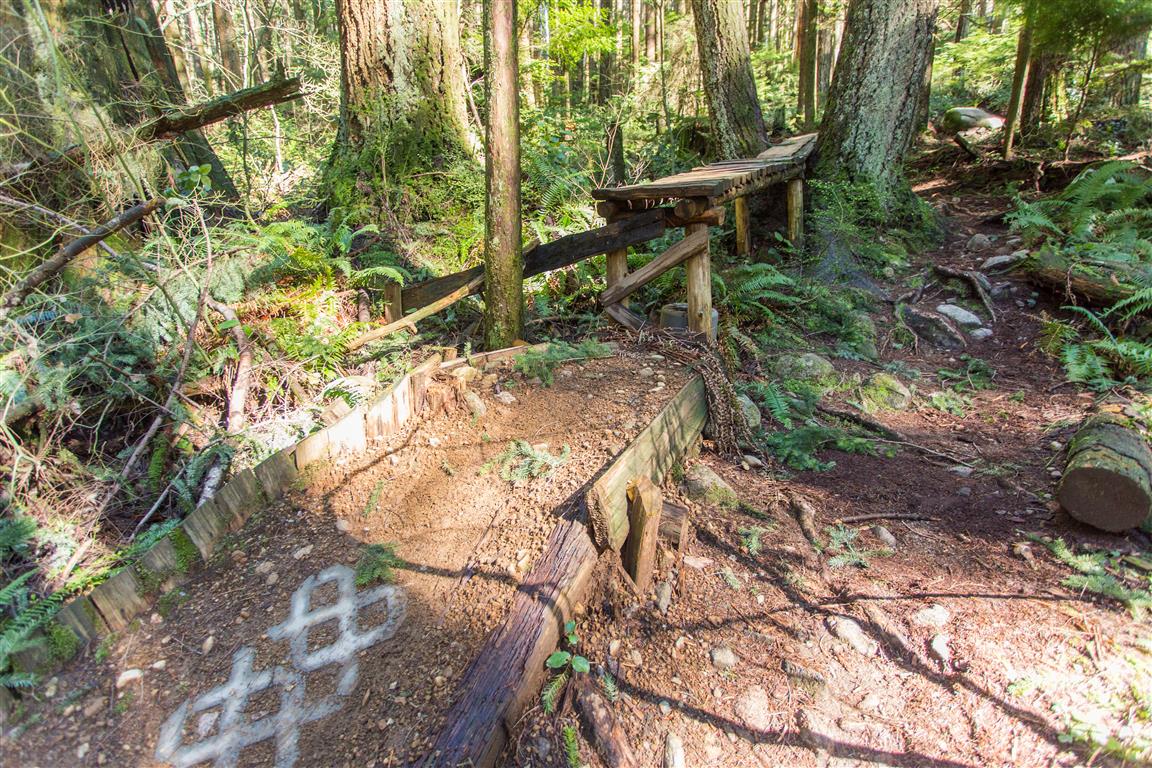
Mountain Biking Trails…
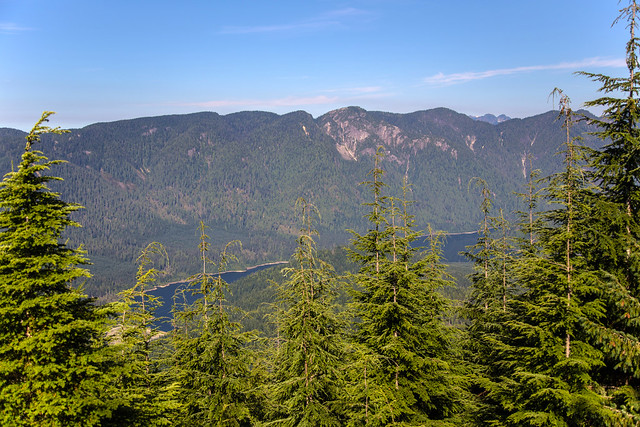
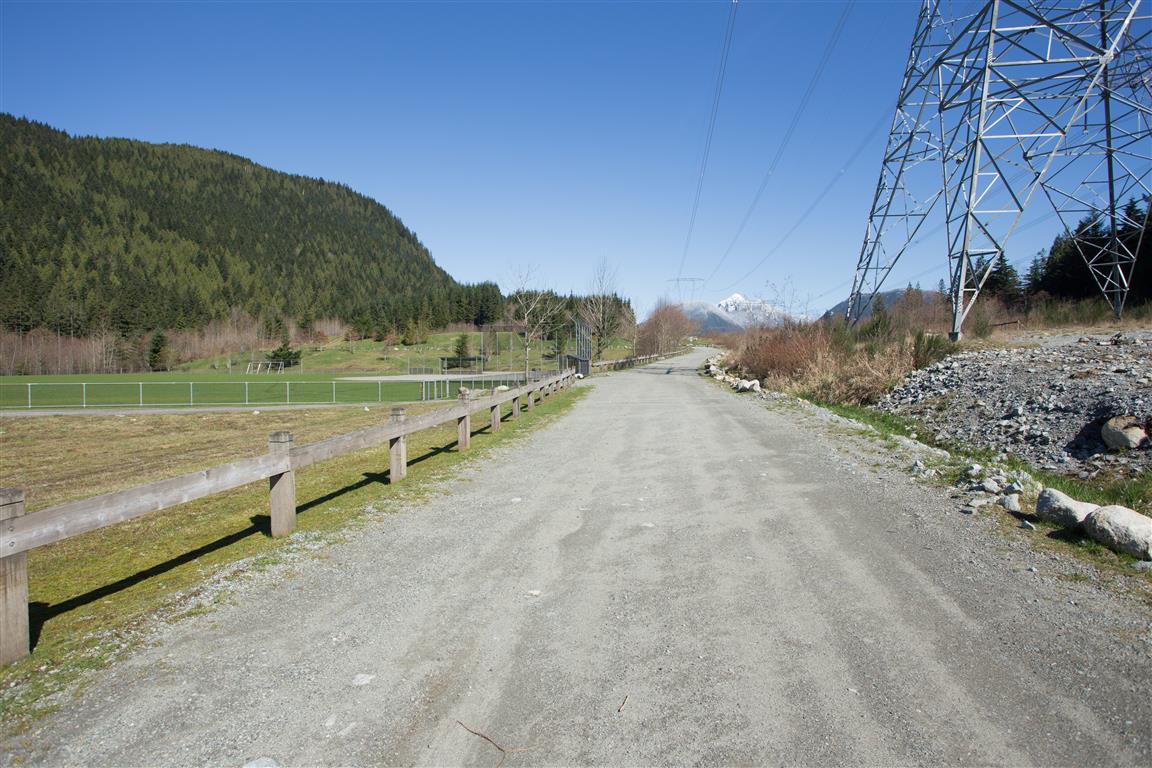
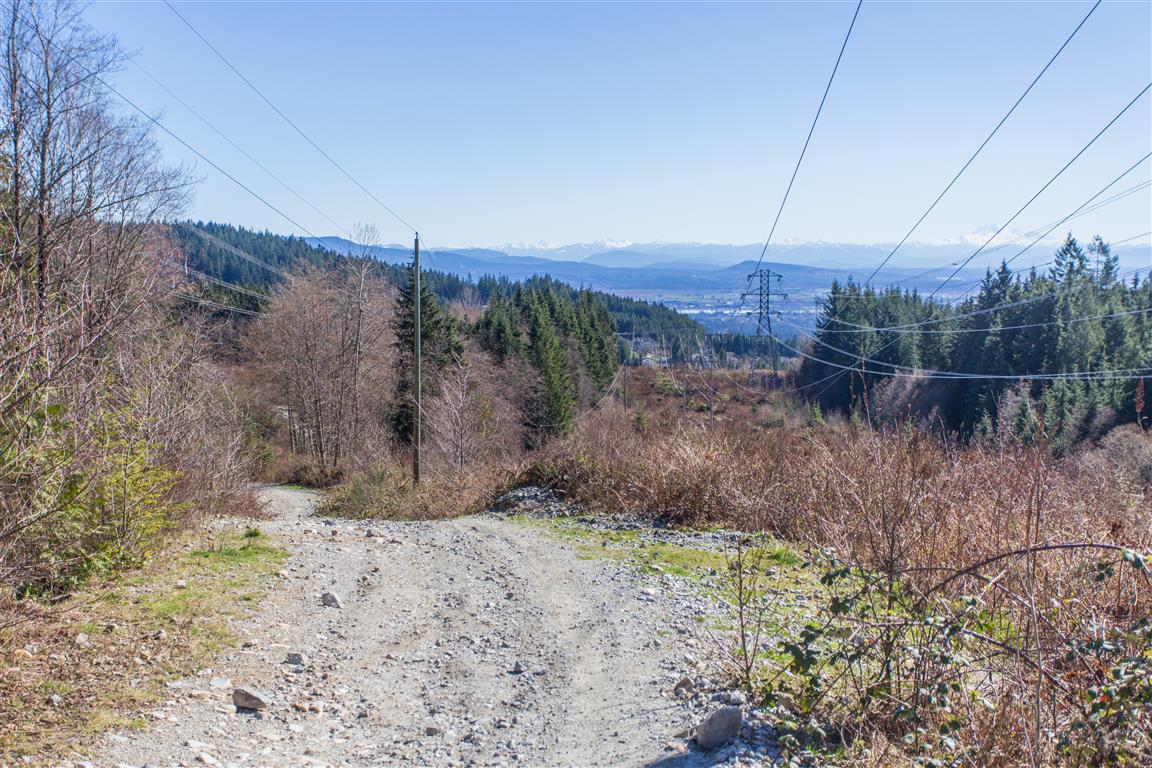
See Mt. Baker from Gravel Road…
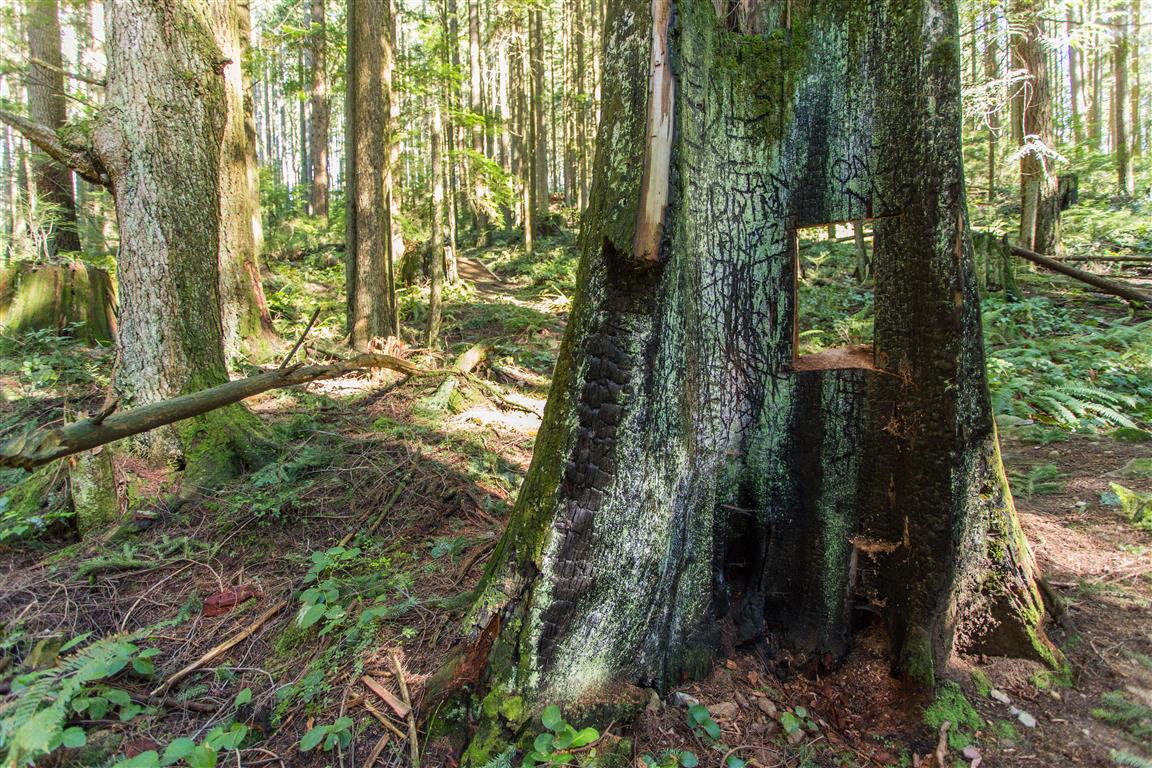
Hole in a tree…
Fork in Trail…
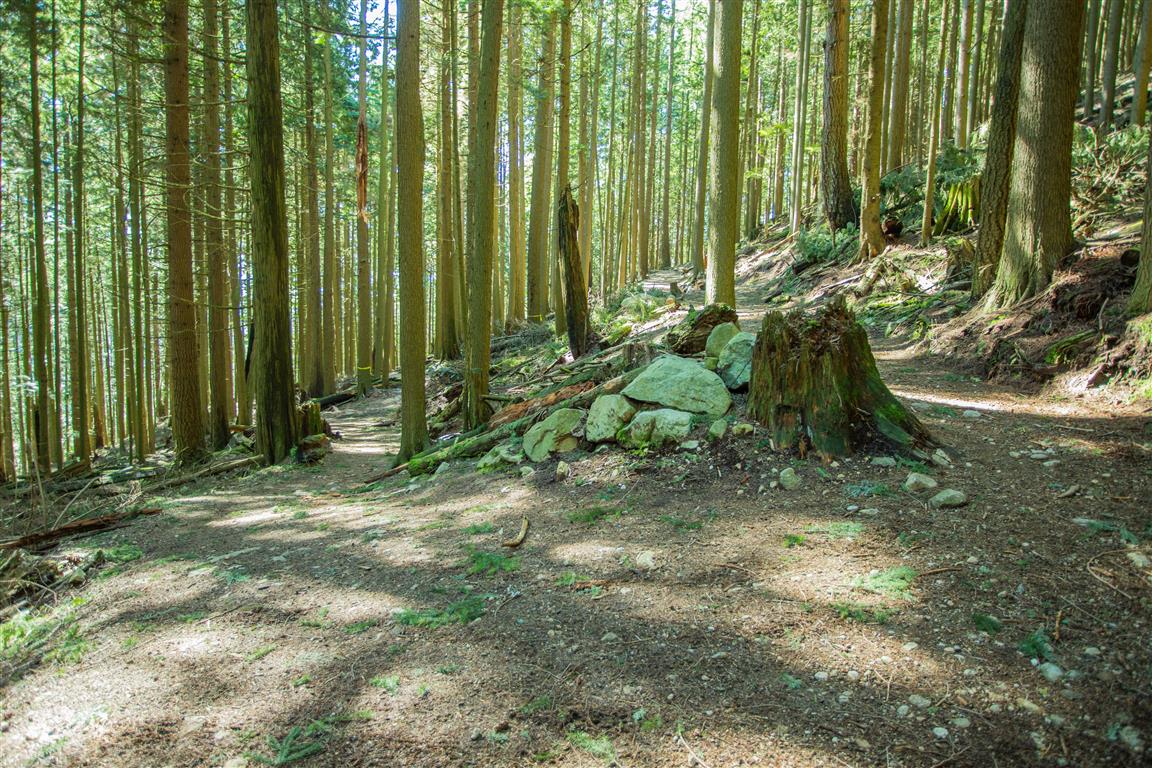
Forest…
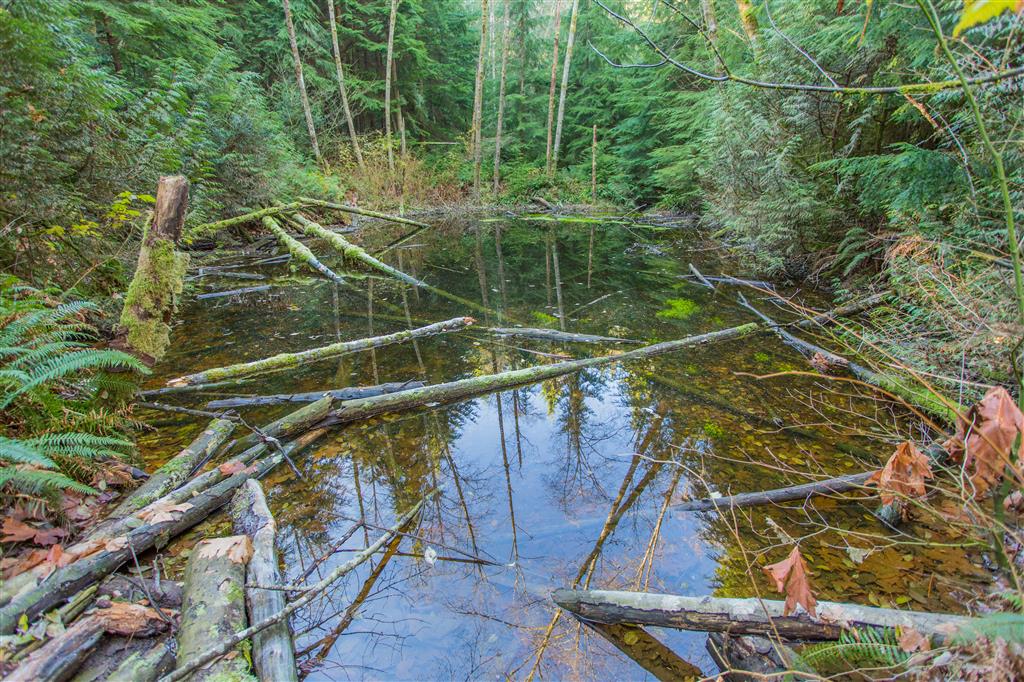
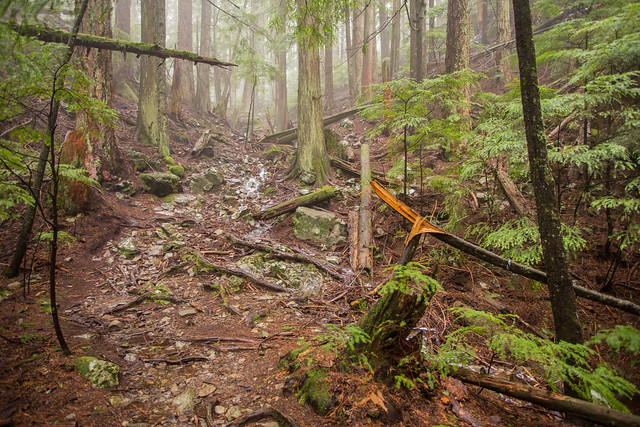
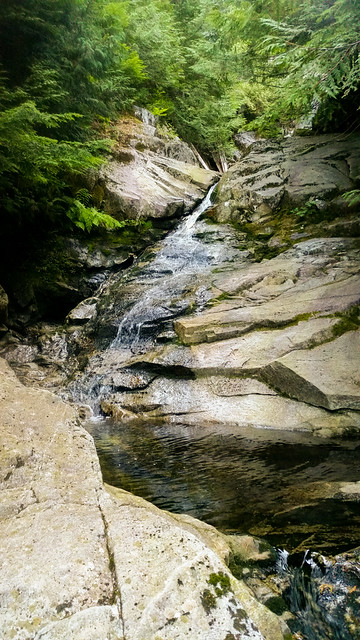
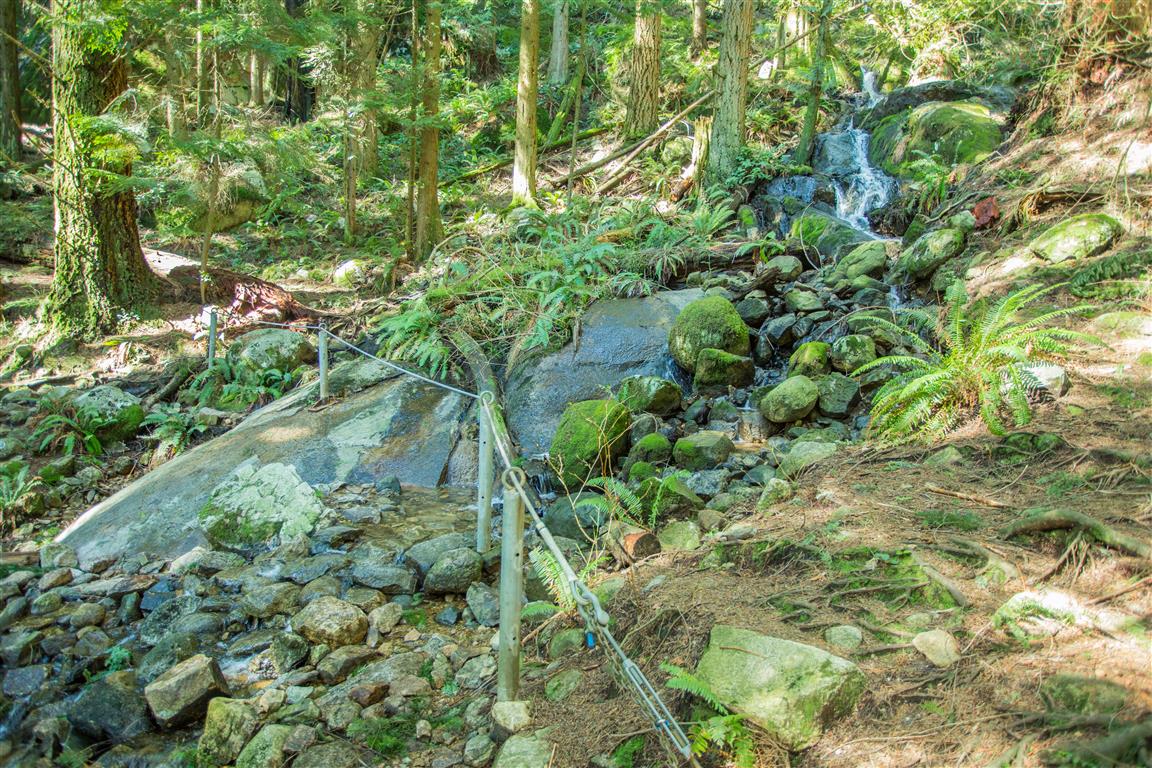
Creek Crossing…
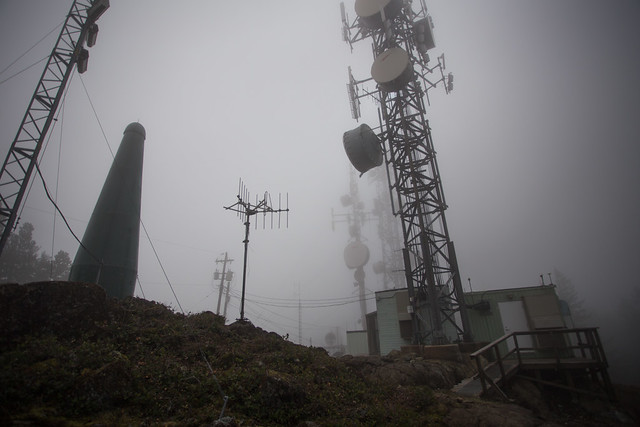
Cell Tower…
★★★★★★★★★★★
Before heading out on your hike, make sure you are well prepared. This means, having the TEN ESSENTIALS. It is also important to leave a trip plan (route details and estimated return time) with someone you trust.
Bring your smartphone, fully charged and put it in airplane mode while hiking. I always bring back-up battery packs for extra piece of mind. It is highly recommended that you bring a GPS device; I use my smartphone with a GPS app (Backcountry Navigator). The GPS will work in airplane mode. Learn how to use it before your hike.
For anyone new to hiking, there is a rule to which hikers follow; it is called “Leave No Trace” or LNT. The concept is generally to pack out what you pack in and respect nature, so all future visitors can enjoy what you have enjoyed.
To learn more about LNT, please check out this BLOG by a certified LNT Trainer.