Category Archives: North Shore

Norvan Falls


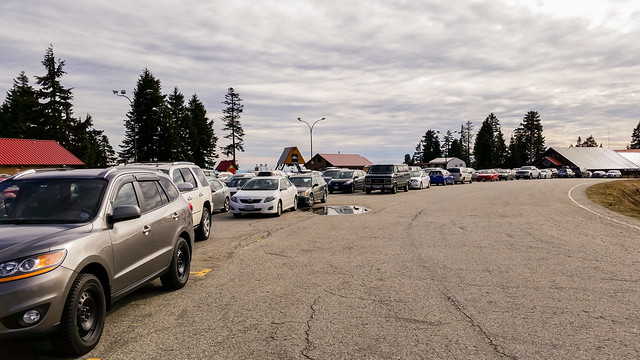
A nice 7 km hike up Lynn Valley on gentle sloping ground will get you to the beautiful Norvan Falls. Norvan Falls is one of Greater Vancouver’s secluded gems; it’s a 30 foot high waterfall set in the depths of the north shore forest. For a little extra workout (which I did today), there is a 2 km parallel side trail that takes you into a more rugged path, 100 m higher than the river path. Alternatively, you can follow the river on a more flat route. When I arrived at the park, there was no space in the 1st or 2nd parking lots, so my trip was 600 m X 2 longer. The stats are for parking at the 3rd lot and taking the 2 km rugged parallel route. The hike starts at Lynn Headwaters Regional Park in North Vancouver.

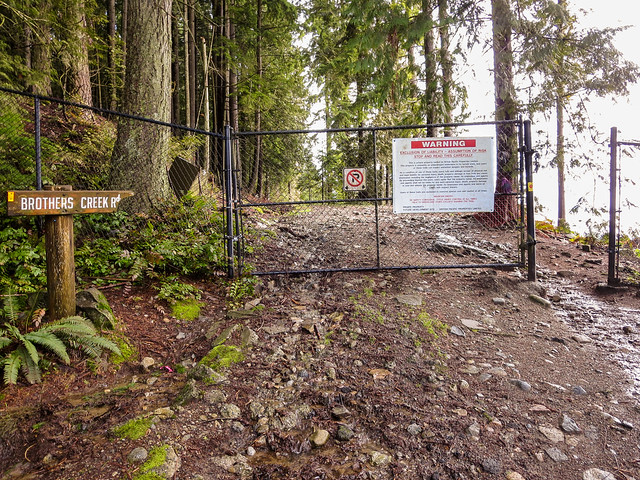
NOTE: The access road for vehicles is now closed indefinitely. You will have to hike park on the street somewhere and hike into the park.

Distance: 15.5 km (return)
Time: 4.25 hours
Low point: 193 m
High point: 445 m
Elevation gain: 252 m
Cumulative Elevation gain: 840 m
Trailhead: 49° 21’ 40” by  123° 01’ 41.5” (Google Map)

Here is the route…

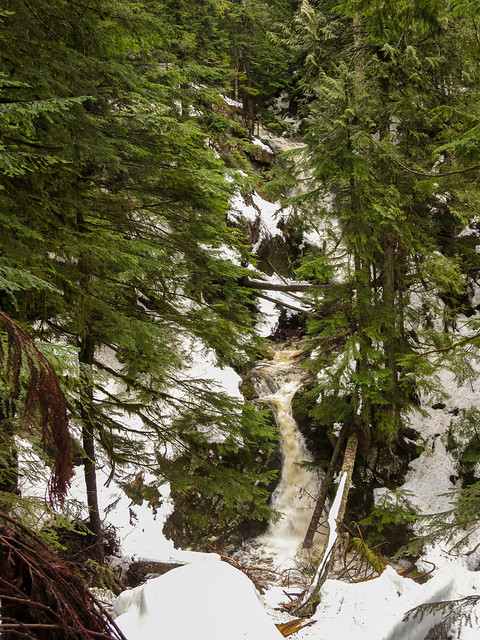
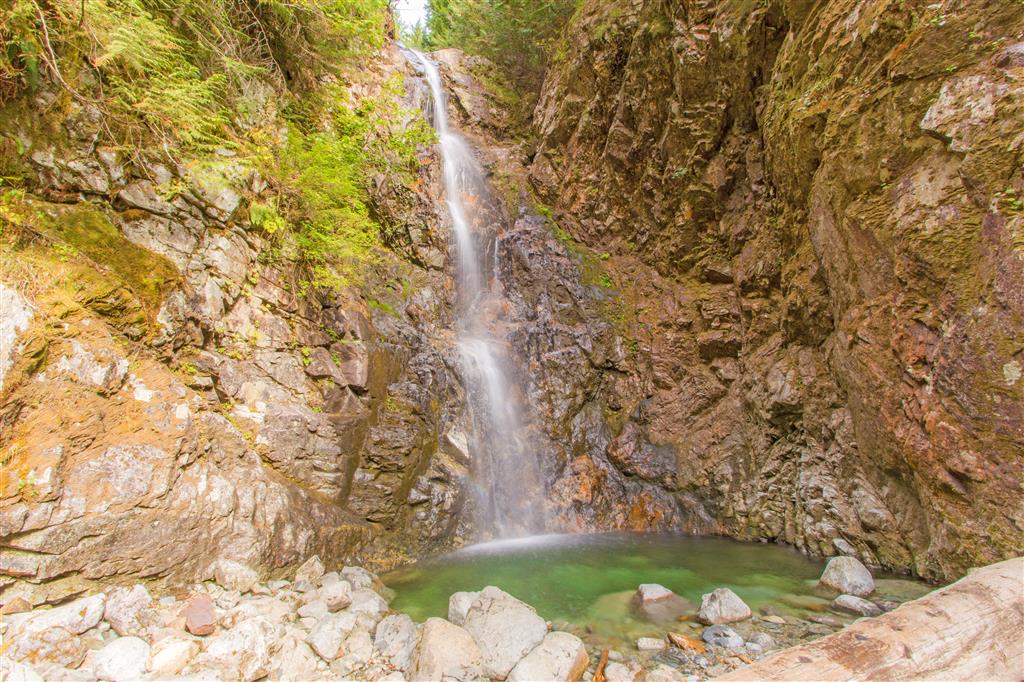
Here is the beautiful Norvan Falls…

IMG_8668-2b

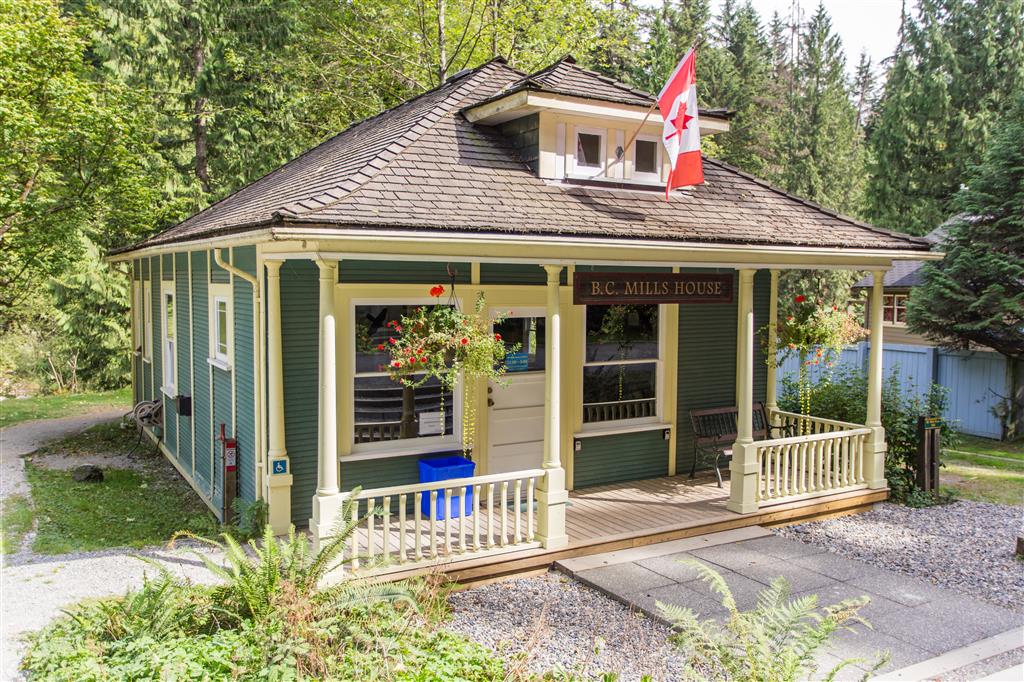
At the entrance to the park, you’ll see the 1908 BC Mills House…

IMG_8622

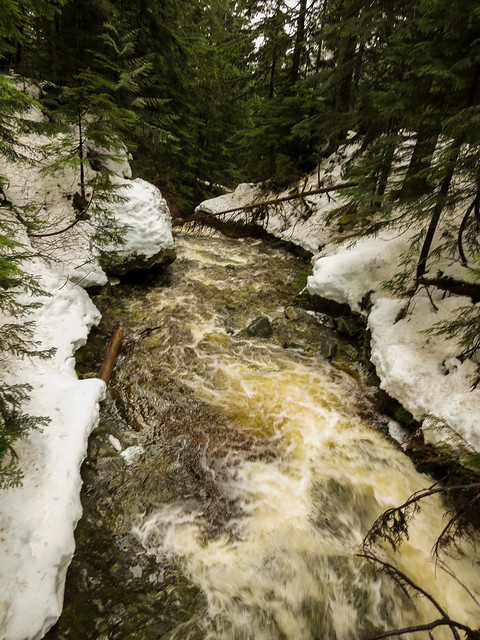
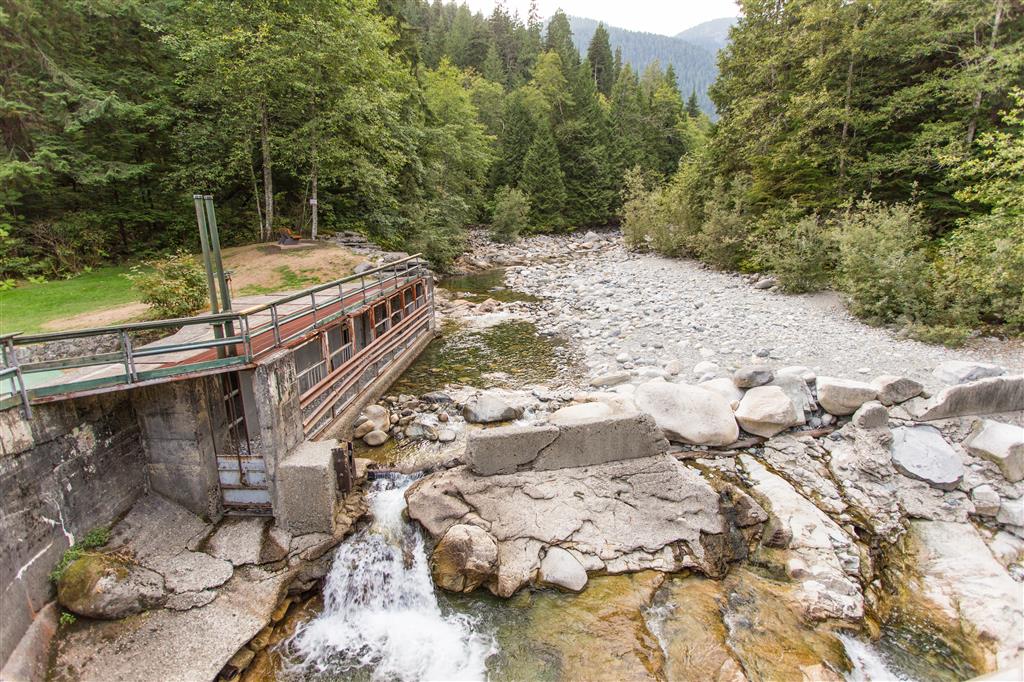
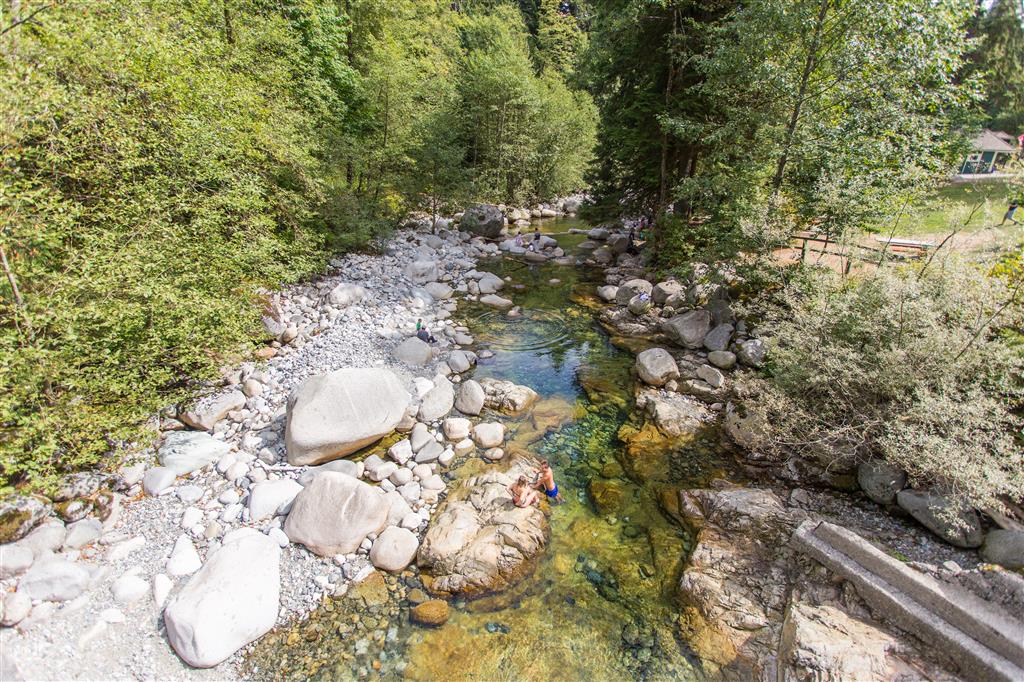
Here are upstream and downstream photos of Lynn Creek…

IMG_8705

IMG_8626

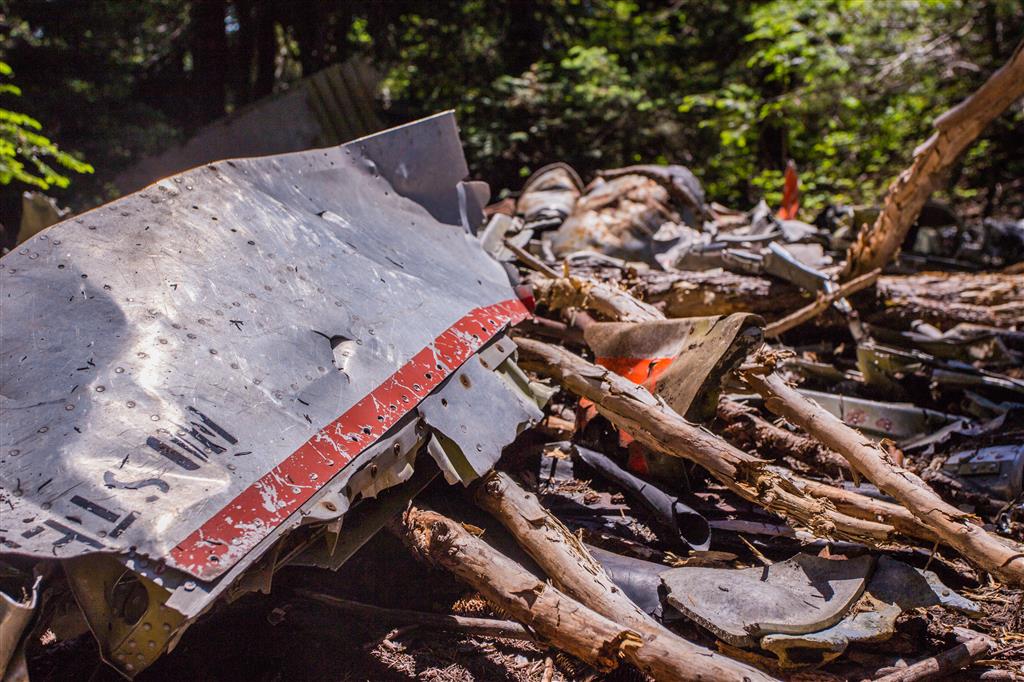
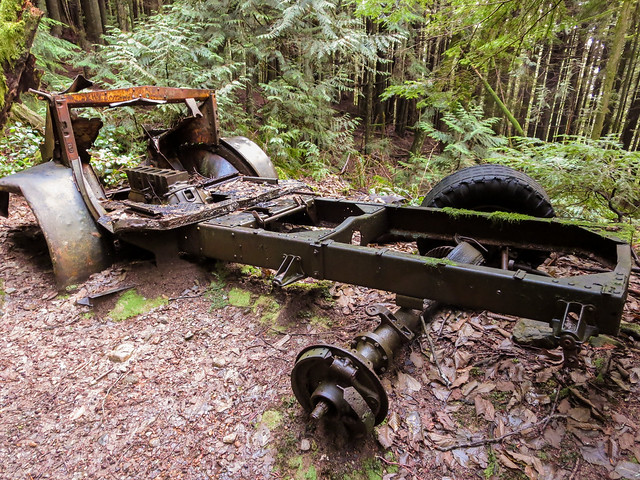
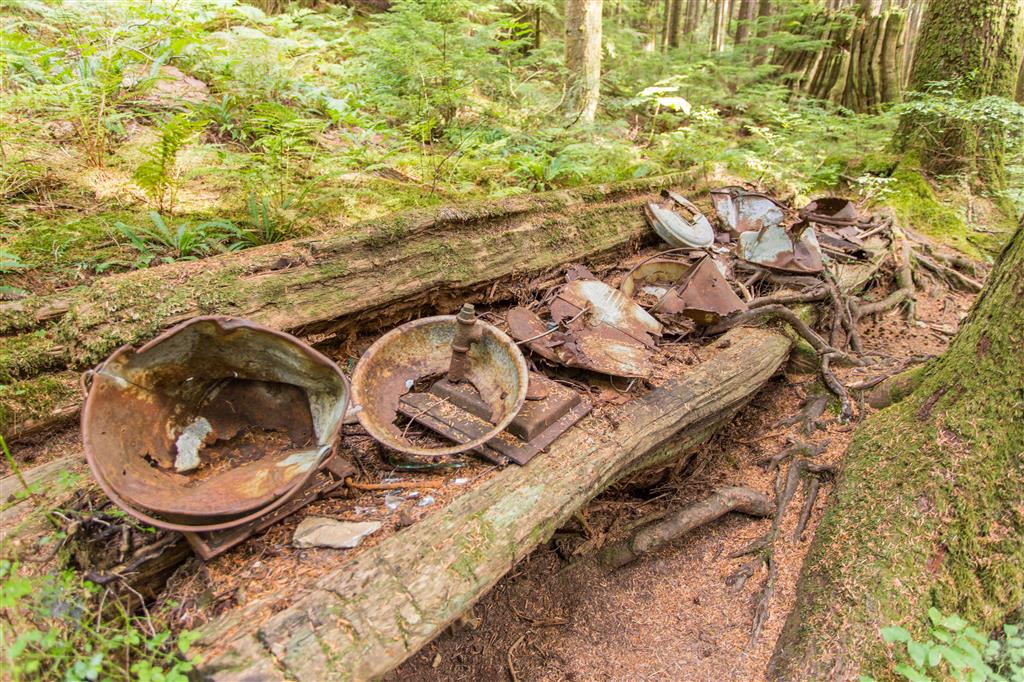
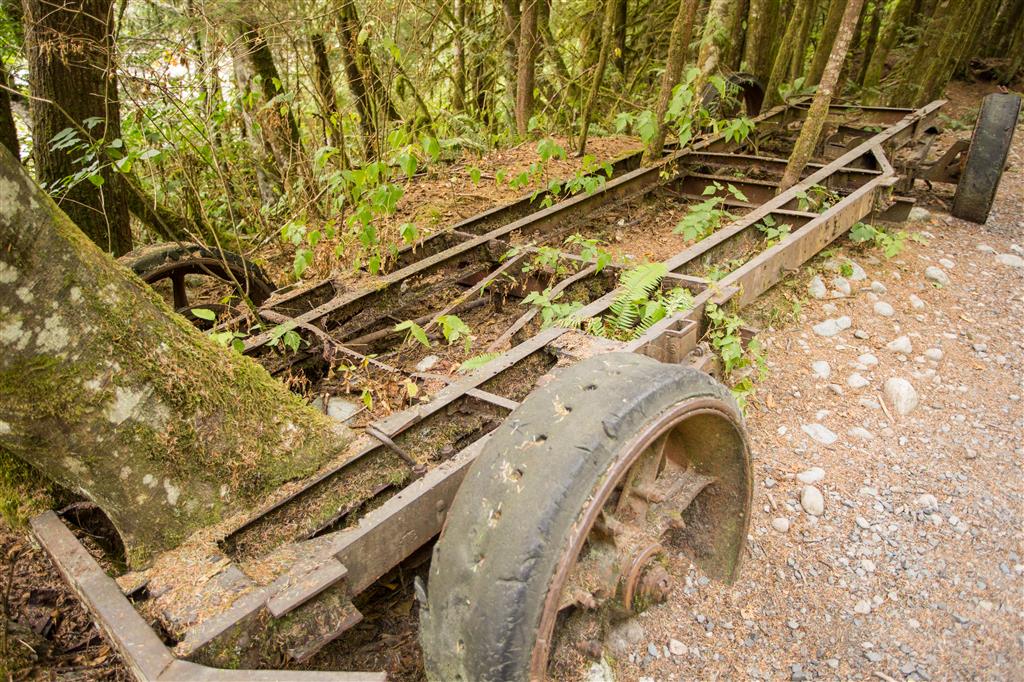
Along the trails, you’ll find relics of logging operations in the area…

IMG_8641

IMG_8702

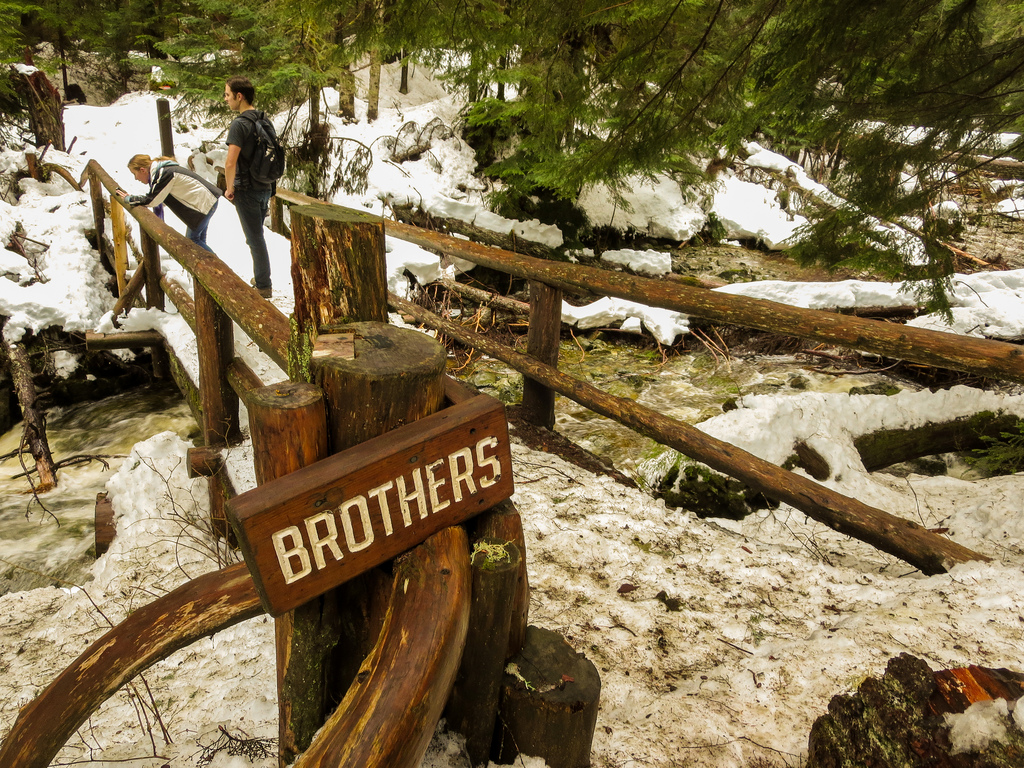
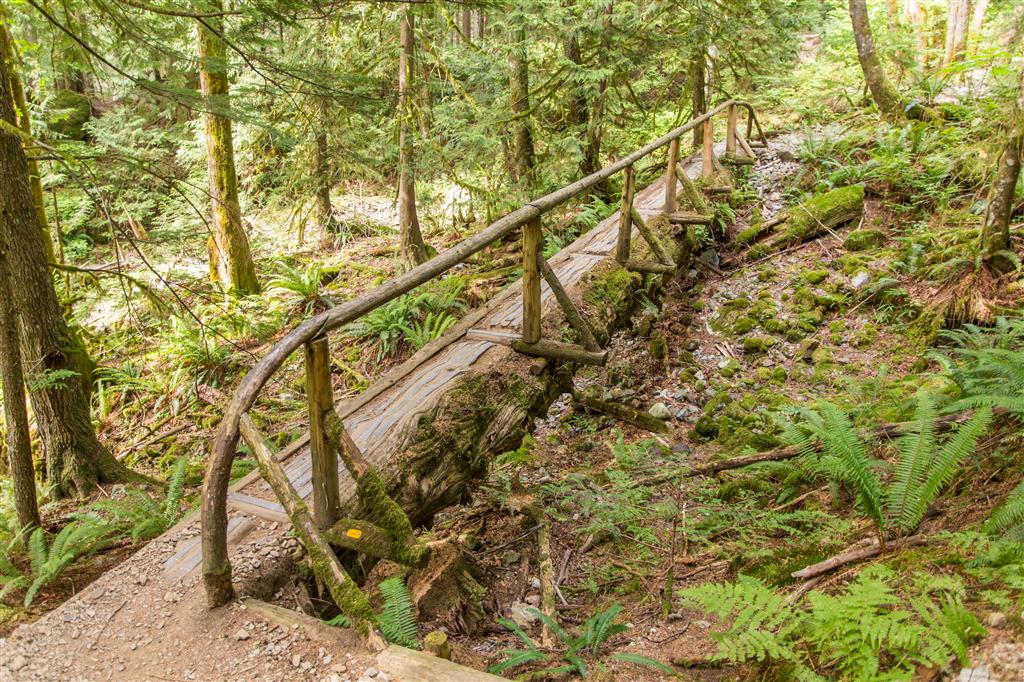
Here is a tree bridge…

IMG_8642

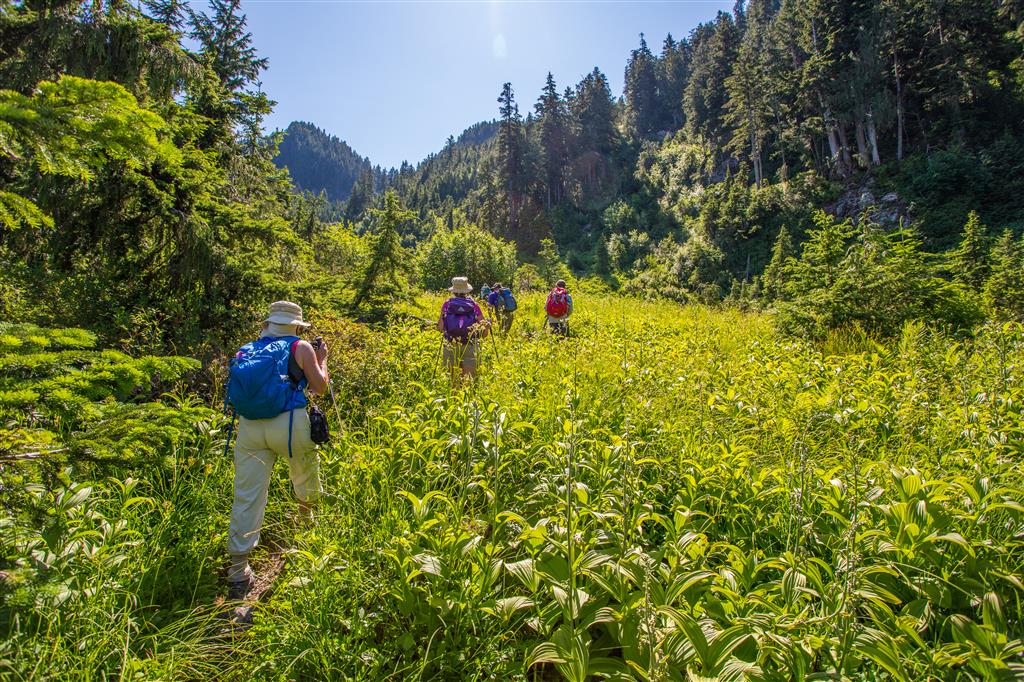
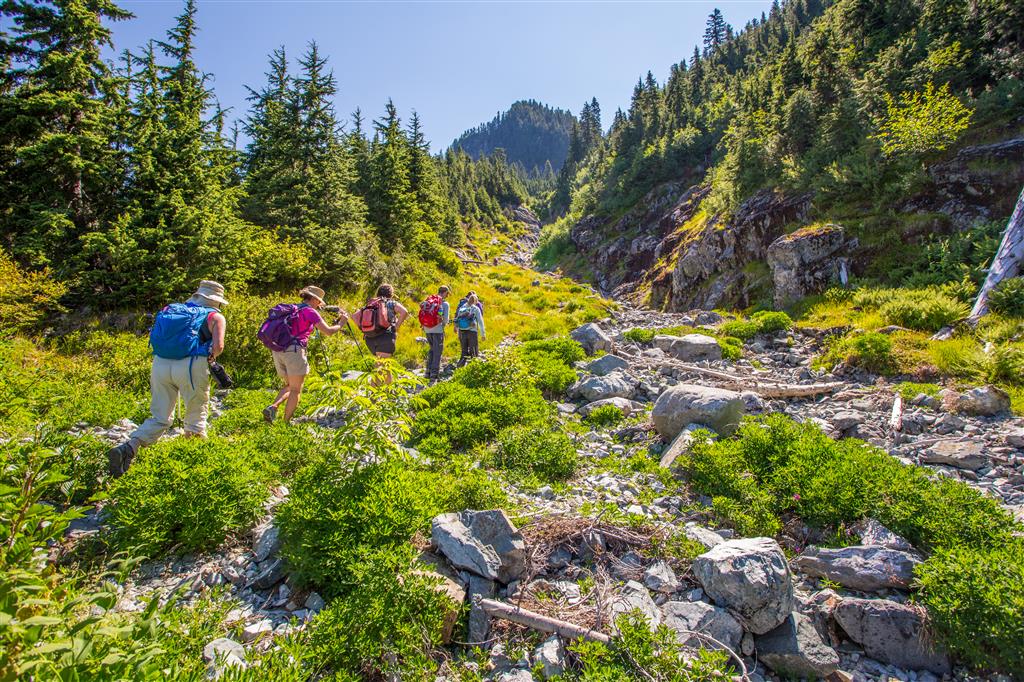
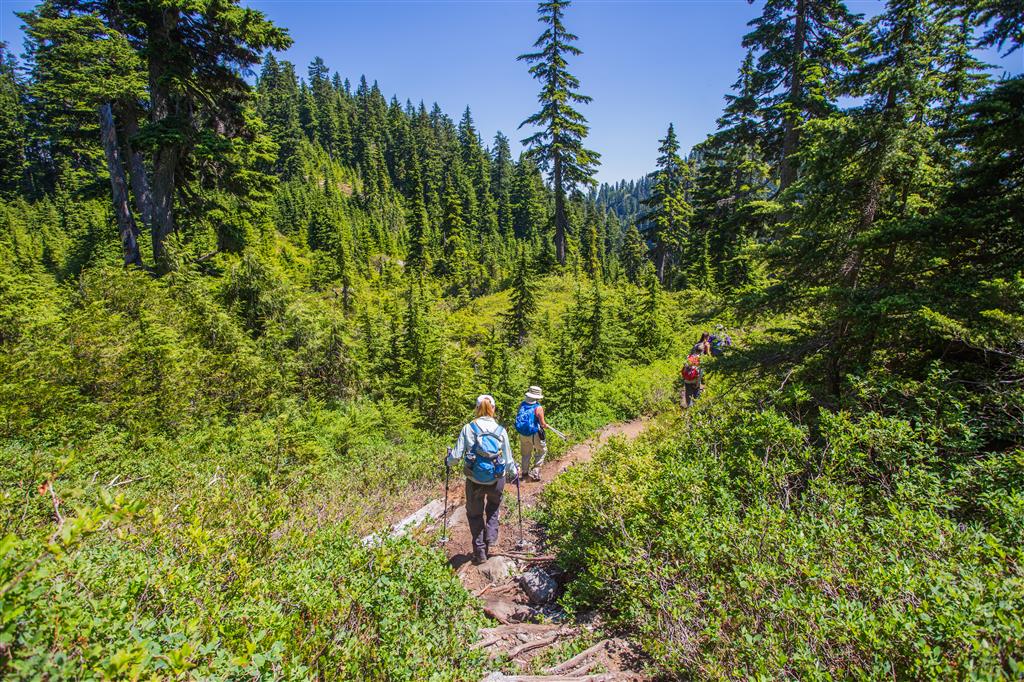
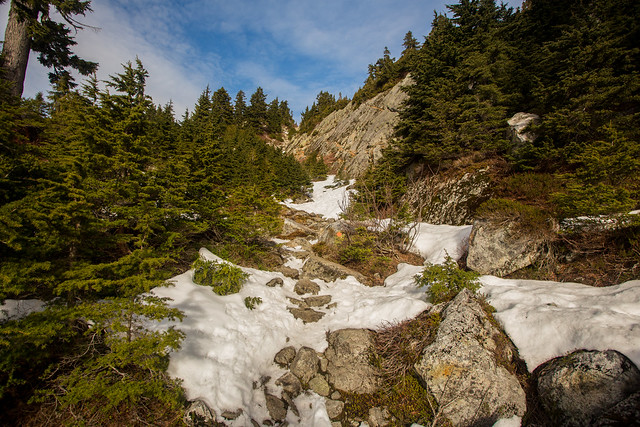
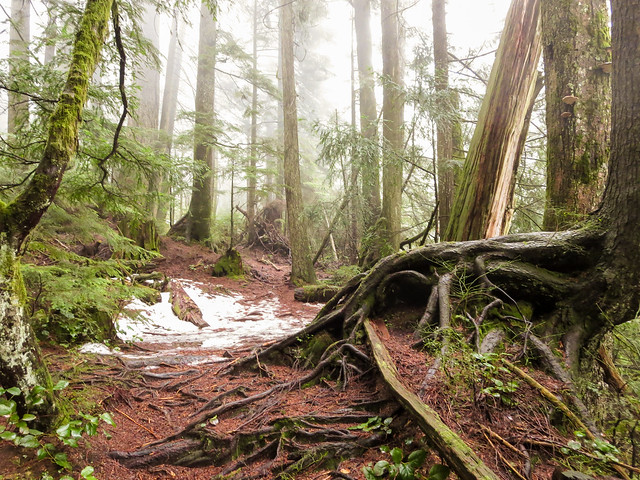
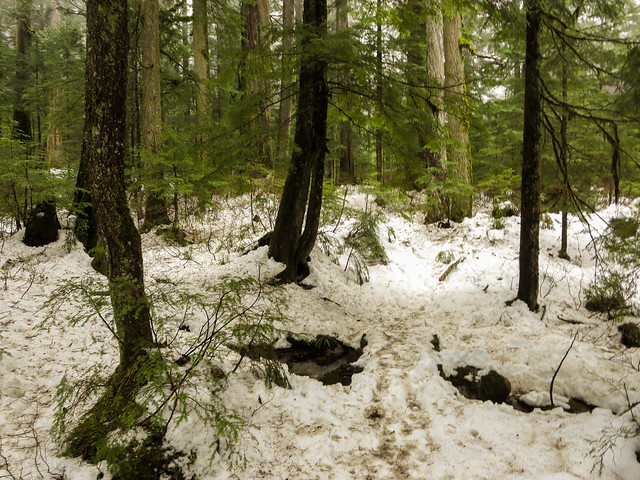
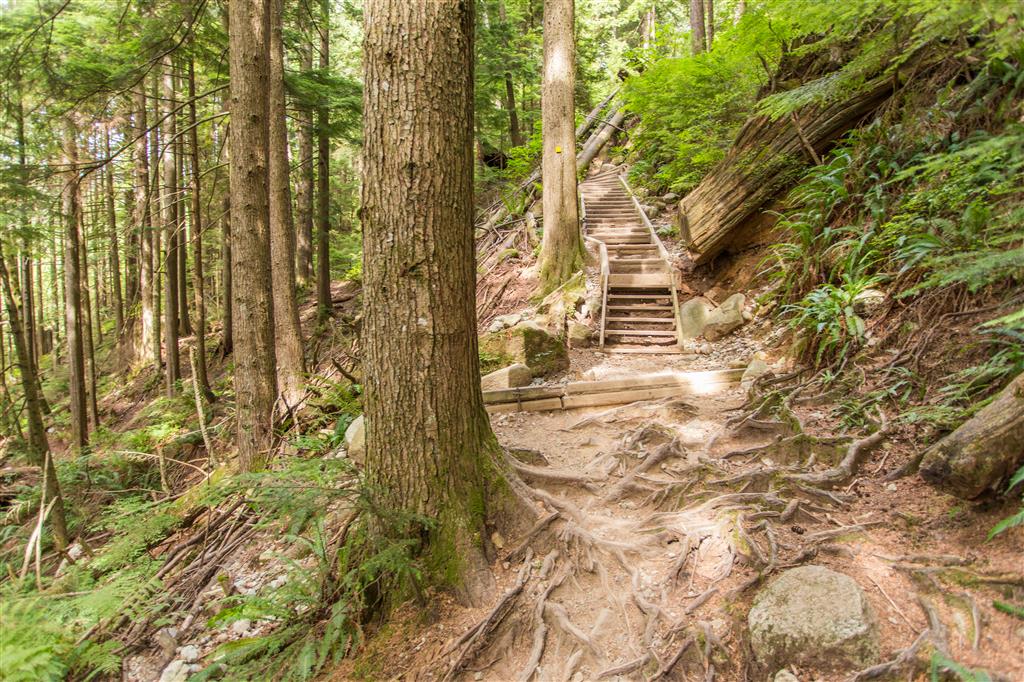
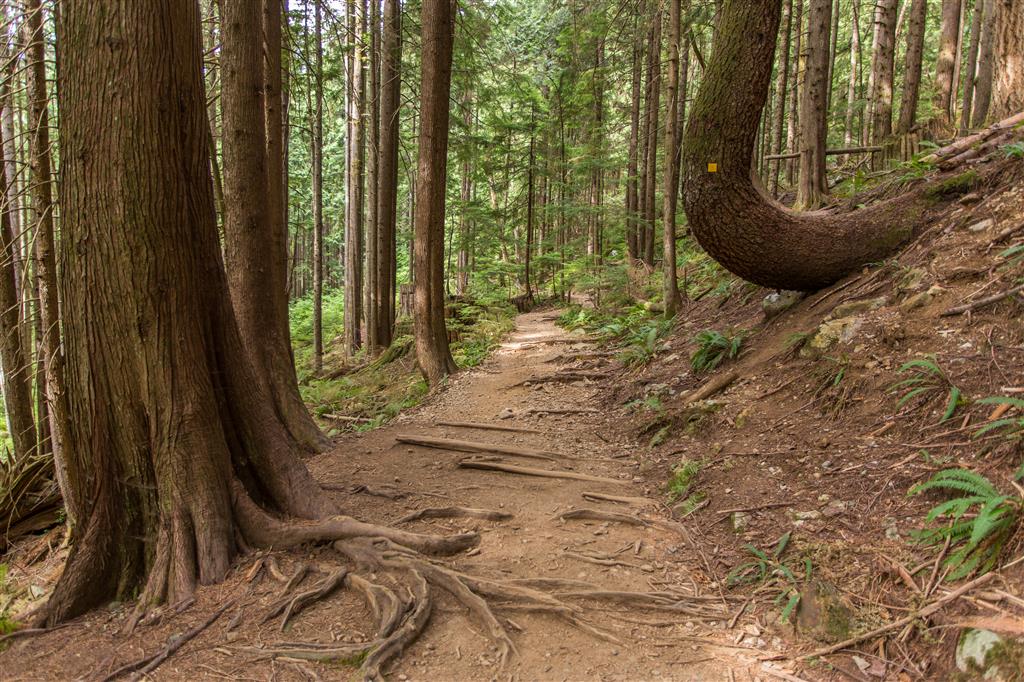
Here are two trail photos…

IMG_8632

IMG_8646

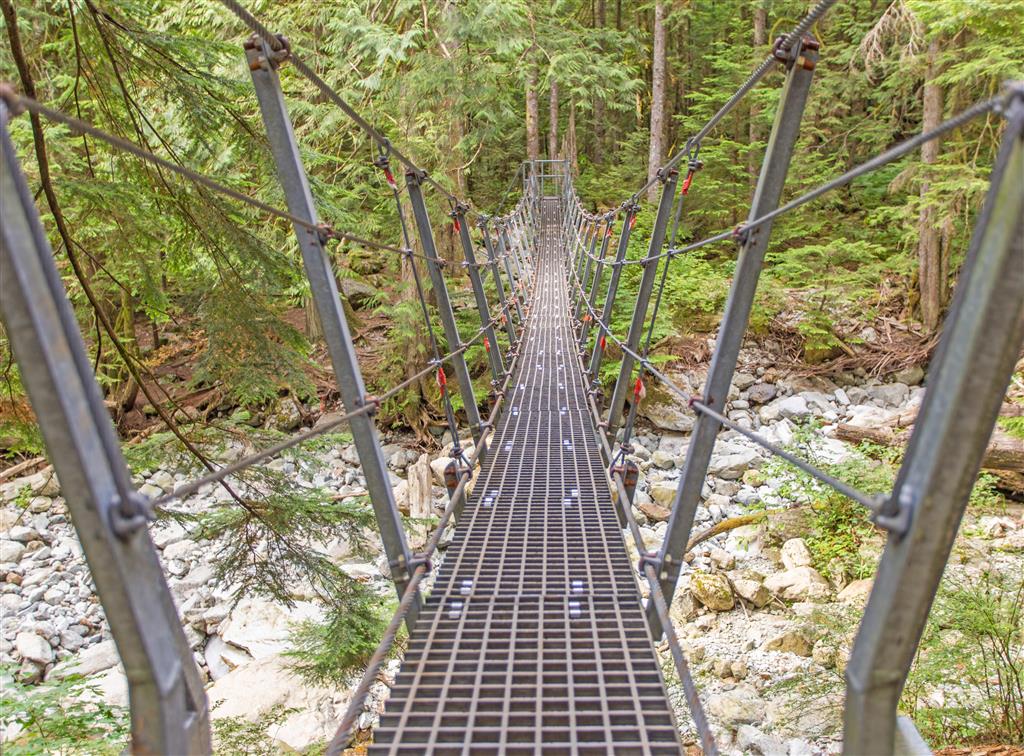
If you reached this suspension bridge, you’ve missed the Norvan Falls turnoff…

IMG_8651

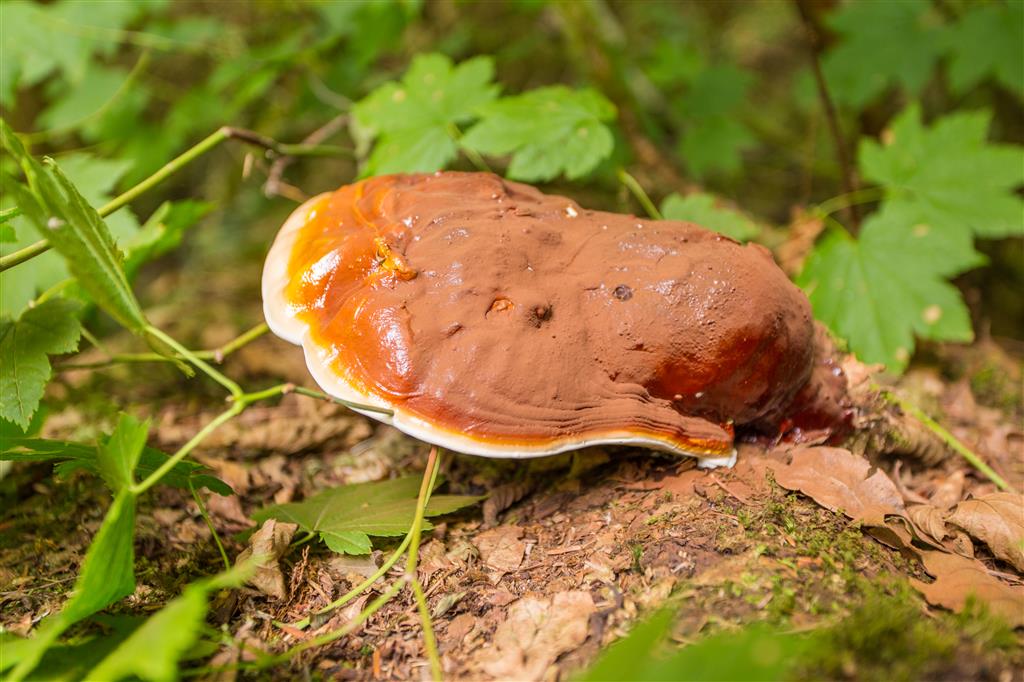
Here is a mushroom I found…

IMG_8628

★★★★★★★★★★★

Before heading out on your hike, make sure you are well prepared. This means, having the TEN ESSENTIALS. It is also important to leave a trip plan (route details and estimated return time) with someone you trust.

Bring your smartphone, fully charged and put it in airplane mode while hiking. I always bring back-up battery packs for extra piece of mind. It is highly recommended that you bring a GPS device; I use my smartphone with a GPS app (Backcountry Navigator). The GPS will work in airplane mode. Learn how to use it before your hike.

For anyone new to hiking, there is a rule to which hikers follow; it is called “Leave No Trace” or LNT. The concept is generally to pack out what you pack in and respect nature, so all future visitors can enjoy what you have enjoyed.
To learn more about LNT, please check out this BLOG by a certified LNT Trainer.

★★★★★★★★★★★

Mount Strachan


Mount Strachan is located at the Cypress Mountain Ski Resort.  The route follows the same path as the route to St. Mark’s Summit for about 3 km, until you reach Strachan Meadows and enter Christmas Gully. I didn’t see a sign for the turn off, so it’s always good to have a GPS device with you. The hike up to the turn off is a well defined and well used trail. During the climb through Christmas Gully you’ll have some steep sections with some fairly easy scrambling. When you reach the saddle between the north and south peaks, you can choose to do both or just go onto the south peak, which is slightly higher. On this day, we skipped the north peak and did the south peak. After admiring the views on the south peak, we made our way down and saw the remains of a 1963 military plane crash – photos below. The trail starts right by the Cypress Lodge and you can park near there.

The stats:

Distance: 7.3 km (return)
Time: 4.5 hours (with lots of breaks)
Low point: 917 m
High point: 1435 m
Elevation gain: 518 m
Trailhead: 49° 23’ 45.3” by  123° 12’ 14.8” (Google Map)

The route:

Strachan Meadows…

Strachan Meadows

Entering Christmas Gully…

Entering Christmas Gully

Climbing Christmas Gully…

Climbing Christmas Gully

Looking down from Christmas Gully…

Looking down from Christmas Gully

View from top…

View from top

Lions peaking through…

Lions peaking through

Another view from the top…

View from top 2

View coming down…

View coming down

Plane Wreckage…

Plane Wreckage

Plane Wreck Memorial…

Plane wreck memorial

Plaque…

Plaque

Trail coming down…

Trail coming down

★★★★★★★★★★★

Before heading out on your hike, make sure you are well prepared. This means, having the TEN ESSENTIALS. It is also important to leave a trip plan (route details and estimated return time) with someone you trust.

Bring your smartphone, fully charged and put it in airplane mode while hiking. I always bring back-up battery packs for extra piece of mind. It is highly recommended that you bring a GPS device; I use my smartphone with a GPS app (Backcountry Navigator). The GPS will work in airplane mode. Learn how to use it before your hike.

For anyone new to hiking, there is a rule to which hikers follow; it is called “Leave No Trace” or LNT. The concept is generally to pack out what you pack in and respect nature, so all future visitors can enjoy what you have enjoyed.
To learn more about LNT, please check out this BLOG by a certified LNT Trainer.

★★★★★★★★★★★

Mt. Seymour

What a beautiful late winter day for a hike. On arrival to the parking lot (1,020 m), there were only a handful of cars at 9:00 am and not many other hikers were seen on the way up. Stopped to put on micro spikes at 2 km into the hike at 1,230 m elevation due to increased hard snow and ice. Arrival at the first peak (1,395 m) was made in 1 hour and had a 15 minute break for photos. The snow was about 1 m thick here. Still not too many people seen. There were amazing views of Vancouver, Indian Arm and the Coast Mountains. Onward and upward to Mt. Seymour Peak. It gets technically more difficult here; although, not for seasoned hikers. Due to a few cm of fresh snow, it was apparent that two hikers were ahead. There is some class 3 scrambling here and some cliff walking, but it was all good. Made it to the summit (1,475 m) 30 minutes after leaving the first peak and lo and behold, there were the two other hikers. After having a conversation and taking more photos we all made the descent together starting at 11:00 am. On the descent, the crowds coming up were insane, especially below the first peak. Also, I couldn’t believe the number of people in runners up there ! Anyways, we arrived down at 12:40 pm and was greeted with a very warm car ! All in all, it was an absolute amazing day for a hike and the views were amazing. Will definitely go back !


The stats:

Distance: 8.1 km (return)
Minimum elevation: 1017 m
Maximum elevation: 1439 m
Elevation gain: 422 m
Total elevation gain: 715 m
Time: 3 hours 35 mins (inc. 30 mins of stops)
Trailhead: 49° 22’ 2” by  122° 56’ 56” (Google Map)

Here is the route:

Here is the view from the first peak…

Mt. Seymour First Peak - 1397 m

From the summit looking south…

Mt. Seymour summit - 1475 m


From summit looking north…

Mt. Seymour summit - 1475 m

Snow along the trail…

Nice snow at the top


Many people at the first pump…

Lots of people at "1st pump"

Here’s me admiring the view…

Admiring the view

There’s the peak…

Mt. Seymour

Continuing up the trail…

Continuing up the trail...


Narrow section here…

Narrow trail here

Loads of cars in the parking lot…

Lots of people hiking at Mt. Seymour

★★★★★★★★★★★

Before heading out on your hike, make sure you are well prepared. This means, having the TEN ESSENTIALS. It is also important to leave a trip plan (route details and estimated return time) with someone you trust.

Bring your smartphone, fully charged and put it in airplane mode while hiking. I always bring back-up battery packs for extra piece of mind. It is highly recommended that you bring a GPS device; I use my smartphone with a GPS app (Backcountry Navigator). The GPS will work in airplane mode. Learn how to use it before your hike.

For anyone new to hiking, there is a rule to which hikers follow; it is called “Leave No Trace” or LNT. The concept is generally to pack out what you pack in and respect nature, so all future visitors can enjoy what you have enjoyed.
To learn more about LNT, please check out this BLOG by a certified LNT Trainer.

★★★★★★★★★★★

Brothers Creek Trail

Brother’s Creek trail starts in British Properties of West Vancouver. There are variants of this route – I will be showing my route. It was a nice day today – a little cold, but fine. We encountered snow a short time after starting and were soon punching through. The trail starts at the east end of Millstream Road. Beware of snow conditions even into early summer.

The stats:

Time: 2 hours
Distance: 7.8 km (return)
Low point: 375 m
High point: 828 m
Elevation gain: 453 m
Trailhead: 49° 21’ 27.3” by  123° 8’ 30” (Google Map)

Here is the route taken…

Start of trail…

Start of Trail

Bridge on trail…

Brothers creek

Brother’s Creek…

Brother's Creek

A waterfall…

Waterfall

Trail pix…

Less snow here

Trail

Trail

IMG_1436

Industrial decay…

Someone forgot their truck

Old Oil Can

Nice view…

Best view on the hike

★★★★★★★★★★★

Before heading out on your hike, make sure you are well prepared. This means, having the TEN ESSENTIALS. It is also important to leave a trip plan (route details and estimated return time) with someone you trust.

Bring your smartphone, fully charged and put it in airplane mode while hiking. I always bring back-up battery packs for extra piece of mind. It is highly recommended that you bring a GPS device; I use my smartphone with a GPS app (Backcountry Navigator). The GPS will work in airplane mode. Learn how to use it before your hike.

For anyone new to hiking, there is a rule to which hikers follow; it is called “Leave No Trace” or LNT. The concept is generally to pack out what you pack in and respect nature, so all future visitors can enjoy what you have enjoyed.
To learn more about LNT, please check out this BLOG by a certified LNT Trainer.

★★★★★★★★★★★

St Mark’s Summit

St. Mark’s summit is a great hike and I started from the Cypress Mountain Parking lot. The route taken follows the Howe Sound Crest Trail.  This hike can get very busy during sunny weekends, especially in the summer. Beware of snow conditions even into early summer.

Distance: 10.3 km (return)
Low point: 917 m
High point: 1344 m
Elevation gain: 427 m
Trailhead: 49° 23’ 42” by  123° 12’ 10” (Google Map)

Here is the route…

View from the top…

St. Marks Summit

Me on a ledge…

King of the world !

We had a nice view of the Lions…

The Lions

The Whiskey Jacks were plentiful…

Whiskey Jack (Gray Jay)

★★★★★★★★★★★

Before heading out on your hike, make sure you are well prepared. This means, having the TEN ESSENTIALS. It is also important to leave a trip plan (route details and estimated return time) with someone you trust.

Bring your smartphone, fully charged and put it in airplane mode while hiking. I always bring back-up battery packs for extra piece of mind. It is highly recommended that you bring a GPS device; I use my smartphone with a GPS app (Backcountry Navigator). The GPS will work in airplane mode. Learn how to use it before your hike.

For anyone new to hiking, there is a rule to which hikers follow; it is called “Leave No Trace” or LNT. The concept is generally to pack out what you pack in and respect nature, so all future visitors can enjoy what you have enjoyed.
To learn more about LNT, please check out this BLOG by a certified LNT Trainer.

★★★★★★★★★★★